Quick Answer
To create a sultry eye look with Ash and Ember Eye Soot, start with a primed lid, apply the soot with a dense brush or fingertip, and build the color gradually. Use a smudging motion along the lash line and blend the edges for a seamless, smoky effect.
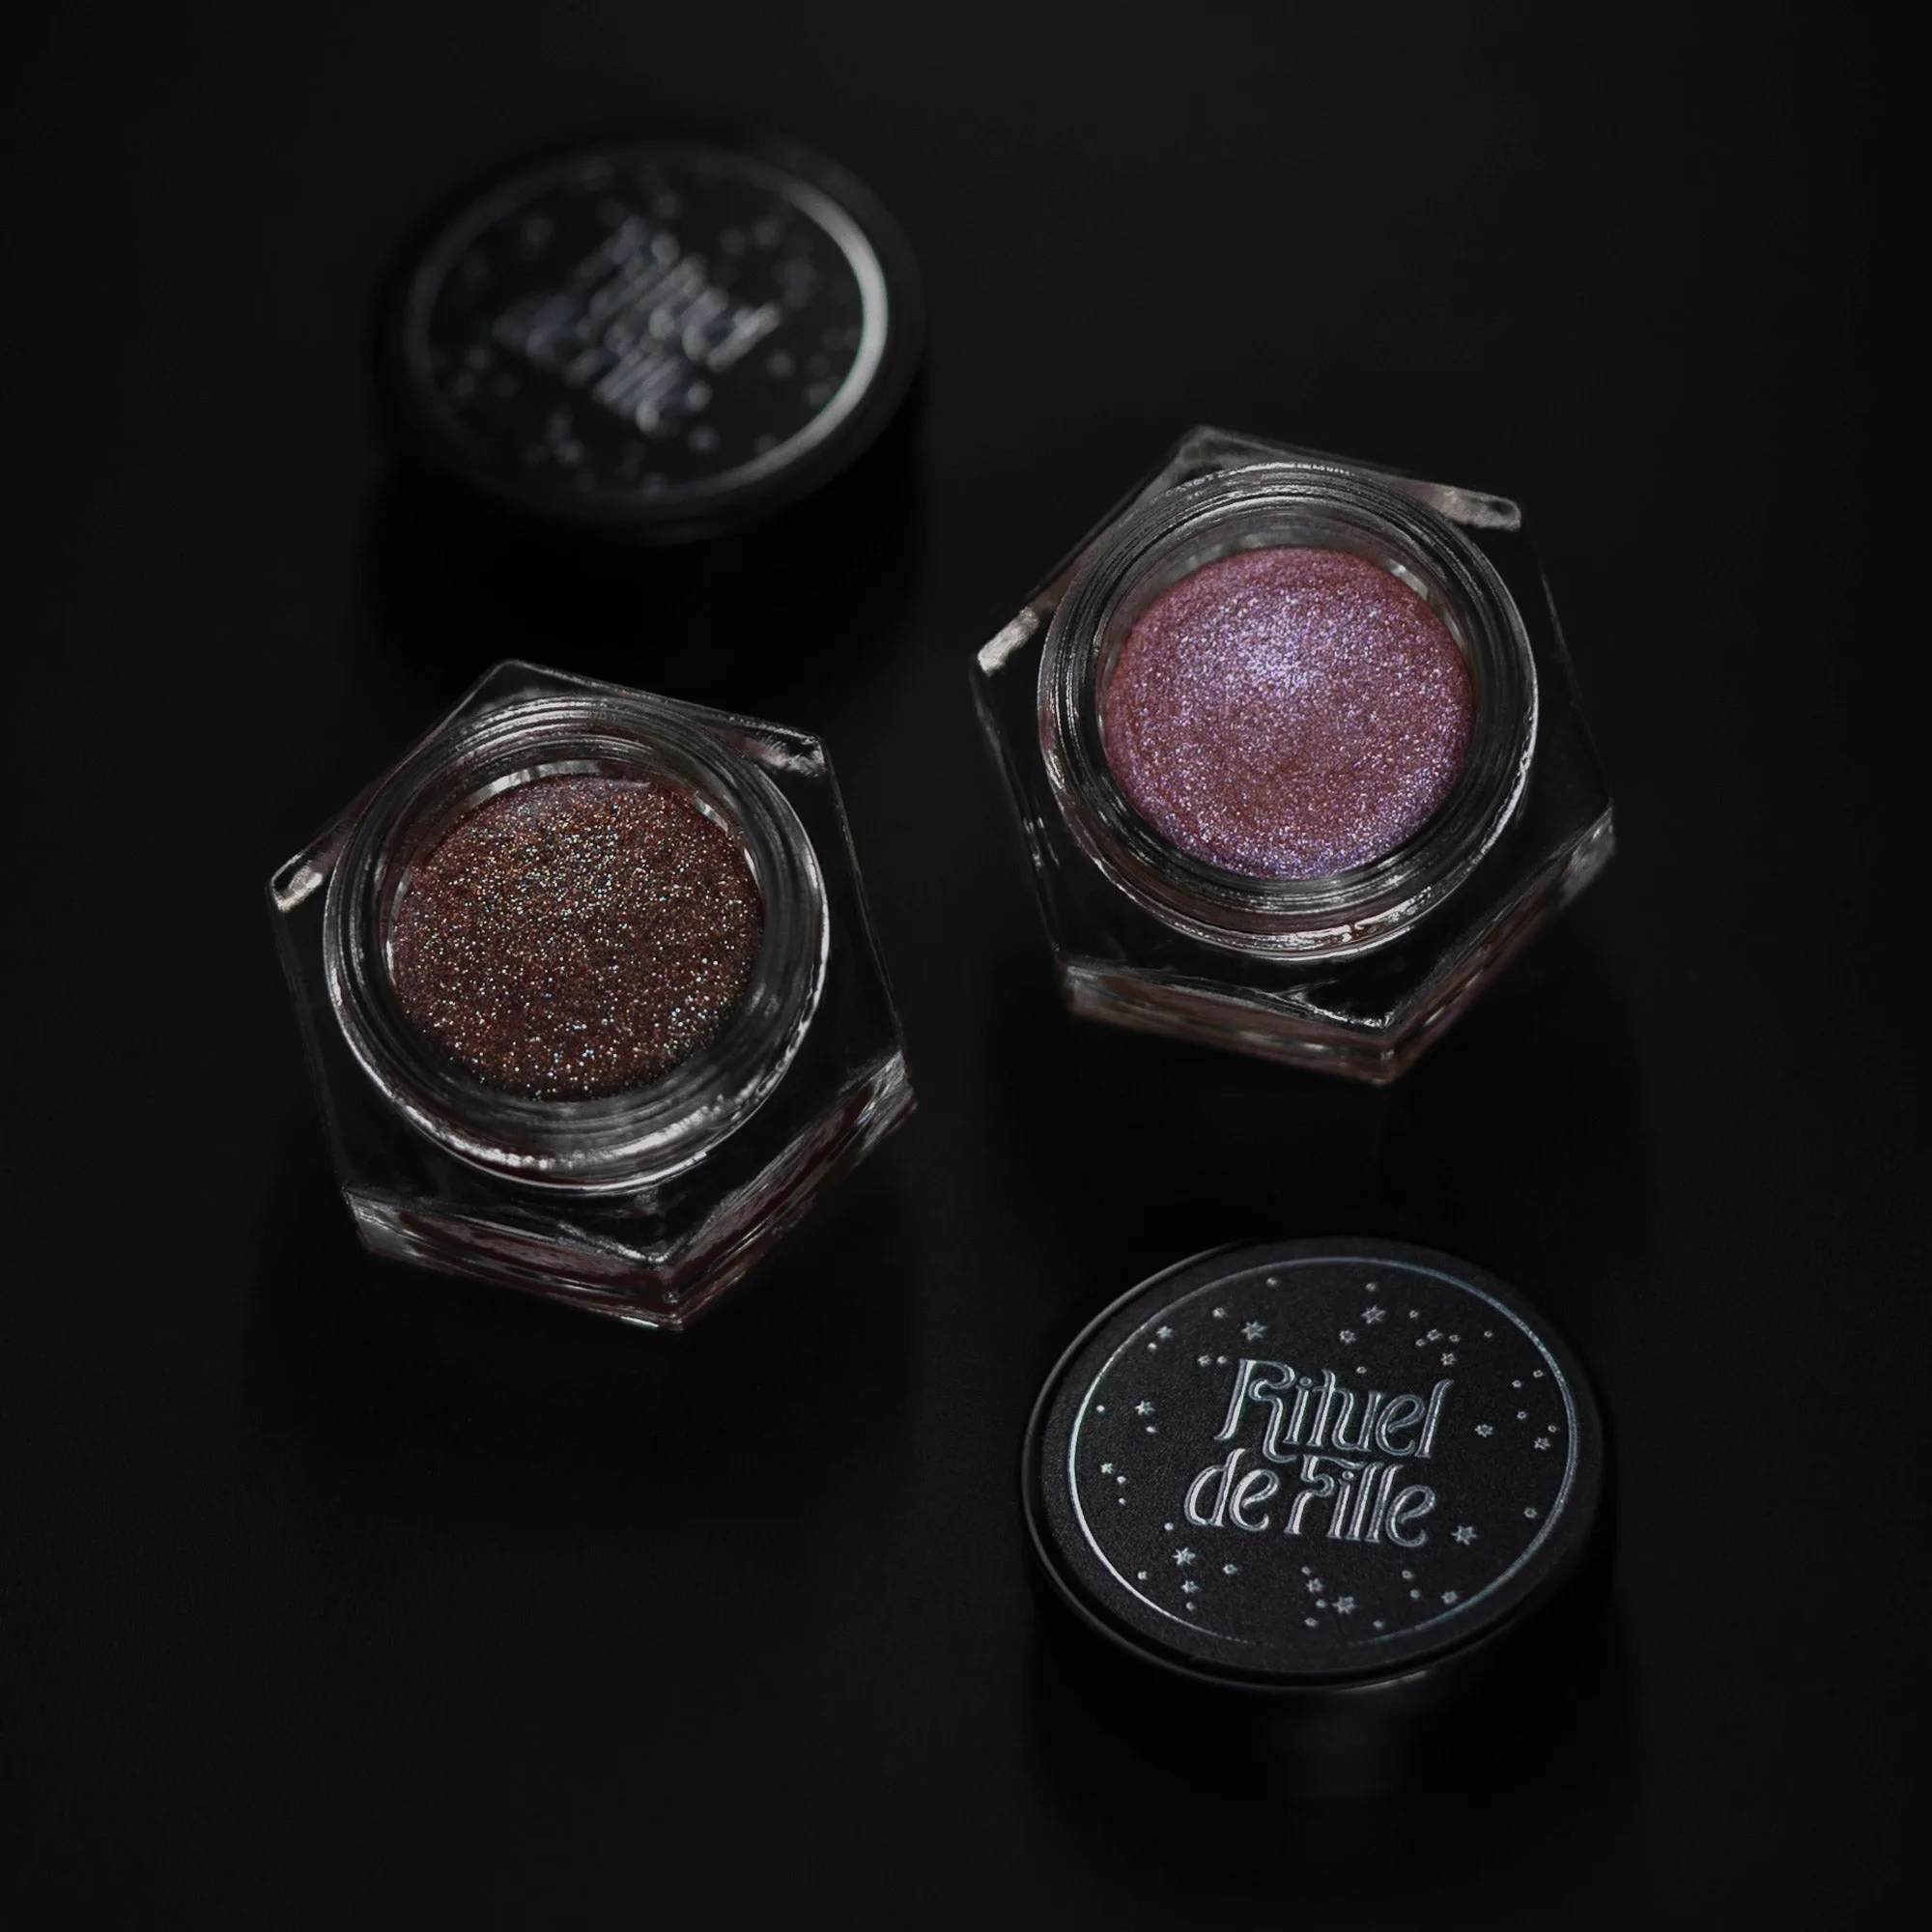
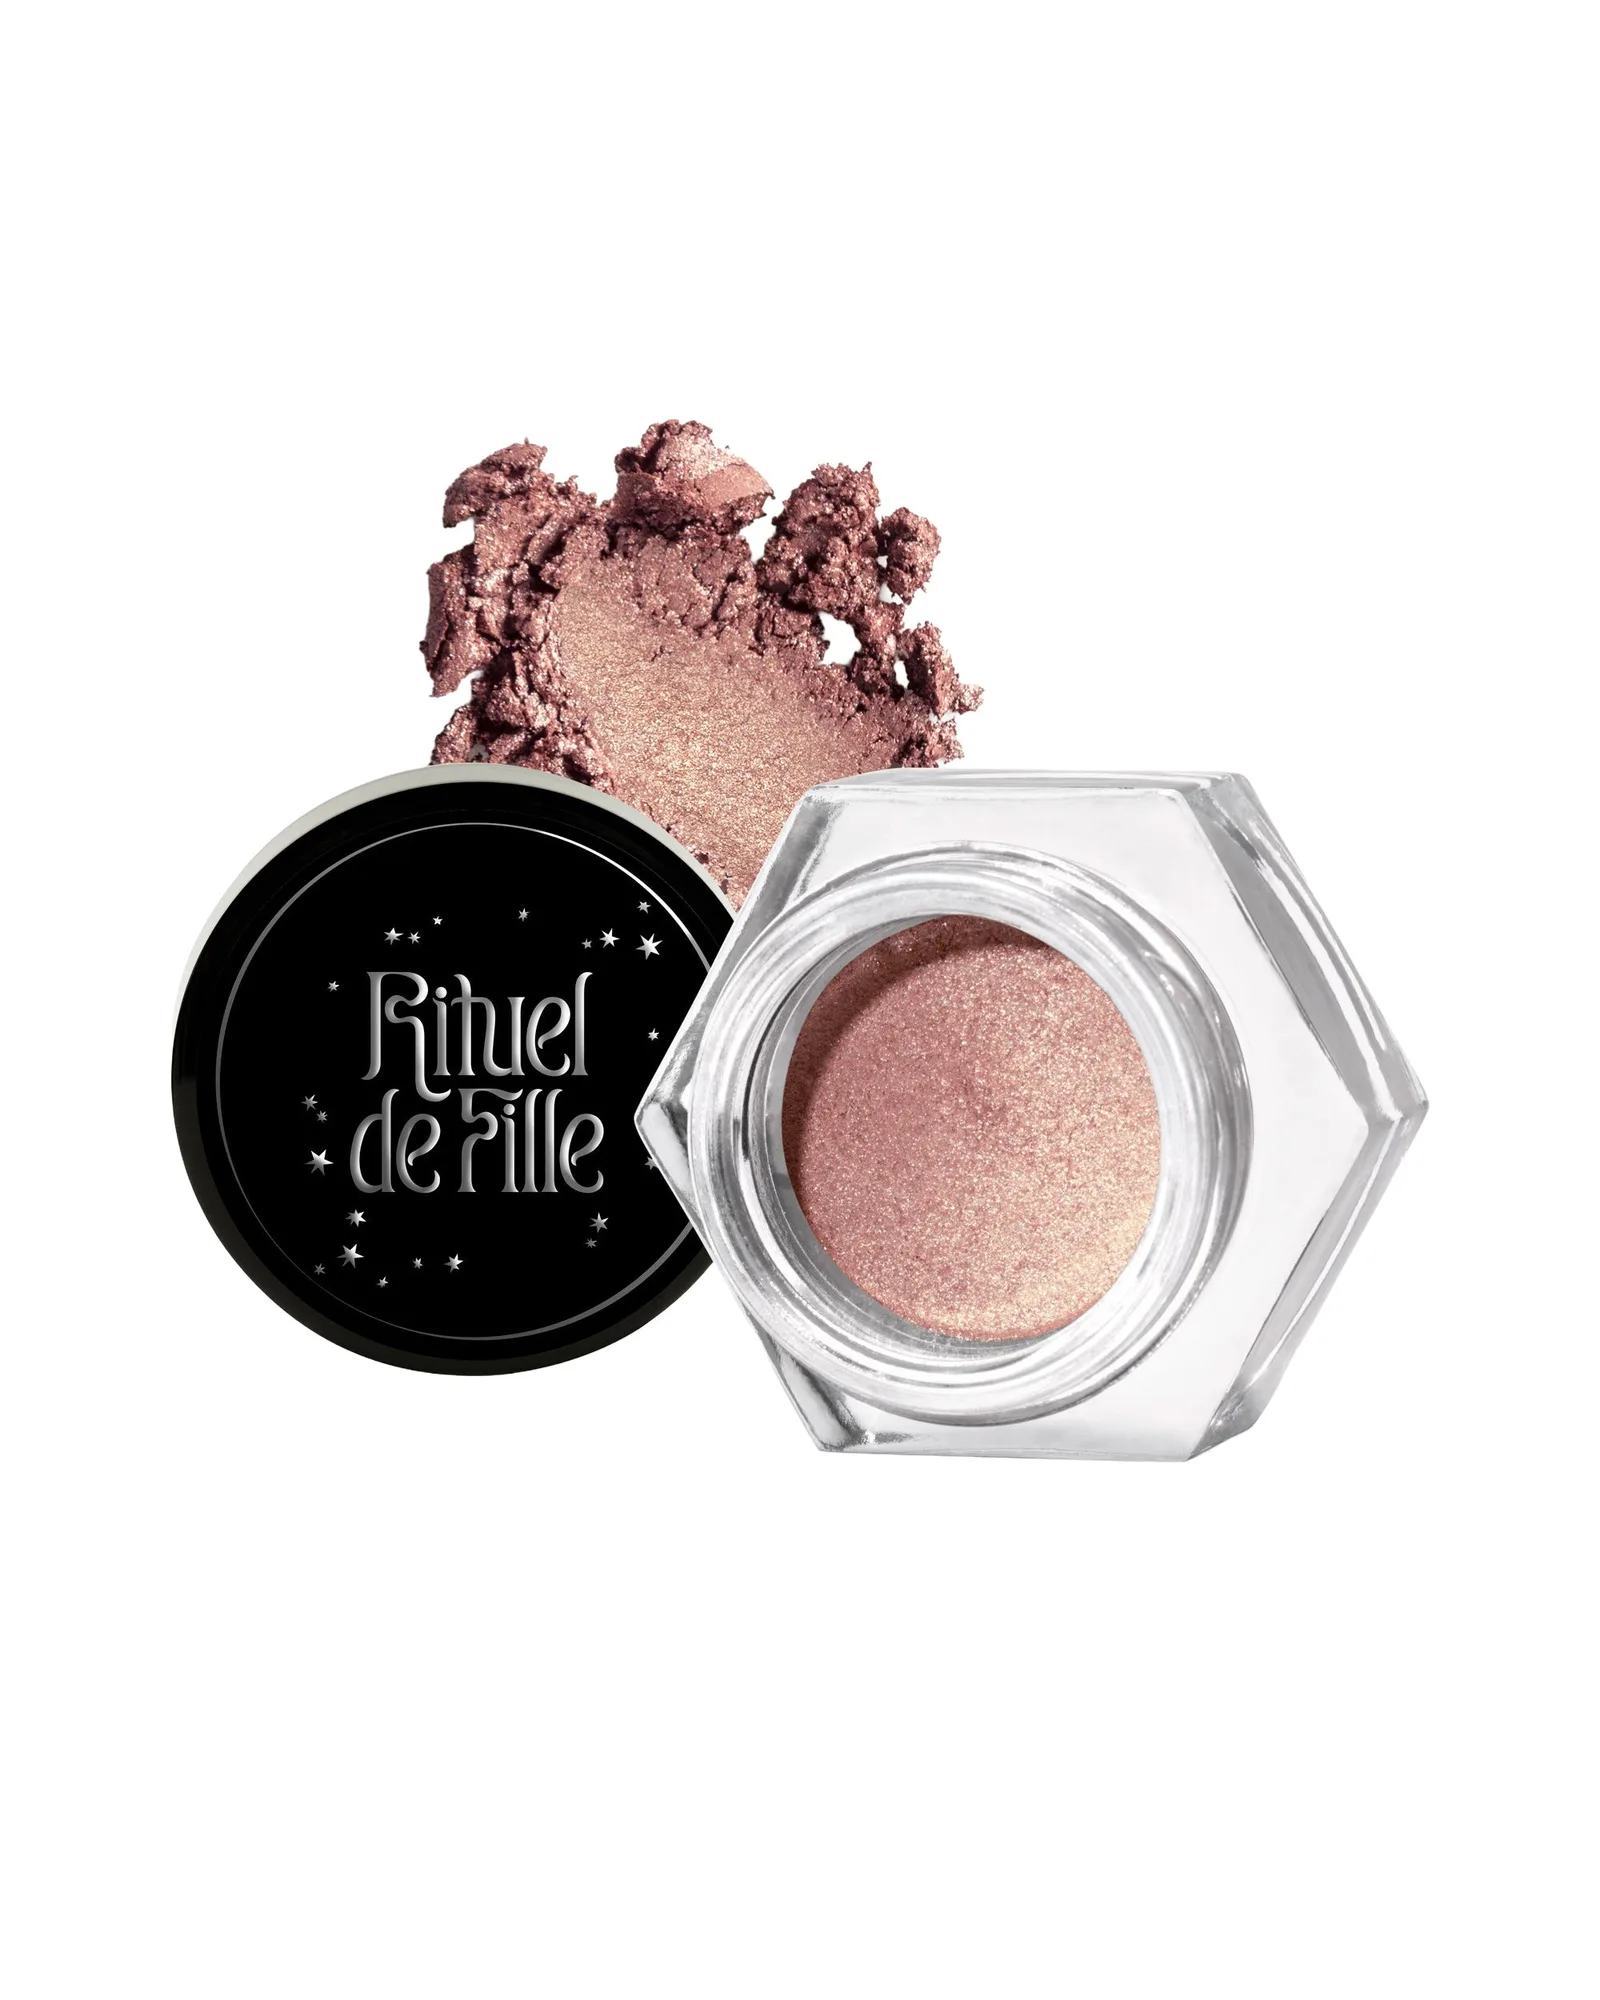
Ash and Ember Eye Soot from Ritueldefille delivers rich, pigmented color that can transform your eye makeup from simple to striking. Whether you choose the warm metallic Golden Age or the deep, smoldering Incantation, this eye soot is designed to add depth and dimension to your look.
In this guide, you'll learn step-by-step techniques to apply Ash and Ember Eye Soot for a sultry eye look, along with common mistakes to avoid and tips for getting the most out of this versatile product.
Why Eye Soot is Different from Traditional Eyeshadow
Eye soot has a unique texture and finish compared to pressed powder eyeshadows. It often delivers more intense pigmentation with a single swipe, making it ideal for creating dramatic, sultry looks. The Ash and Ember Eye Soot collection is known for its rich color payoff and smooth application.
Understanding these differences helps you choose the right application technique. Because eye soot is more concentrated, you can use less product and build up the intensity gradually. This allows for greater control and prevents the heavy, cakey look that can happen with some powder shadows.
- Use a primer to help the soot adhere and last longer.
- Start with a small amount and add more as needed.
Preparing Your Eyelids for Eye Soot Application
Before applying Ash and Ember Eye Soot, ensure your eyelids are clean and dry. Apply an eye primer to create a smooth base and help the soot stay in place throughout the day. If you don't have a primer, a thin layer of concealer or foundation can work as a substitute.
Allow the primer to set for a minute before applying the soot. This prevents the product from creasing and ensures an even application. Your lids should be free of any oils or leftover makeup for the best results.
- Set your primer with a light dusting of translucent powder if you have oily lids.
Choosing the Right Tools for Application
The tools you use can significantly affect how Ash and Ember Eye Soot applies. A dense, flat brush is excellent for packing the color onto the lid, while a fluffy blending brush helps soften edges. Your fingertip can also be a great tool for pressing the soot onto the lid for maximum pigment.
For a more precise application, especially along the lower lash line, use a small angled brush. This gives you control and helps you create a defined, sultry shape. Clean brushes are essential to avoid muddying the colors.
- Keep a clean blending brush handy to soften any harsh lines.
Step-by-Step Sultry Eye Look with Ash and Ember Eye Soot
Creating a sultry eye look with Ash and Ember Eye Soot is all about building depth and blending. Start by applying the soot to your eyelid, focusing on the outer corner and crease. Use a windshield-wiper motion to blend the color outward and upward.
Next, apply a small amount of soot to your lower lash line with a small brush. Smudge it gently to create a smoky effect. Finally, highlight the inner corner of your eye with a lighter shade or a touch of highlighter to open up your gaze.
- Build the color slowly to avoid over-application.
- Use a clean brush to blend edges for a seamless finish.
Step-by-Step Application Guide
- Prime Your Lids: Apply an eye primer to clean, dry eyelids and let it set for a minute. Checkpoint: Your lids should feel slightly tacky, not wet.
- Pack the Color: Using a dense brush or your fingertip, press Ash and Ember Eye Soot onto your eyelid, starting at the lash line and working upward. Mistake to avoid: Don't swipe the brush; pressing gives more pigment.
- Blend the Edges: With a clean fluffy brush, blend the edges of the soot in a windshield-wiper motion to soften any harsh lines. Checkpoint: The color should fade seamlessly into your skin.
- Define the Lower Lash Line: Use a small angled brush to apply a thin line of soot along your lower lash line, then smudge it gently. Mistake to avoid: Don't apply too much; start light and build.
- Add Dimension: Apply a lighter shade or highlighter to the inner corner of your eye to open up your gaze and add contrast. Checkpoint: The inner corner should look bright and awake.
Ash and Ember Eye Soot: What You Need to Know
- Ash and Ember Eye Soot: Golden Age: Golden Age shade provides a metallic, ember-toned finish. This warm, metallic finish is perfect for adding a touch of brightness to a sultry look, especially on the center of the lid or as an inner-corner highlight.
- Ash and Ember Eye Soot: Incantation: Deep, smoky shades inspired by ash and ember. The deep, smoky tones are ideal for creating intense, dramatic eye looks that define the crease and outer corner, giving your eyes a mysterious, sultry appeal.
With these techniques, you can confidently use Ash and Ember Eye Soot to create a sultry eye look that turns heads. Remember to start with a small amount, build the color gradually, and blend well for a polished finish. Whether you prefer the warm metallic Golden Age or the deep smoky Incantation, this eye soot is a versatile addition to your makeup routine.