Quick answer
Assemble your Cedar Springs Outdoor Bar gazebo by prepping a level site, organizing parts, building the frame and roof, then securing the bar counter and accessories. Expect 4–6 hours with two people.
Why proper preparation matters
The Cedar Springs Outdoor Bar combines solid cedar wood with powder-coated galvanized steel. Cedar resists moisture and insects, but it still needs a flat, dry foundation to prevent warping or uneven gaps. Steel brackets and bolts require precise alignment; rushing the base can throw off the entire frame.
Plan for two adults and basic tools: a drill with bits, socket wrench, level, tape measure, and a rubber mallet. Avoid working in wet or windy weather—cedar can swell slightly, and loose hardware is harder to tighten when the wood is damp.
Common assembly mistake: over-tightening bolts
Cedar is softer than many hardwoods. Over-tightening bolts can crush the wood fibers and create cracks or stripped holes. Snug each bolt by hand, then use a wrench for the final quarter turn. If a bolt feels too tight, stop and check alignment rather than forcing it.
Step-by-step assembly guide
- Step 1: Prepare the site: Clear a level area at least 6 ft x 6 ft. Remove sod, tamp the soil, and add paver base or concrete pavers for a flat surface. Check with a 4-ft level in both directions. A 1/4-inch slope across the site will make the frame twist and the bar counter wobble.
- Step 2: Sort and verify parts: Lay out all lumber, hardware bags, and steel brackets. Match each bag label to the instruction step. Cedar boards may have minor color variations—that is normal. Missing or mismatched hardware is the #1 reason for mid-build delays. Count everything before you start.
- Step 3: Assemble the base frame: Connect the side panels and rear frame using the supplied galvanized brackets. Keep screws loose until all four corners are joined, then tighten evenly. Use a carpenter's square to confirm 90° angles. Tightening one corner fully before the others are attached can twist the whole base out of square.
- Step 4: Install the roof supports and roof panels: Attach the roof beams to the top of the frame. Center the roof panels so overhangs are equal on both sides. Secure with the provided lag bolts—do not over-tighten into cedar. If the roof panels feel loose, check that the frame is square first. Forcing a crooked panel can crack the cedar.
- Step 5: Mount the bar counter and shelves: Slide the bar top into the pre-cut notches on the side panels. Level it front-to-back and side-to-side before driving screws through the brackets underneath. Attach lower shelves using the same method. A bar top that is not level will cause glasses to slide and look unprofessional. Re-check with a level after every screw.
- Step 6: Add the finishing touches: Install the counter stools (if included), attach any optional cup holders or towel racks, and apply a clear sealer to the cedar if desired. The powder-coated steel does not need additional protection. Sealing cedar extends its natural color for 1–2 years. Without sealer, it will weather to a silver-gray patina—both are fine, just a matter of preference.
Product reference
-
Cedar Springs Outdoor Bar: The Cedar Springs Outdoor Bar uses solid cedar wood paired with powder-coated galvanized steel for durability and natural charm. Cedar resists rot and insects, while the steel frame adds structural strength—so the bar can stay outdoors year-round with minimal maintenance.
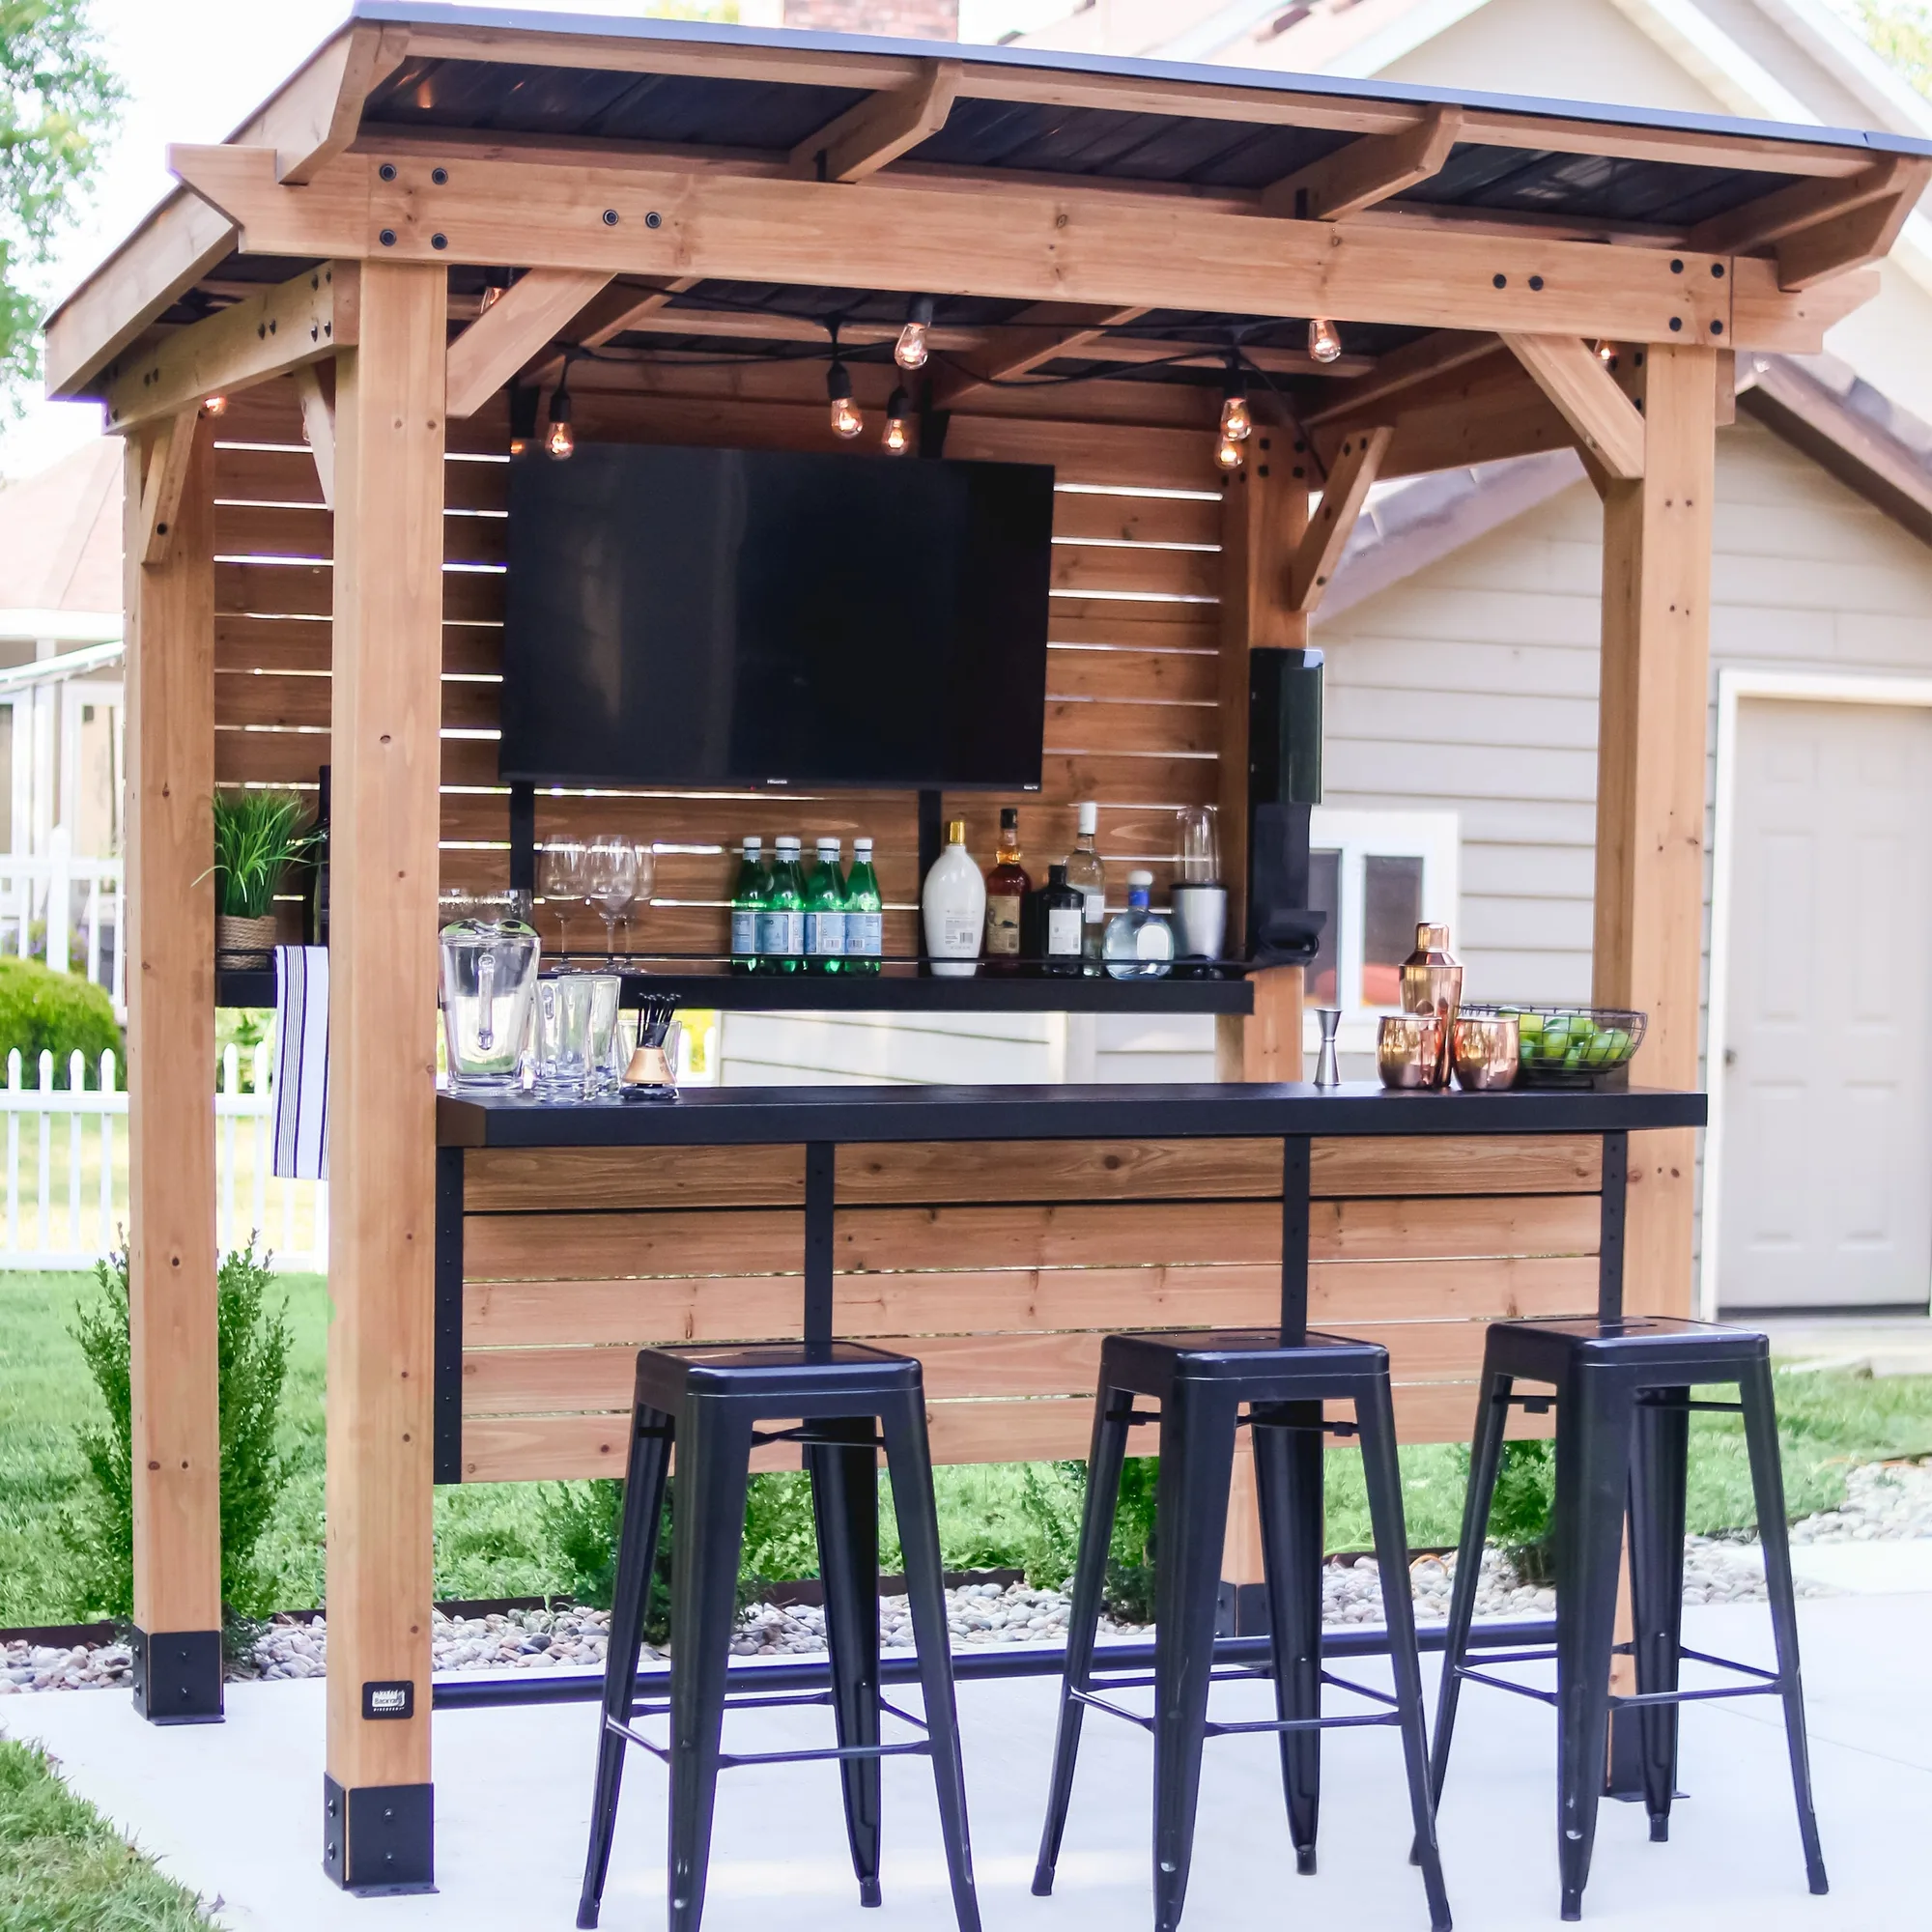
Cedar Springs Outdoor Bar