Congratulations on your new Willow Go® wearable pump! Whether you're a first-time pump or adding to your collection, knowing how to assemble your pump correctly is essential for a smooth and comfortable pumping experience. This guide will walk you through every step, from unboxing to your first session, so you can feel confident and prepared.
The Willow Go® is designed to be intuitive, but taking a few minutes to understand its parts and proper assembly will help you avoid common mistakes, ensure hygiene, and get the most out of your pump. Let's dive in.
What's in the Box? Understanding Your Willow Go® Parts
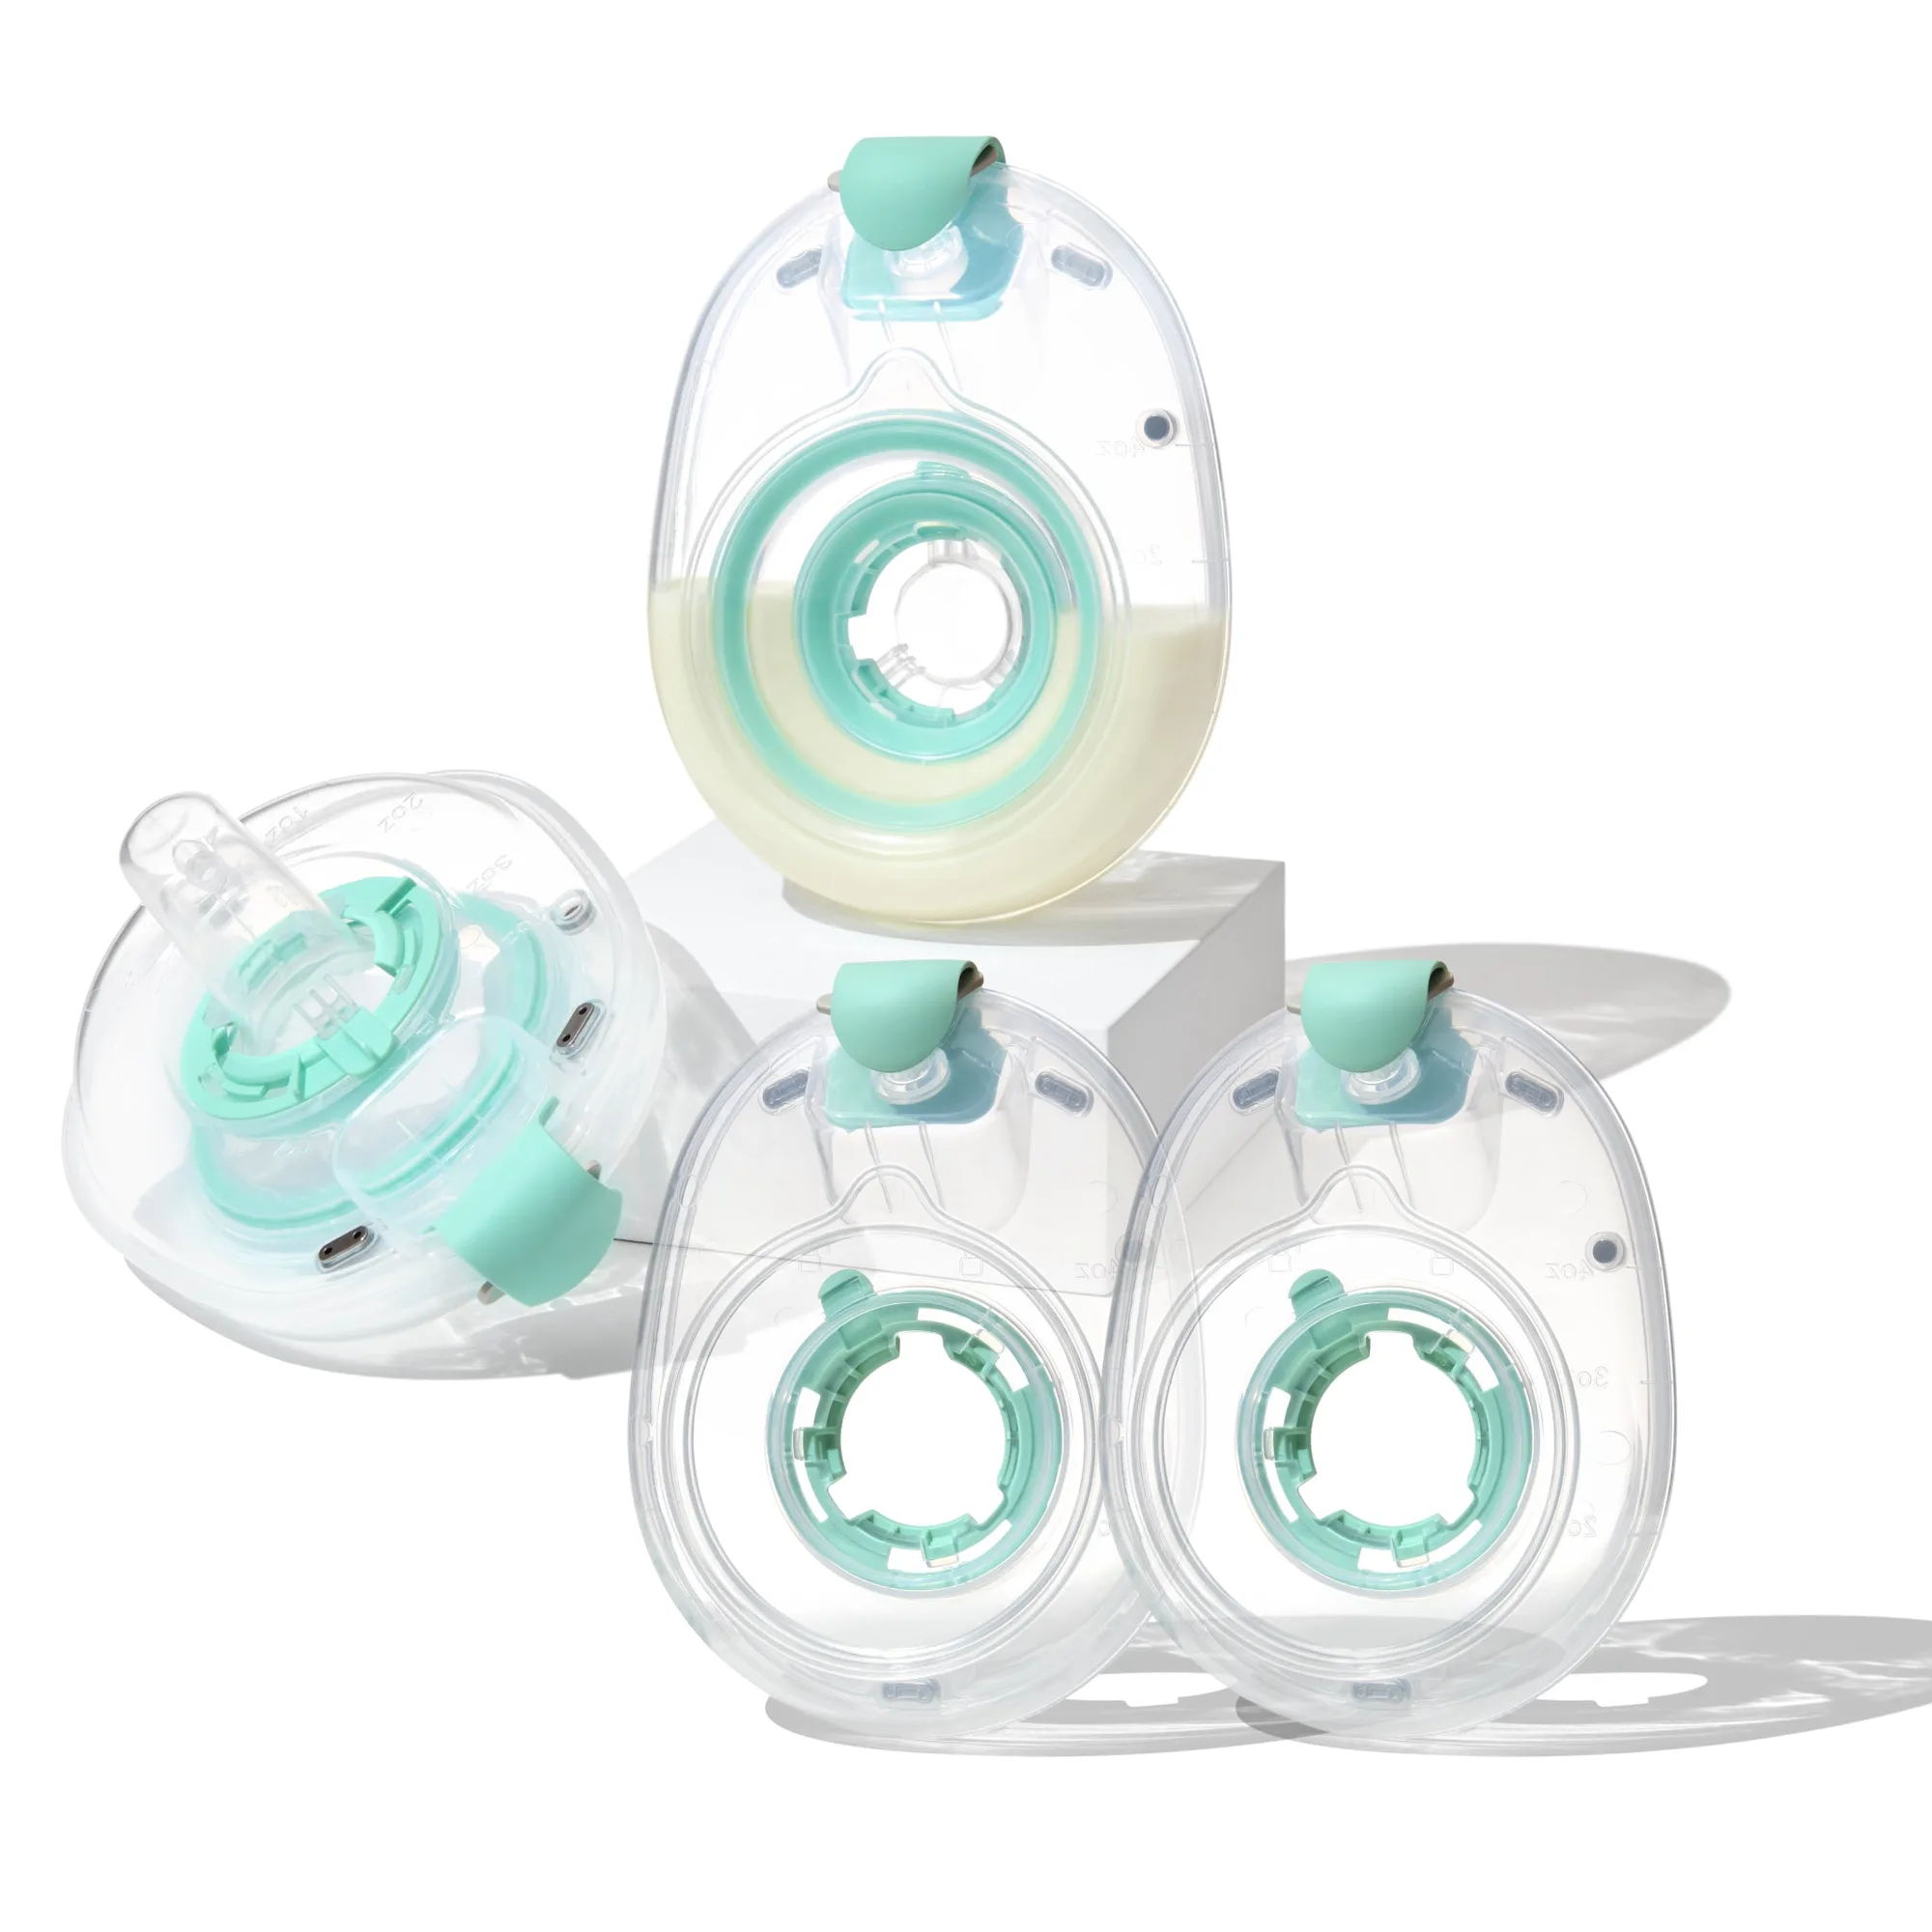
When you first open your Willow Go® box, you'll find several components that work together to make pumping easy. Familiarizing yourself with these parts is the first step to successful assembly. The main components include the pump motor, flange, collection container, and various silicone parts like membranes and valves.
The Willow Go® flange set is a crucial part—it's the piece that fits over your breast. The included flange sizes are typically 21mm, 24mm, and 27mm, so you can choose the one that fits best. If you need a different size, consider the Willow Go® Flange Set (2-pack) which offers additional sizing options.
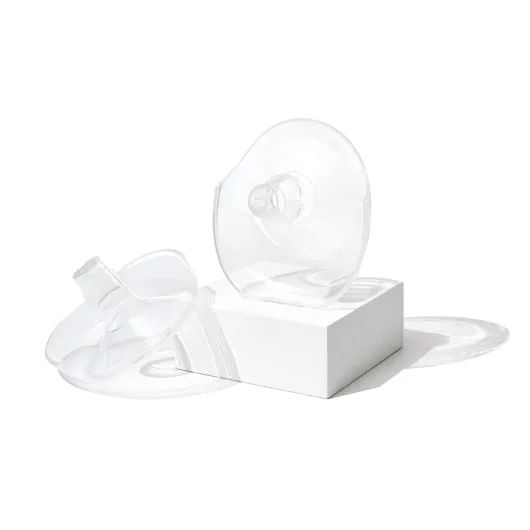
Willow Go® Flange Set (2-pack)
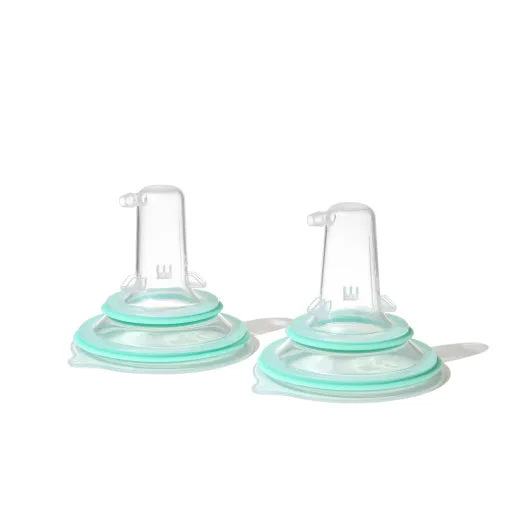
Other key parts include the backflow protector, which prevents milk from entering the tubing, and the duckbill valve, which controls milk flow. You'll also have a charging cable and a carrying case. Take a moment to lay everything out and identify each piece.
- Pump motor and lid
- Flange (choose your size)
- Collection container (with or without spout)
- Backflow protector and membrane
- Duckbill valve
- Charging cable and case
Cleaning and Sterilizing Before First Use
Before you assemble your pump for the first time, it's essential to clean all parts that will come into contact with your milk. This ensures hygiene and removes any manufacturing residue. Wash each part (except the motor) in warm, soapy water, then rinse thoroughly. You can also use a steam sterilizer or boil parts for 2-3 minutes, but check the manufacturer's guidelines for specific parts.
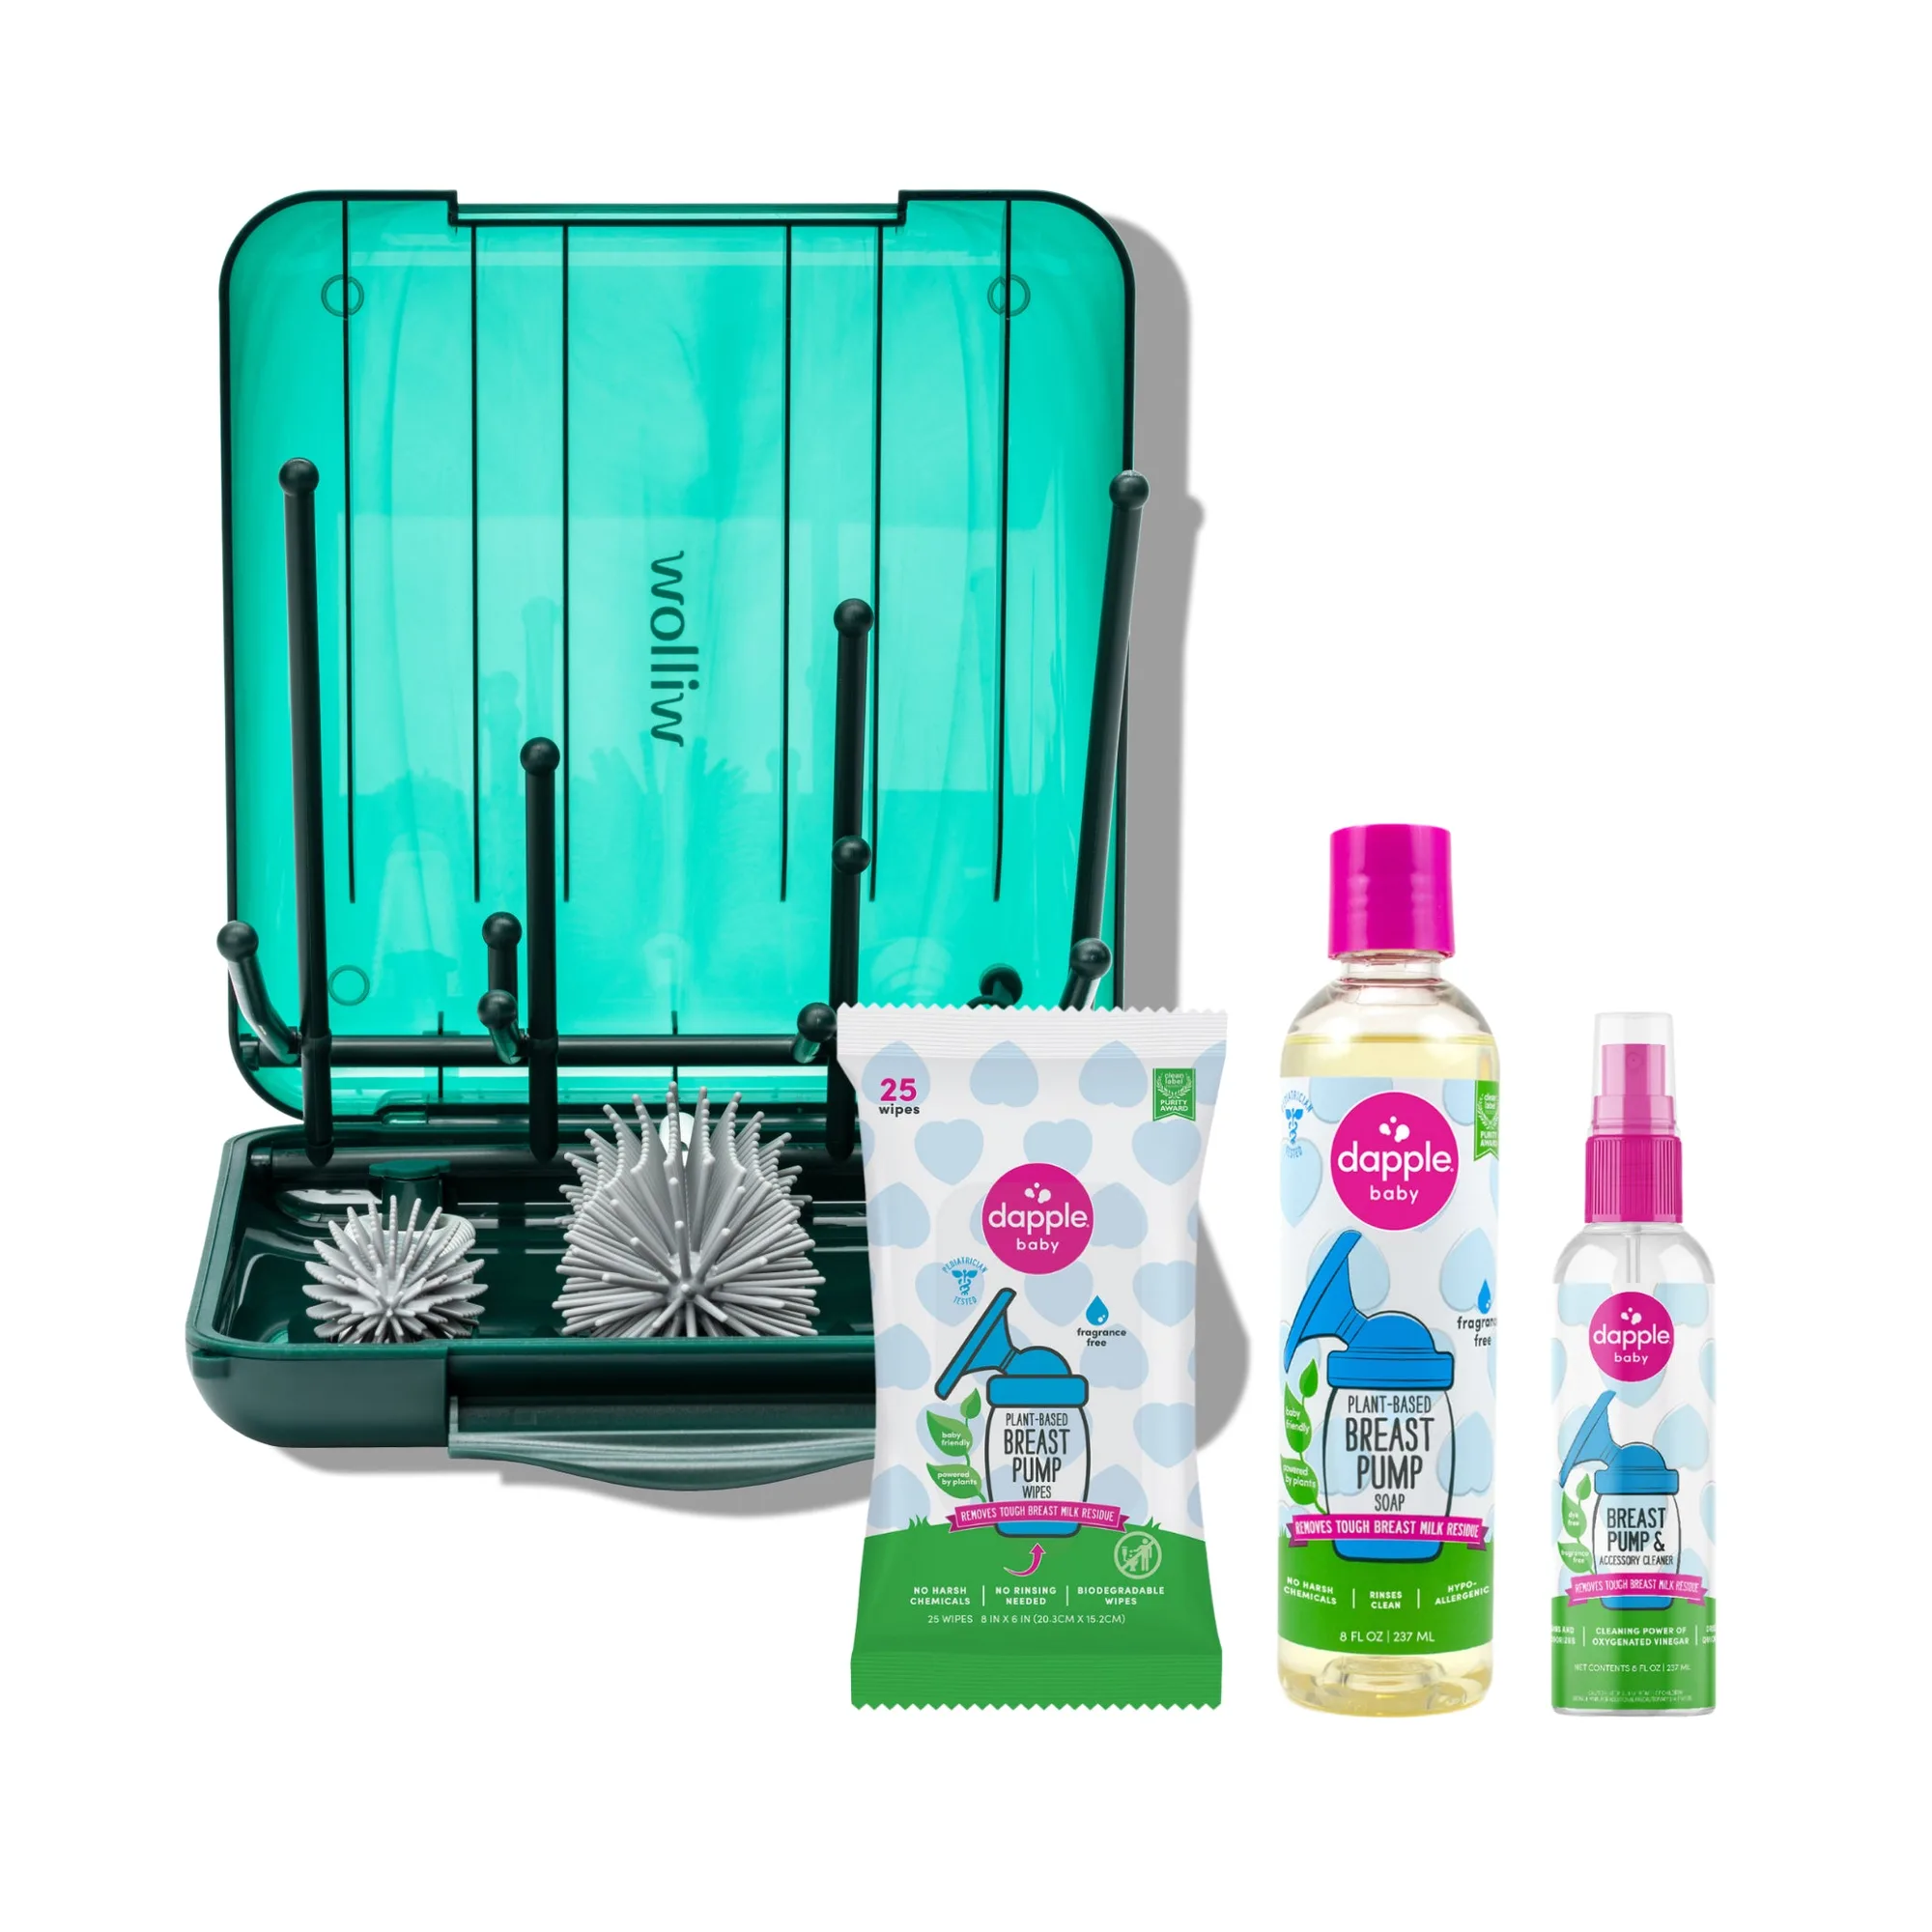
For on-the-go cleaning, the Travel Cleaning Pack is a handy accessory that includes cleaning wipes and a brush, perfect for when you're away from home. However, for the initial deep clean, a thorough wash is recommended.
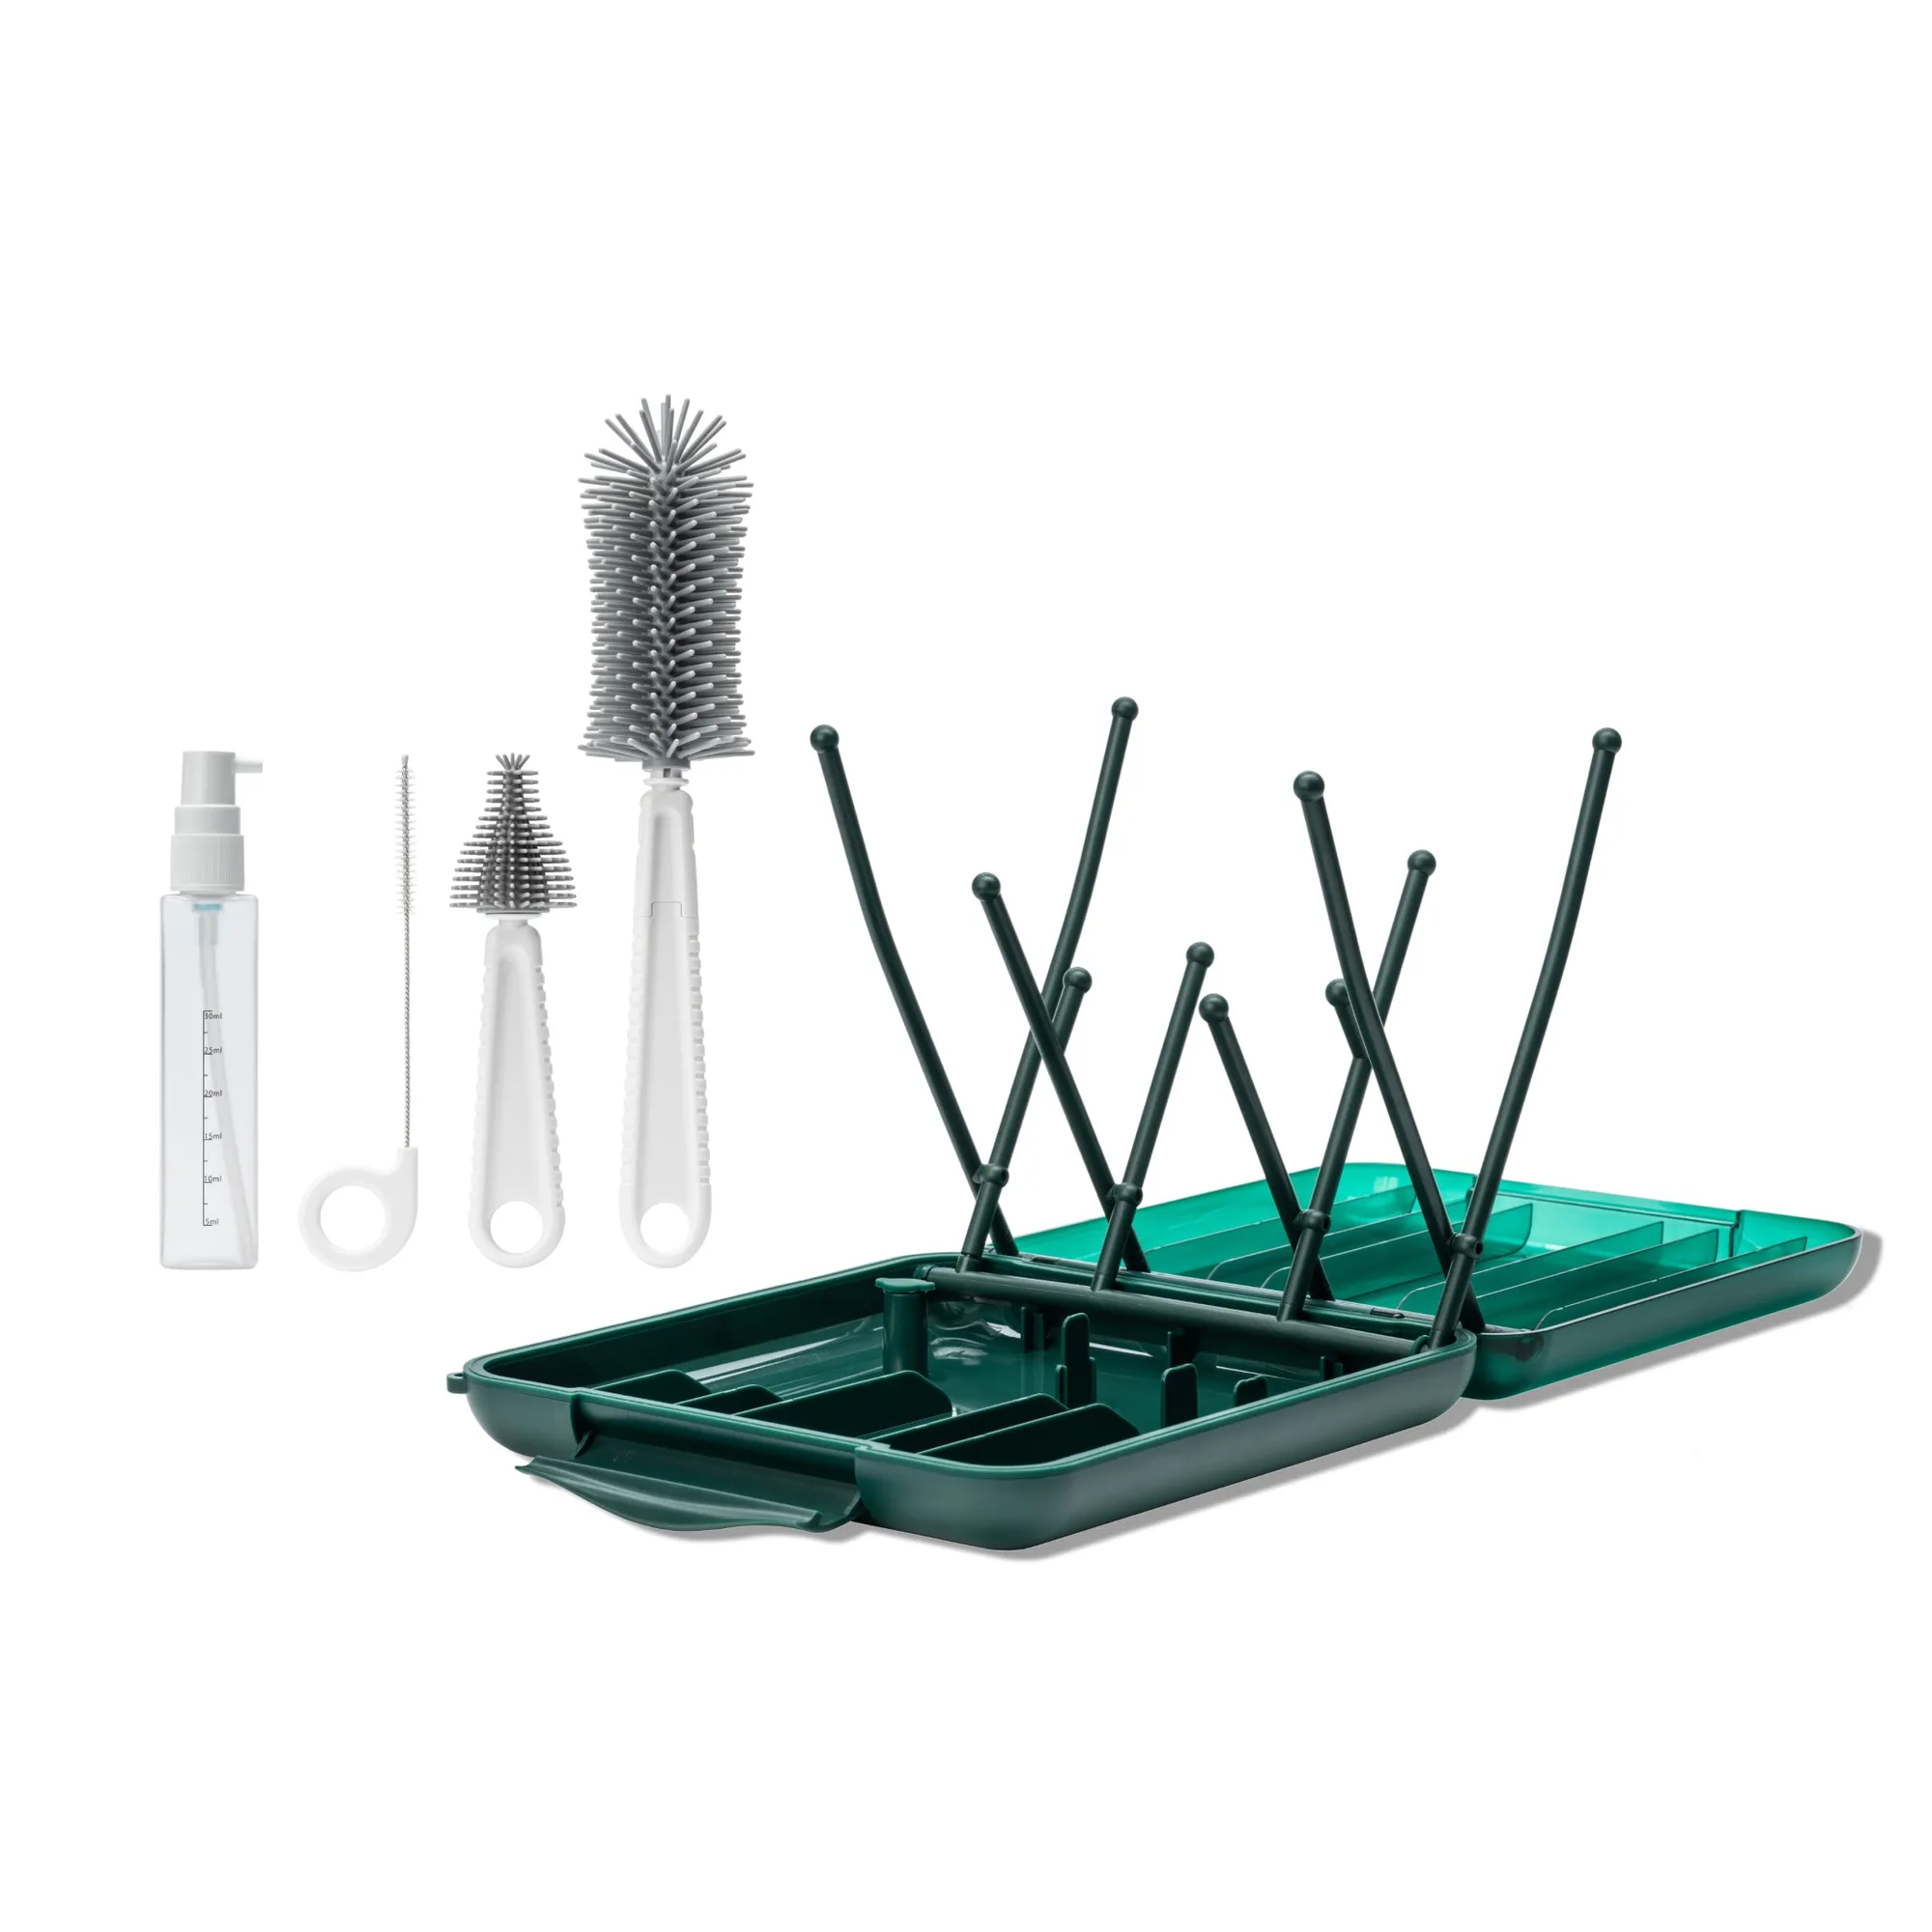
Travel Cleaning Pack
Once clean, allow all parts to air dry completely on a clean towel. Avoid using dishcloths that might leave lint. Drying is crucial because any moisture can affect the pump's suction and lead to mold growth.
- Wash all parts (except motor) in warm soapy water
- Rinse thoroughly and air dry
- Sterilize if desired (steam or boil)
- Ensure parts are completely dry before assembly
Step-by-Step Assembly of Your Willow Go®
Now that your parts are clean and dry, it's time to assemble. Start by attaching the backflow protector to the flange. Push it firmly until it clicks into place. This piece is vital for keeping milk out of the motor.
Next, insert the duckbill valve into the bottom of the flange. Make sure it's seated correctly—the slit should be aligned vertically. This valve prevents milk from flowing back into the flange.
Now, attach the collection container to the flange. Screw it on or snap it into place depending on your model. Ensure it's secure to avoid leaks. If you're using a spout for pouring, position it conveniently.
Finally, place the assembled flange and container onto the motor unit. Align the arrows or indicators and twist to lock. You should hear a click when it's secure. Your pump is now assembled and ready for use.
- Attach backflow protector to flange
- Insert duckbill valve correctly
- Secure collection container
- Lock assembly onto motor unit
Tips for a Smooth First Pumping Session
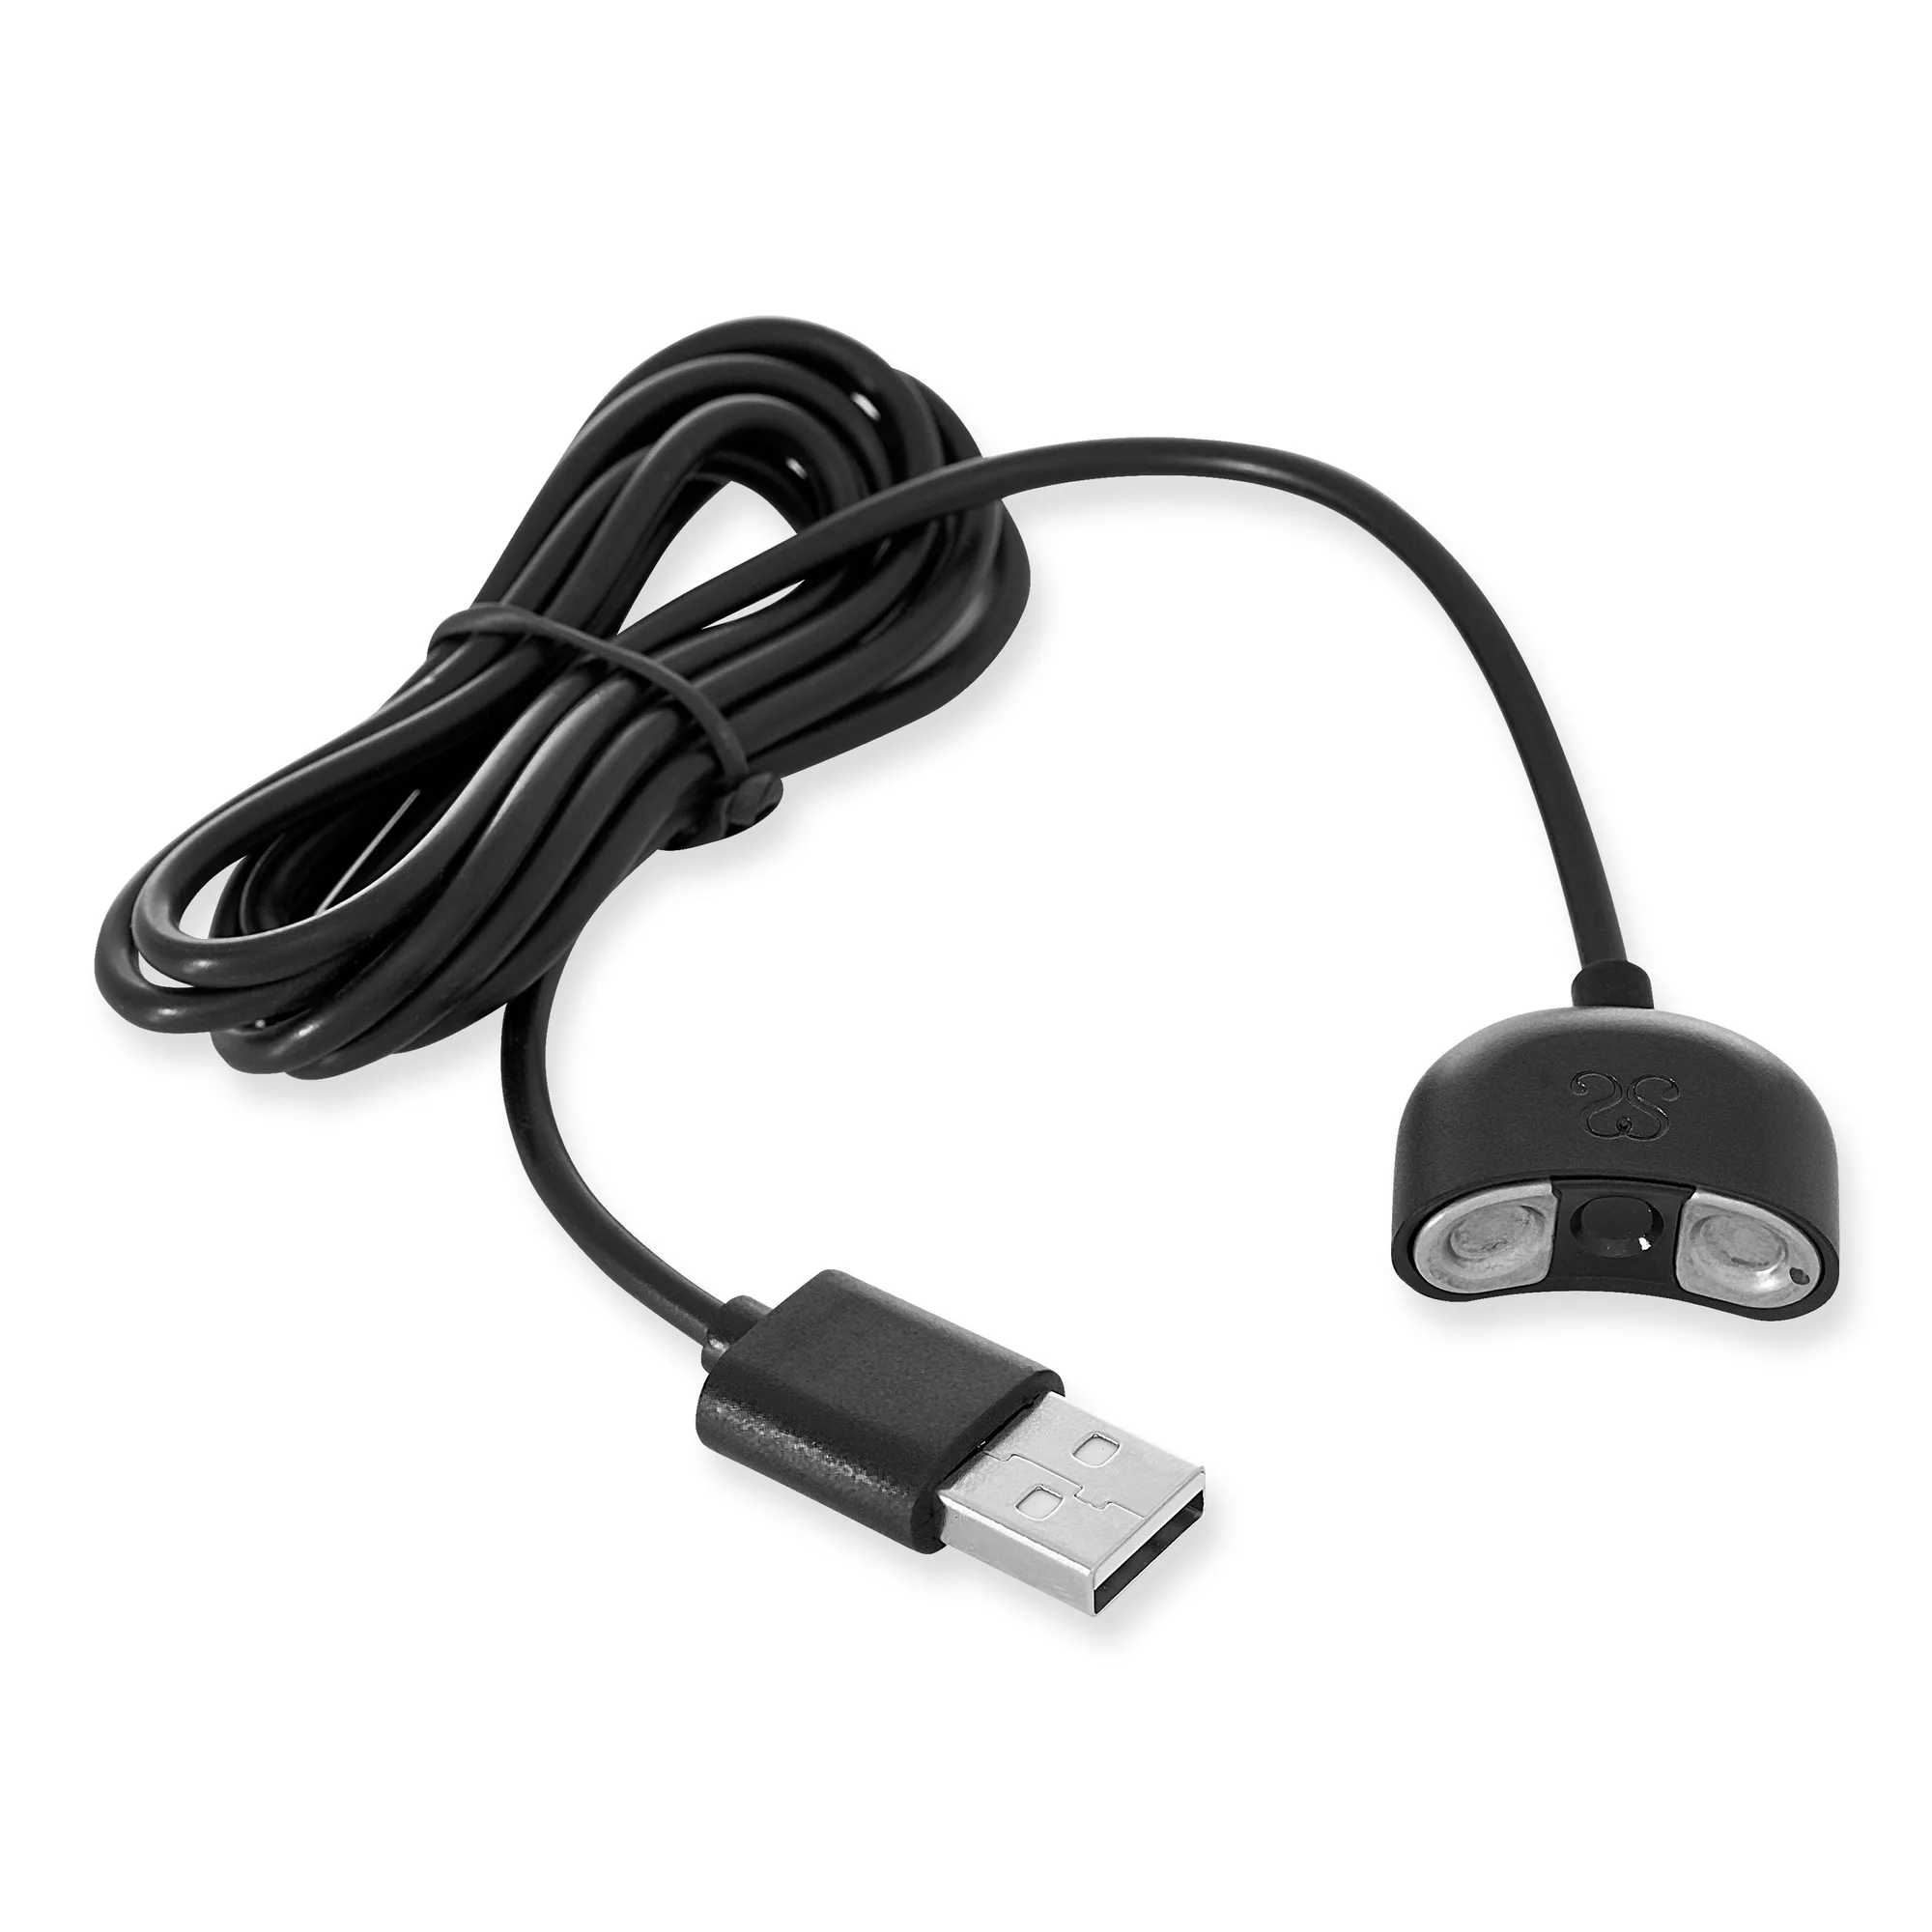
Before you start, ensure your pump is fully charged. The Willow 360® Charger is compatible with Willow Go® and provides a quick charge, so you can pump anytime, anywhere. A full charge typically takes about 2 hours and gives you several sessions.
Position the pump in your bra, making sure the flange is centered over your nipple. The Willow Go® is designed to be worn discreetly, so you can move around freely. Start with a low suction level and gradually increase to your comfort level.
If you experience any discomfort, stop and check the assembly. A common issue is a loose valve or misaligned flange. Also, ensure your nipple is centered in the tunnel to avoid friction. With practice, you'll find the perfect setup for your body.
- Charge your pump fully before first use
- Center the flange over your nipple
- Start with low suction and adjust
- Check assembly if you feel discomfort
Maintaining Your Willow Go® for Longevity
Proper maintenance ensures your pump works efficiently for months. After each use, disassemble and rinse parts immediately to prevent milk residue from drying. Wash with warm soapy water and air dry. The motor should be wiped with a damp cloth—never submerge it in water.
Inspect silicone parts like the duckbill valve and membranes regularly for wear. If they become stretched or cracked, replace them to maintain suction. The Willow Wave Gaskets (2-pack) are a great replacement option to have on hand.
Store your pump in a clean, dry place. Avoid exposing it to extreme temperatures. With proper care, your Willow Go® will be your reliable companion for your pumping journey.
- Clean parts immediately after use
- Wipe motor with a damp cloth only
- Replace worn silicone parts regularly
- Store in a dry, safe place
Assembling your Willow Go® pump is a simple process once you know the steps. With this guide, you're ready to pump with confidence. For added convenience and peace of mind, consider the Willow Go® Flange Set (2-pack) to ensure you always have the right fit. Happy pumping!