Quick Answer
Install your baby car camera by first positioning the car seat, then mounting the camera on the headrest, routing the power cable along the seat, and testing the monitor before driving. Always secure loose cables and never place the monitor within the driver's view. This setup takes about 20–30 minutes.
Why Proper Installation Matters
A baby car camera helps you keep an eye on your rear-facing baby without turning your head. But if the camera or cables are loose, they can become projectiles in a crash. Proper installation ensures the camera stays put and the monitor doesn't distract you. Also, a poorly routed cable can interfere with car seat straps or get pinched in the door.
Tools and Prep Work
Before you start, gather the camera, monitor, power cable, mounting clips or straps, and any included adhesive pads. You may also need a plastic pry tool to tuck wires under trim. Park on a flat surface, engage the parking brake, and turn off the engine. If your car has a 12V outlet that stays on when the car is off, unplug it to avoid draining the battery during setup.
Step 1: Position the Car Seat Correctly
Install your rear-facing car seat according to its manual first. The camera works best when the car seat is already in its final position. Make sure the seat is tightly secured with less than one inch of movement at the belt path. This prevents the camera from shifting later.
Step 2: Mount the Camera on the Headrest
Attach the camera to the headrest of the seat facing your baby. Most cameras use a strap or clip that wraps around the headrest posts. Adjust the camera angle so it points directly at the car seat, not the window. Tighten the strap so the camera doesn't wobble. If your headrest is not adjustable, you may need a different mount or place the camera on a nearby seat back.
Step 3: Route the Power Cable
Plug the power cable into the camera and route it along the seat back, then down toward the floor or under the floor mat. Avoid crossing over the car seat or any airbag deployment zones. Use adhesive clips or tuck the cable into trim gaps with a pry tool. Leave a little slack near the camera so you can adjust the angle without pulling the cable tight.
Step 4: Connect the Monitor and Power
Plug the other end of the power cable into the monitor and then into your car's 12V outlet or USB port. Place the monitor where you can glance at it easily but not where it blocks your view of the road. Many parents mount it on the dashboard or center console with a suction cup or adhesive pad. Turn on the car to test that both camera and monitor power on.
Step 5: Adjust and Test
With the car on, check the monitor image. Adjust the camera angle until you can see your baby's chest and head clearly. Make sure the night vision (if available) works in low light. Then, gently tug on all cables and the camera mount to confirm they are secure. Finally, sit in the driver's seat and verify the monitor doesn't create glare or distract you.
Installation Steps at a Glance
- Position the car seat: Install your rear-facing car seat per its manual and ensure it is tightly secured. Checkpoint: Less than 1 inch of movement at the belt path.
- Mount the camera: Attach the camera to the headrest facing your baby. Adjust angle and tighten strap. Mistake to avoid: Mounting on a non-adjustable headrest without a secure fit.
- Route the cable: Run the power cable along the seat back and floor, avoiding airbags and car seat straps. Checkpoint: Cable is tucked away and not pinched.
- Connect monitor: Plug monitor into 12V outlet and place it where you can glance without distraction. Mistake to avoid: Blocking your view of the road.
- Test and adjust: Turn on car, check image, adjust camera, and tug cables to ensure security. Checkpoint: Clear view of baby and no loose parts.
Product Facts
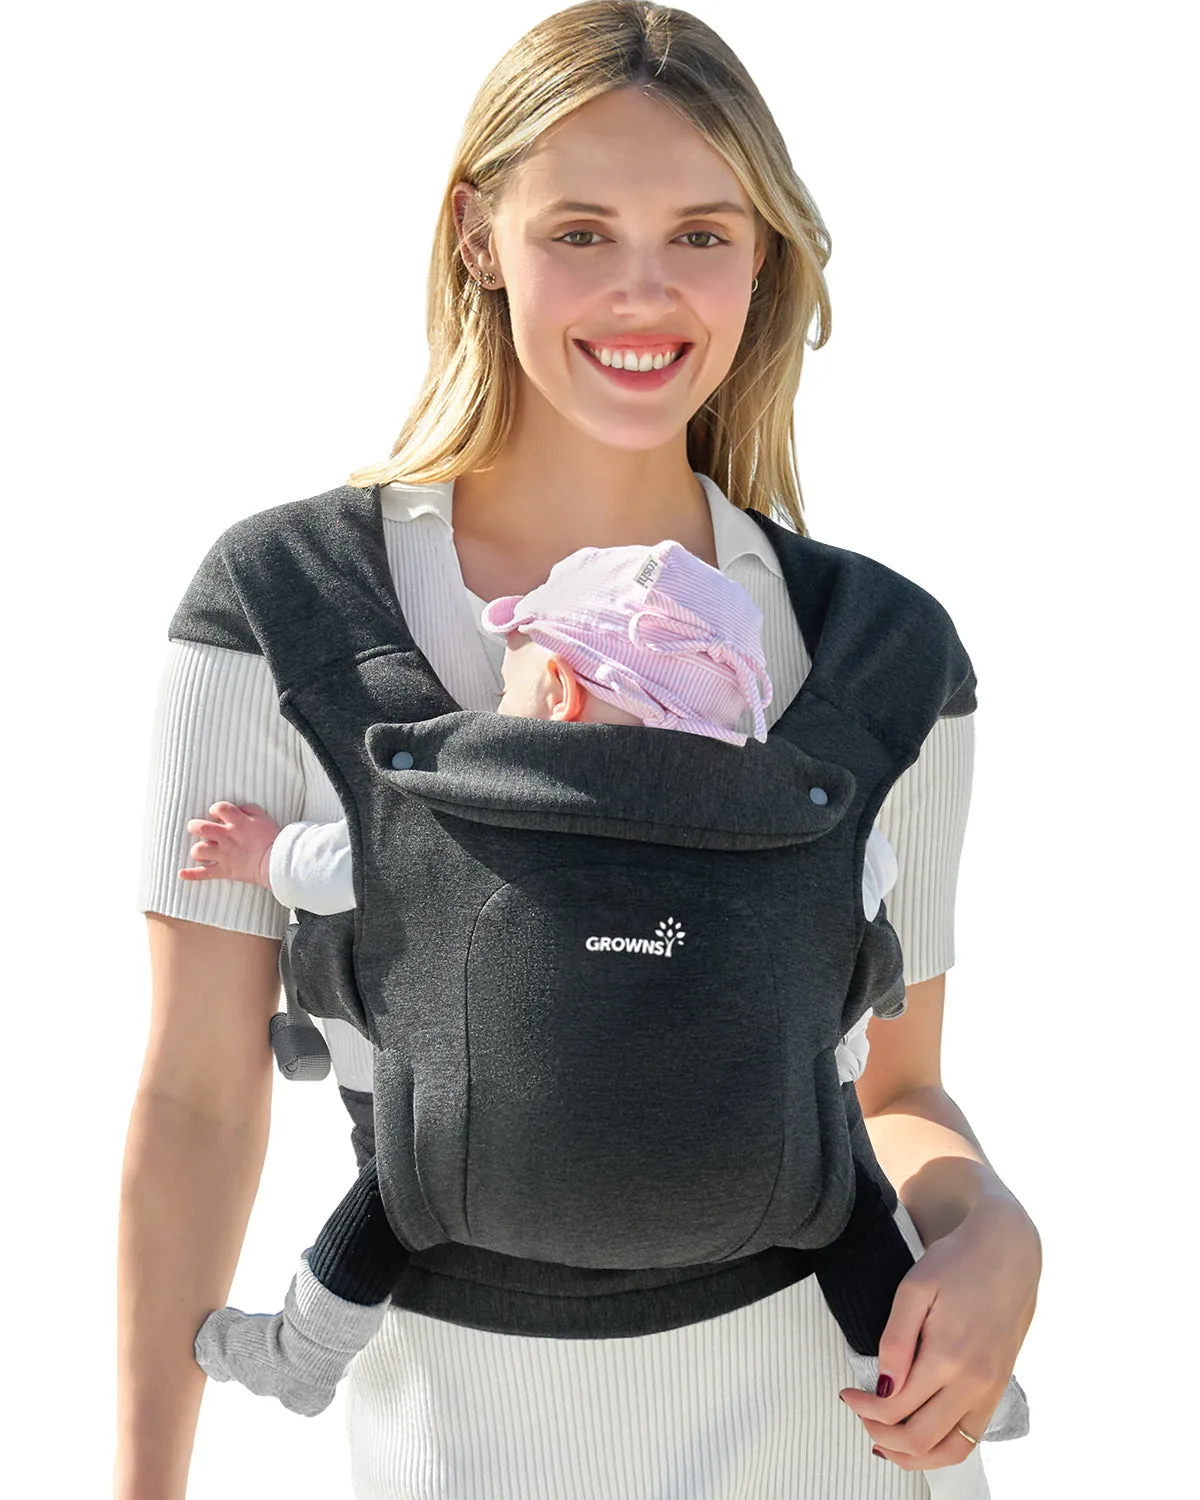
- Front Facing Baby Carrier with Head Support: Front Facing Baby Carrier with Head Support: Patented design with quick-buckle convenience and wrap-style comfort; foldable head and neck support pad; ergonomic for newborns to toddlers. If you need a carrier for hands-free carrying, this offers structured support and adjustability. However, it is not a car camera, so it won't help with back seat monitoring.
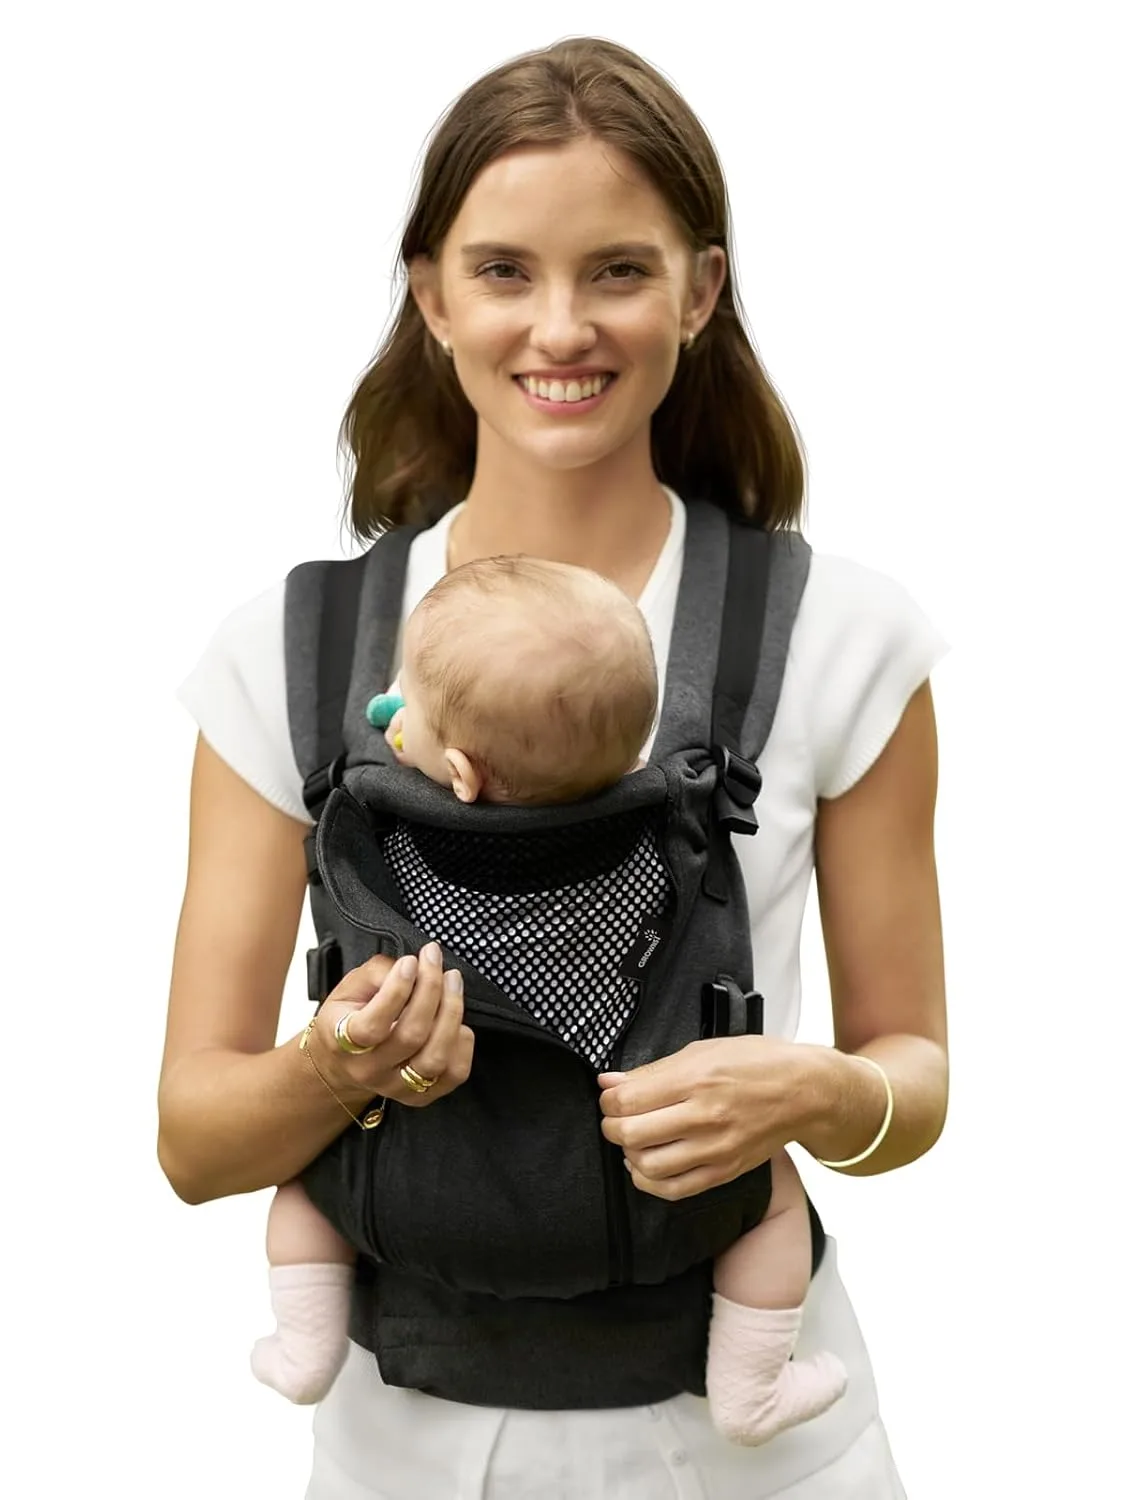
- All-Season Ergonomic Infant Carrier with Newborn Support: All-Season Ergonomic Infant Carrier with Newborn Support: Lower buckles for 0–4 month infants and upper buckles for 4 months+; built-in zippered mesh panel for airflow or insulation; includes sleeping hood. This carrier adapts to your baby's growth and seasons. Useful for errands, but again, not a substitute for a car camera.