Quick answer
Measure the opening at three heights, then measure your gate and its extensions against the narrowest reading, not the widest. For stairs, keep the gap at the bottom of the gate small enough that a child cannot slip under, and confirm the mounting surface is solid before you tighten anything. If your opening is wider than the gate plus its extensions, or the wall is drywall with no stud, choose a different location or a hardware-mounted gate instead.
What to measure before you choose a gate
Start with the opening itself. Run a tape measure across the narrowest point, the widest point, and the midpoint between them. Openings are rarely perfectly square, and a gate sized to the widest reading will not fit the narrowest one. Write down all three numbers rather than averaging them.
Next, measure the height of the opening and the height of any baseboard or trim that runs into it. Baseboards and door casings change where the gate's mounting pads actually contact the wall, which changes the effective width. If you are measuring a doorway, also note the door swing so the gate does not collide with the door when it opens.
- Narrowest width, widest width, and midpoint width
- Opening height and any trim or baseboard depth
- Wall material at each mounting point: stud, drywall, wood, or metal
How gate height and spacing work together
Gate height and the gap under the gate are separate measurements, and both matter. A gate that is tall enough but sits too high off the floor leaves a crawl space. A gate that sits low but is too short gives a climber a handhold. Check the gate's stated height against the opening, then check how much clearance remains at the floor once the gate is mounted.
Spacing also applies to the bars or panels themselves. Wide bar spacing is easier for a small child to squeeze through or get a limb stuck in. If the product listing does not state bar spacing, treat that as a decision limitation and inspect the gate in person or ask the seller before buying.
- Confirm the gate height clears the opening without blocking the door swing
- Check the floor gap after mounting, not before
- Ask for bar spacing if it is not listed
Pressure mount gate fitting: what changes the numbers
Pressure-mounted gates rely on outward force against two surfaces, so the surfaces have to be able to take that force. Drywall alone can compress or crack over time, and a gate that felt tight on day one can loosen. If you must mount against drywall, look for a stud or add a wooden mounting block.
Extensions change the math. A gate rated for a range of widths will only reach the top of that range with the included extensions installed. Measure the gate as configured, not as it appears in the main product photo. Also recheck the opening after installation, because tightening the pressure pads can shift the gate slightly off center.
- Test the mounting surface with a stud finder before drilling or tightening
- Measure the gate with extensions attached, not the base gate alone
- Recheck width and level after the gate is under pressure
Stair gate spacing checks
Stairs add two measurements that doorways do not have: the gap at the bottom of the gate and the distance from the gate to the first step. A gate mounted at the top of stairs should not leave a gap a child can slide under, and it should not create a ledge that encourages climbing. At the bottom of stairs, the gate needs to sit far enough back that the first step is not used as a foothold.
If the stair opening has a banister on one side, check the banister's spacing and strength. A pressure gate needs a flat, solid surface on both sides. A round banister post or a decorative spindle often will not hold pressure safely, which is a common reason a gate feels secure but shifts under load.
- Measure the floor gap at the bottom of the gate
- Check the distance from the gate to the first step
- Confirm both mounting surfaces are flat and solid, including banisters
Step-by-step: measuring and fitting your gate
- Measure the opening at three points: Take the narrowest, widest, and midpoint width of the opening, plus the height. Write all four numbers down before you shop. Checkpoint: if the narrowest and widest readings differ by more than about an inch, expect to adjust the gate after mounting.
- Match the gate plus extensions to the narrowest reading: Compare your narrowest width to the gate's stated width range with its extensions installed. Do not size to the widest reading, or the gate will not fit the tight spot. Common mistake: buying based on the base gate width and assuming extensions will cover any gap.
- Check the mounting surfaces: Use a stud finder and press on the wall or banister where the gate will contact. Pressure gates need flat, solid surfaces on both sides. If one side is hollow drywall or a round banister post, plan a mounting block or choose a different spot.
- Install and tighten evenly: Tighten the pressure pads in small increments on alternating sides so the gate stays centered and level. Common mistake: cranking one side tight first, which tilts the gate and creates a gap on the opposite side.
- Recheck the floor gap and stair spacing: After mounting, measure the gap under the gate and the distance to the first step. Adjust until the floor gap is small and the gate is not a foothold. Checkpoint: push firmly on the gate at the top and middle. If it shifts more than slightly, the mounting surface or pressure is wrong.
- Re-measure after a week: Pressure-mounted gates can settle as pads compress. Recheck width, level, and tightness after several days of use. Next step: add a weekly tightness check to your routine, especially on stairs.
Product facts that affect your measurements
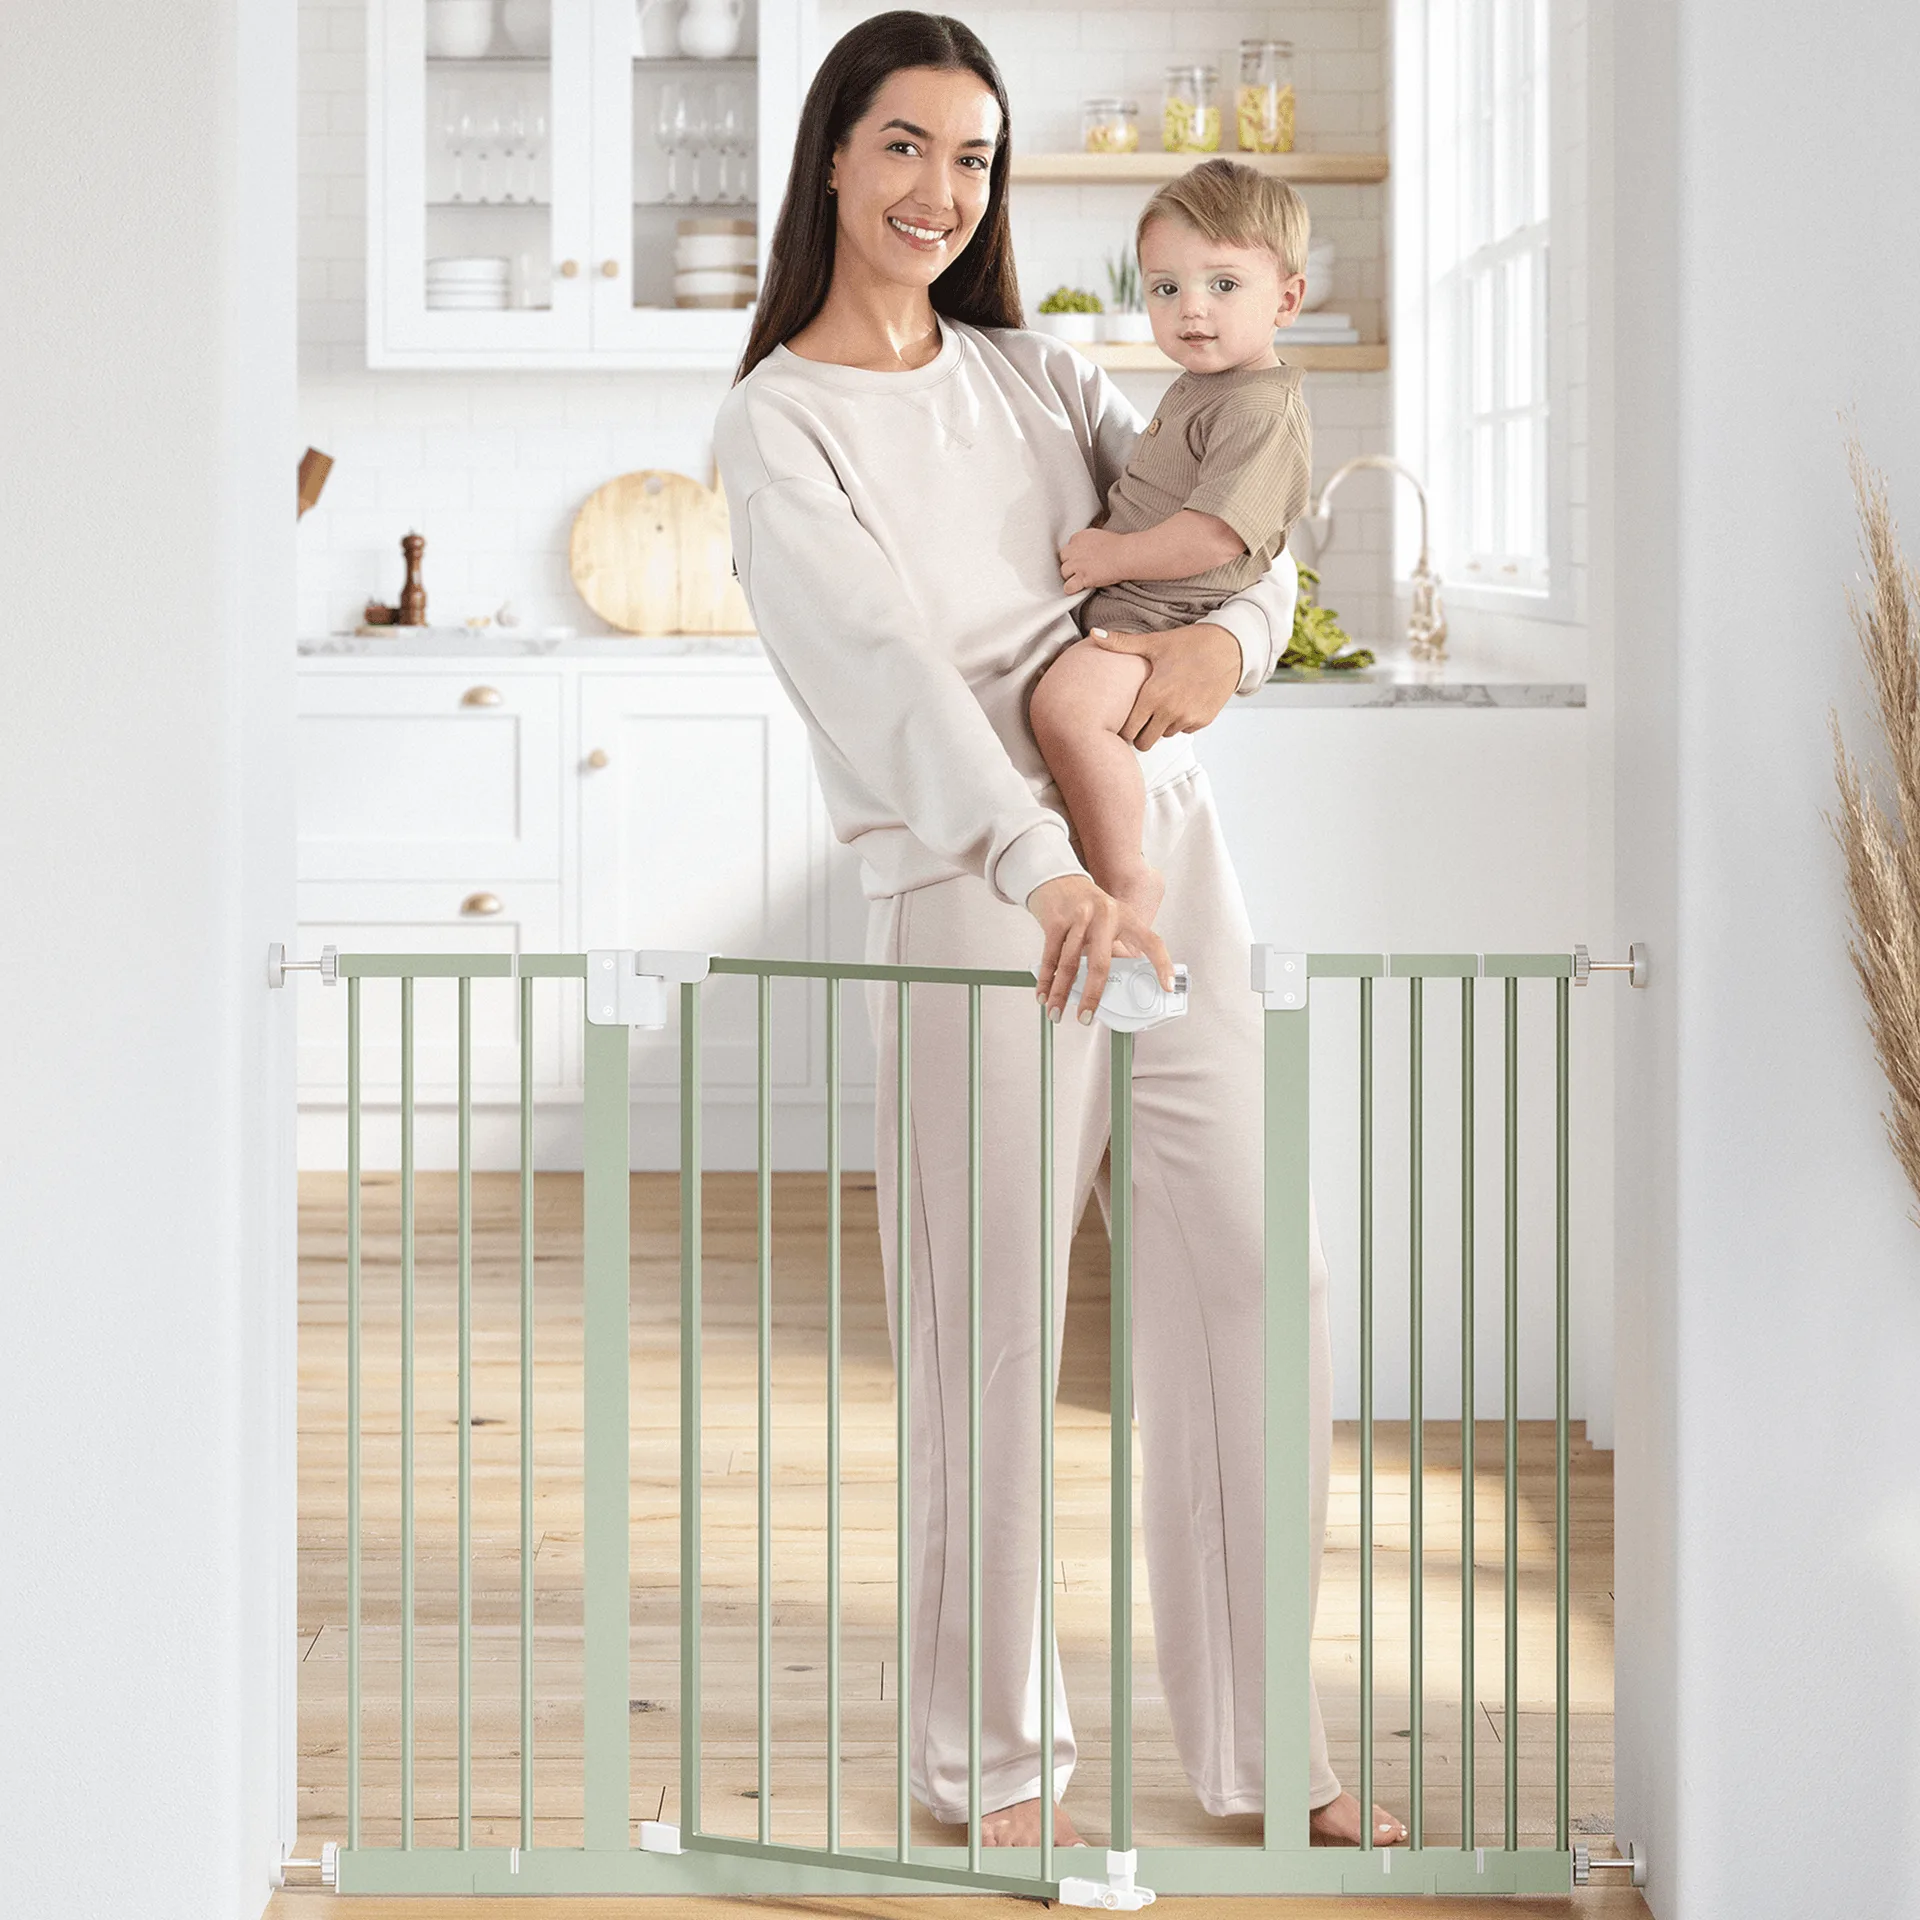
- Baby Safety Gate in Sage: The Baby Safety Gate in Sage is made from Q195 steel with a powder-coated finish and includes three extensions for adjustable fit. The three extensions are what let the gate cover a wider opening, so measure your opening against the gate plus extensions rather than the base gate alone. Steel construction also means the gate needs solid mounting surfaces to hold pressure safely.
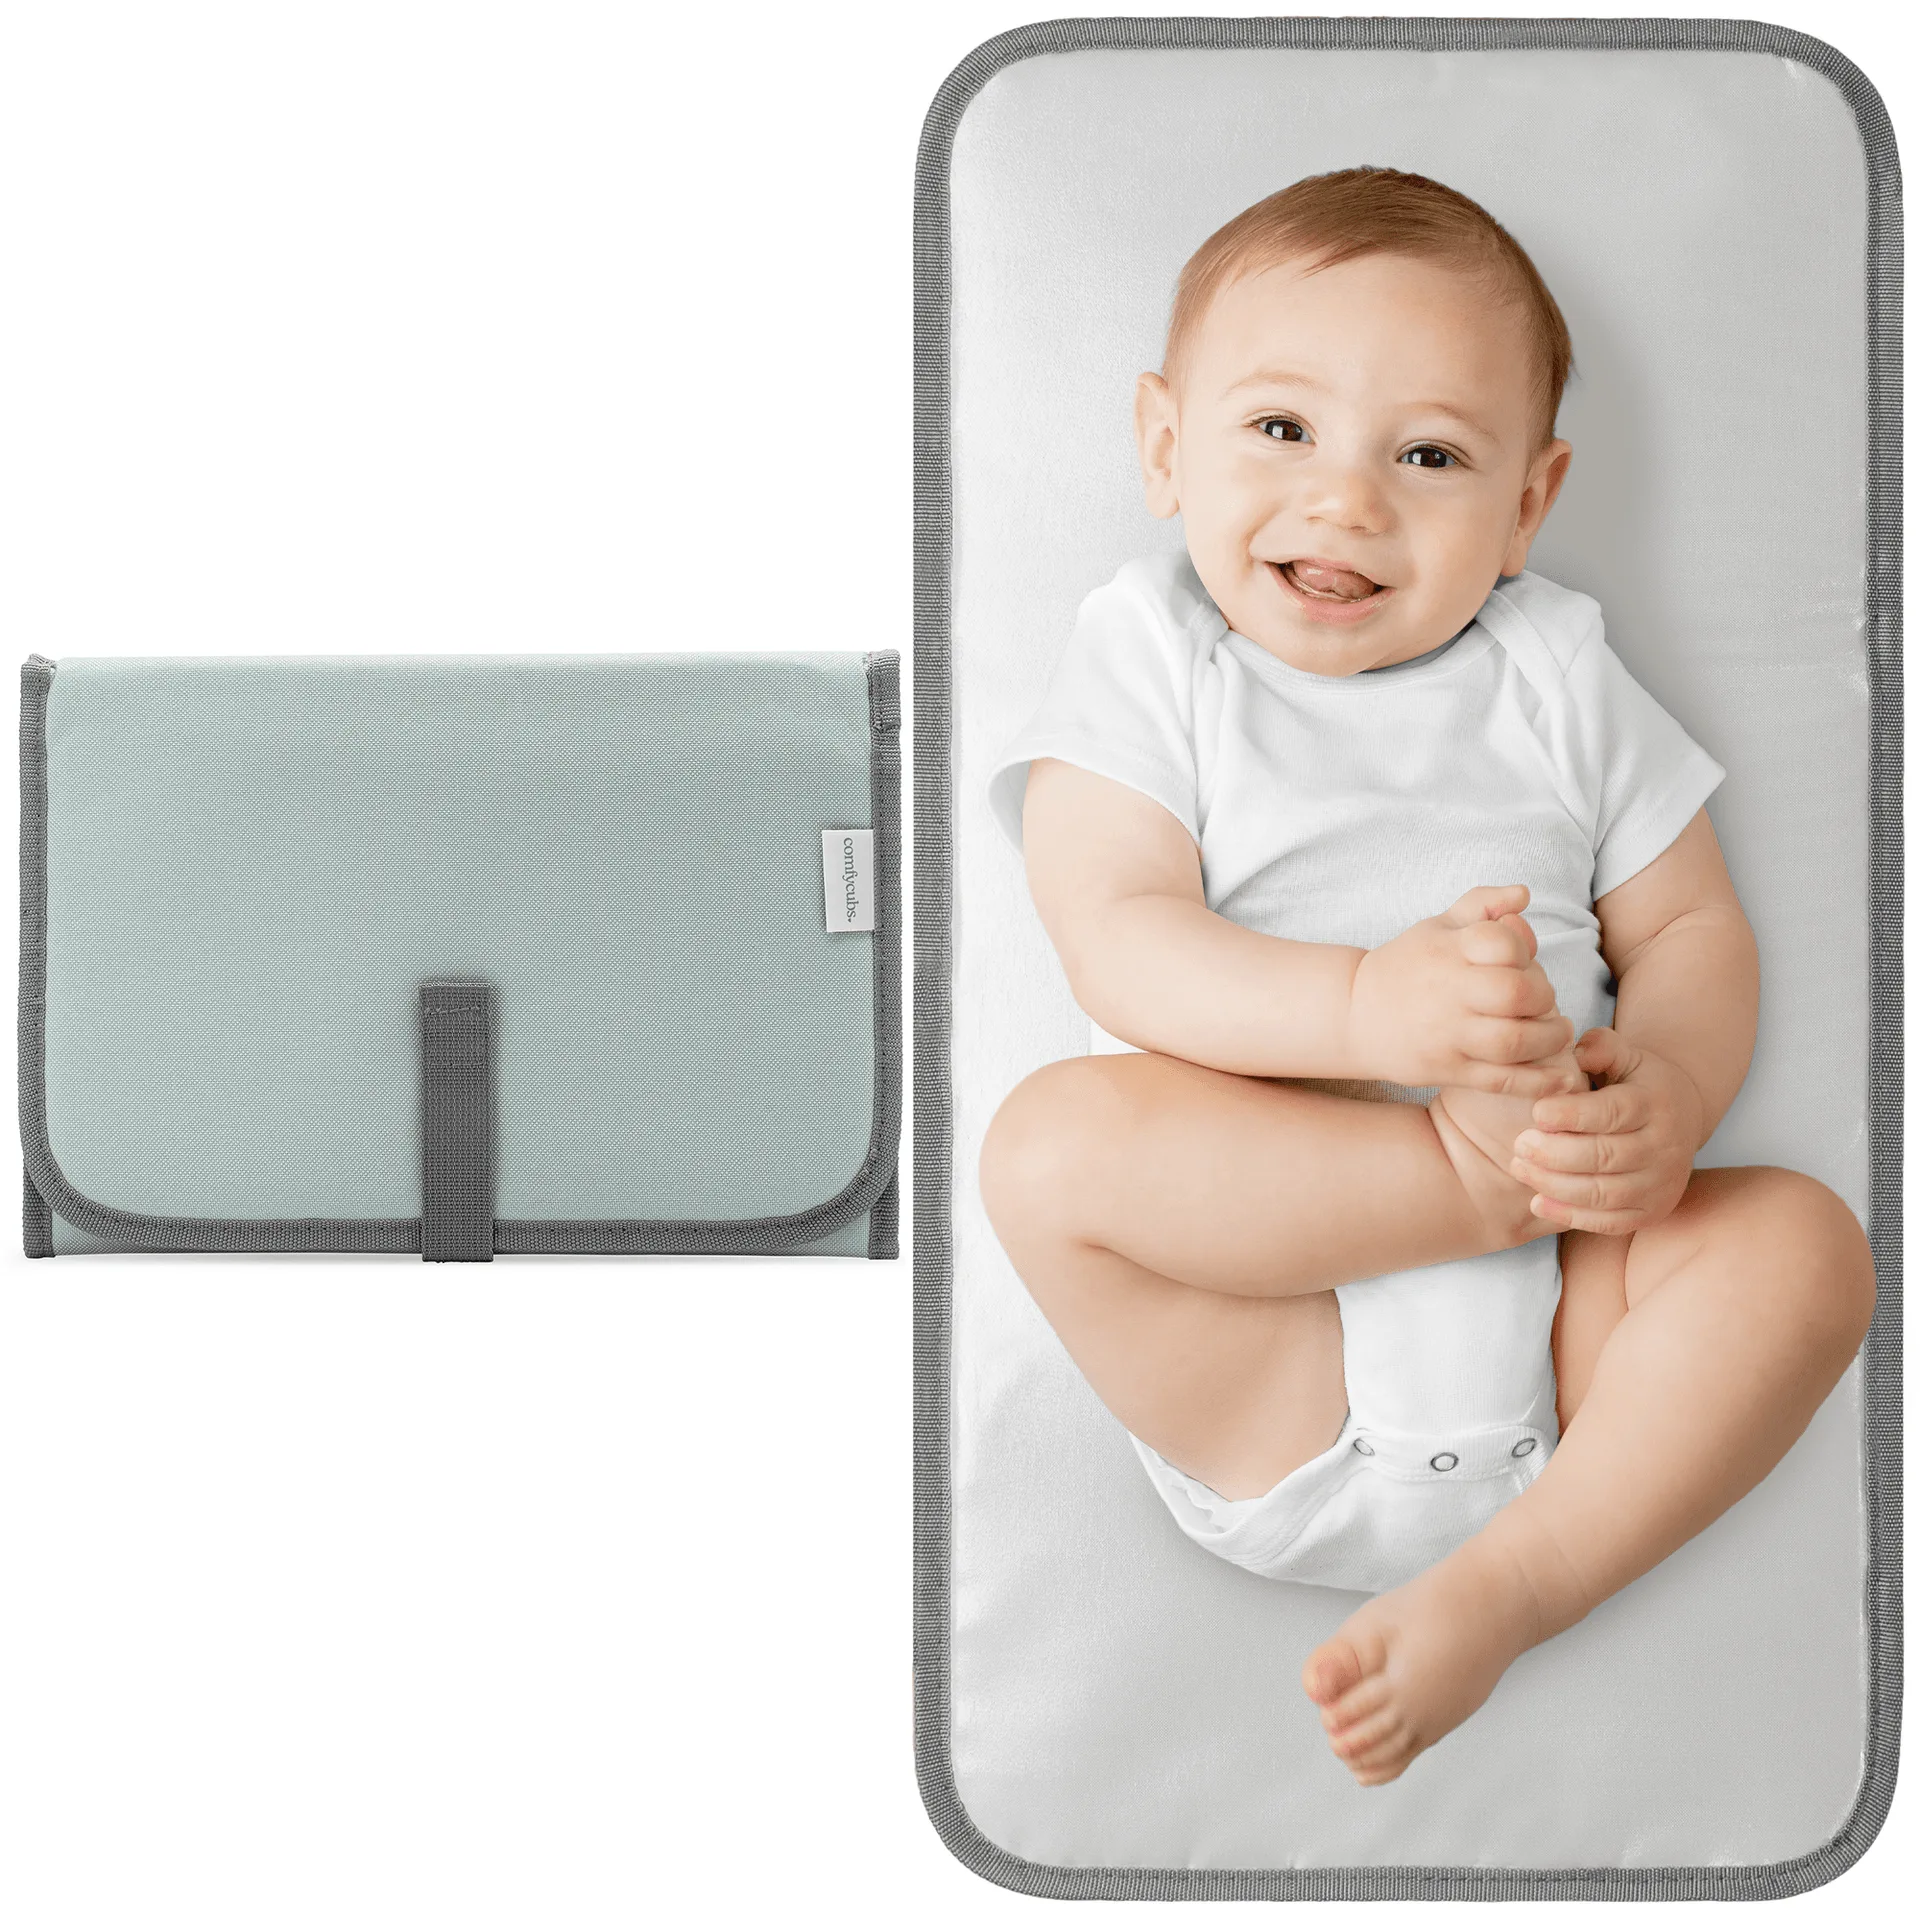
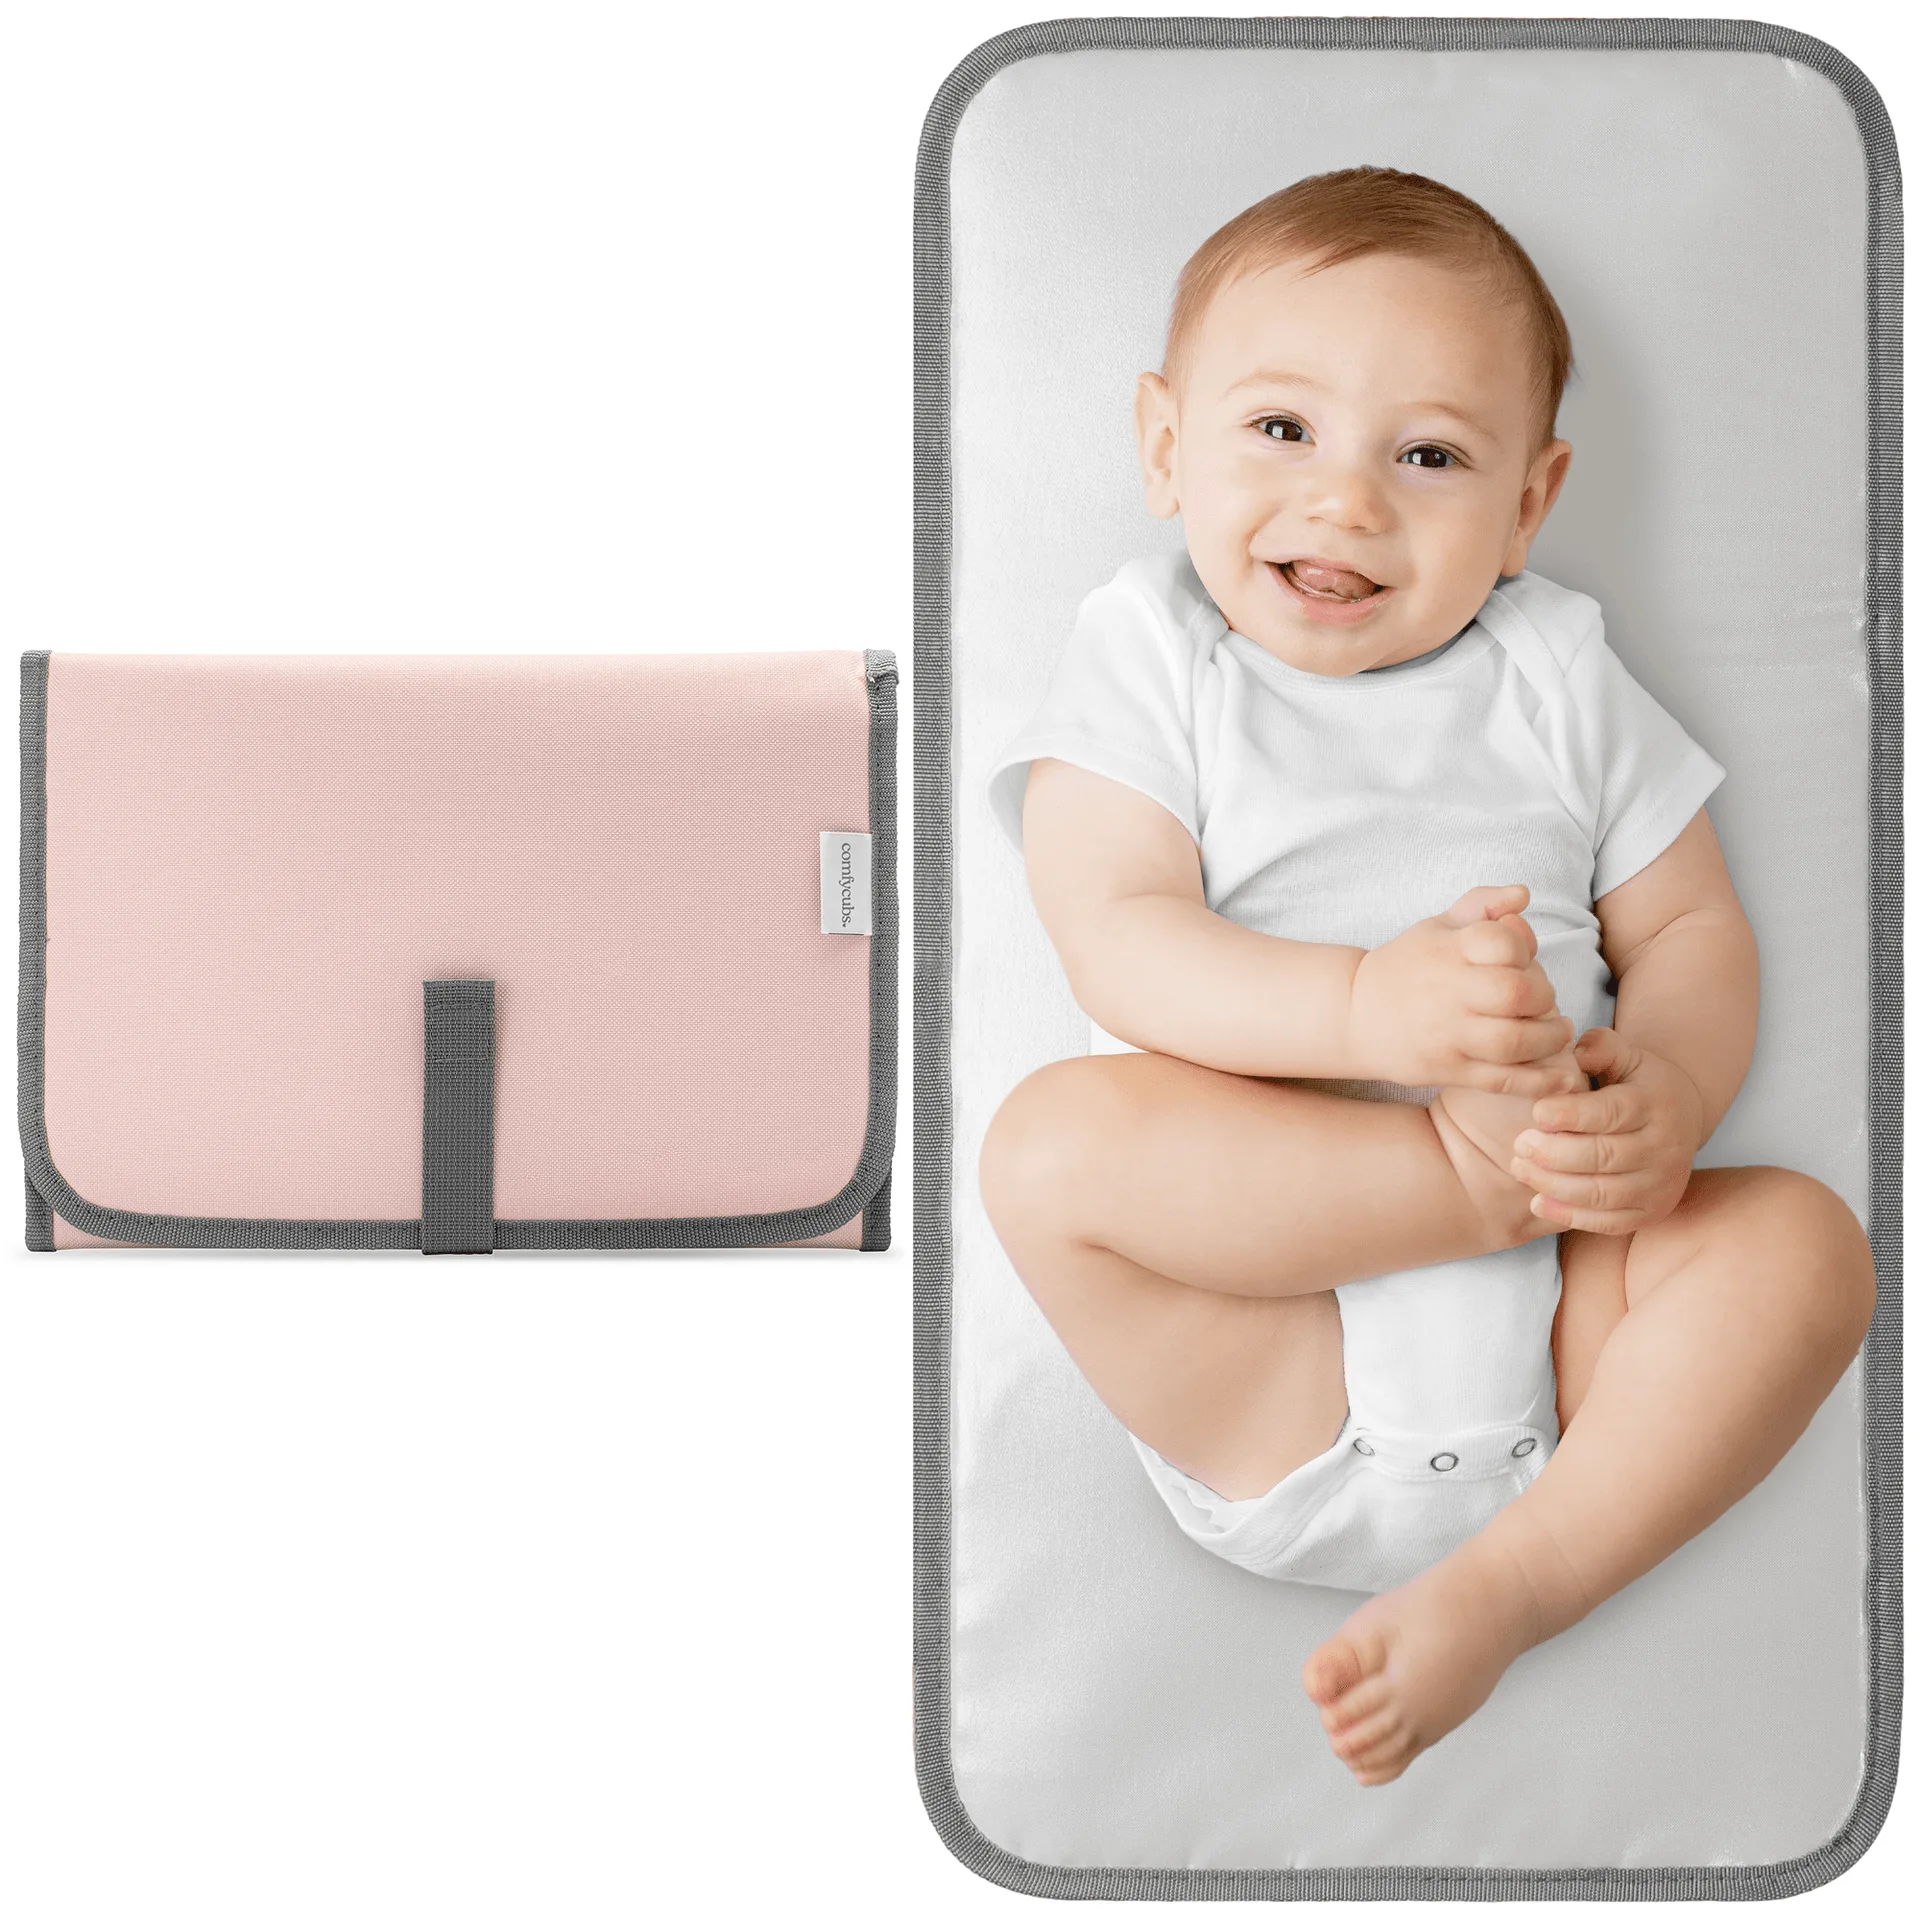
- Compact Changing Pad in Earth Green: The Compact Changing Pad in Earth Green is a portable changing mat made with soft materials for keeping a baby comfy and clean away from home. A portable mat is useful during the measuring and installation window, when you may be changing your baby on the floor near the work area instead of in the nursery.