Quick Answer
To do a hip carry with a baby wrap, start with a front wrap cross carry, then shift the baby to your hip and tighten the passes for a secure, balanced fit.
Why Choose the Hip Carry Position?
The hip carry position in a baby wrap carrier offers a great middle ground between front and back carries. It allows your baby to look outward or toward you while shifting some weight off your center, which can reduce strain on your lower back. Many parents find it useful for older babies who are curious about their surroundings but still want to be close.
The hip carry works best once your baby has good head and neck control, typically around 3–4 months, and can hold their head steady without support. It is also a good option for babies who are starting to sit with assistance but are not yet ready for a back carry.
What You Need for a Safe Hip Carry
A soft, breathable baby wrap made from a cotton-spandex blend gives you the stretch and support needed to create a secure hip carry pocket. The fabric should be long enough to wrap around your torso and tie at the waist or shoulder, depending on the carry method.
Before attempting the hip carry, practice the front wrap cross carry (FWCC) first. The hip carry builds on the same wrapping steps, so being comfortable with the FWCC will make the transition much smoother. Always start with a tight, even wrap and check that your baby's airway is clear and their chin is off their chest.
How to Do a Hip Carry with a Baby Wrap
- 1. Start with a Front Wrap Cross Carry: Wrap the baby carrier around your torso, cross the passes over your chest, and bring them around your back to tie at your waist. Place your baby in a seated position against your chest, with the fabric supporting their bottom and thighs. Spread the fabric from knee to knee. Common mistake: wrapping too loosely. The wrap should be snug before you add your baby so the hip carry doesn't sag.
- 2. Shift Your Baby to Your Hip: Support your baby with one hand and use the other to gently slide the outer pass of the wrap toward your hip. Guide your baby's bottom to rest on your hip bone, keeping their knees higher than their bottom. Their back should be slightly tilted toward you, not leaning away. Checkpoint: your baby's face should be visible and clear of the fabric at all times. If the wrap covers their face, loosen and reposition.
- 3. Tighten the Passes for a Secure Fit: Pull the top edge of the wrap passes to remove slack, especially around your shoulder and under your baby's knees. The fabric should be taut but not digging into your baby's thighs. Tuck any loose fabric under the passes or behind your baby's back for a clean finish. Common mistake: leaving the outer pass too loose. This can cause your baby to lean away from your body, putting strain on your shoulder and their lower back.
- 4. Check the Final Position: Your baby should be high and tight against your hip, with their knees above their bottom and their back supported by the wrap. You should be able to kiss the top of their head without bending forward. Walk a few steps and adjust if the wrap shifts. Checkpoint: if you feel any pulling on one shoulder or your baby slides down, re-tighten the passes and try again. The hip carry should feel balanced.
Product Facts
-
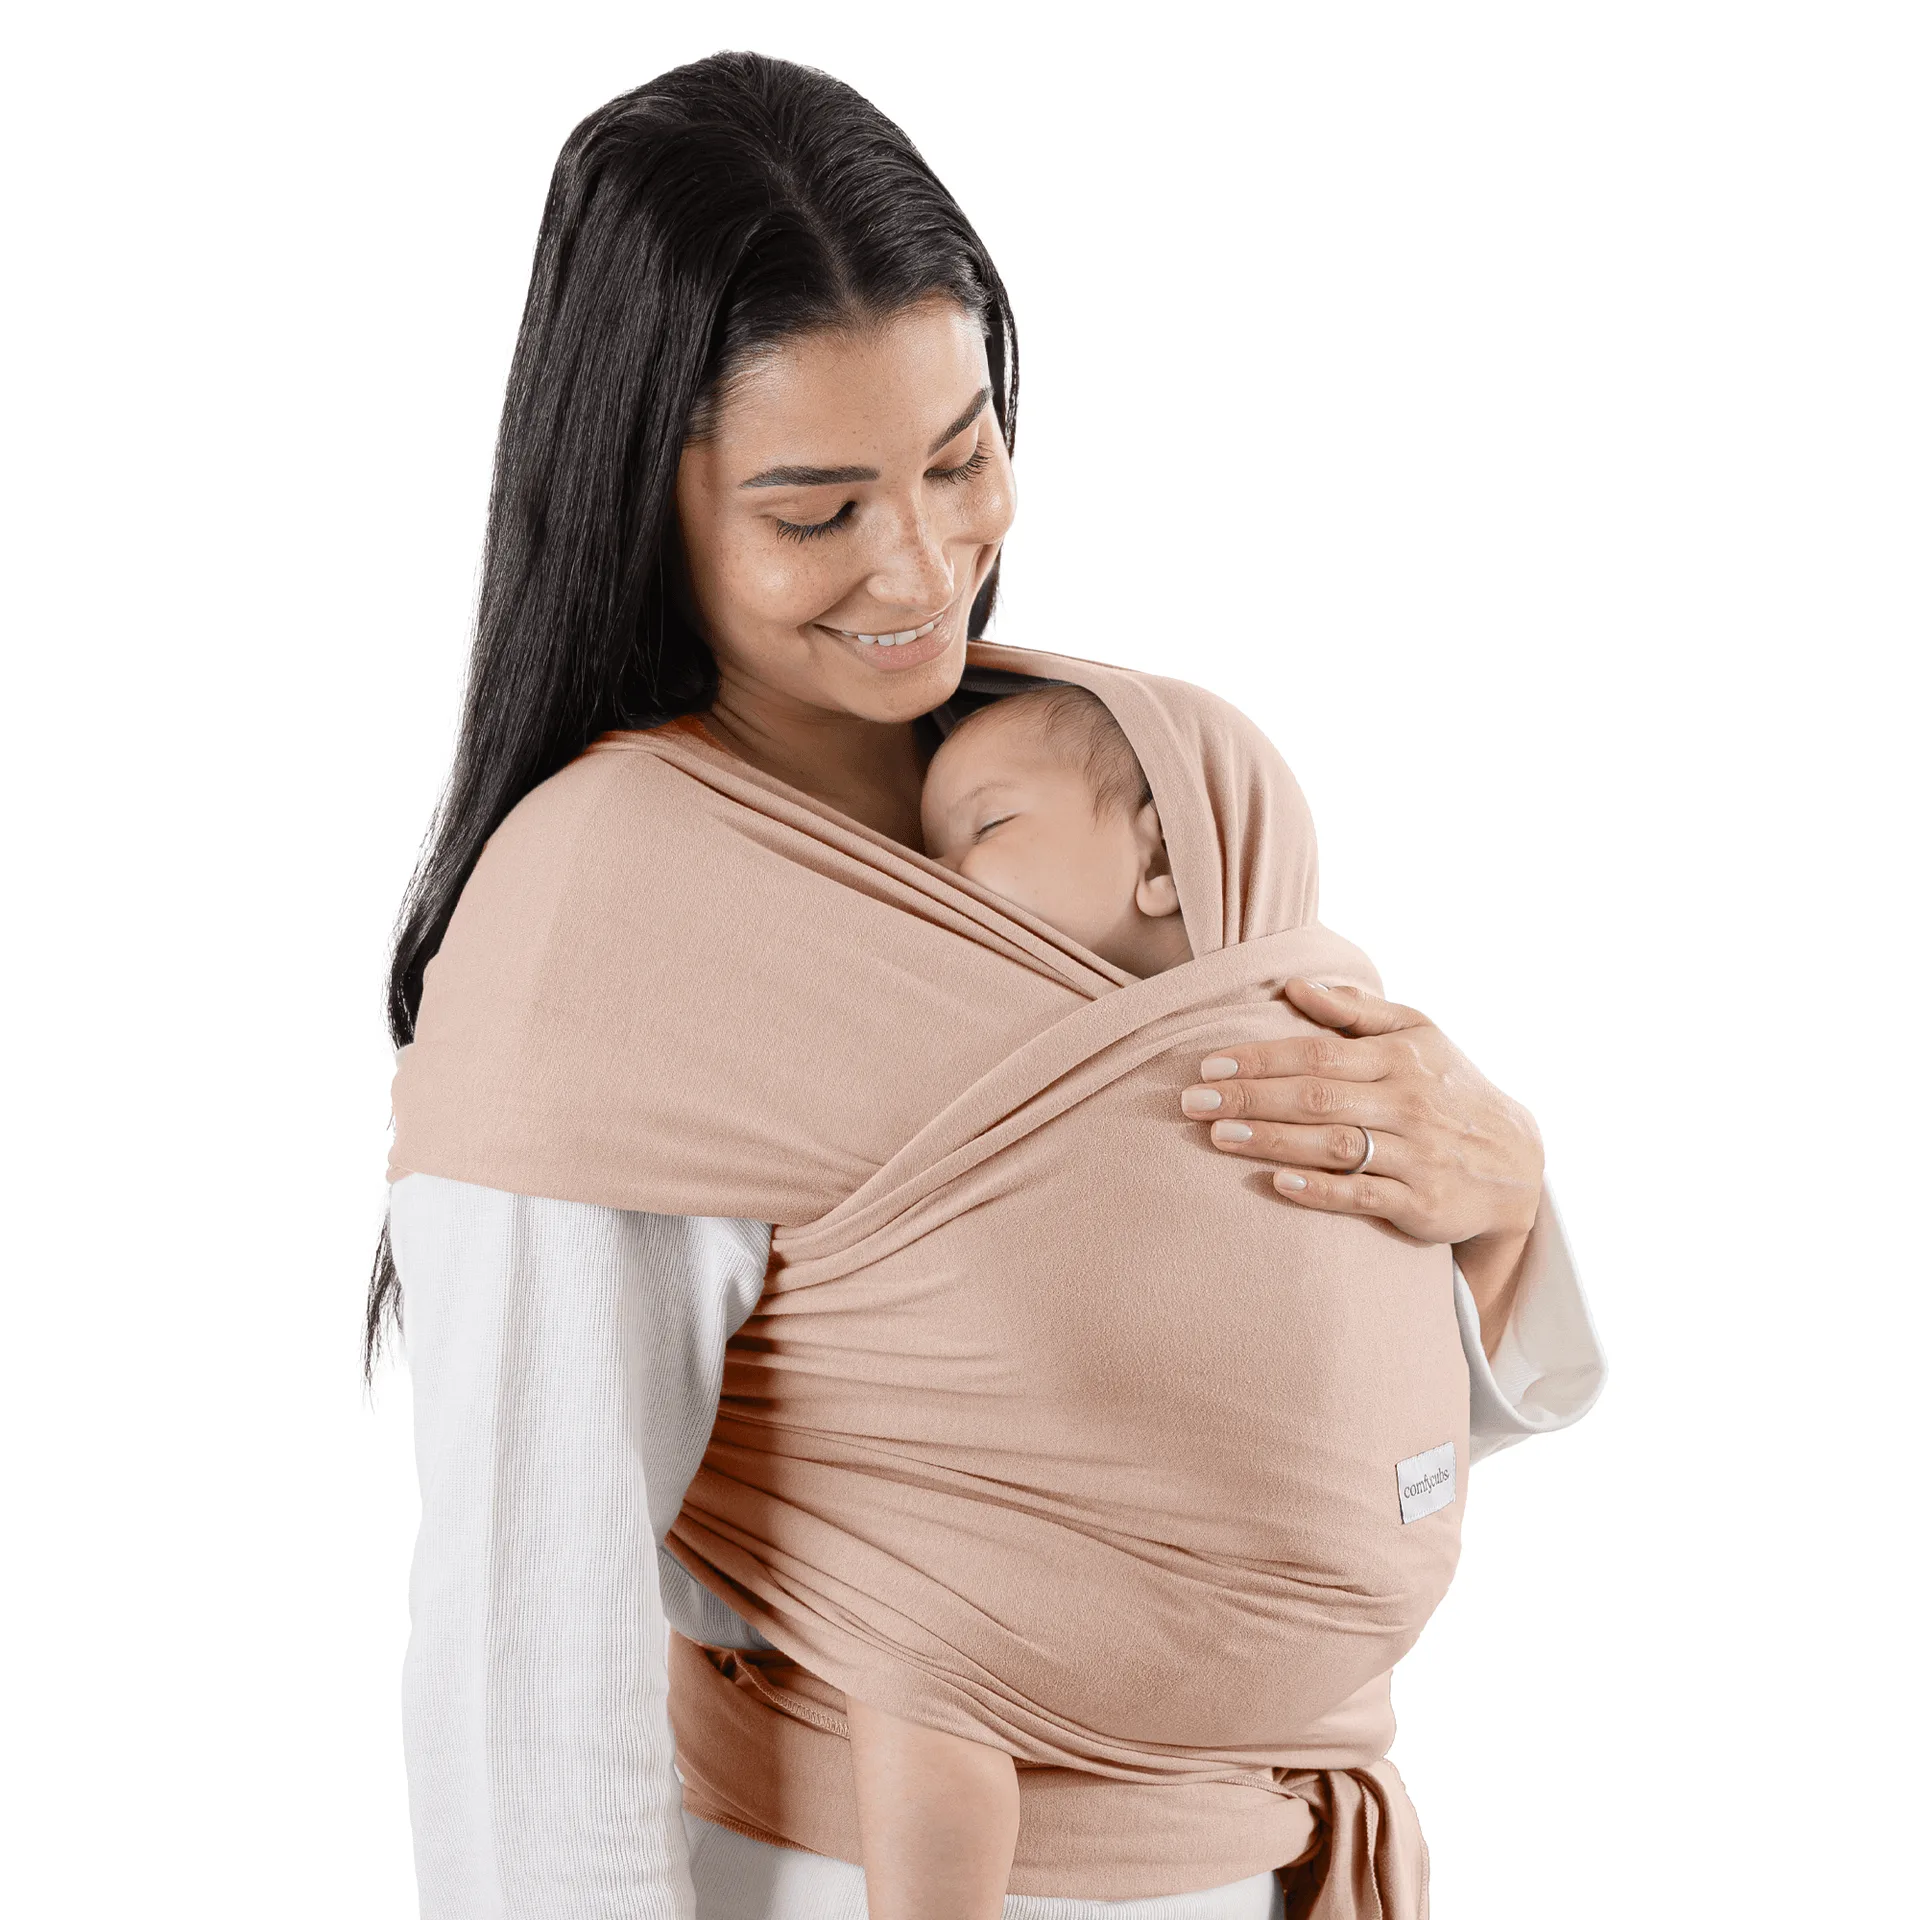
Baby Wrap Carrier in Blush: The Comfy Cubs Baby Wrap Carrier in Blush is made from a soft, breathable cotton-spandex blend designed to fit all baby body types. The stretchy fabric allows you to adjust the tension for a snug hip carry pocket that supports your baby's thighs and bottom without digging in.
Baby Wrap Carrier in Blush