Quick answer
Set up a kids ball pit at home on a flat, soft surface away from stairs and sharp edges, then check it daily for cracks or loose balls. Clean the balls weekly with warm water and mild soap, and dry them fully before refilling. Keep the pit shallow enough that a toddler can sit upright and climb out without help.
Choose a spot that works for your space
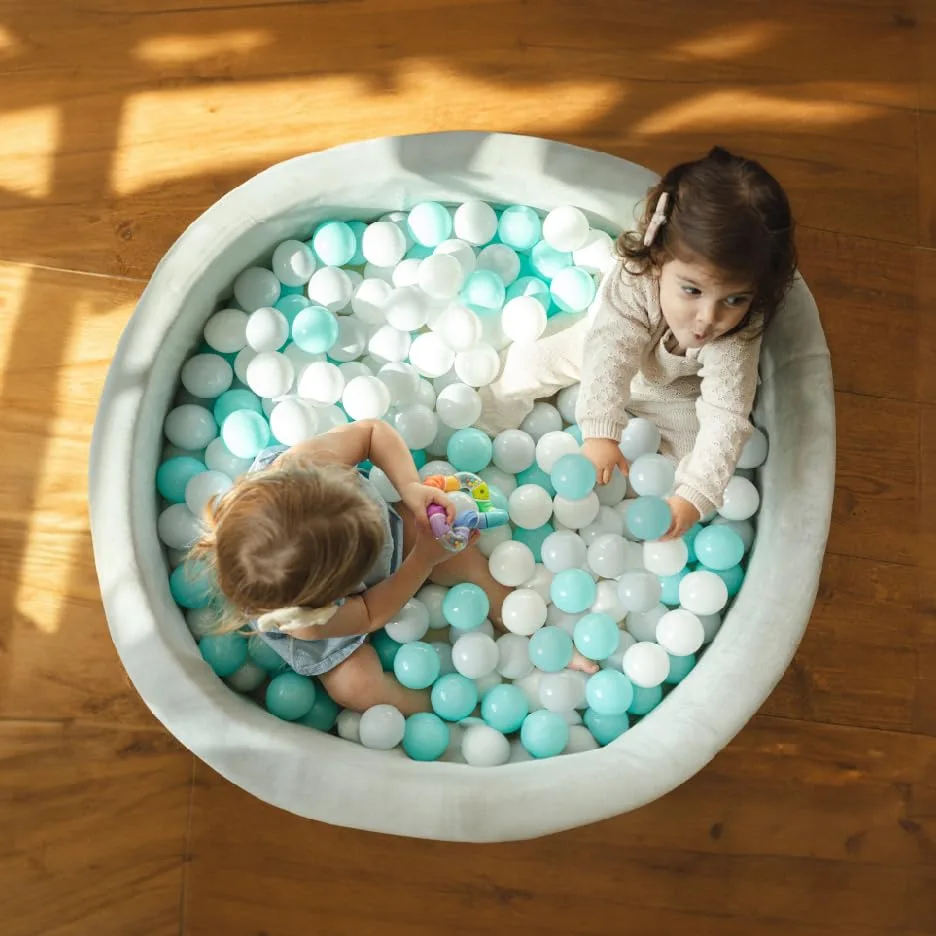
An indoor ball pit works best on a flat, non-slip surface with at least two feet of open space on every side. Corners and wall edges give the pit a natural boundary, which reduces how far balls scatter. Avoid placing it at the top of stairs, next to a fireplace, or against a glass door. If your room is small, a pit with soft but sturdy walls is easier to move aside between play sessions than a rigid frame, and it can be tucked against a wall when not in use.
Fill the pit to the right depth
More balls is not always better. For a toddler who is learning to sit up, a shallow layer that reaches roughly mid-torso lets them sit upright with support from the pit walls and still see over the edge. Overfilling makes it hard for a small child to move or stand back up, and it increases the chance of slipping under the balls. Start with fewer balls, watch how your child moves, and add more only if they can still sit and climb out comfortably.
Clean the balls without harsh chemicals
Ball pit balls collect saliva, snack crumbs, and floor dust quickly. Once a week, or sooner if a child has been sick, empty the pit and wash the balls in a basin of warm water with a few drops of mild dish soap. Rinse them in clean water, then spread them on a towel to air-dry completely before they go back in the pit. Skip bleach, alcohol sprays, and scented disinfectants on anything a toddler will mouth. Wipe the pit walls with the same mild soap solution and let them dry fully. If the pit has a fabric base, check the care instructions before washing, and never put foam or padded parts in a dryer.
Make play active, not passive
A ball pit holds attention longer when it has a purpose. Try sorting balls by color into small baskets, rolling them back and forth, or hiding a soft toy under the balls for a toddler to find. These games build grasping, reaching, and hand-eye coordination while keeping the pit from becoming a place where a child just sits. Rotate the toys you add every few days so the pit feels new again, and keep small, hard, or battery-operated toys out of the pit entirely.
Know when to pause or stop
Ball pits are not a safe place for rough play with older siblings, and they are not a substitute for a playpen. If your child tries to stand on the rim, throw balls at another child, or put balls in their mouth constantly, end the session and try again later. Check the pit walls and every ball for cracks, splits, or sharp edges each week. A cracked ball can pinch skin or break into a piece small enough to choke on, so throw damaged balls away immediately rather than trying to repair them.
Your ball pit setup and care routine
- Pick and clear the spot: Choose a flat, non-slip surface with open space on all sides and no stairs, sharp corners, or glass within reach. Move furniture so the pit walls are not pressed against anything that could tip. Checkpoint: you can walk a full circle around the pit without stepping over toys.
- Assemble and fill the pit: Set up the pit walls according to the instructions, then add balls in small batches until a sitting toddler is supported around mid-torso. Test by having your child sit in the pit and try to stand up. Common mistake: filling the pit to the top because it looks fuller, which makes it hard for a small child to move or get out.
- Do a first-play safety check: Sit beside the pit for the first few sessions. Watch for balls going into the mouth, attempts to stand on the rim, and any ball that looks cracked or crushed. Remove damaged balls right away. Checkpoint: your child can sit, reach, and climb out without help before you step back.
- Wash the balls weekly: Empty the pit, wash the balls in warm water with mild dish soap, rinse, and air-dry on a towel until completely dry. Wipe the pit walls with the same solution and let them dry before refilling. Common mistake: putting balls back while still damp, which traps moisture and encourages mildew.
- Store and reset: When play is done, scoop the balls into a breathable mesh bag or the pit itself, and move the pit against a wall if floor space is tight. Do a quick scan for crumbs, hair, and small toys before the next session. Next step: rotate two or three soft toys in and out each week to keep the pit interesting.
Product facts that matter for setup
- Kids' Ball Pit for Home with 200 Balls | Aqua: The Kids' Ball Pit for Home with 200 Balls | Aqua has soft but sturdy walls designed to give security when babies sit upright, and it is light and easy to move. The soft walls reduce bump risk for a sitting baby, and the light weight means you can move the pit out of the way in a small room instead of leaving it in the middle of the floor.
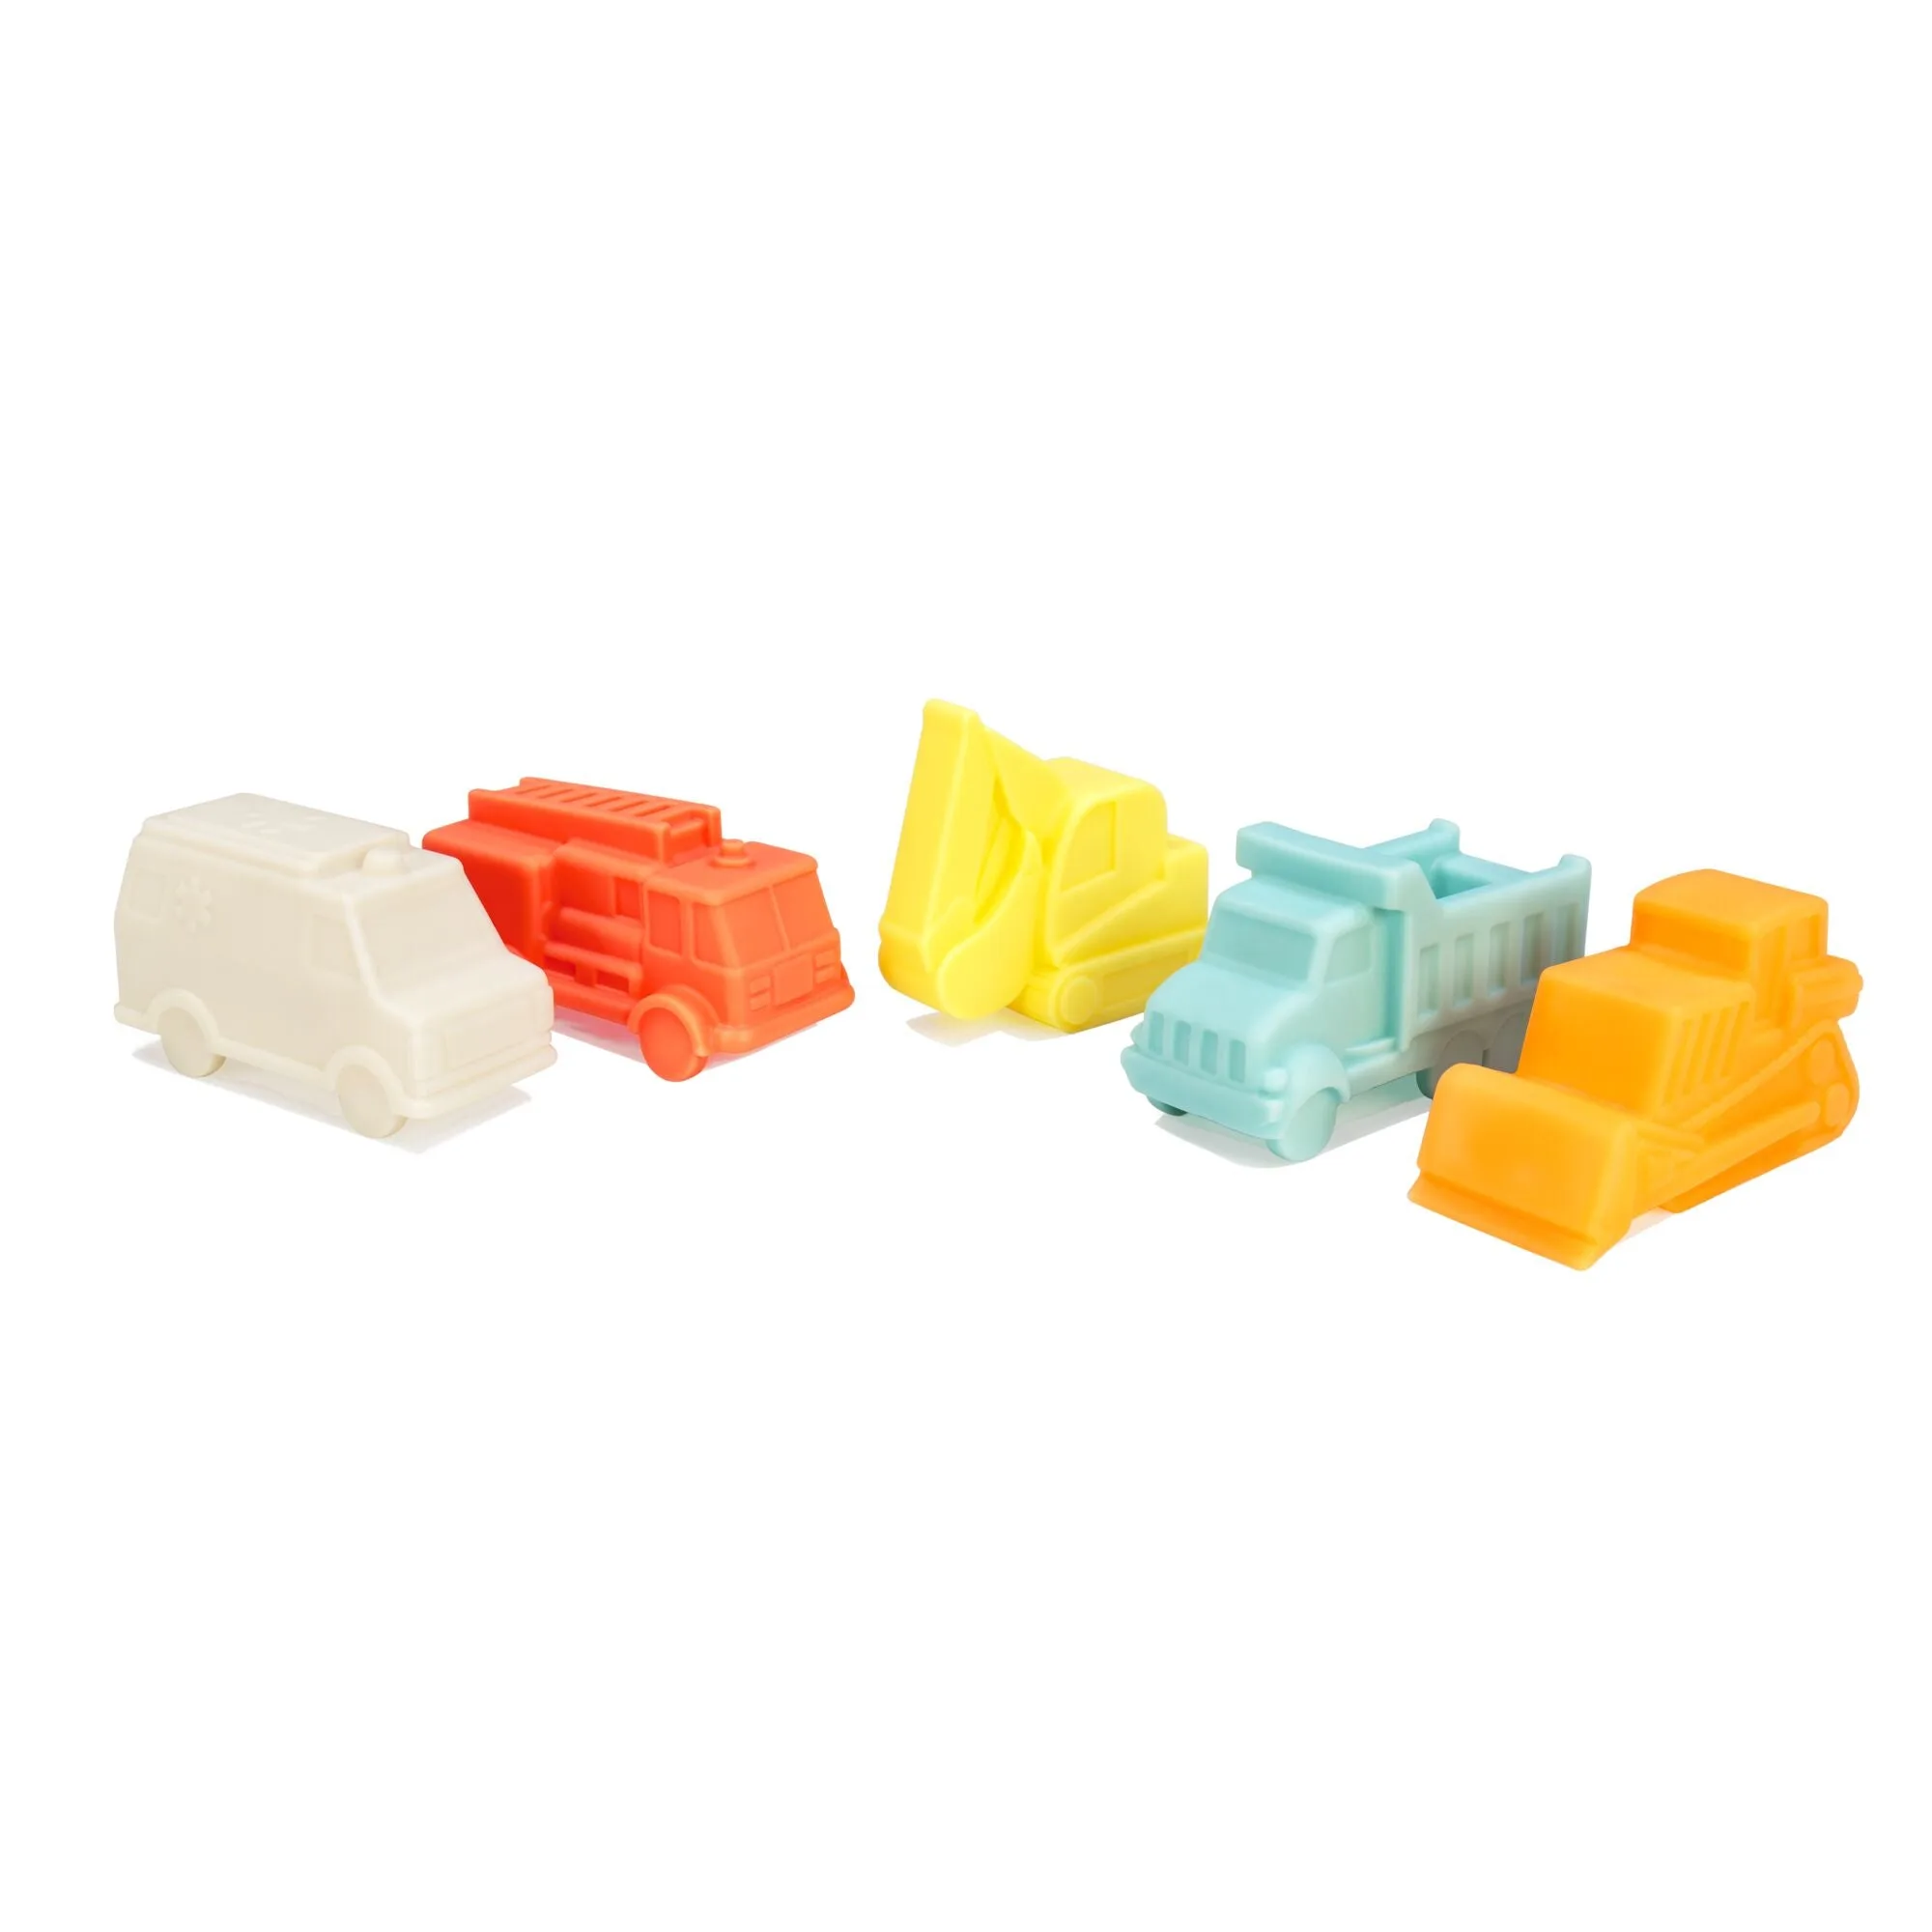
- Vehicle Bath Toy Set (5 Pack): The Vehicle Bath Toy Set (5 Pack) includes soft, stackable vehicles that build fine motor skills and imagination. These soft toys are a safe size and material for adding a sorting or pretend-play game to the ball pit, and they double as bath toys so they earn their storage space.