Your security camera system is only as good as the footage it captures. But even the best Lorex NVR can run out of storage, and hard drives eventually fail or fill up. That’s why a solid archiving and backup strategy is essential for protecting your video evidence and maintaining a reliable security record. Whether you need to retain footage for weeks, months, or years, understanding how to manage Lorex footage storage will help you avoid losing critical recordings.
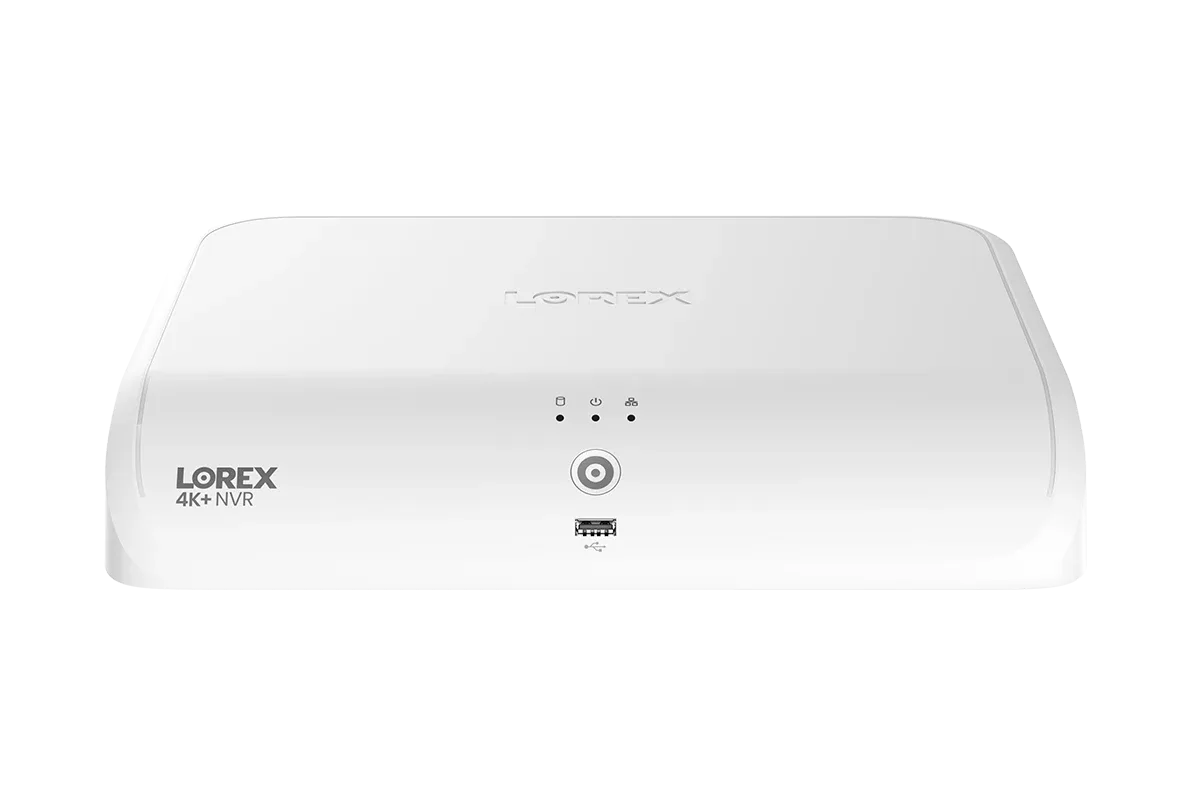
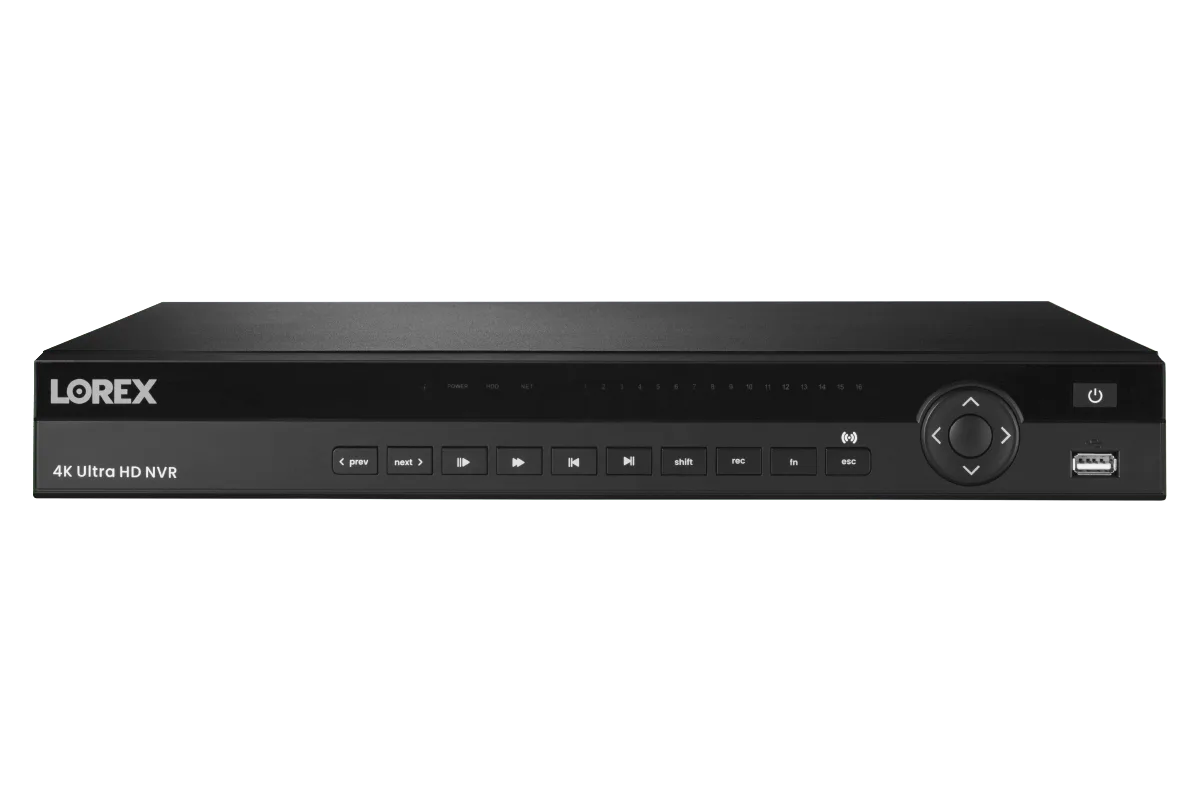
In this guide, we’ll walk through the best practices for backing up your Lorex NVR, archiving important video clips to external storage, and adjusting recording retention settings to match your needs. These strategies apply whether you use a wired NVR system like the Lorex Fusion 4K 16 Camera Capable 4TB NVR or a hybrid setup with Wi‑Fi cameras. By the end, you’ll have a clear plan to keep your footage safe and accessible.
Why Archiving and Backup Matter for Your Lorex System
Most homeowners and businesses rely on their NVR’s internal hard drive to store recordings. However, internal storage has limits. A 4TB NVR can hold roughly 30 days of continuous 4K footage from eight cameras, but once the drive is full, the oldest recordings are automatically overwritten. While this is fine for day‑to‑day surveillance, it means you lose evidence if you don’t manually back up important events before they are deleted.
A separate backup protects you against hardware failure, accidental deletion, or the need to review footage months later. For example, if you experience a break‑in or liability incident, having archived video on an external drive or cloud service ensures you can present clear evidence even after the NVR has cycled through its storage. Backup also gives you freedom to free up space on your main NVR without losing valuable recordings.
- Set a consistent schedule: weekly or monthly backups prevent gaps in your archive.
- Label archived footage with date ranges and camera names for easy retrieval.
- Test your backup files periodically to ensure they are not corrupted.
Understanding Lorex Recording Retention and Overwrite Settings
Every Lorex NVR allows you to adjust how long footage is saved before being overwritten. You can find these settings under the Storage or Record menu in your NVR’s interface. Options typically include continuous recording, motion‑only recording, or a schedule that blends both. Motion‑based recording significantly extends retention time because the NVR only saves clips when something moves, wasting less space on empty scenery.
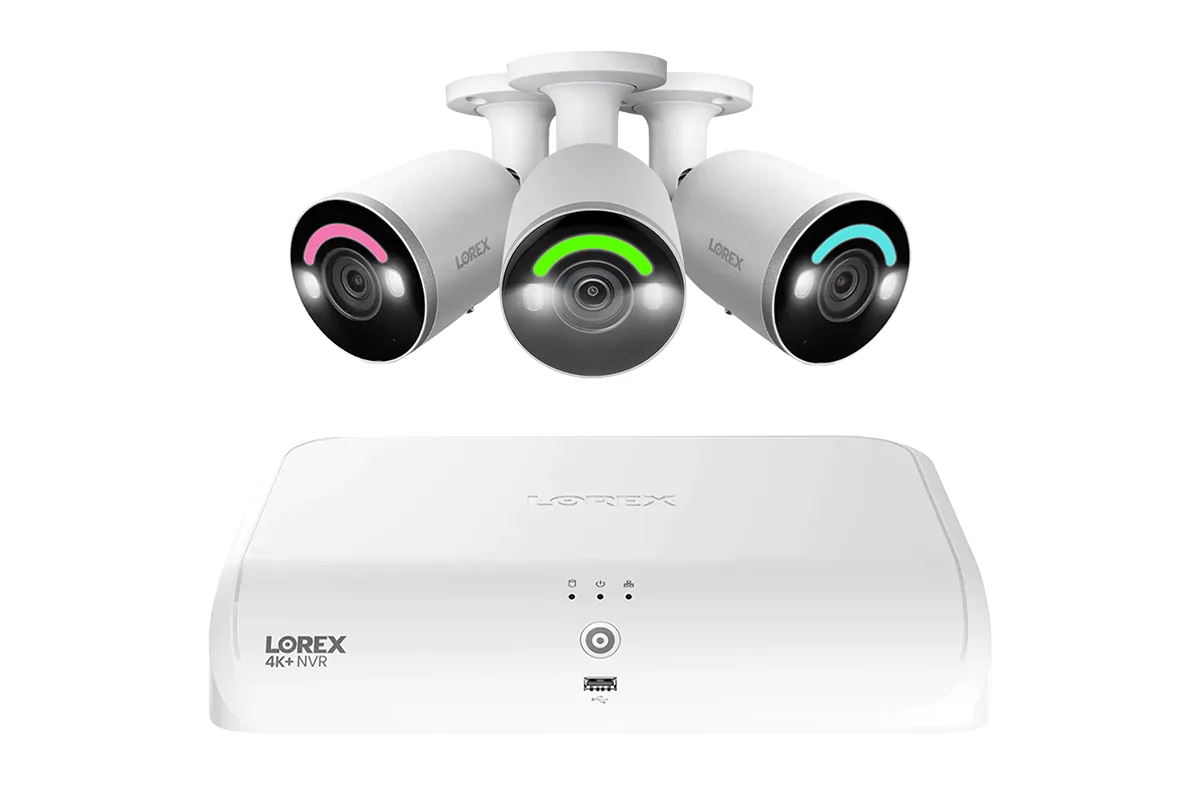
For long‑term retention, we recommend enabling loop recording with a maximum overwrite period that matches your backup schedule. For instance, if you set your NVR to overwrite after 14 days, you should plan to back up important clips every 10‑12 days to avoid losing anything. If you need 30‑day retention on the NVR itself, consider a system with a larger hard drive or a hybrid setup like the Lorex 4K Fusion 2TB Wired NVR System with Six 4K Bullet Security Cameras and Two 4K Turret Security Cameras, which offers flexible storage options and can be expanded with external drives.
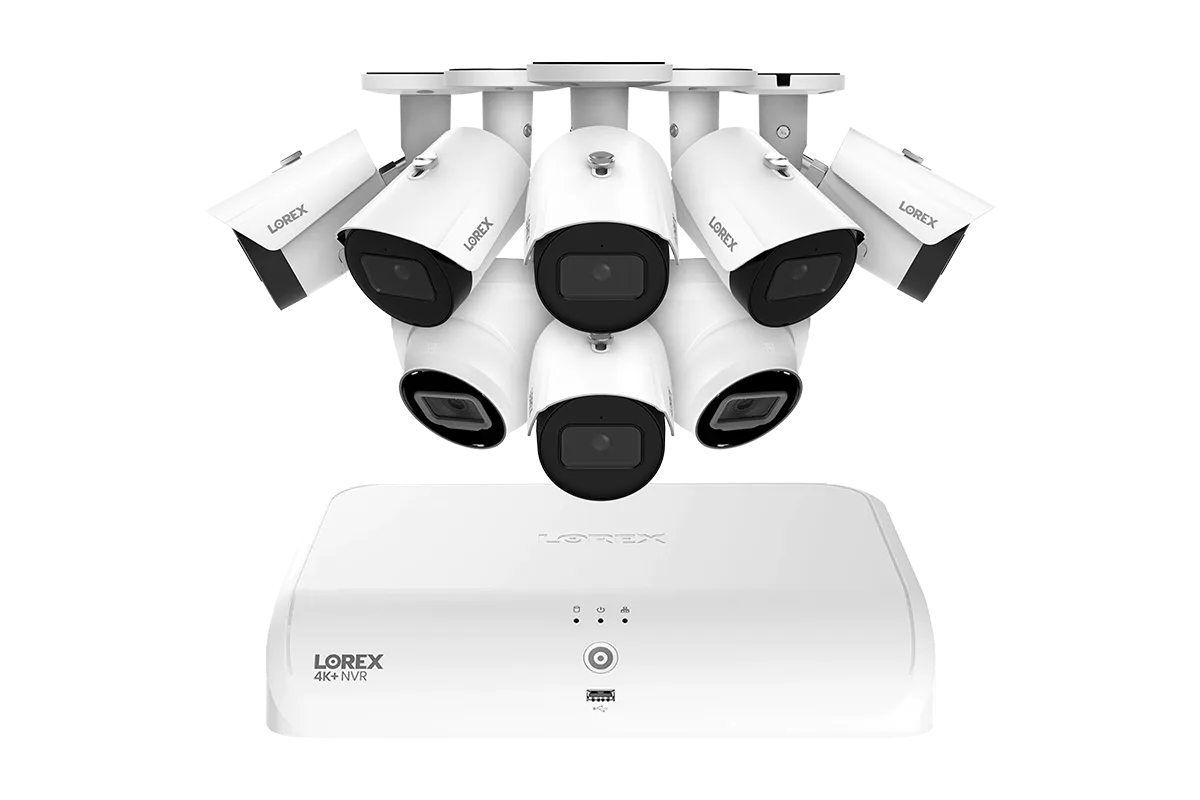
Lorex 4K Fusion 2TB Wired NVR System with Six 4K Bullet Security Cameras and Two 4K Turret Security Cameras
- Use motion detection to maximize storage – only record when activity is detected.
- Set different retention schedules for different cameras (e.g., high‑traffic areas can overwrite faster).
- Check your NVR’s estimated recording days in the system menu – it updates based on your settings.
Backup Strategies: External Drives, Network Storage, and Cloud Options
The most straightforward backup method is connecting an external USB hard drive to your NVR. Most Lorex NVRs support USB 3.0 external drives for direct backup. Simply navigate to the Backup menu, select a date range and cameras, and export clips or full recordings to the drive. For large archives, a 4TB or larger external drive can hold months of 4K footage. This approach is cost‑effective and keeps your data physically on‑site.
For added security, consider a network backup. Some Lorex NVRs support network shares (NAS or a PC with shared folders) where recordings can be automatically or manually copied. This moves the backup off the NVR itself, protecting against a failed internal drive. If you need off‑site protection, cloud services like Lorex Cloud or third‑party FTP can be configured for motion‑triggered clips. While continuous cloud streaming uses significant bandwidth, storing only events is practical and gives you remote access to evidence even if your NVR is stolen or damaged.
- Use a dedicated external drive for backups – don’t share it with other data.
- For business use, consider RAID‑protected network storage to avoid a single point of failure.
- Automate backups when possible: schedule weekly exports to network drives using the NVR’s built‑in tools.
Maximizing Storage with Lorex Hybrid and Expandable Systems
If you’re already planning a new system or looking to upgrade, choosing a Lorex NVR with expandable storage can simplify archiving. The Lorex Fusion 4K 16 Camera Capable 4TB NVR supports up to 16 cameras and can integrate both wired and Wi‑Fi cameras. Its 4TB internal drive is sufficient for moderate retention, but it also allows you to add an external eSATA or USB drive for additional capacity without opening the NVR.
For larger deployments, a system with a higher base storage like 6TB or 8TB may be ideal. Alternatively, you can replace the internal drive with a larger one (check compatibility guides for Lorex NVRs). Remember that having a dedicated backup drive separate from the main storage is always recommended. This way, if the internal drive fails, your archive remains intact.
- Consider a hybrid NVR like the Lorex Fusion series to combine local recording with cloud backup of important events.
- Use the Lorex Cloud app to remotely view and download clips – acts as a secondary backup for recent motion events.
- Regularly export critical footage to a cold storage drive that is disconnected from the NVR to protect against power surges or ransomware.
A well‑designed archiving and backup strategy gives you peace of mind that your Lorex footage is safe, searchable, and secure – no matter what happens to your primary NVR. Start by fine‑tuning your recording settings to match your retention needs, then implement a regular backup routine using external drives, network shares, or cloud services. For a reliable foundation that supports both local and hybrid storage, explore the Lorex Fusion 4K 16 Camera Capable 4TB NVR which offers the flexibility to grow with your security demands. Take control of your footage today and protect what matters most.