Quick answer
Install the Big Nuke 3E Fin Set by dry-fitting each 3/8-inch fin, marking the motor tube, and using a fin alignment jig to ensure straight, evenly spaced fins before bonding.
Why fin alignment matters for the Big Nuke 3E
A misaligned fin on a high-power rocket like the Big Nuke 3E can cause unstable flight, excessive drag, or even a crash. The 3/8-inch thick fins provide durability, but their weight also means that any alignment error is magnified during boost. Taking time to get the fins straight and square pays off in predictable altitude and safe recovery.
The Big Nuke 3E uses a 75mm motor tube, which gives you a wide surface for bonding but also requires careful marking to keep fin spacing even. Rushing this step is the most common reason for a wobbly fin installation.
Step-by-step fin installation for the Big Nuke 3E
- Dry-fit and mark the motor tube: Slide each fin into position on the 75mm motor tube without glue. Use a fine-tip marker to trace the root edge of each fin onto the tube. Remove the fins and extend the lines along the tube length using a straight edge. Common mistake: marking only one side of the fin root, leading to a crooked glue line. Double-check that your marks are parallel to the tube axis before applying any adhesive.
- Apply epoxy to the fin root and tube: Mix a structural epoxy (such as 30-minute or slower cure) and spread a thin, even layer on both the fin root and the marked area on the tube. Avoid excess epoxy that can squeeze out and create a fillet that is too thick or uneven. Common mistake: using fast-cure epoxy that starts setting before you have the fin aligned. Use a slow-cure epoxy to give yourself time to adjust the fin position.
- Position the fin and use a jig: Press the fin onto the marked line and hold it in place with a fin alignment jig or a simple angle bracket. Check that the fin is perpendicular to the tube using a small square. Common mistake: relying on eye alone — even a 2-degree tilt becomes a large deviation at the fin tip. Let the jig hold the fin while the epoxy cures; do not disturb it for at least the manufacturer's recommended cure time.
- Repeat for remaining fins and check spacing: Install the second and third fins one at a time, using the same marking and jig method. After all three are positioned but before the epoxy fully cures, use a fin spacing template or a protractor to verify 120-degree spacing. Common mistake: assuming the first fin is perfectly placed and then the others don't fit evenly. Adjust any fin slightly while the epoxy is still workable — once cured, you will need to grind and re-bond.
- Apply internal and external fillets: After the initial bond cures, run a fillet of thickened epoxy along both sides of each fin root, both inside the tube (if accessible) and on the outside. Smooth the fillet with a gloved finger or a popsicle stick. Common mistake: making fillets too thin, which reduces shear strength, or too thick, which adds unnecessary weight. Aim for a fillet radius of about 1/4 inch — strong enough without excess mass.
Product facts
-
Big Nuke 3E Fin Set: The Big Nuke 3E Fin Set includes three fins, each 3/8 inch thick, designed for the 75mm motor tube of the Big Nuke 3E rocket kit. The 3/8-inch thickness adds stiffness and helps resist flex during high-thrust launches, but it also means the fins are heavier — precise alignment is even more critical to avoid balance issues.
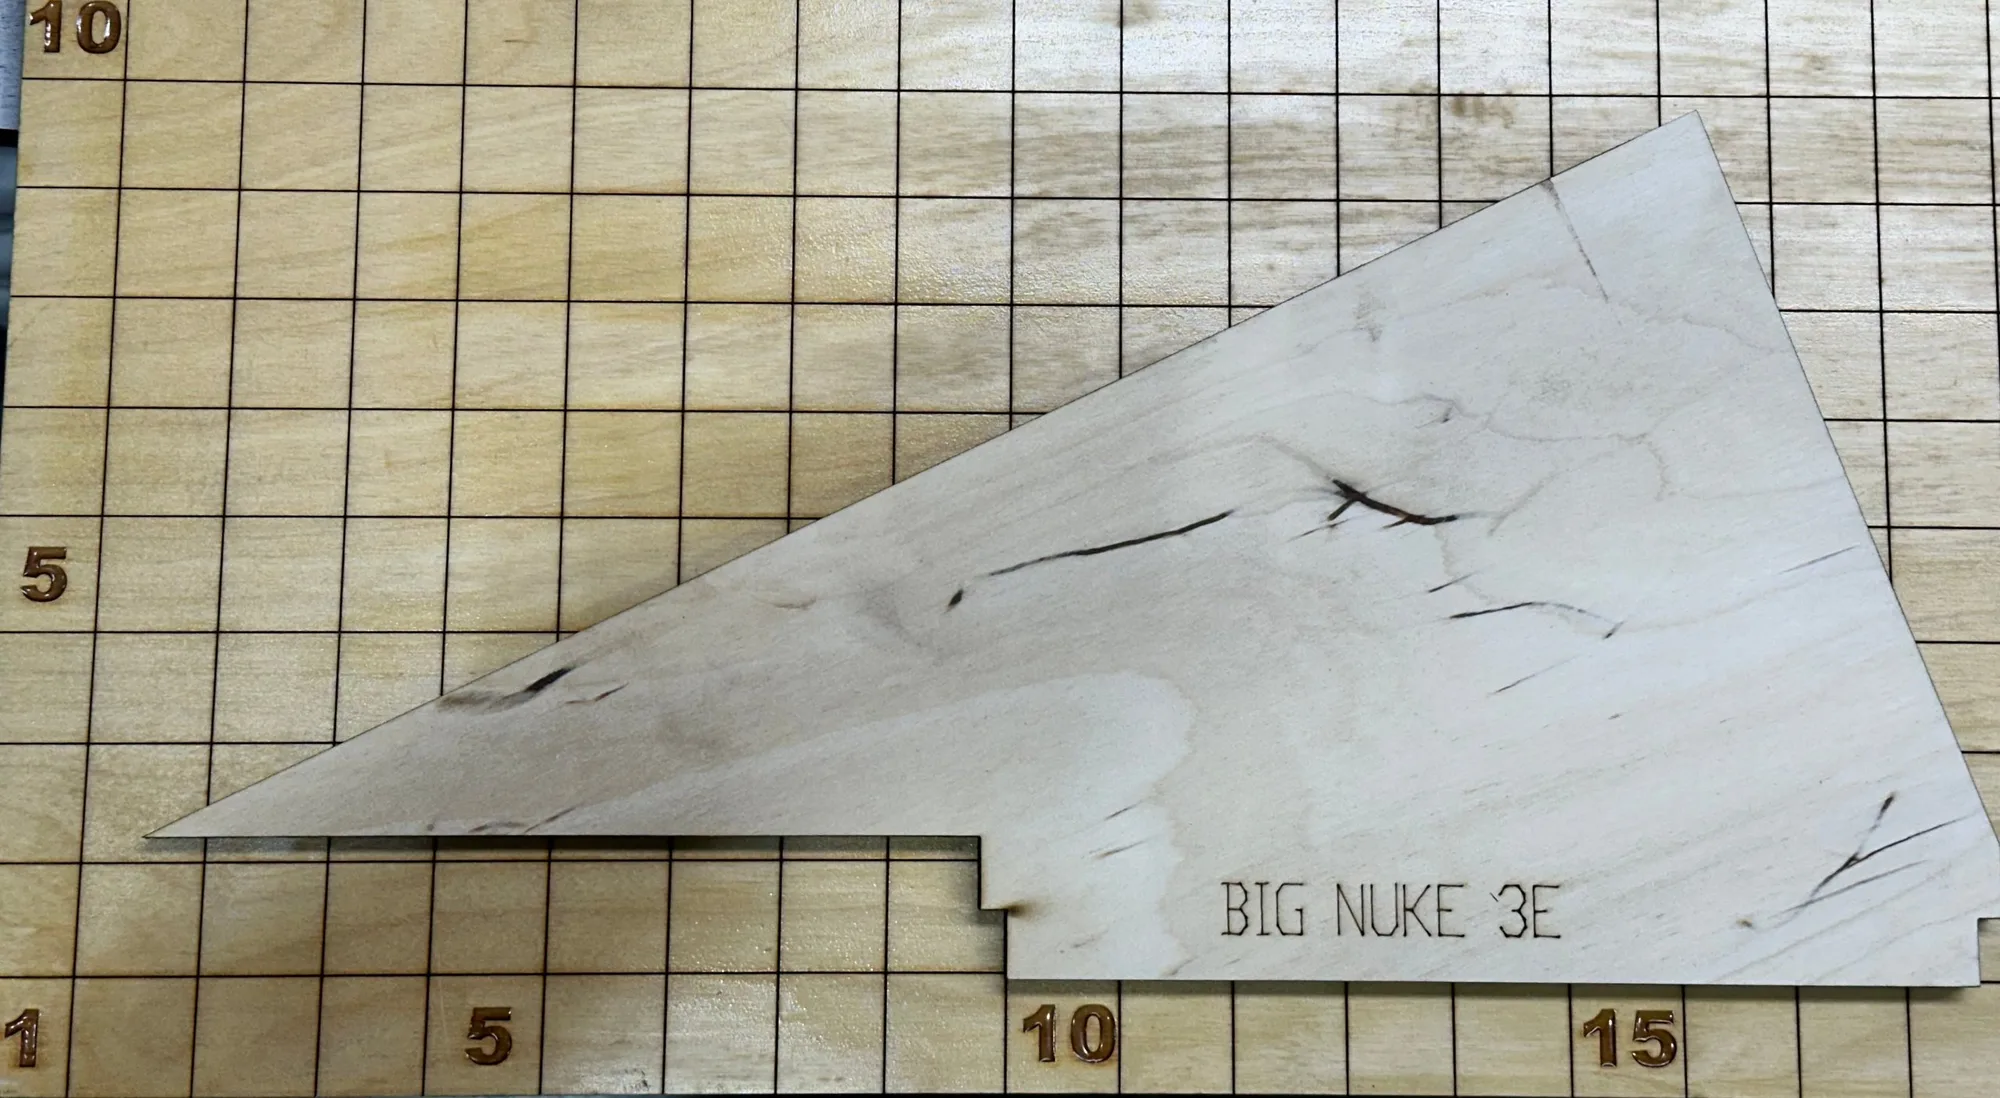
Big Nuke 3E Fin Set