Quick answer
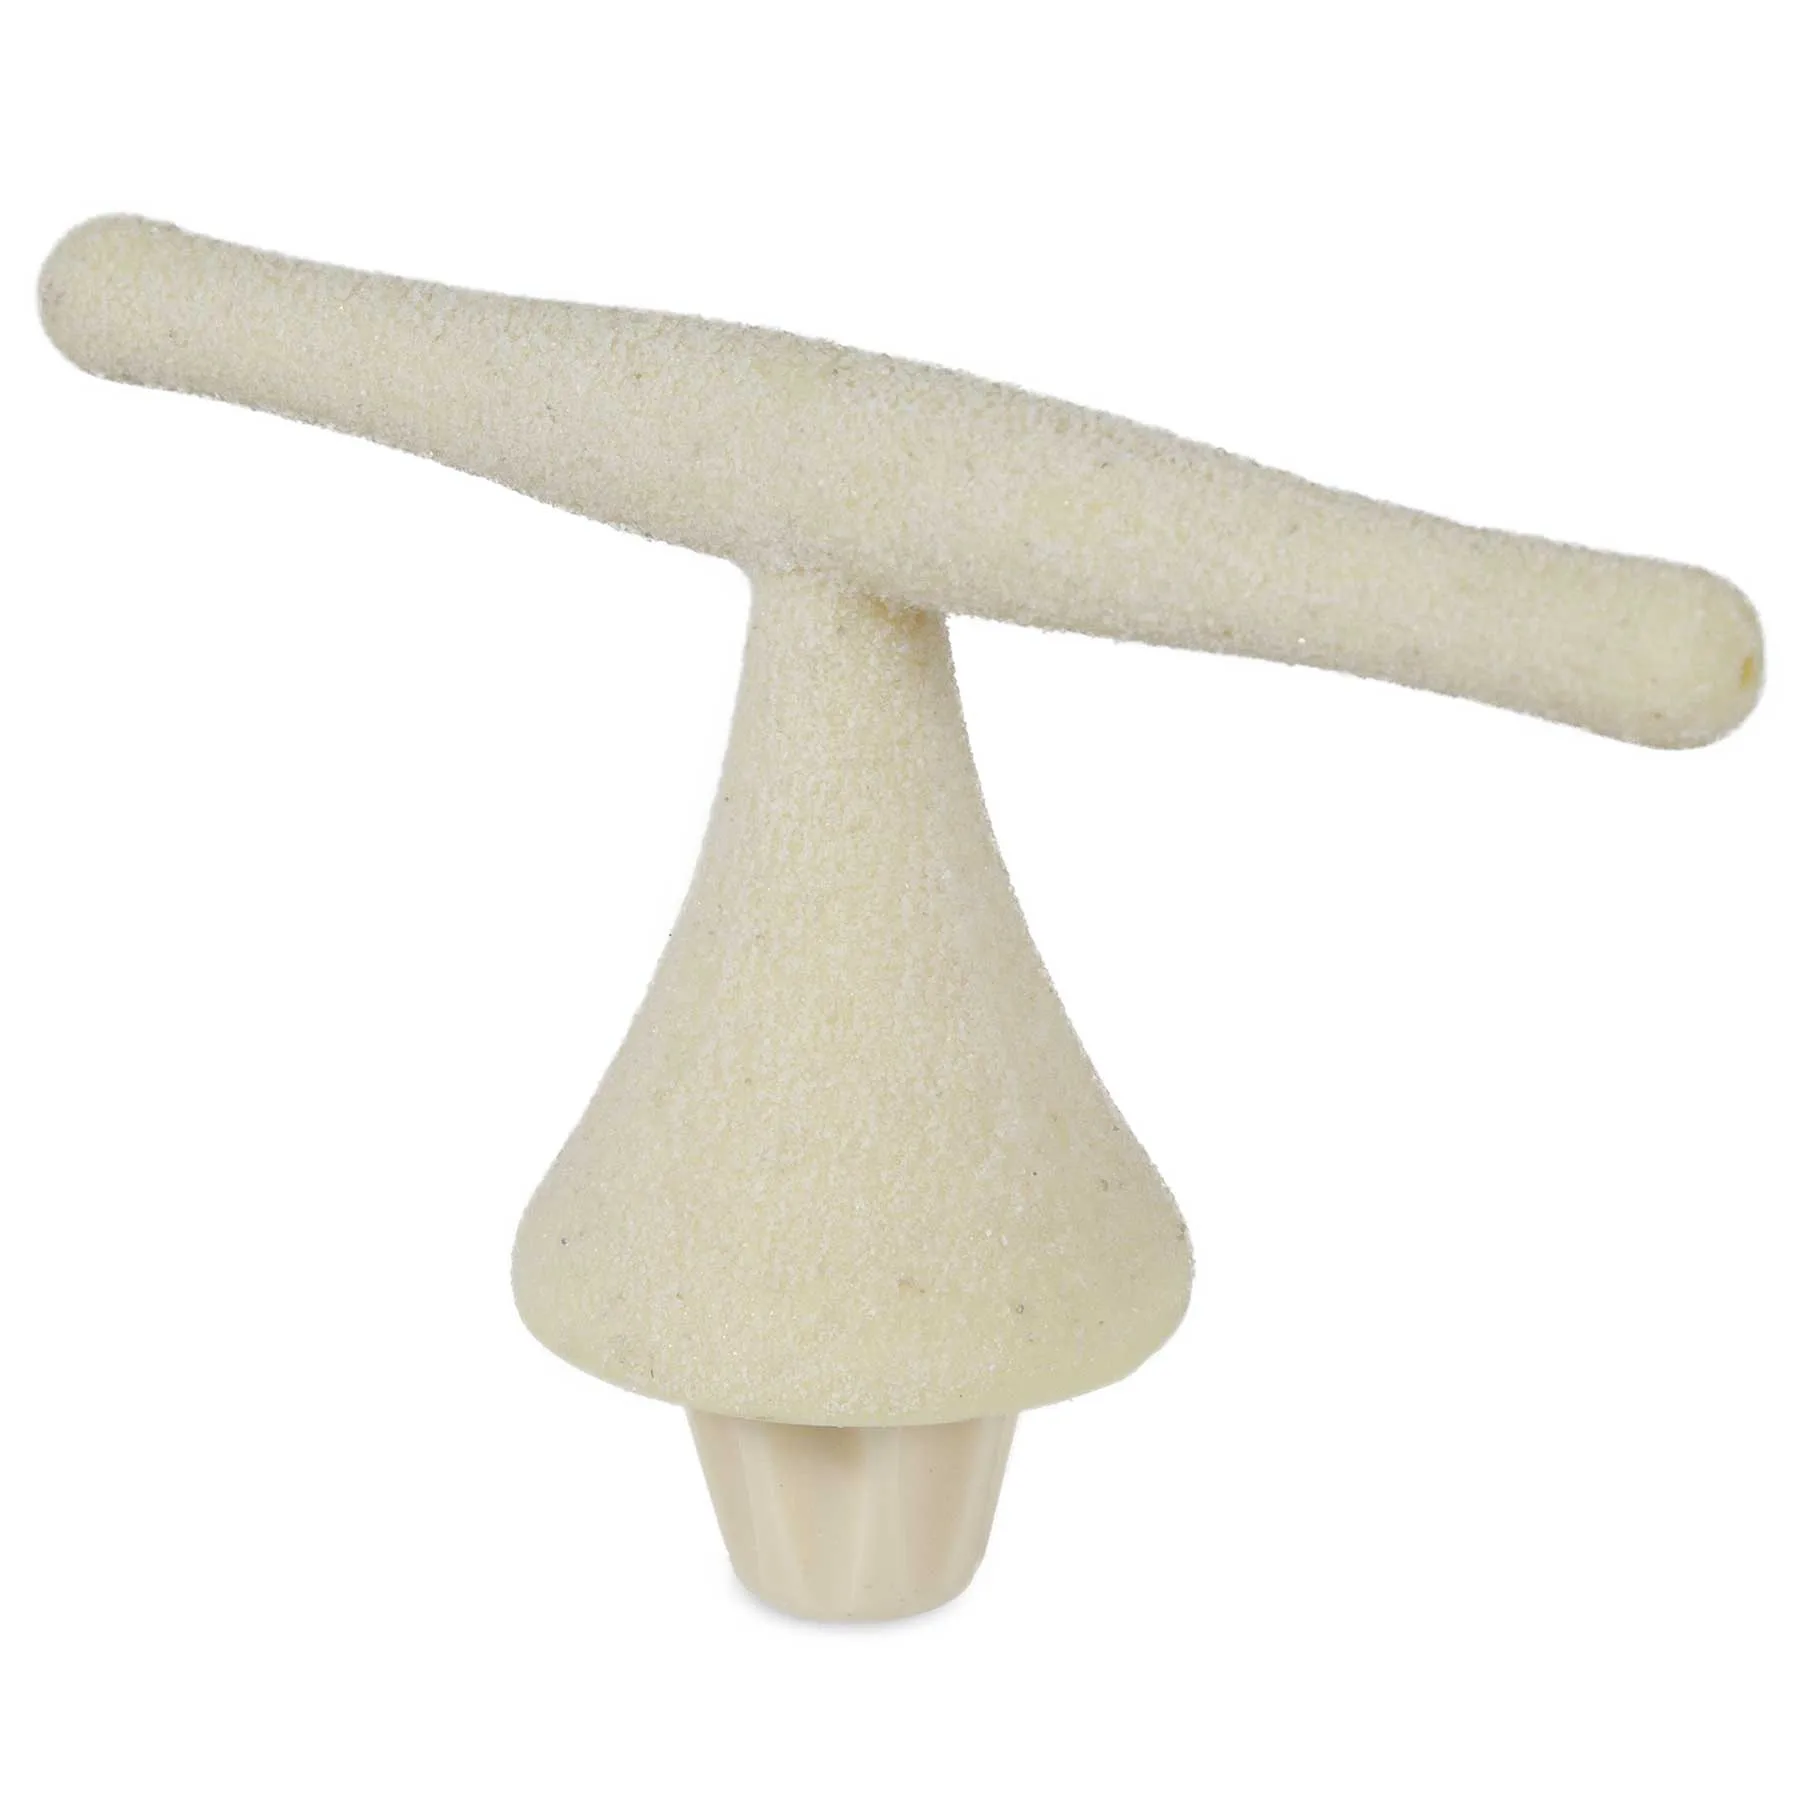
Place two or three perches at different heights and angles, keeping them away from food and water dishes so droppings don't contaminate them. Put the bird bath where your bird can see it but not directly under a perch. Clean perches weekly and baths daily with a bird-safe cleaner. The JW Sand Bird T-Perch is a practical starter perch because its sand coating helps trim nails and beak while different grip widths exercise foot muscles.
Why perch and bath placement matters more than you think
Birds spend nearly all their time on their feet, so the size, texture, and position of every perch directly affect foot health, beak condition, and stress levels. A perch that's too smooth or too wide can lead to pressure sores, while one placed over a food dish turns every meal into a contamination risk. Bath placement matters too: a bath under a perch gets dirty fast, and a bath in a drafty corner may go unused. Getting these basics right takes about 15 minutes and prevents most common cage-setup problems.
Pick perches that match your bird's feet
Variety is the point. A single dowel perch gives your bird only one grip position, which can lead to foot fatigue over time. Aim for at least two different diameters and textures: a natural-wood perch for a secure grip, a sand-coated perch for nail maintenance, and a rope perch for soft resting. The JW Sand Bird T-Perch is a good example of a textured option—its rough natural sand coating helps keep nails and beak trimmed, and the different grip size widths exercise foot muscles. It attaches to most cage sides or tops with the included washer and wing-nut, and the small size suits parakeets and similar small birds.
Place food and water dishes where they stay clean
Mount dishes at a height your bird can reach without stretching, but not directly under a perch. A good rule: if a bird sitting on the highest perch could poop into the dish, move the dish. Keep water away from the cage's sunny side to slow algae growth, and avoid placing dishes near the door where they get bumped every time you reach in. Stainless steel or ceramic dishes resist bacteria better than plastic, and they're easier to scrub. Check water twice daily—birds often dunk food in it, and soggy pellets spoil quickly.
Position the bird bath for actual use
Birds are more likely to bathe when they feel safe, so put the bath where your bird can see the room but isn't in a high-traffic path. Avoid placing it directly under another perch or above food and water. If your bird ignores the bath for more than a week, try moving it higher—many small birds prefer bathing at perch height rather than on the cage floor. A shallow bath (about 1 inch of water) is safer and easier to keep clean than a deep one.
Build a weekly cleaning routine that actually happens
Perches collect droppings and food residue that you can't see from outside the cage. Once a week, remove each perch and scrub it with a bird-safe cleaner and a dedicated brush. Sand perches need a gentler touch—scrub lightly so you don't wear away the sand coating. Rinse thoroughly and let them dry completely before returning them to the cage. Baths should be emptied and rinsed daily, with a deeper scrub twice a week. Replace wood perches when they become rough, splintered, or impossible to fully clean.
Step-by-step cage setup for beginners
- Step 1: Choose two or three perches with different textures and widths: Use at least one natural-wood perch, one sand-coated perch like the JW Sand Bird T-Perch, and one rope or soft perch. This gives your bird multiple grip options and supports nail and beak health. Checkpoint: Can your bird's feet wrap about two-thirds around each perch? If a perch is too wide, your bird can't grip it securely.
- Step 2: Mount perches at varied heights and angles: Place one perch high for sleeping, one mid-level for everyday use, and one lower for access to food and water. Angle them slightly differently so your bird changes position throughout the day. Common mistake: Putting all perches at the same height and angle, which limits exercise and can cause foot strain.
- Step 3: Position food and water dishes away from perches: Mount dishes at a comfortable reach but not directly under any perch. Keep water on the shaded side of the cage to slow algae growth, and avoid placing dishes near the door. Checkpoint: Look down from your highest perch—if a dropping could land in a dish, move the dish.
- Step 4: Place the bird bath where your bird feels safe: Set the bath at perch height, visible from the room but not in a high-traffic area. Keep it out from under other perches and away from food and water. Use about 1 inch of water. Common mistake: Putting the bath on the cage floor, where many small birds feel too exposed to use it.
- Step 5: Clean perches weekly and baths daily: Scrub perches with a bird-safe cleaner and a dedicated brush, rinse well, and dry completely before returning them. Empty and rinse the bath daily. Replace wood perches when they become rough or splintered. Next step: Set a recurring weekly reminder for perch cleaning so it doesn't slip.
Product facts
- JW Sand Bird T-Perch: JW Sand Bird T-Perch has a rough natural sand coating that helps keep nails and beak trimmed, and different grip size widths exercise foot muscles. This makes it a low-effort way to support nail and beak maintenance without separate grooming tools, and the varied grip helps prevent foot fatigue.
- JW Sand Bird T-Perch: It includes a washer and wing-nut to easily attach to most sides or tops of cages, and the small size is ideal for parakeets. You can reposition it as your bird's needs change, and it fits common small-bird cages without extra hardware.
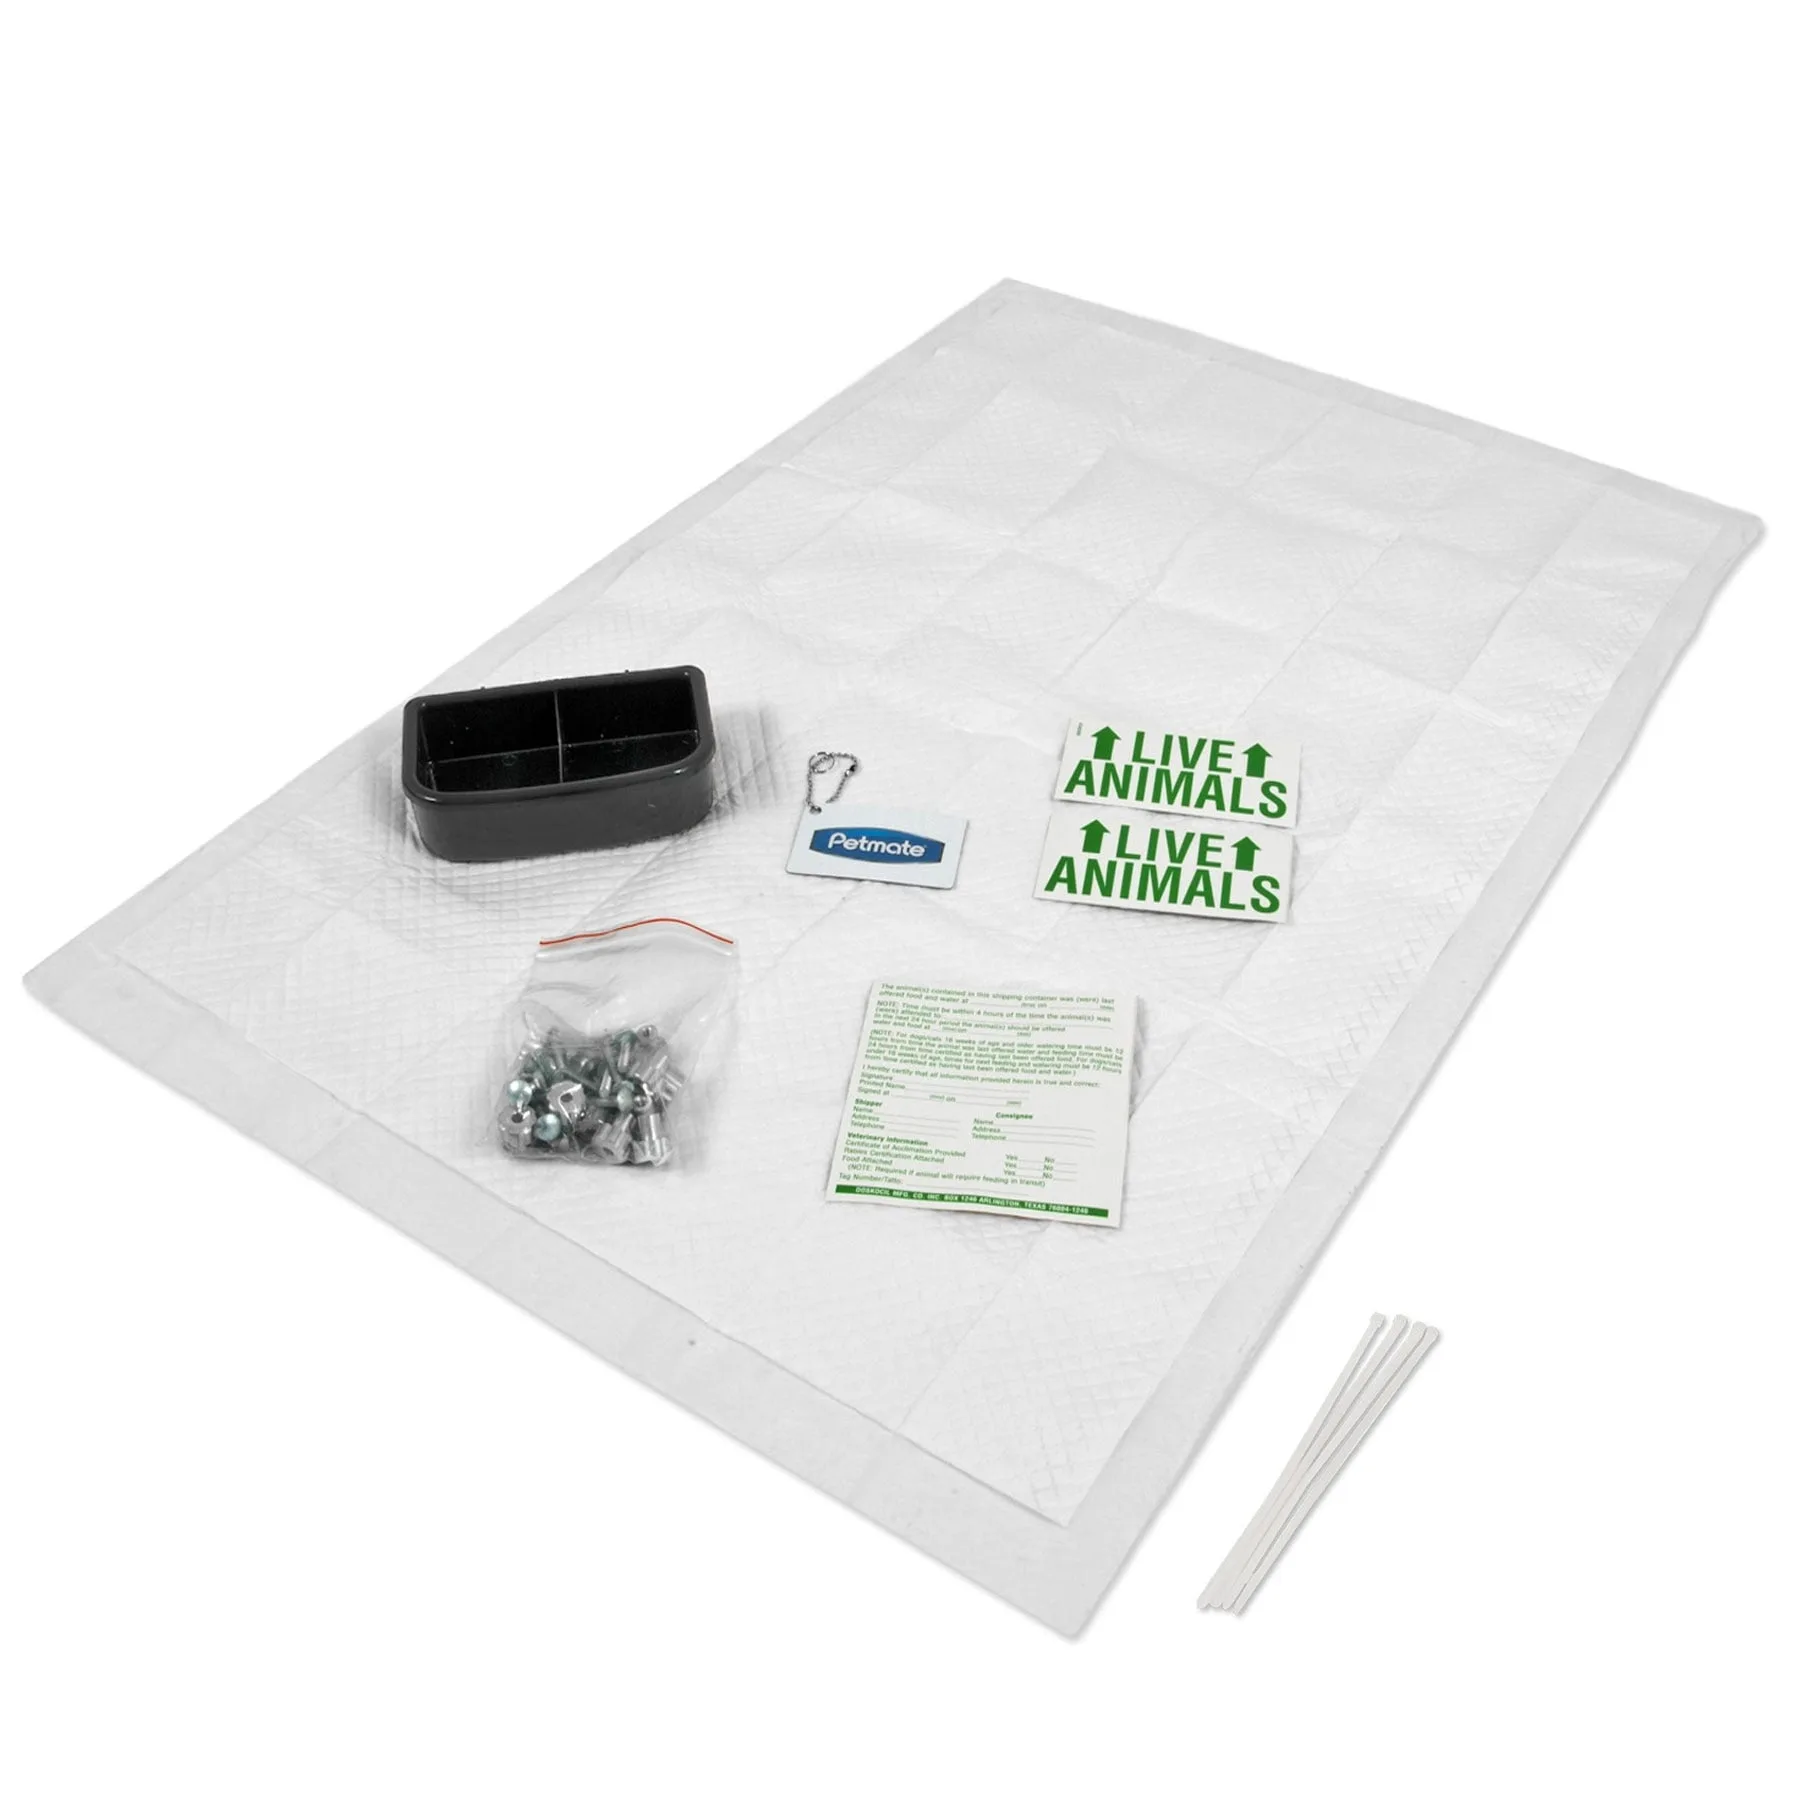
- Petmate Kennel Airline Travel Kit: Petmate Kennel Airline Travel Kit contains a spill-resistant food and water cup, an absorbent kennel pad, two Live Animals stickers, a temporary Pet ID tag, a shipping identification sticker, 12 zip ties, 12 1 1/4 inch bolts, 5 1 3/4 inch bolts, 5 1 inch bolts, 12 washers, and 12 nuts. If you ever travel with your bird or need to secure a carrier, this kit covers the hardware and identification basics in one purchase.