Quick answer
Choose the Pegasus Seiya Gold Ex kit if you want a gold-finish centerpiece, or the Cygnus Hyoga kit if you prefer a lower-cost build with a cooler color scheme. Both assemble the same way: follow the order below to avoid loose joints and misaligned armor.
What separates the two kits
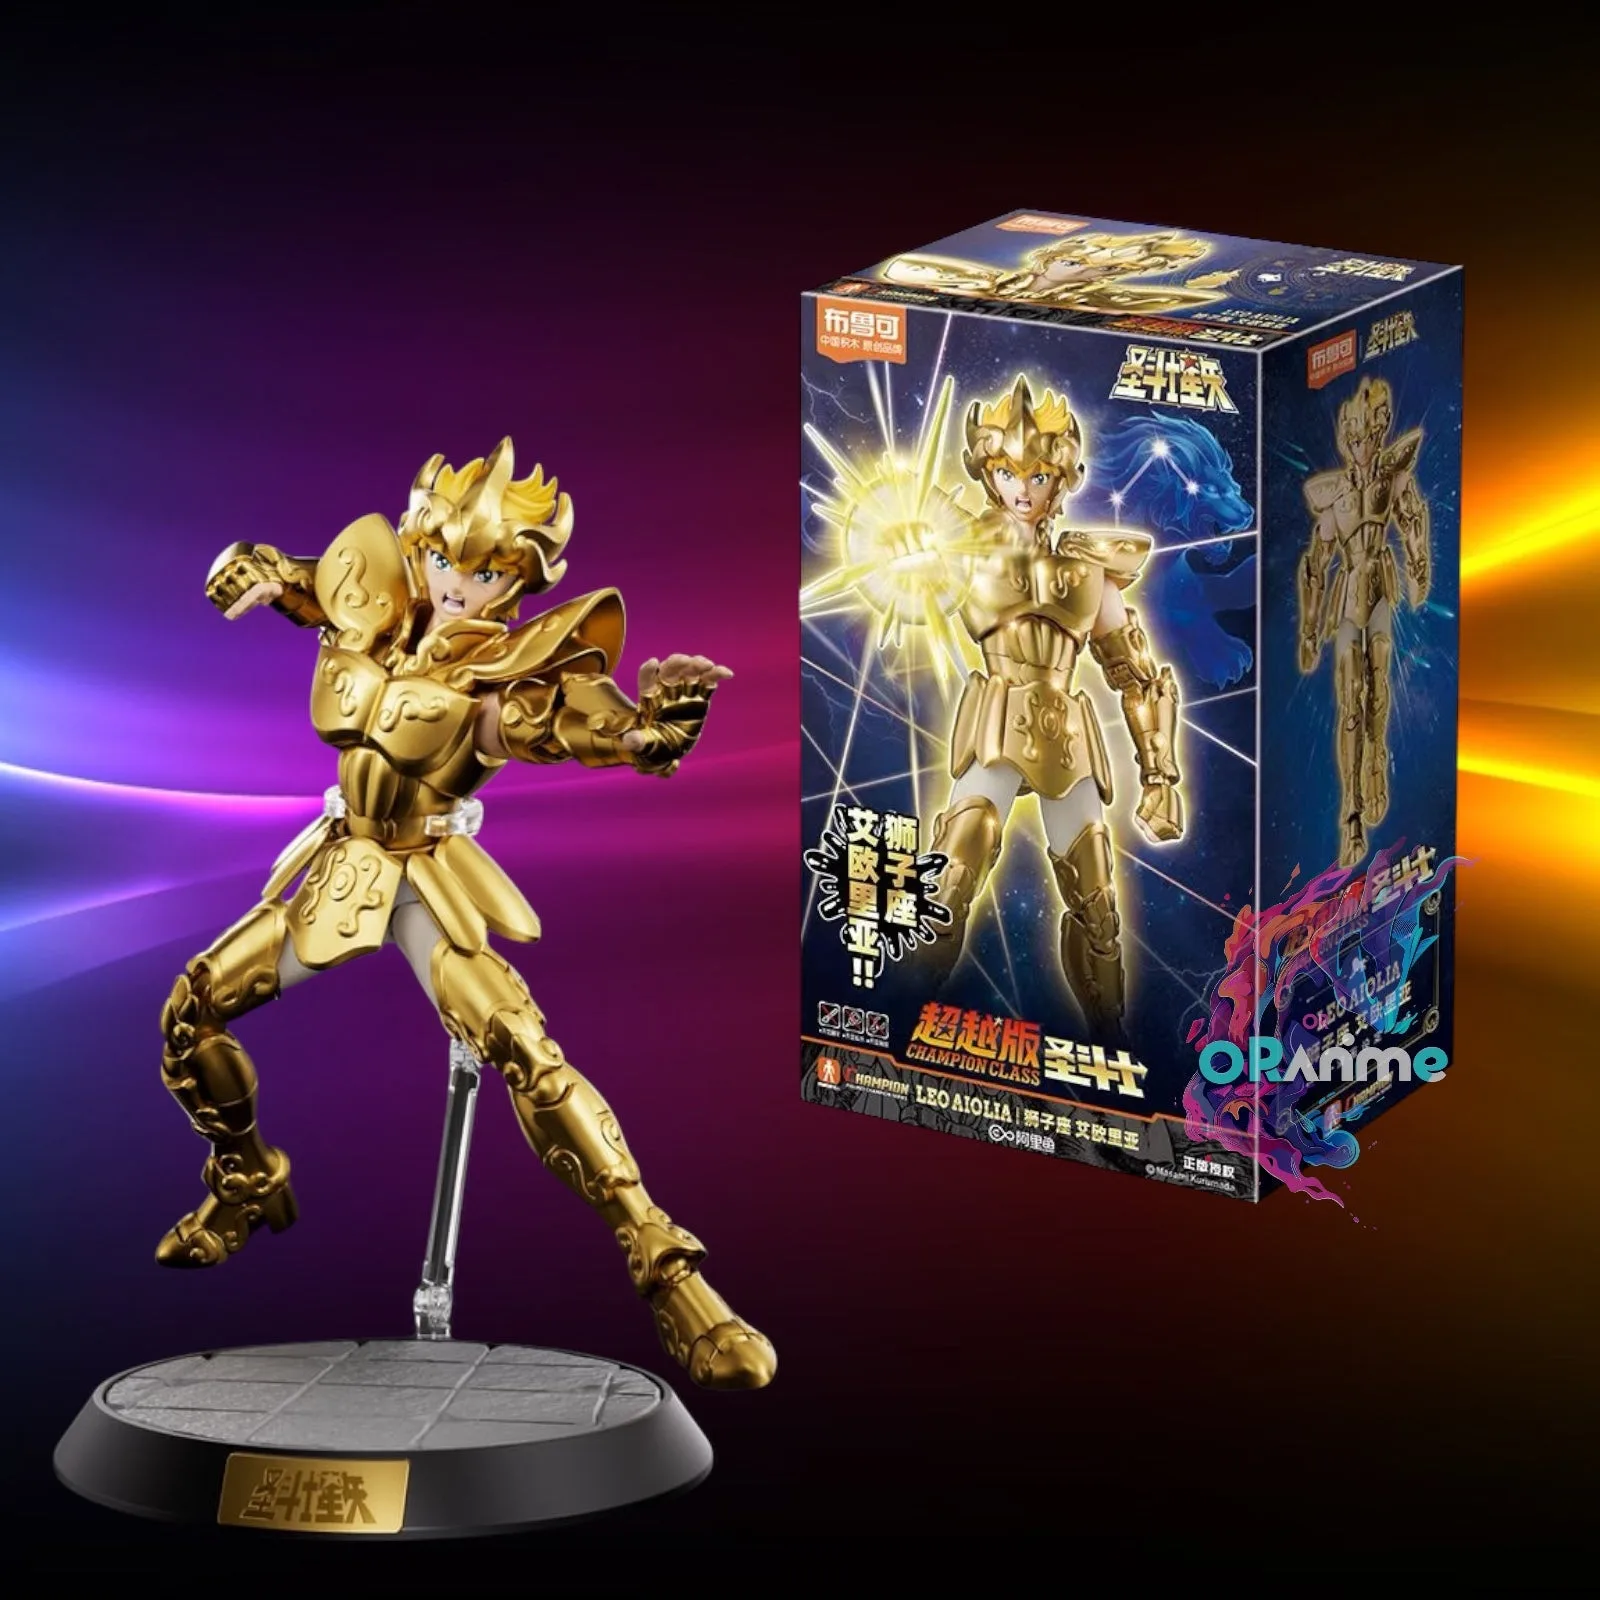
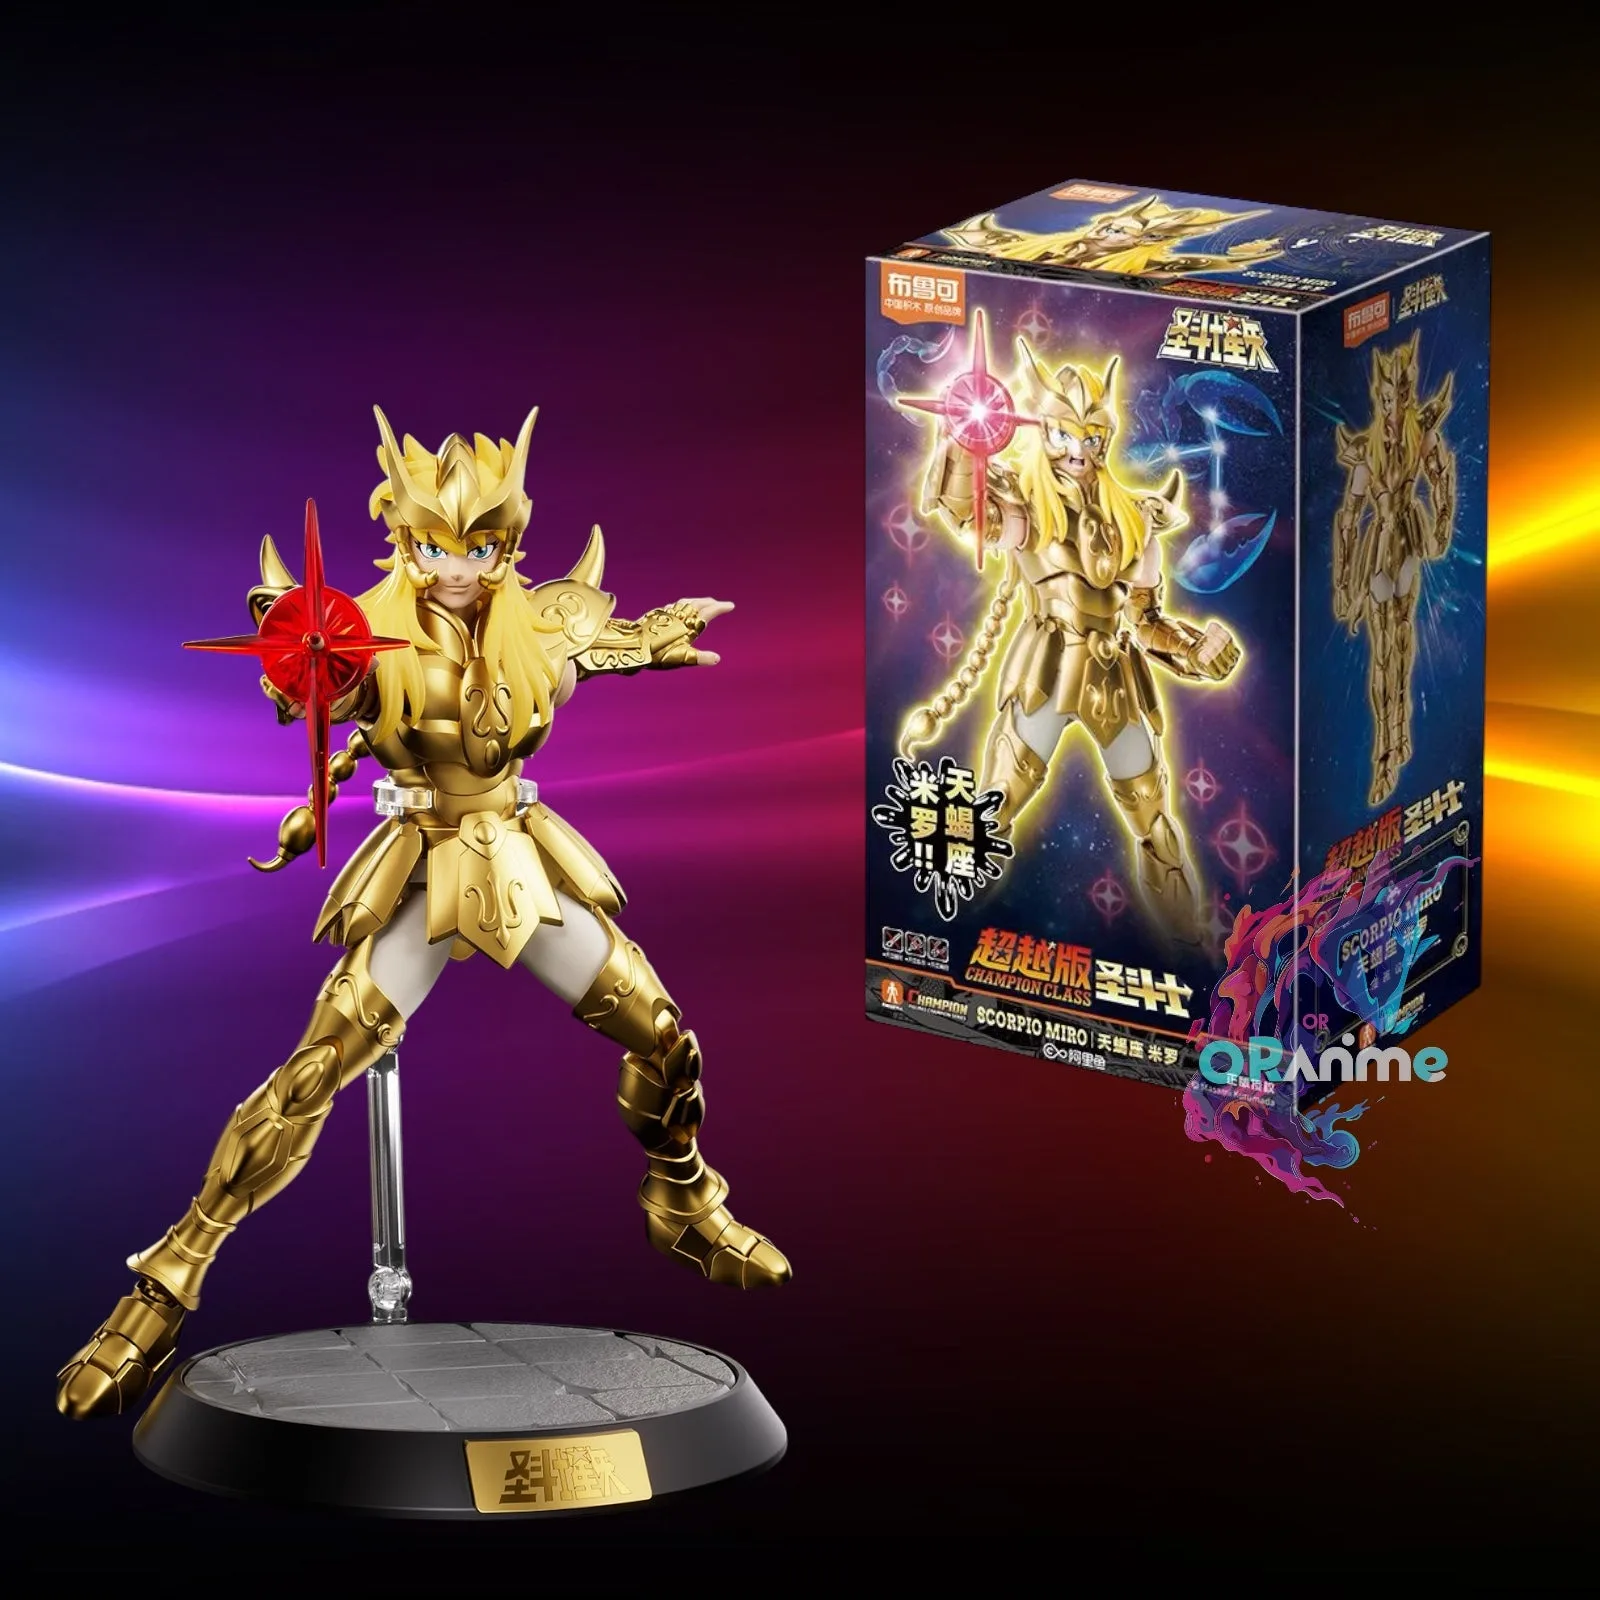
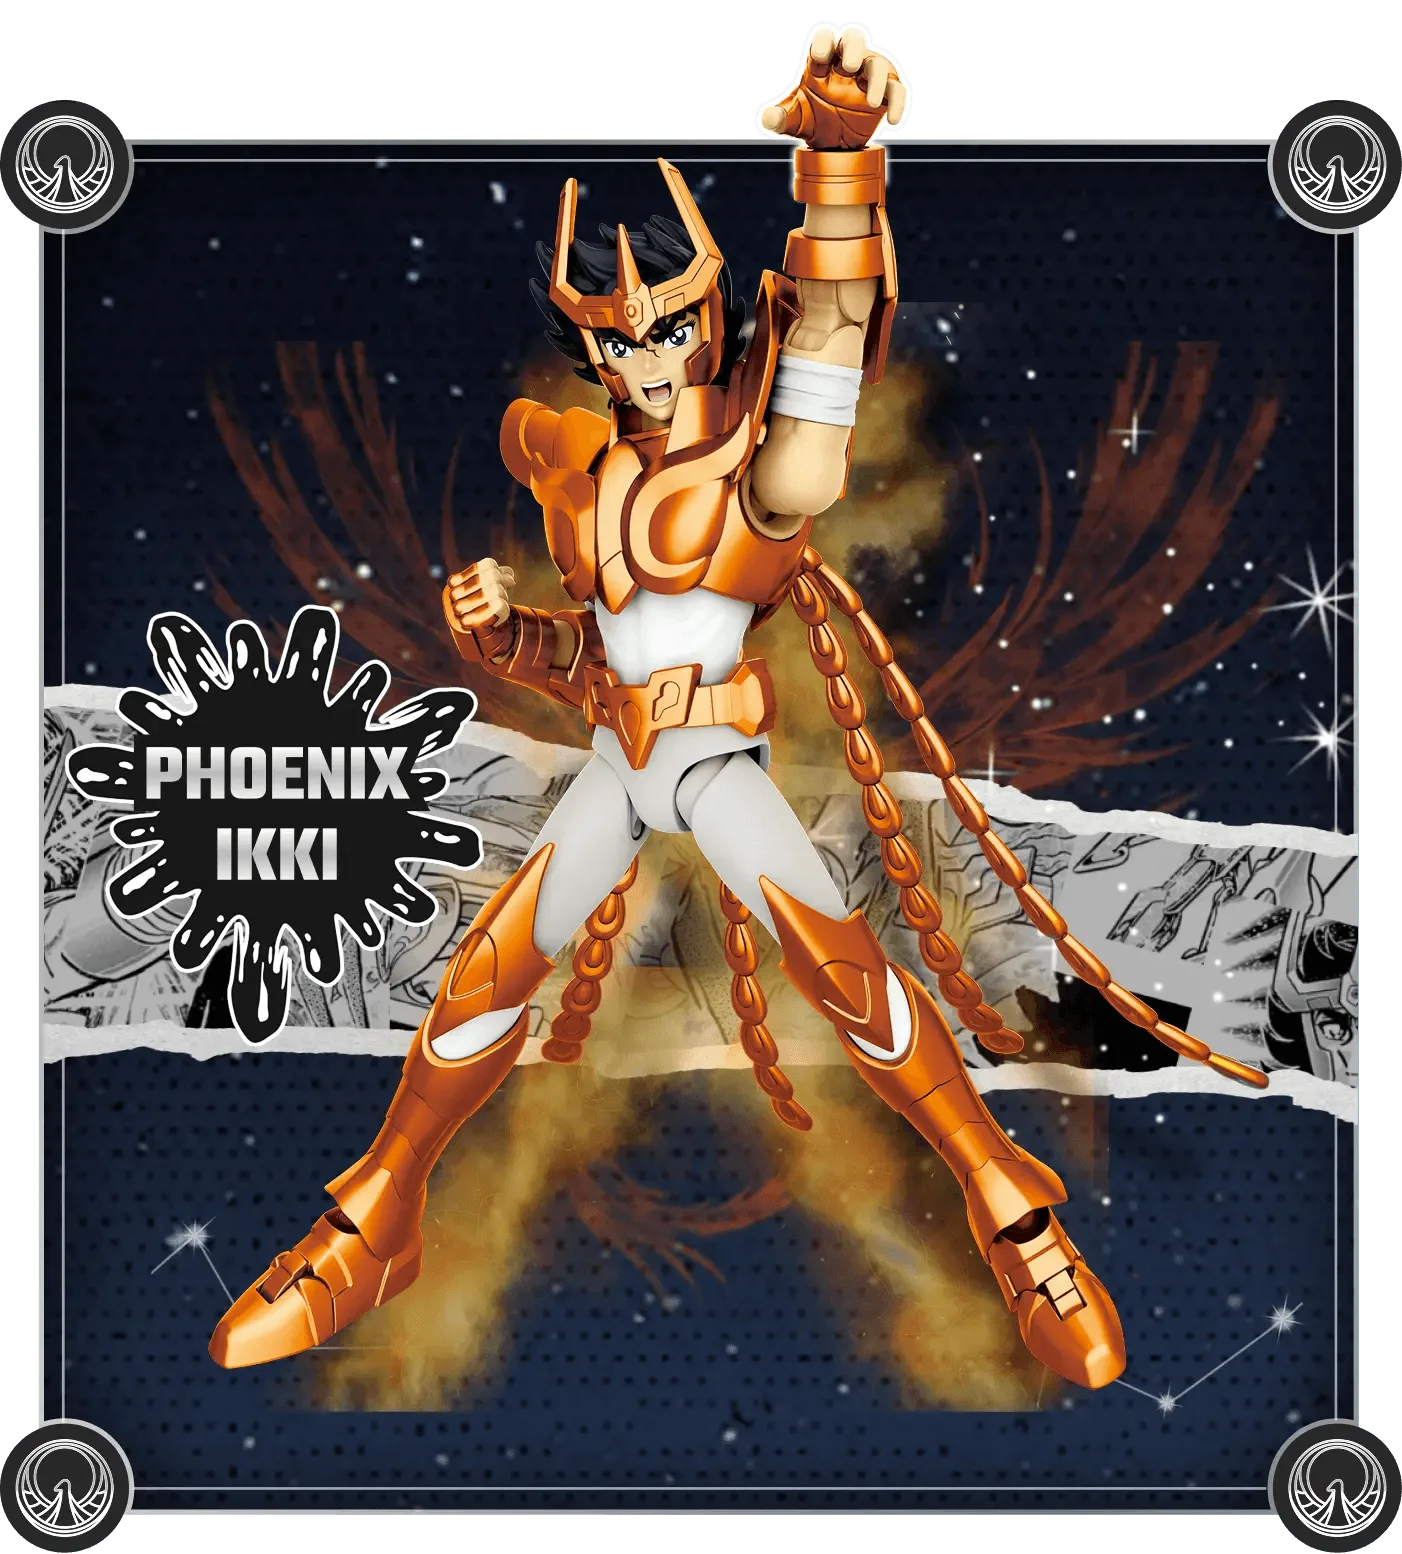
The Pegasus Seiya Gold Ex kit carries a premium gold finish and a higher catalog price, while the Cygnus Hyoga kit offers the same Champion Class assembly experience at a lower cost. Neither kit includes option parts or alternate expressions in the supplied catalog, so your choice comes down to character preference and finish.
Both are buildable action figures with articulated joints, but the gold finish on Seiya may show fingerprints more readily. Handle those parts with care during assembly and keep a soft cloth nearby.
Before you start: tools and workspace
You do not need glue or paint for either kit, but a clean, well-lit workspace makes a real difference. Set aside 45–90 minutes for your first build and keep small parts in a tray so they do not roll away.
- Use a hobby knife or side cutters to trim gates if your kit has them; otherwise, twist parts free carefully.
- Keep the instruction sheet open and follow the part numbers exactly—do not substitute parts between the two kits.
- Work on a light-colored cloth so small pieces are easy to spot.
Step-by-step assembly for either kit
- Sort and inspect parts: Open the box, check the part trees against the instruction sheet, and lay everything out by number. Common mistake: starting before confirming all parts are present. If anything is missing, stop and contact the retailer before assembly. A quick parts check saves a mid-build halt.
- Build the inner frame first: Assemble the torso, arms, and legs without armor to test joint movement. Push joints fully home until they click or seat firmly. Mistake: leaving joints half-pressed, which causes loose limbs later. Test articulation before adding armor; tight joints now prevent floppy poses.
- Attach armor pieces in order: Follow the manual's sequence for chest, shoulders, arms, and legs. For the Seiya Gold Ex kit, handle gold parts by the edges to avoid fingerprints. Mistake: forcing a piece—if it resists, check orientation rather than applying pressure. Armor should click into place with light pressure; resistance means a misaligned peg.
- Fit the head and hands last: Seat the neck joint fully, then attach the desired hands. Mistake: attaching hands before the arm armor, which can make wrist pegs harder to reach. Head and hands are the last connections; keep spare hands in a labeled bag.
- Pose and check stability: Stand the figure and test a few poses. If a joint feels loose, disassemble that section and reseat the joint. Mistake: ignoring a loose ankle—it will limit standing poses. A figure that stands cleanly is fully seated; fix loose joints before display.
Product facts
-
Blokees Saint Seiya Cygnus Hyoga Action Figure Champion Class assemble Model Kit: Champion Class assemble model kit of Cygnus Hyoga with his iconic Cygnus Cloth and a fully articulated figure. The articulated build means you can pose Hyoga after assembly, but joint alignment during the build is critical for stability.
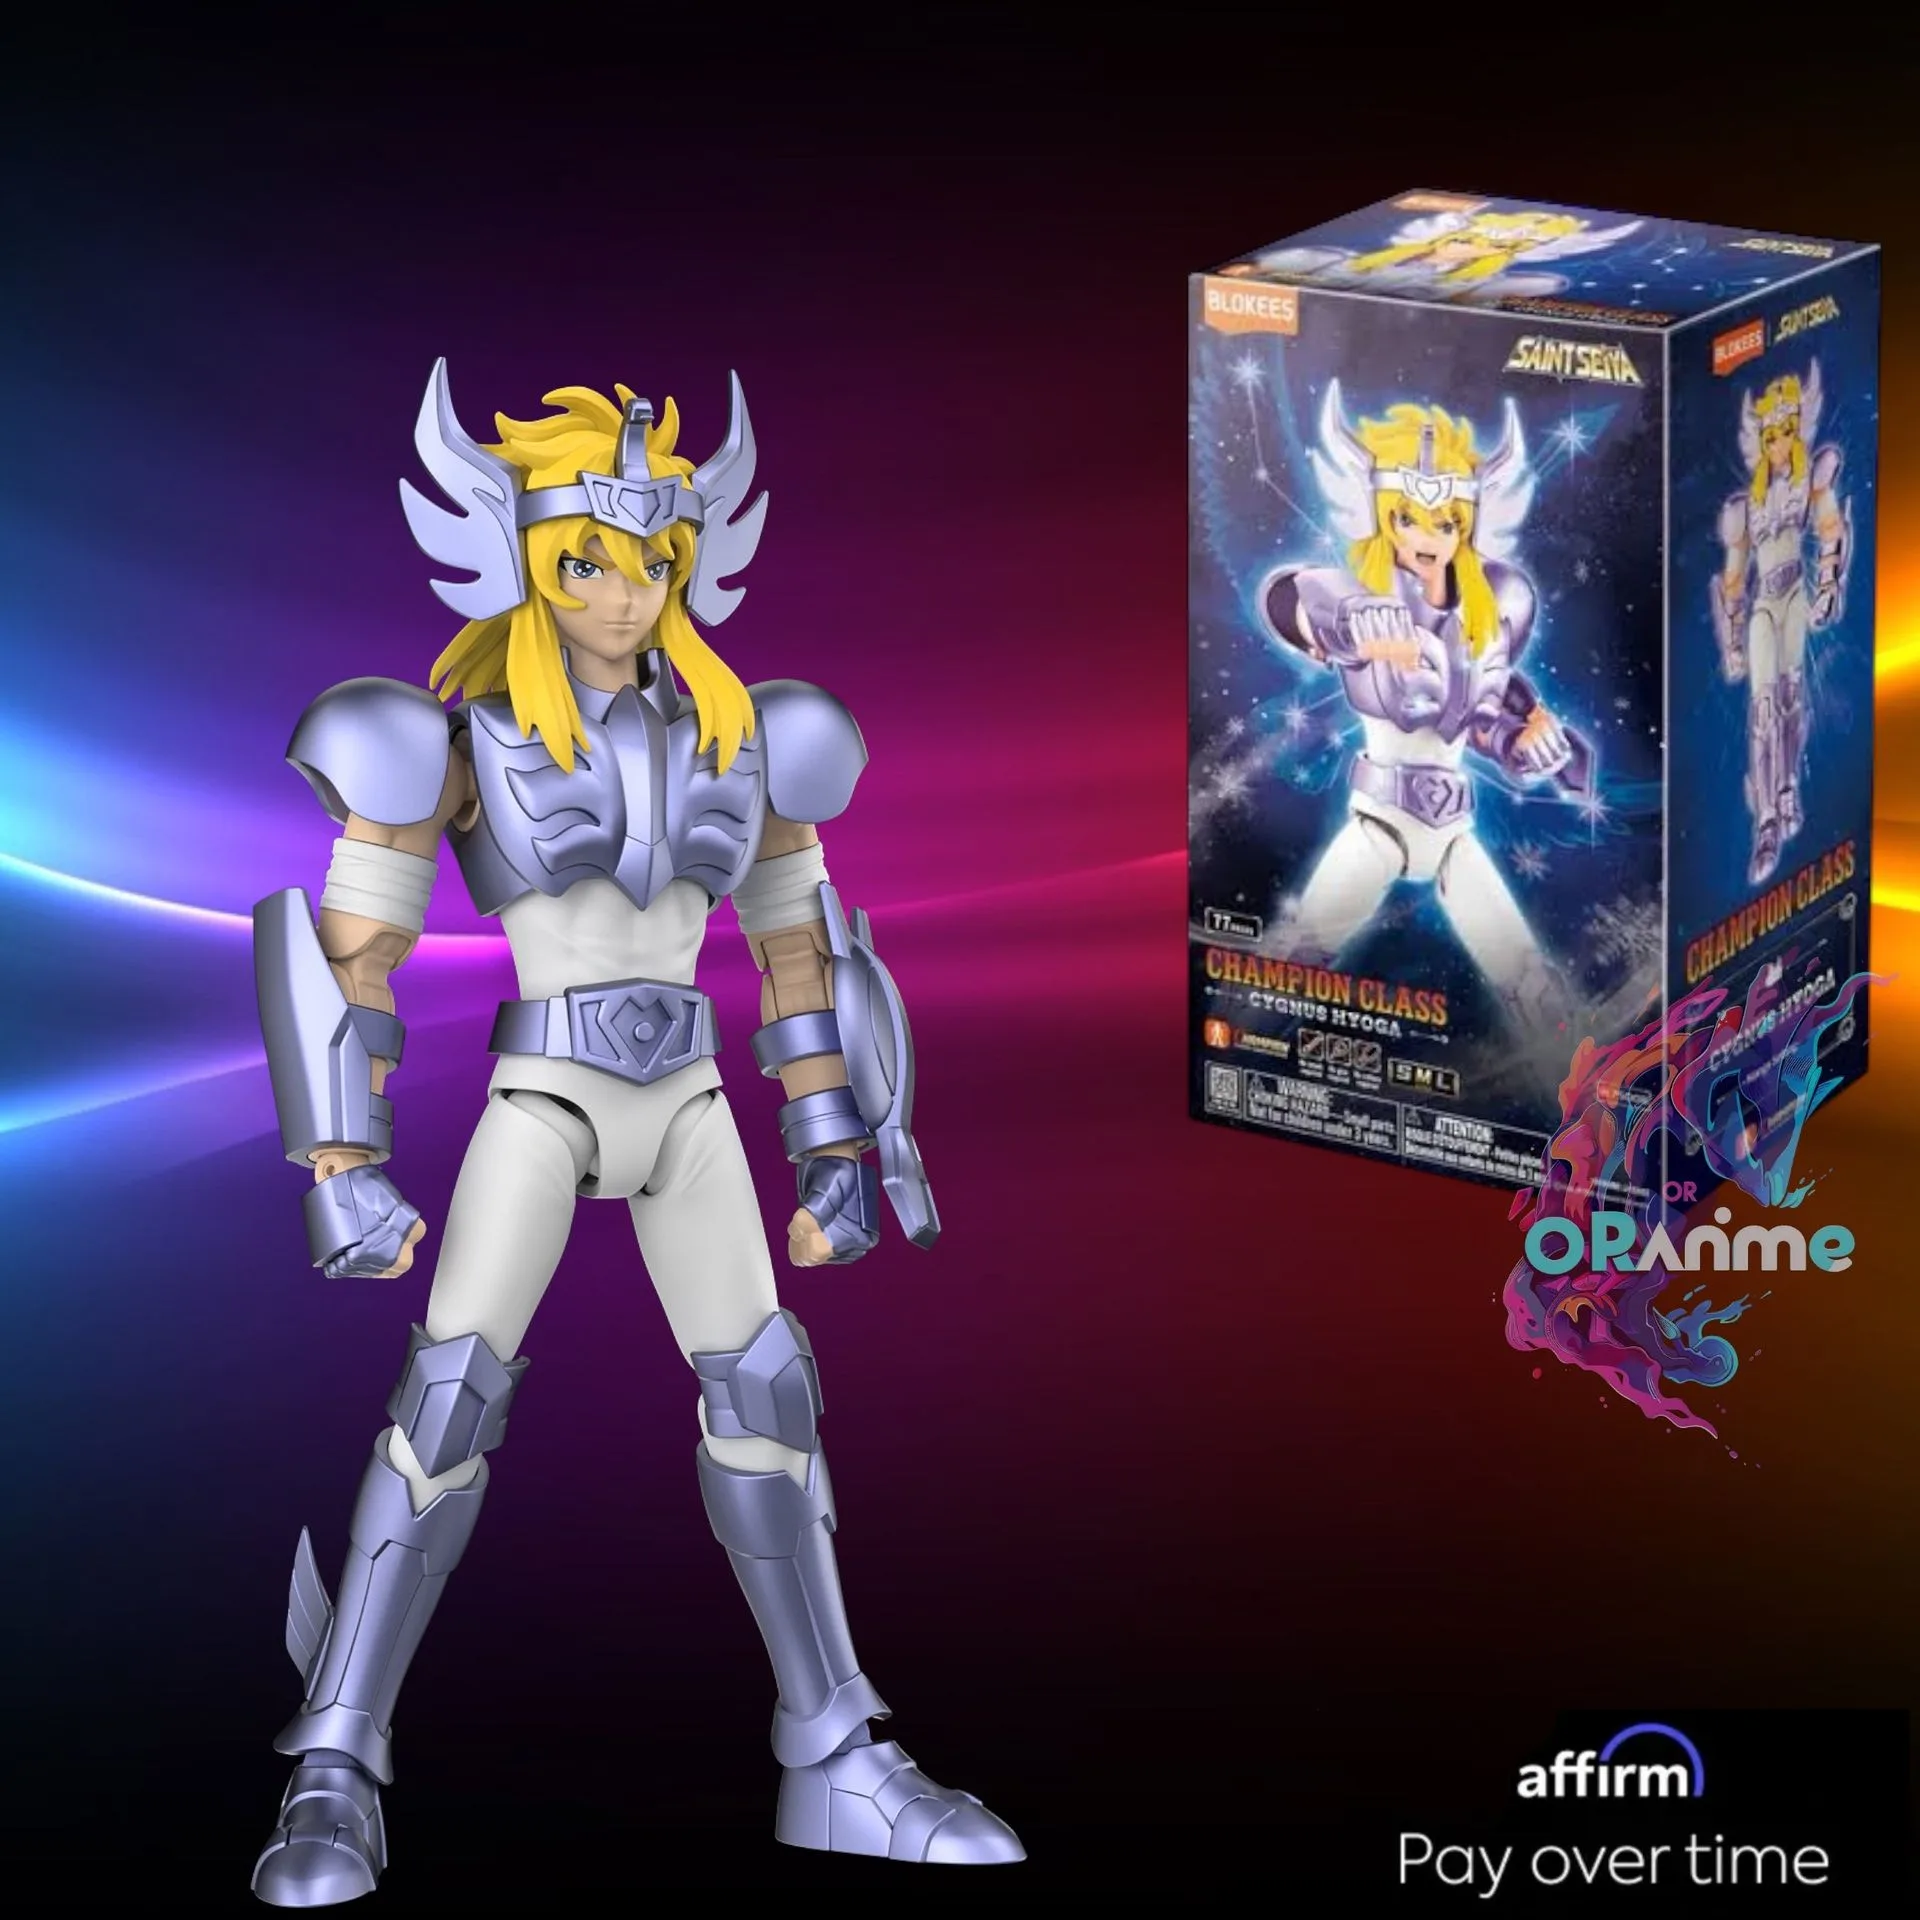
Blokees Saint Seiya Cygnus Hyoga Action Figure Champion Class assemble Model Kit
-
Blokees Saint Seiya Pegasus Seiya Gold Ex Action Figure Champion Class assemble Model Kit: Pegasus Seiya CC04-EX Champion Class kit with a premium gold finish on the armor. The gold finish looks striking on display but can show smudges, so handle armor parts with clean hands or gloves.
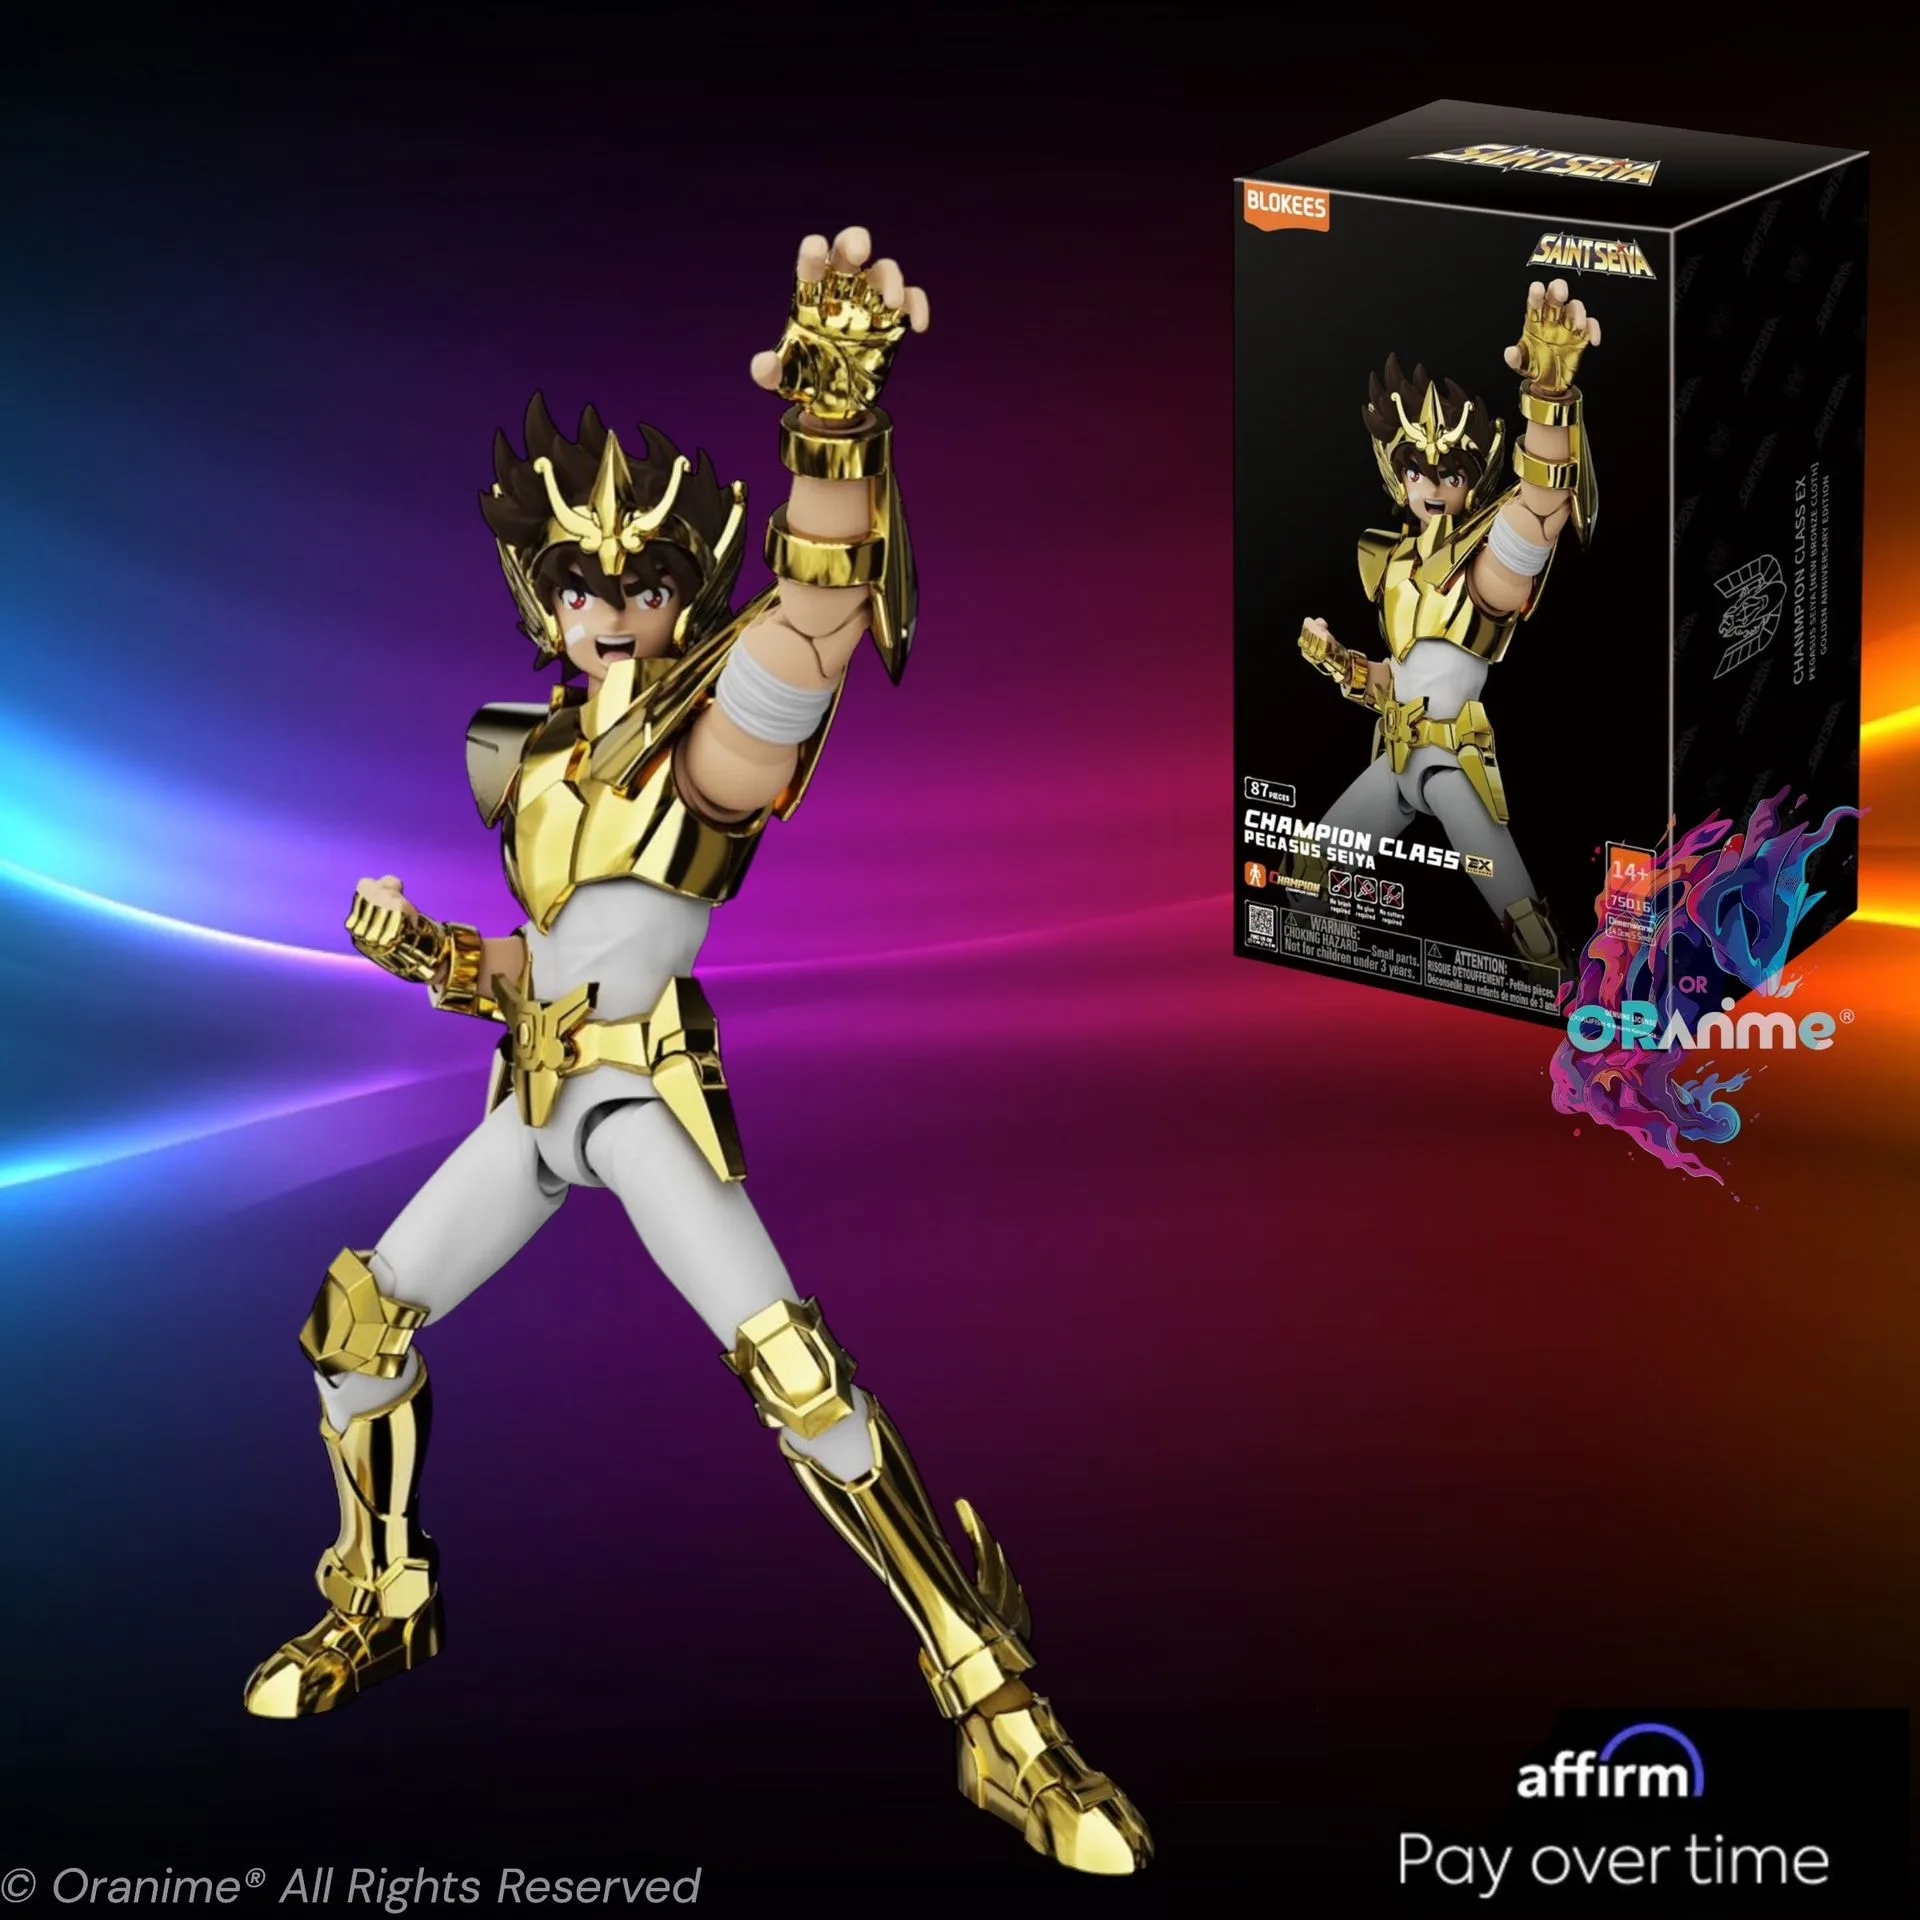
Blokees Saint Seiya Pegasus Seiya Gold Ex Action Figure Champion Class assemble Model Kit