Quick answer
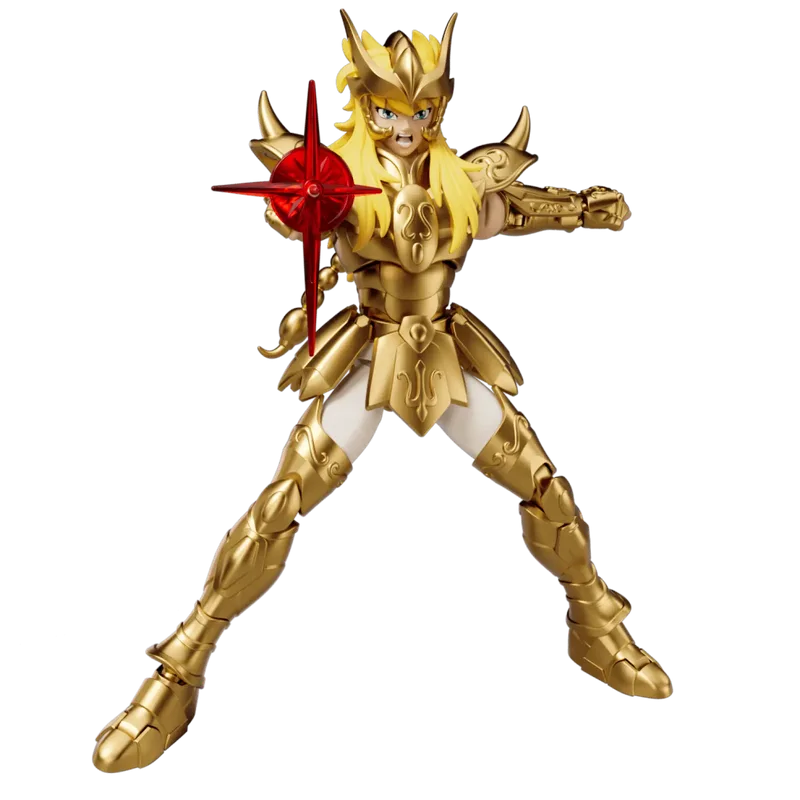
Assemble your Blokees Saint Seiya Scorpio Milo Champion Class model kit by carefully snapping the armor pieces onto the articulated inner frame, starting from the legs upward, and checking each connection for a secure fit before moving on.
What to expect from the Champion Class build
The Blokees Saint Seiya Scorpio Milo kit uses a pre-colored snap-fit system—no glue or paint required. The Champion Class line features a more detailed armor sculpt and better articulation than standard versions, but the smaller pieces can be tricky for beginners. Take your time with the gold cloth sections, as they are delicate and require precise alignment.
Step-by-step assembly process
- 1. Organize the runners: Lay out all parts by runner letter. Separate the inner frame pieces from the armor panels. Check the instruction sheet for the correct runner map. Common mistake: mixing up left and right armor pieces. Label them with a sticky note if needed.
- 2. Build the inner frame: Snap the torso, arms, and leg joints together. The frame uses polycaps for friction; press firmly until you hear a click. Test each joint’s range of motion before adding armor. If a joint is too loose, apply a tiny dab of clear nail polish to the peg and let it dry before reassembling.
- 3. Attach the leg armor: Slide the thigh, shin, and foot armor pieces onto the frame in the order shown. The Scorpio Gold Cloth has overlapping segments—align the tabs with the slots before pressing. Checkpoint: the knee armor should sit flush; a gap means the tab isn’t fully seated.
- 4. Assemble the torso and shoulder armor: Clip the chest plate onto the front of the torso, then attach the shoulder pads. The shoulder pads have a small peg that must angle downward into the socket. Common mistake: forcing the shoulder pad backward. It only locks in one orientation.
- 5. Build the arms and hands: Snap the upper arm, forearm, and hand pieces. Milo’s right hand is sculpted for the Scorpion Sting pose—make sure you use the correct hand part for your desired display. The hand peg is small; use tweezers to hold it while pressing to avoid bending the wrist joint.
- 6. Attach the head and face: Insert the face part into the helmet, then snap the helmet onto the neck peg. The helmet has a front and back half—align the seam carefully. Checkpoint: the face should look straight ahead; if it tilts, the neck peg isn’t fully inserted.
- 7. Final pose and display: Once all armor is attached, pose Milo in a dynamic stance. The Champion Class articulation allows wide leg spreads and arm raises. Place the figure on a flat surface and adjust the balance. If the figure leans forward, the back armor piece may not be clipped on. Double-check the torso connection.
Product details
-
Blokees Saint Seiya Scorpio Milo ♏ Action Figure Champion Class assemble Model Kit: This Blokees Saint Seiya assemble model toy captures Milo’s iconic Scorpio Gold Cloth with intricate armor design and dynamic articulation. The detailed armor pieces snap onto a pre-built inner frame, so you can pose Milo in battle stances without worrying about parts falling off—if you assemble each joint correctly.
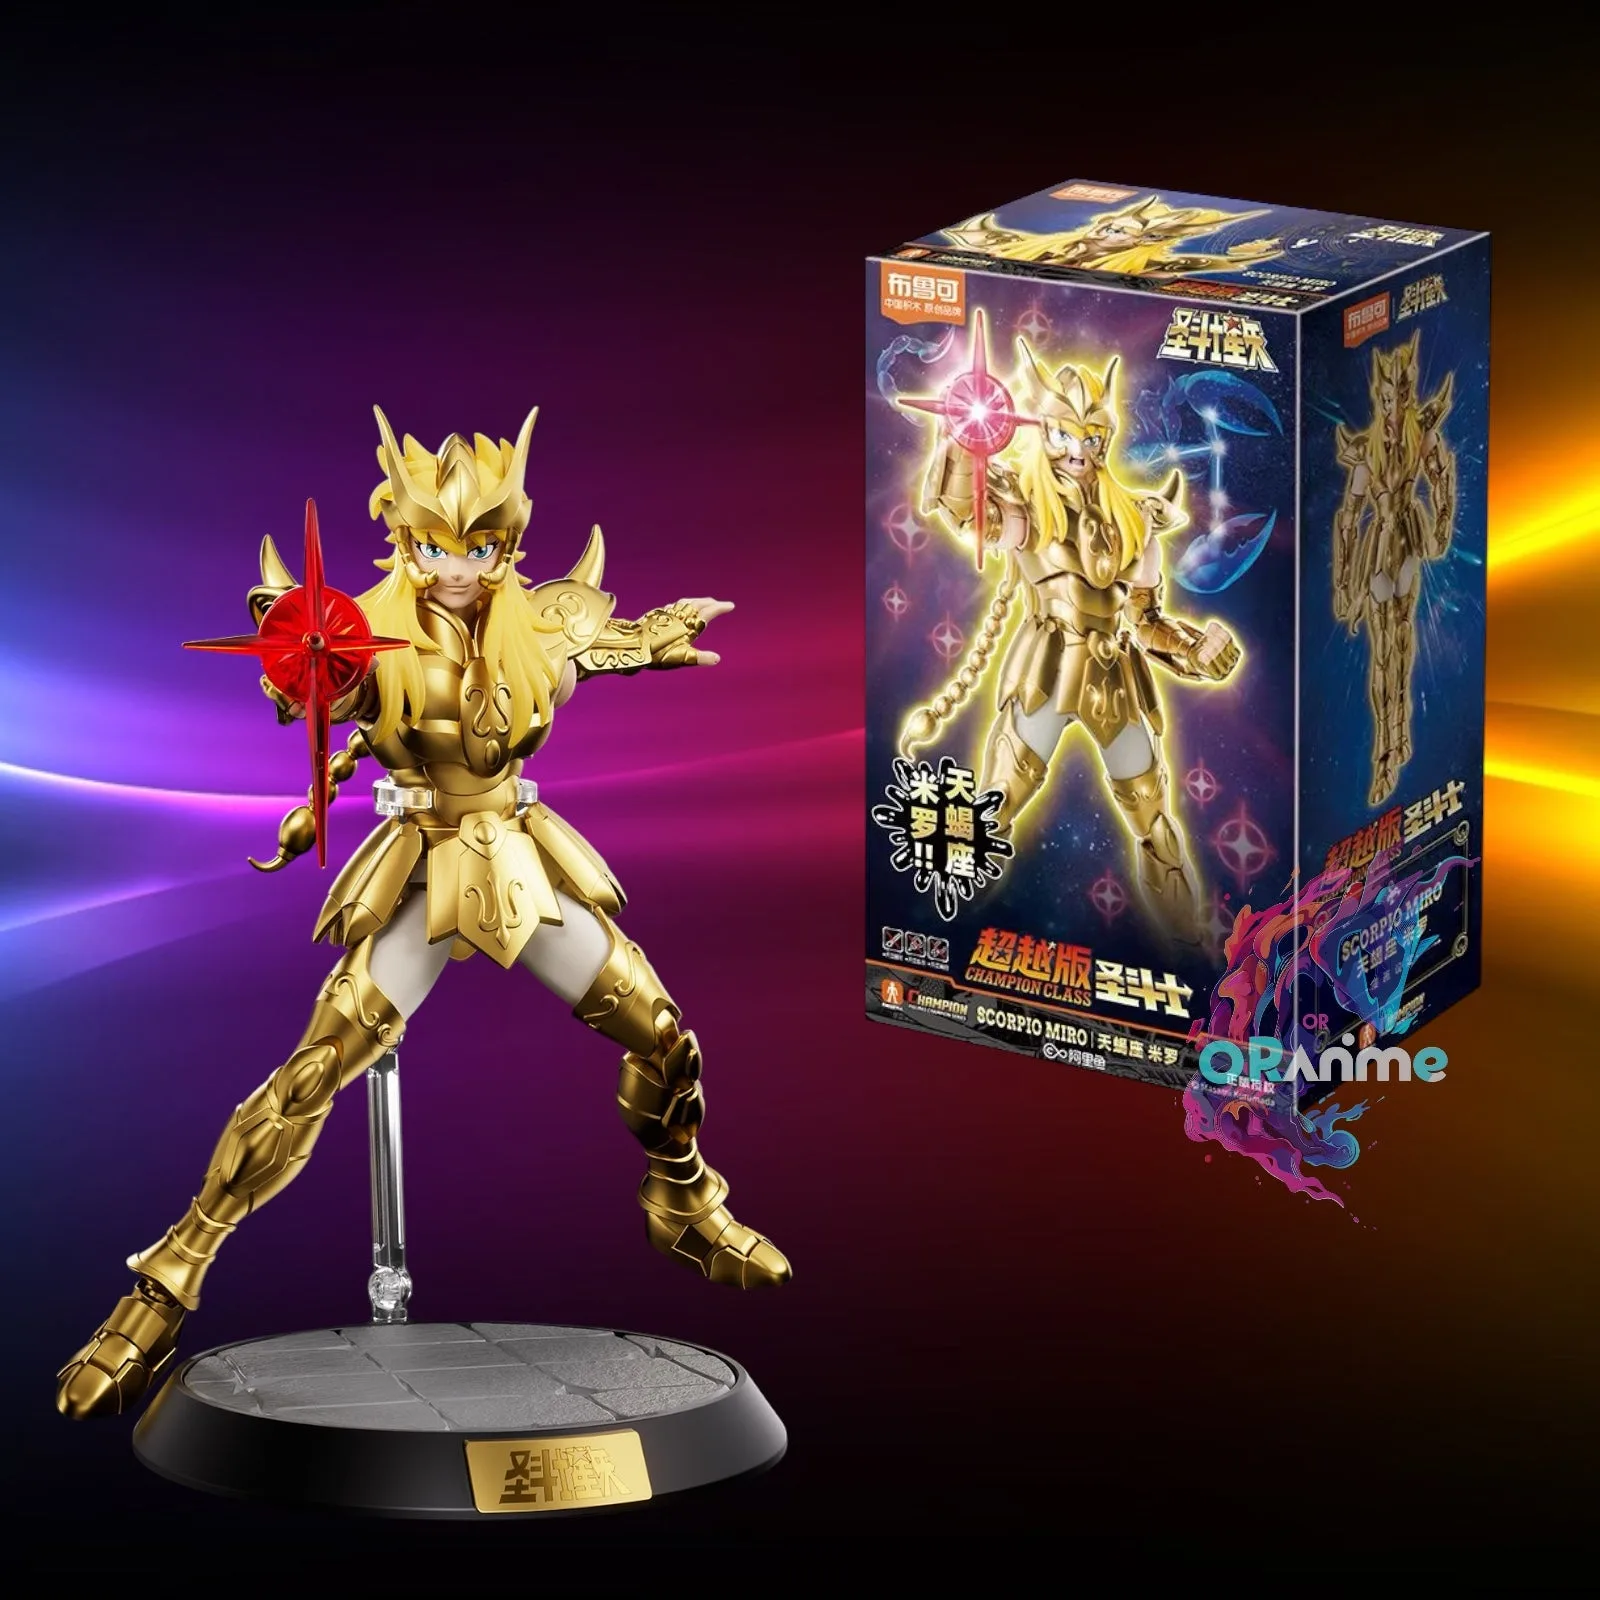
Blokees Saint Seiya Scorpio Milo ♏ Action Figure Champion Class assemble Model Kit