Quick answer
Start with a soft, quick-release restraint such as faux leather wrist cuffs rather than rope, because cuffs are easier to remove if you panic. Agree on a safe word and a physical check-in signal before anything goes on, keep one hand free or a safety shears within reach, and stop immediately if either of you feels numb, dizzy, or uneasy.
Choose Your First Restraint: Cuffs vs Rope
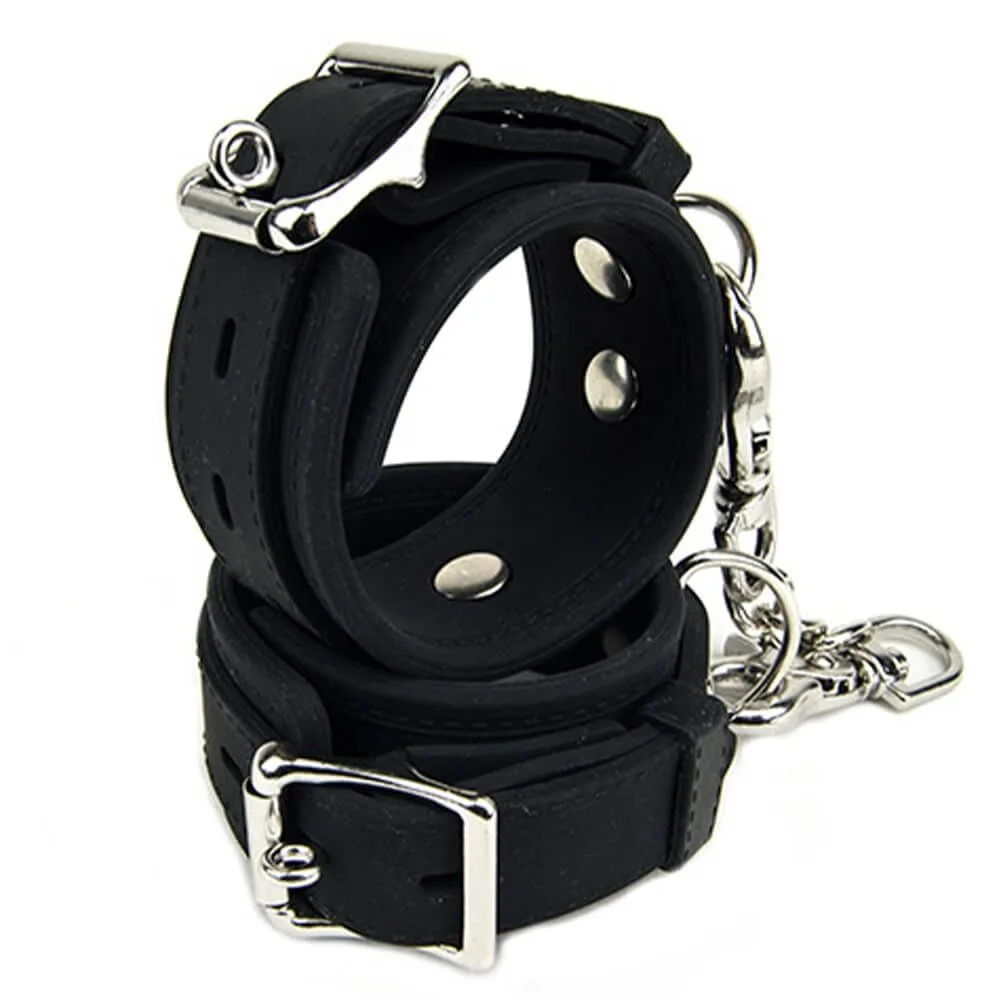
For a first experience, wrist cuffs are the lower-risk option. A good pair fastens with a buckle or Velcro and releases in one motion, so you are never fumbling with knots while your partner waits. Rope gives you more freedom to improvise, but it also demands more knowledge: the wrong wrap can tighten under tension and press on nerves in the wrist. If you want rope, learn two or three basic knots on your own ankle first, and never tie anything you cannot undo in seconds.
Whichever you pick, test the restraint on yourself before using it on a partner. Fasten it, move your hand through a full range of motion, and check that you can still slip a finger under the band. If you cannot, it is too tight.
Agree on Safe Words and Consent Before You Start
A safe word only works if both people remember it under pressure, so choose something short and unrelated to sex, like 'red' or a random object. Pair it with a non-verbal signal, such as dropping a set of keys or tapping three times, because a partner who is gagged, face-down, or holding a position may not be able to speak clearly. Consent is not a one-time checkbox: check in at the start, after each new restraint goes on, and during any position change.
If you are playing with someone new, keep the first session short and low-intensity. Ten minutes of wrist cuffs with an easy release teaches you more about compatibility than an hour of complicated rope work.
Set Up the Space and Your Safety Kit
Clear the floor, keep a phone within reach, and put safety shears where the person tying can grab them without stepping away. Avoid restraints that attach to a fixed point above head height for your first session, because a partner who faints or loses balance can put dangerous strain on the shoulders. A bed with a slatted headboard or a sturdy chair is usually enough.
Temperature matters too. A cool room makes muscles tense, which makes numbness more likely, so warm the space before you begin and keep a blanket nearby for aftercare.
How to Use Wrist Cuffs Without Cutting Off Circulation
Fasten cuffs snugly but not tightly, then check the fit by sliding one finger between the cuff and the skin. Rotate the wrist through a slow circle and ask your partner to report any tingling, pins and needles, or colour change in the fingers. If any of those appear, loosen or remove the cuff immediately; nerve compression can happen in minutes and is not something to push through.
If you clip cuffs together, use a quick-release clip rather than a padlock for early sessions. Keep the clip where your partner can reach it if you agree they may release themselves, and never leave a bound person alone.
Rope Safety: What Beginners Should Avoid
Avoid rope around the neck, and avoid any wrap that crosses the front of the throat or compresses the chest. Keep rope away from joints where nerves sit close to the surface, especially the inner wrist and the back of the knee. Never suspend anyone from rope as a beginner; suspension requires dedicated equipment, a hard point rated for the load, and training that a blog post cannot replace.
Choose a rope with a little give, such as a soft braided synthetic or cotton, rather than a stiff or slippery material that either cuts in or slips loose. Cut rope into manageable lengths and keep the ends tidy so they do not tighten when your partner moves.
Ankle Restraints and Position Changes
Ankle restraints follow the same fit rule as wrist cuffs: one finger of slack, no tingling, and a quick release. If you connect ankles to wrists, keep the connection long enough that your partner can still bend their knees and shift their hips. Short connections force the lower back into a strained position and are a common cause of next-day pain.
Change position every ten to fifteen minutes. Ask your partner to wiggle fingers and toes, and treat any numbness as a full stop, not a signal to loosen and continue.
Aftercare and Cleanup
Remove restraints slowly, especially if they have been on for more than a few minutes, and check the skin for red marks, indentations, or swelling. Offer water and a blanket, and talk about what felt good and what did not while it is fresh. Wipe cuffs with a damp cloth and mild soap, then let them air dry fully before storing them.
If a mark does not fade within an hour, or if your partner reports ongoing tingling, seek medical advice rather than waiting it out.
Your First Bondage Session, Step by Step
- 1. Talk it through before anything comes out of the drawer: Agree on a safe word, a non-verbal signal, and one hard limit each. Decide who will do the tying and confirm that either person can call a stop at any time. Checkpoint: if you cannot say your safe word out loud right now, pick an easier one.
- 2. Test the restraint on your own wrist: Fasten the cuff or tie a loose wrap, then move your hand and check that one finger fits under the band and you can release it in one motion. Common mistake: skipping this and discovering the buckle is stiff only after your partner is already bound.
- 3. Set up the room and your safety kit: Clear the floor, place safety shears and a phone within reach of the person tying, warm the room, and keep a blanket nearby for aftercare. Checkpoint: if you have to step over clutter to reach the shears, rearrange before you start.
- 4. Apply the first restraint and check circulation: Fasten wrist cuffs snugly, then ask your partner to rotate each wrist and report tingling, numbness, or colour change. Loosen or remove at the first sign of any of these. Common mistake: treating pins and needles as a normal part of bondage. It is not.
- 5. Add a second point only after the first is comfortable: If you connect ankles, keep the link long enough for bent knees, and use a quick-release clip rather than a lock. Change position every ten to fifteen minutes. Checkpoint: fingers and toes should wiggle freely at every position change.
- 6. End with aftercare and a debrief: Remove restraints slowly, check the skin, offer water and warmth, and talk about what worked while it is fresh. Clean cuffs with mild soap and let them dry fully. Next step: if a mark or tingling lasts more than an hour, contact a medical professional.
Beginner-Friendly Options at Harmony
- Fifty Shades of Grey Bound to You Faux Leather Wrist Cuffs: Fifty Shades of Grey Bound to You Faux Leather Wrist Cuffs are official faux leather wrist cuffs designed for sensual bondage play. A cuff pair gives you a fast, familiar release, which is the safest starting point when you are still learning how your partner responds to being restrained.
- Loving Joy Butt Plug Training Kit (4 Pieces): The Loving Joy Butt Plug Training Kit (4 Pieces) features a tapered tip for easy insertion and a handle for safety and easy removal, and is designed for beginners. If your restraint session includes anal play, a handled, tapered set lets you remove the toy quickly without losing your grip, which matters when movement is limited.
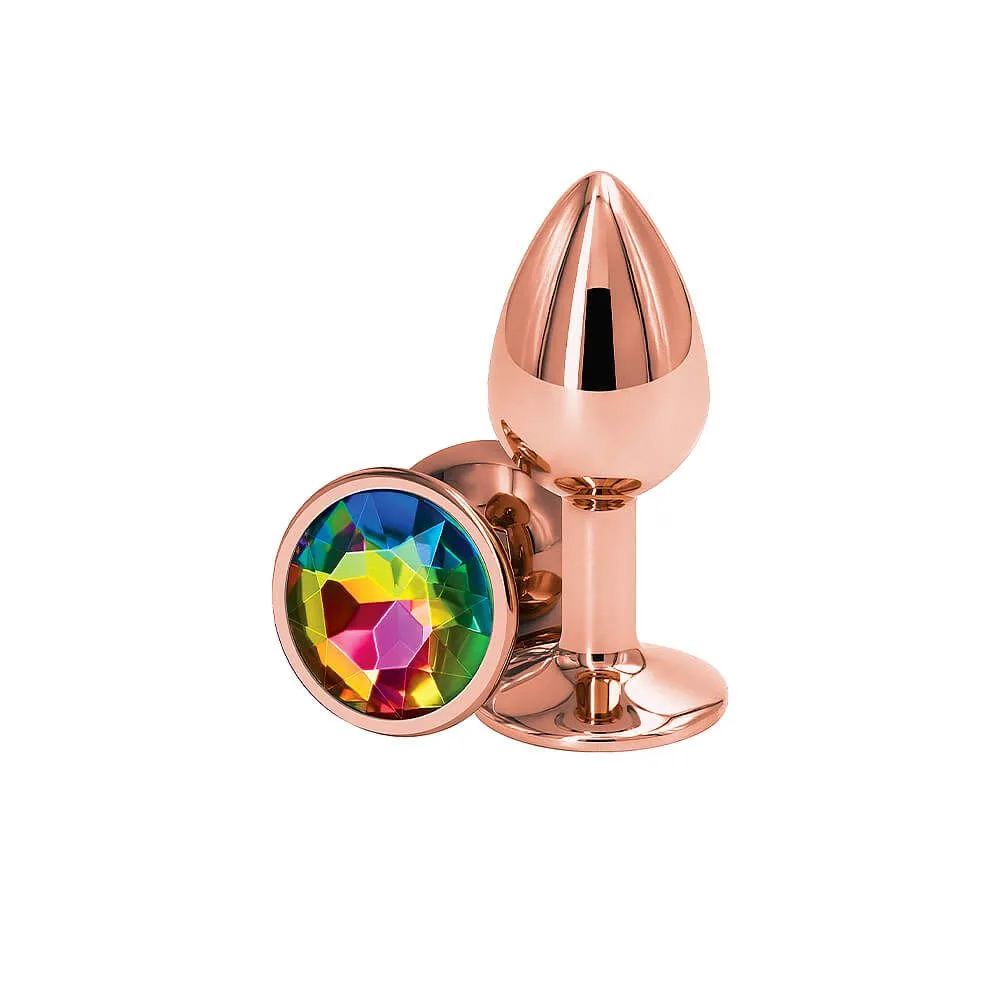
- Precious Metals Small Gold Anal Plug: Precious Metals Small Gold Anal Plug has a jewelled base and classic teardrop shape for easy insertion, comes in two sizes, and is ideal for temperature play. A small, wide-based plug stays put without deep insertion, so it suits a first session where you want sensation without adding another thing to manage.