Quick answer
Start with a correct flange fit, add cushioning only if it does not break suction, and treat every long pumping session as a mini recovery window. Check your nipple position before you start, keep the session as short as your output allows, and use a simple after-pump routine to reduce soreness.
Why long pumping days need a different routine
A single 20-minute pump is not the same as four back-to-back sessions. Repeated suction, friction, and positioning errors add up, so the goal is not just a better pump but a repeatable routine that keeps you comfortable from the first session to the last. Small adjustments, like checking that your nipple moves freely in the tunnel and that no breast tissue is pulled in, make a bigger difference on long days than any single product.
Step 1: Check flange fit before every session
Fit can change during the day as fullness shifts. Before you start, center your nipple in the flange tunnel and look for a small amount of movement without rubbing. If the tunnel feels tight or you see a lot of areola pulled in, try a different insert size. BabyBuddha offers 21mm and 15mm flange inserts that fit wearable pumps and 24mm flanges, so you can adjust without replacing the whole pump setup. The 21mm insert is often a practical starting point if standard 24mm flanges feel too large, while the 15mm insert suits a smaller fit. Neither is a universal answer, so treat sizing as a trial, not a one-time decision.
Step 2: Reduce friction during the session
Friction is a common cause of sore nipples during pumping. Make sure the flange tunnel is dry before you start, and avoid pulling the pump away from your breast mid-session. If you use a cushioning insert, check that it stays seated and does not fold. A folded insert can break the seal and force you to turn up the suction, which usually makes soreness worse. If you feel pinching, stop and reposition rather than pushing through it.
Step 3: Use suction you can sustain
Higher suction is not automatically better. Start low and increase only until milk flows well, then stop. On long pumping days, a slightly lower setting that you can maintain for every session is more useful than a high setting that leaves you sore by the afternoon. If output drops while suction is high, the problem is usually fit or positioning, not strength.
Step 4: Protect your clothes and skin between pumps
Leaks between sessions add to skin irritation and laundry, especially when you are pumping often. Disposable breast pads can keep you dry and reduce the chance of damp fabric rubbing against already sensitive skin. Change them when they feel damp rather than waiting for a full day, and keep a spare pair in your pump bag so you are not caught off guard.
Step 5: Cool down and moisturize after the last pump
After your final session of the day, give your nipples a few minutes of air before putting on a bra. A cool compress can feel soothing if you are sore. If you use nipple cream, apply a small amount and let it absorb. Avoid harsh soaps on the nipple area, since they can dry out skin that is already stressed. This step is about recovery, not another task, so keep it to two or three minutes.
Step 6: Reset your pump parts for the next day
Long pumping days often mean you are cleaning parts in a hurry. Rinse flanges and inserts promptly so milk residue does not dry in the tunnel, and check that inserts are not cracked or stretched before you store them. A cracked insert can create a poor seal and lead to more suction, more friction, and more soreness the next day. If you rotate between sizes, keep each pair labeled so you are not guessing at 6 a.m.
Your ordered long-day pumping routine
- Before the first pump: fit check: Center your nipple in the flange tunnel and confirm it moves without rubbing. If it feels tight or pulls in areola, switch insert size before you start. Checkpoint: no pinching in the first 30 seconds.
- During each pump: stay dry and seated: Keep the flange tunnel dry, avoid pulling the pump away mid-session, and use the lowest suction that still empties you well. Checkpoint: you can sustain the same suction for every session that day.
- Between pumps: change pads and reset: Swap damp disposable pads for dry ones and rinse flanges and inserts so residue does not dry in the tunnel. Checkpoint: no damp fabric against your skin between sessions.
- After the last pump: two-minute recovery: Let your nipples air dry, apply a cool compress if sore, and use a small amount of nipple cream if needed. Checkpoint: soreness should not be worse the next morning.
Products that support a pumping self care routine
- Flange Inserts – 21mm (2-pack) for Wearable Breast Pump and 24mm Flanges: 21mm Flange Inserts (2-pack) for wearable breast pumps and 24mm flanges, designed to help with alignment, comfort, and milk expression. A better fit can reduce friction and help you avoid turning up suction to compensate, which matters most on long pumping days.
- Flange Inserts – 15mm (2-pack) for Wearable Breast Pump and 24mm Flanges: 15mm Flange Inserts (2-pack) for wearable breast pumps and 24mm flanges, designed to help with alignment, comfort, and milk expression. If the 21mm insert still feels too large, a smaller insert gives you another fit option without replacing your pump.
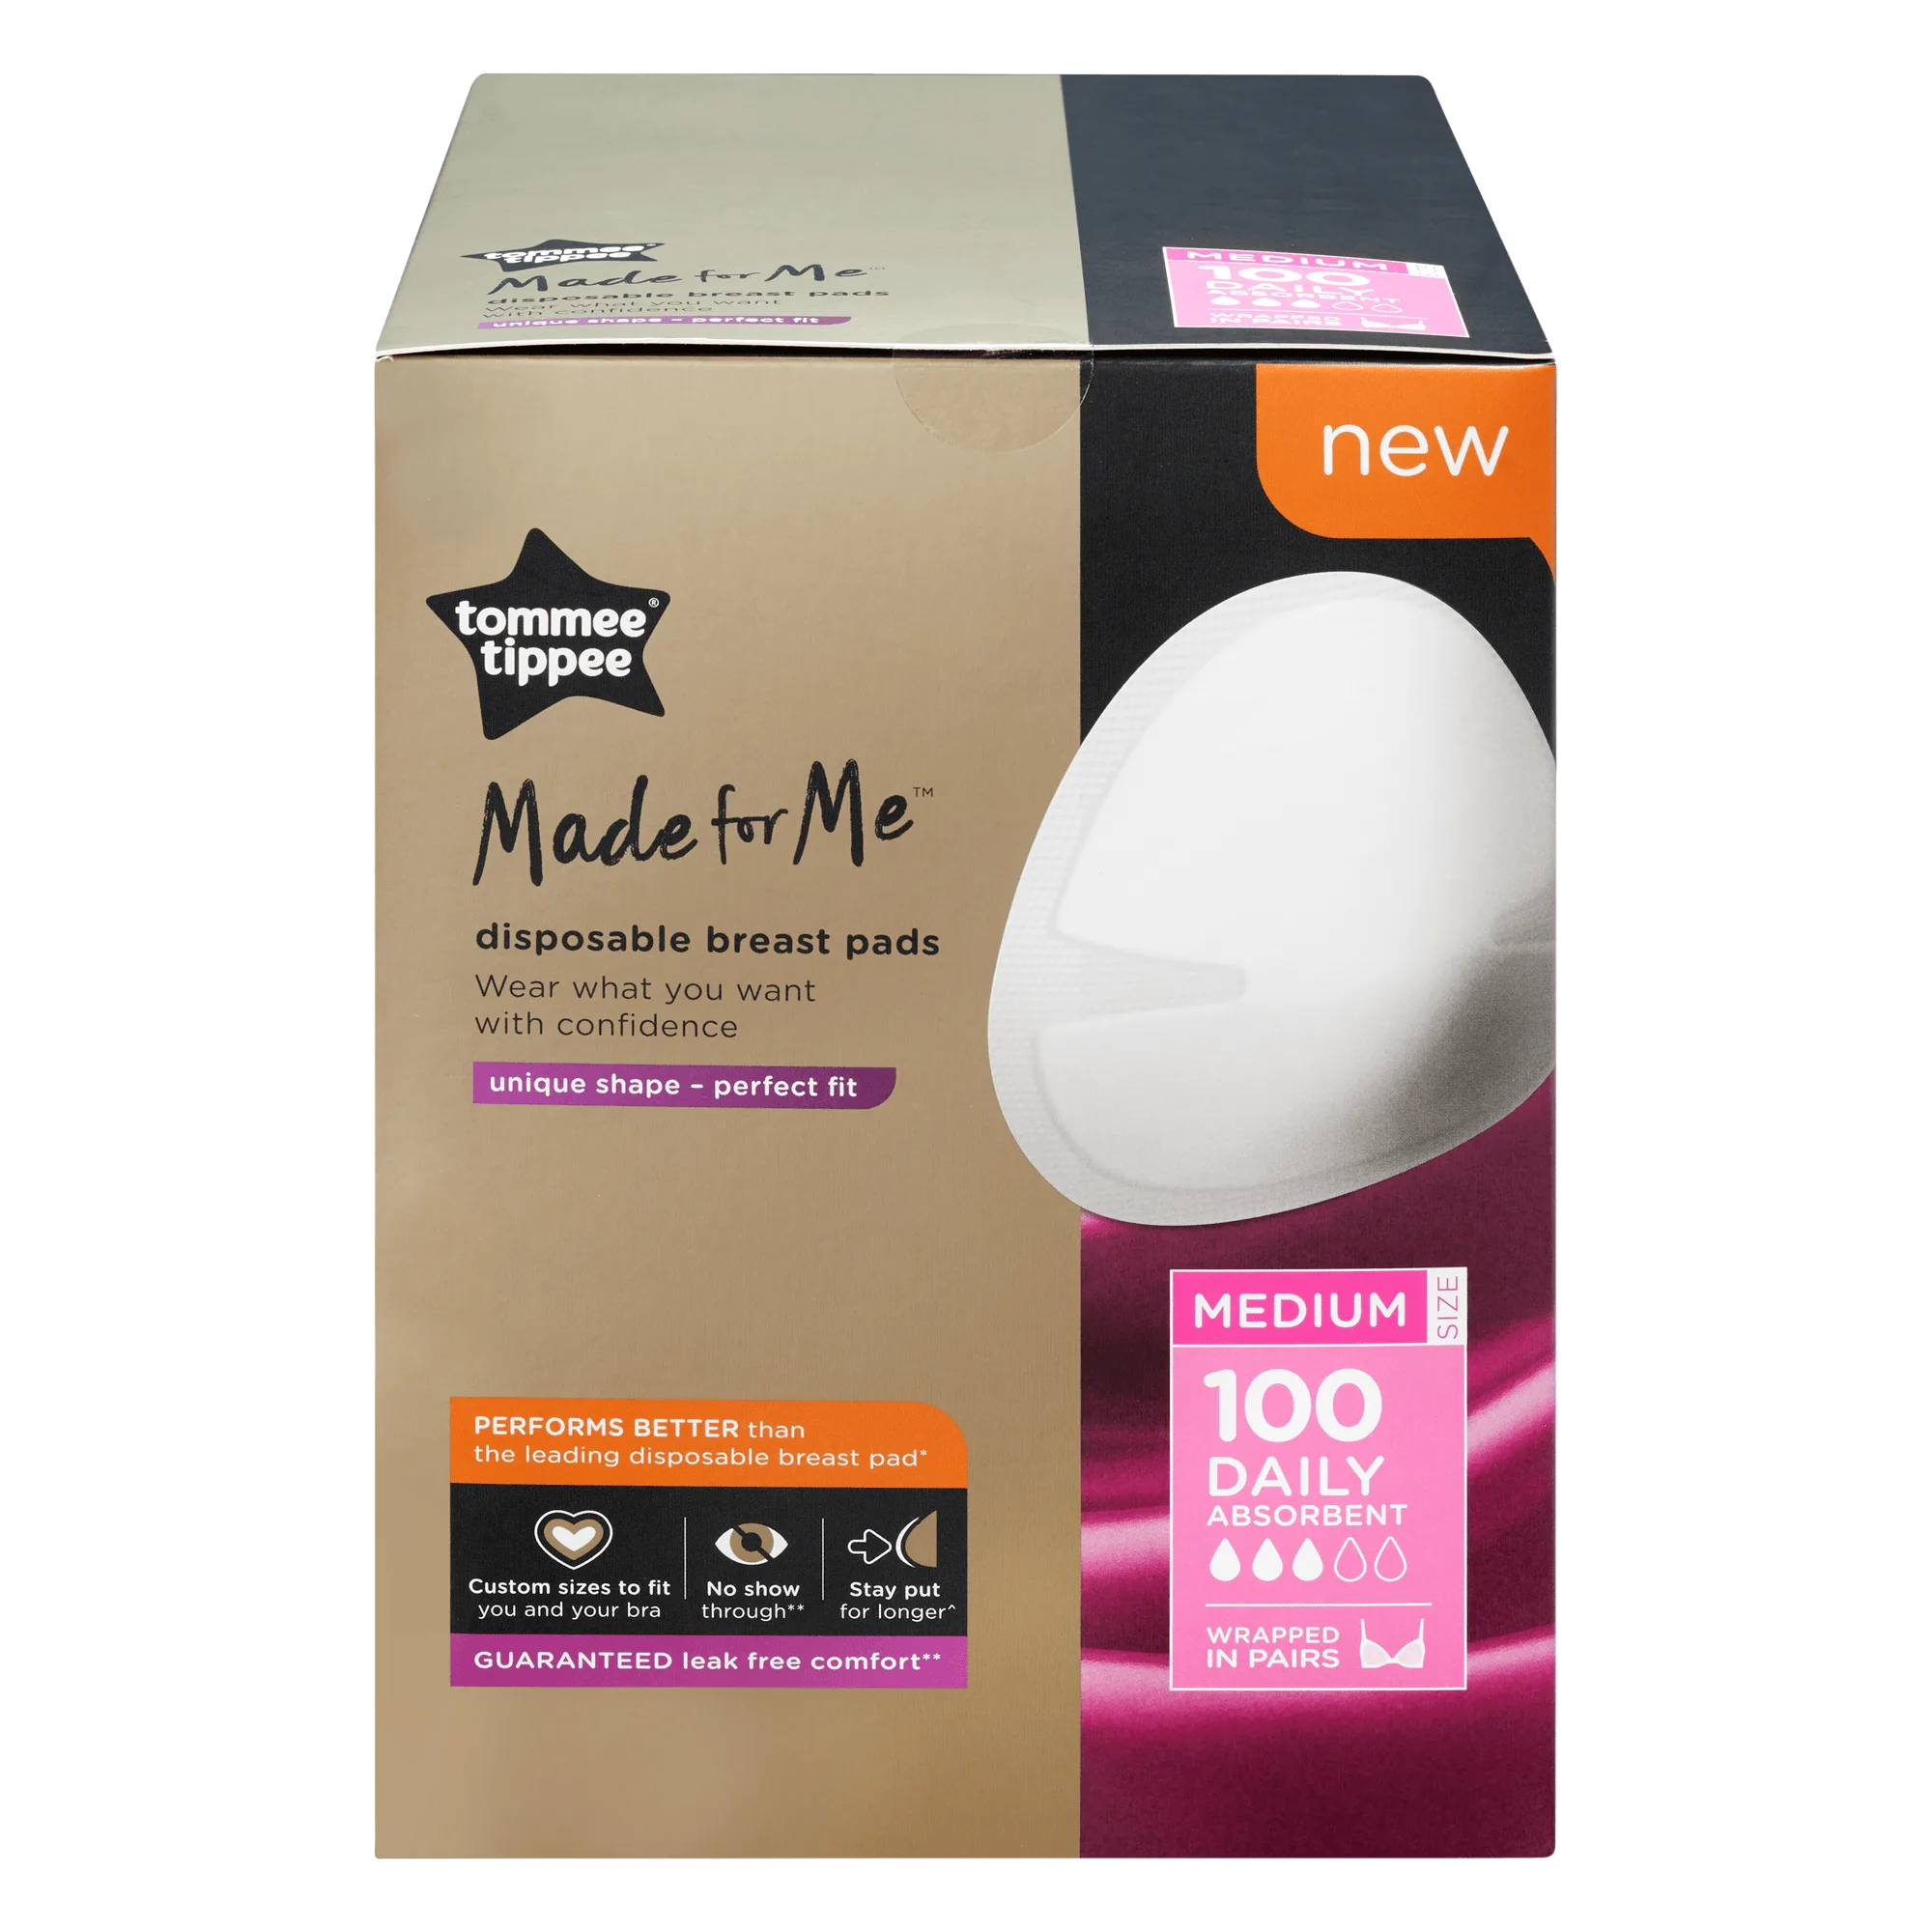
- Disposable Breast Pads by Tommee Tippee: Tommee Tippee disposable breast pads are super absorbent and designed to protect against leaks. Staying dry between sessions reduces damp fabric rubbing against sensitive skin, which is a common source of irritation on heavy pumping days.