Quick answer
If you want laminated brows for beginners without a salon appointment, use Brow Glue Taupe as a styling and setting step rather than a chemical straightening treatment. Comb the hairs upward and outward, press them flat with the spoolie, and let the gel set. It locks every brow hair in place without stiffness and residue, so you get a feathery, full look that lasts all day. If you want a true chemical lamination, book a professional.
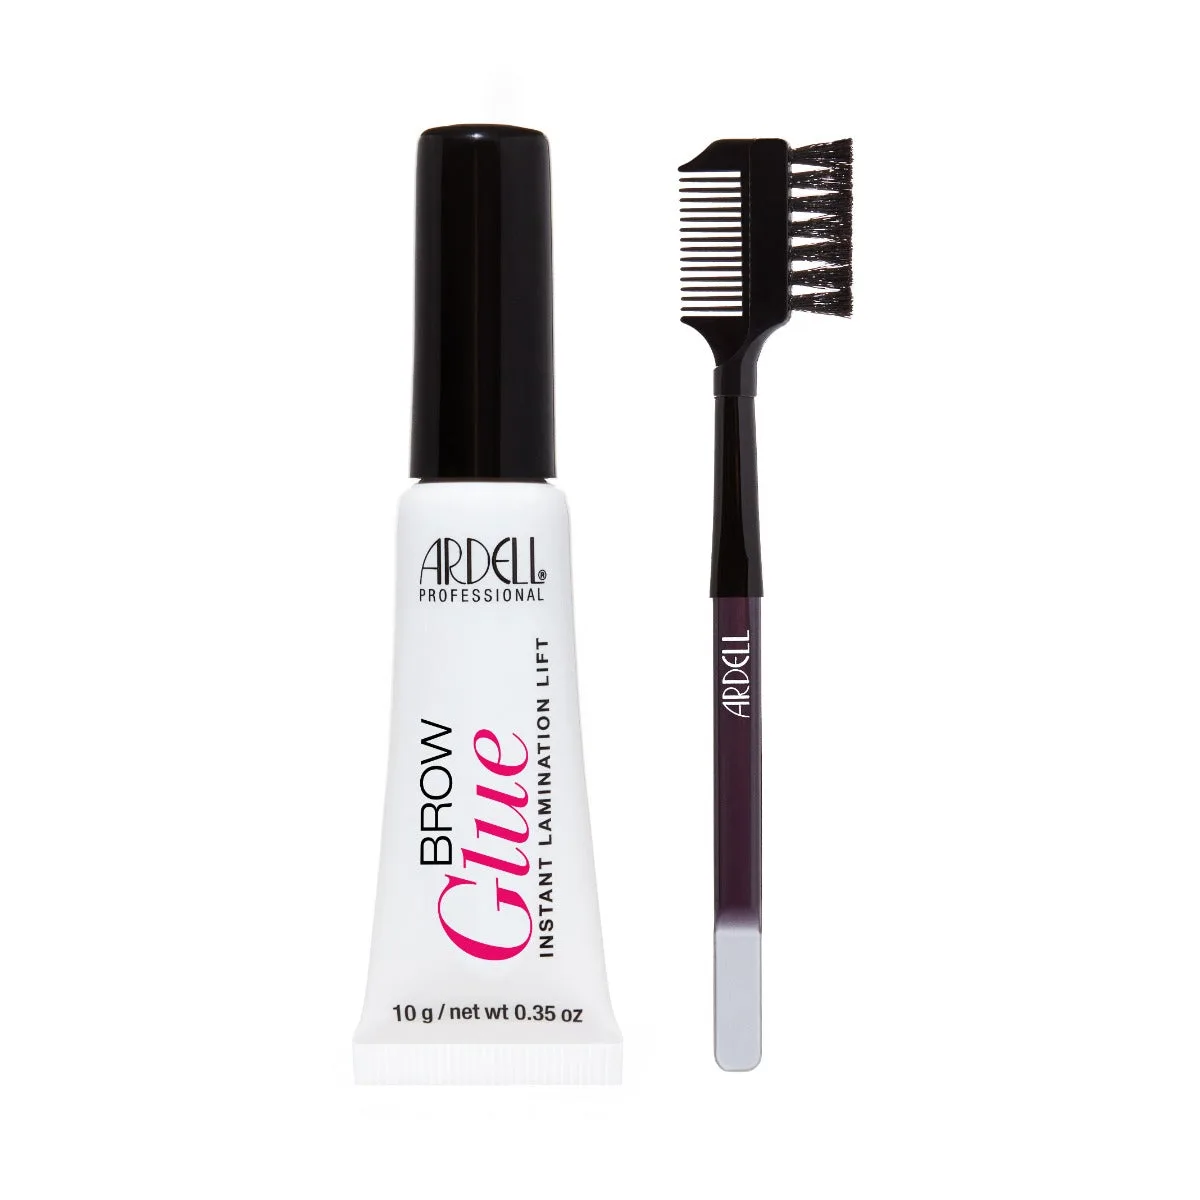
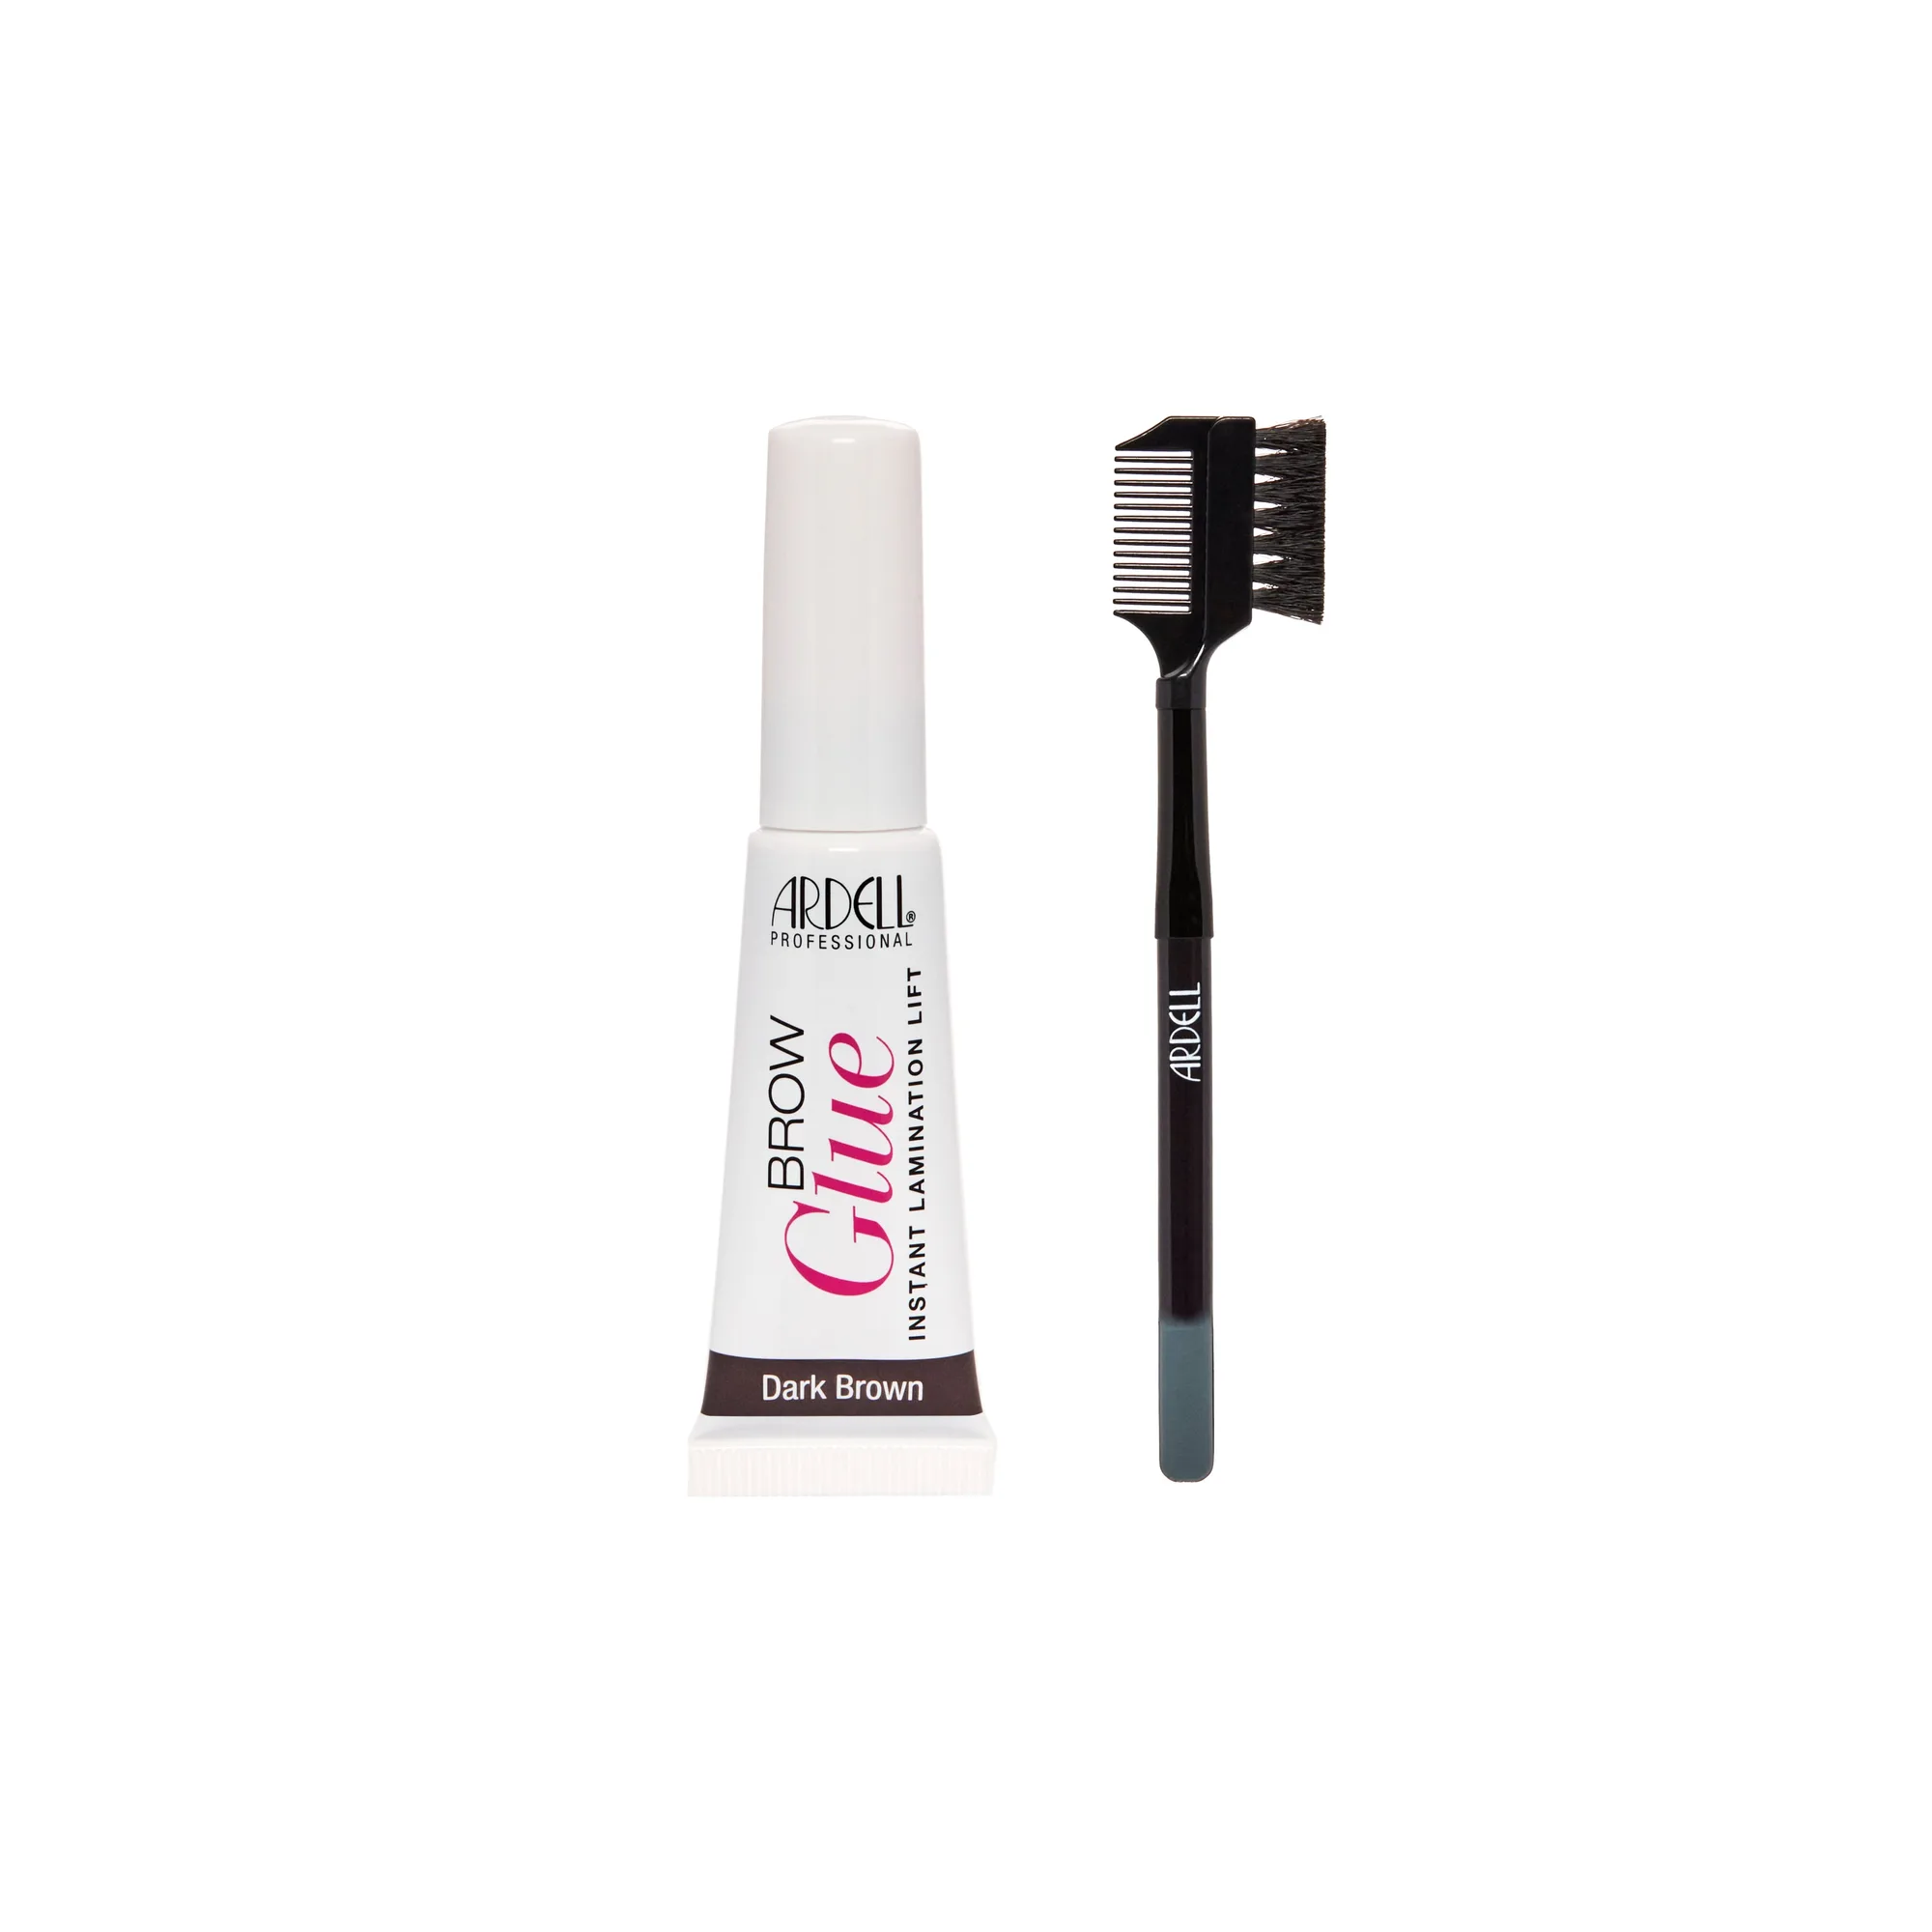
Brow Glue
Brow lamination at home usually means two different things: a chemical straightening service, or a styling routine that makes brows look laminated. This guide covers the second one, because it is the version you can do safely in your bathroom with a product like Brow Glue Taupe.
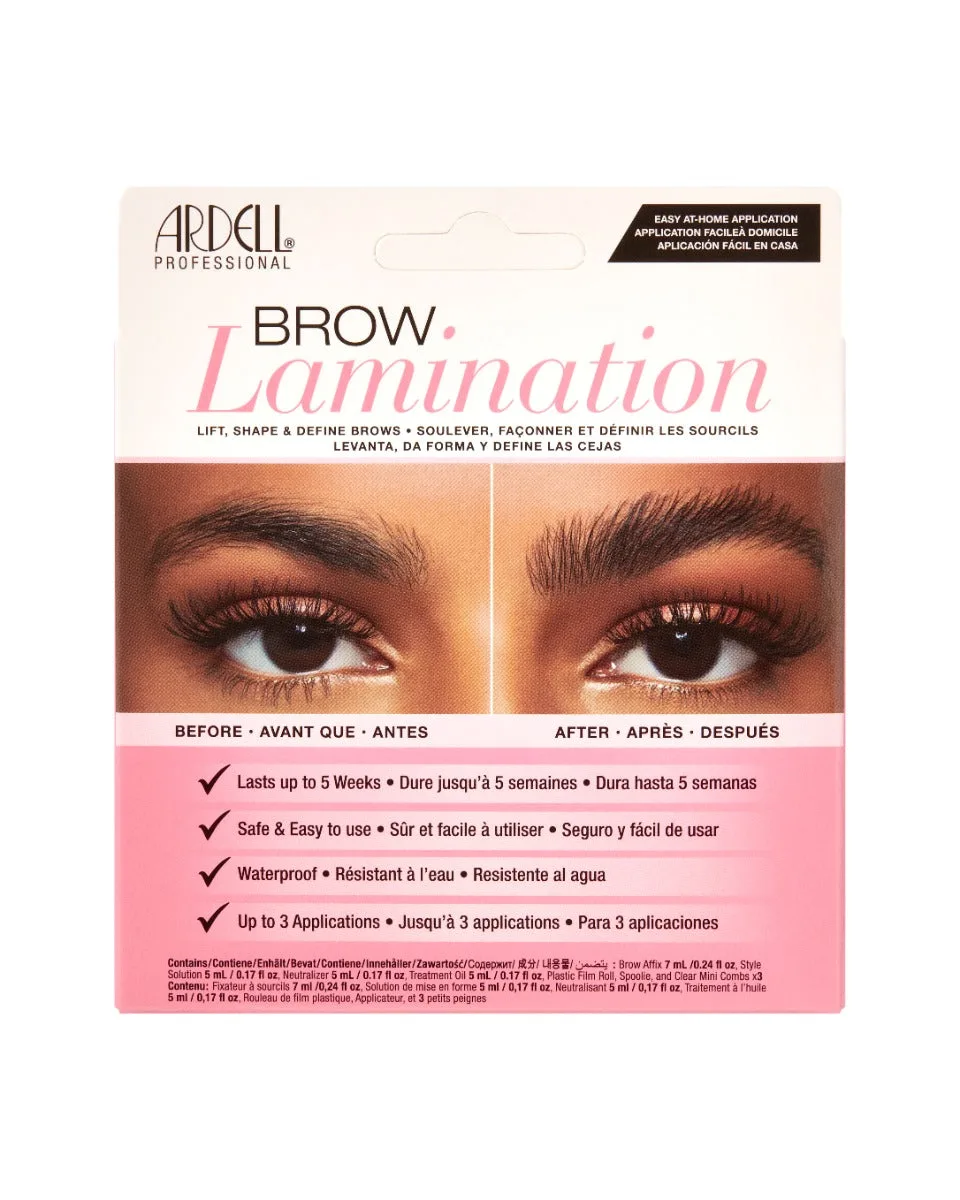
Brow lamination
You will learn an ordered process for brow glue taupe how to use correctly, where most people go wrong, and how to tell whether you need a stronger hold product or a lighter one. The steps below also work for taming unruly eyebrows at home between salon visits.
What at-home brow lamination can and cannot do
A salon lamination uses chemicals to break and reform bonds in the brow hair, so hairs lie flat in one direction for weeks. An at-home styling routine with Brow Glue does not change the hair structure. It coats and holds the hairs in place, which is why the effect lasts for the day rather than for weeks.
That distinction matters for expectations. If your brows are very coarse or grow in several directions, a styling gel will control them but may not flatten them completely. If your brows are already fairly cooperative, the result can look very close to a salon lamination in photos and in person.
Brow Glue is described as an eyebrow boosting gel that locks every brow hair in place without stiffness and residue. It is also positioned as ideal for a feathery, full, effortless brow, and it can be used after a salon service. That makes it a practical finishing step rather than a replacement for professional lamination.
- Checkpoint: if your goal is weeks of flat-lying hairs, that is a chemical service, not a gel.
- Checkpoint: if your goal is a full, feathery look for the day, a styling gel is the right tool.
Prep your brows before you apply anything
Start with clean, dry skin around the brow area. Oil, moisturizer, or leftover makeup can make the gel slide and reduce hold. If you cleanse your face, wait a minute for the skin to dry completely before styling.
Brush your brows upward with a clean spoolie to see their natural growth pattern. Notice where hairs twist or lie flat against the direction you want. Those spots need more pressure and slightly more product, not more gel layered on top.
If you tint or fill your brows, do that first. Brow Glue Taupe is a styling product, so it sets the shape rather than adding color depth. Doing your fill first keeps the final look clean.
- Common mistake: applying gel to damp skin or over skincare, which shortens wear.
- Checkpoint: your spoolie should glide through the hairs without tugging before you start.
Step-by-step: how to use Brow Glue Taupe
Step 1: Load the spoolie lightly. Wipe off excess so the brush is coated but not dripping. Step 2: Brush the hairs upward and slightly outward, following the direction you want them to set. Step 3: Use the side of the spoolie to press the hairs flat against the skin, especially at the front of the brow where hairs tend to stick up.
Step 4: Work in sections, starting at the inner edge and moving toward the tail. Step 5: For the tail, brush the hairs outward and slightly down to create a tapered finish. Step 6: Let the gel set for a few seconds without touching it, then check for any hairs that popped out of place and press them back down.
Step 7: If you want a softer, more natural finish, comb through once more with a clean spoolie after the gel has set. That separates the hairs slightly and removes any clumping.
- Common mistake: overloading the spoolie, which causes white residue and stiff clumps.
- Checkpoint: the brow should look feathery, not wet or crunchy, when you finish.
Brow Glue vs brow gel: which one you actually need
The brow glue vs brow gel question comes down to hold and finish. A traditional brow gel is usually lighter and adds a bit of tint or volume. Brow Glue is a boosting gel designed for long-lasting hold, so it is better for taming unruly eyebrows at home and for keeping a laminated-style shape in place all day.
If your brows are sparse and you mainly want fullness, a tinted gel may be enough. If your brows are thick, coarse, or grow in different directions, a stronger-hold product like Brow Glue is the more practical choice. Some people use both: a tinted gel for color, then Brow Glue to lock the shape.
Because Brow Glue is described as hassle free and easy to apply, it also works as a quick daily step rather than a full routine. That makes it a reasonable starting point if you are new to styling products.
- Common mistake: layering multiple hold products and ending up with a stiff, flaky finish.
- Checkpoint: pick one hold product and one color product, not three of each.
How long does brow lamination last, and how to make it last longer
How long does brow lamination last depends on which kind you mean. A professional chemical lamination typically lasts several weeks, though the exact time varies by hair growth and aftercare. An at-home styling routine with Brow Glue lasts for the day, and you reapply it as part of your morning routine.
To get the most from a styling routine, avoid touching your brows during the day. Oil-based makeup removers and heavy face creams can break down the hold faster, so remove makeup gently around the brow area at night. Sleeping on your face can also flatten or distort the shape by morning.
If you have had a salon lamination, Brow Glue can be used after the service to keep the shape looking fresh. Think of it as maintenance between appointments rather than a replacement for them.
- Common mistake: expecting a styling gel to last as long as a chemical lamination.
- Checkpoint: if your brows lose shape by lunchtime, your skin may be too oily for the amount you applied, or you may need a lighter layer reapplied.
Fixes for common at-home lamination problems
If your brows look stiff or crunchy, you used too much product. Let them dry, then comb through with a clean spoolie to break up the clumps. Next time, wipe more product off the brush before applying.
If white flakes appear, that is usually residue from layering gel over skincare or from applying too thick a coat. Clean the area and start again on dry, bare skin. If hairs will not stay in place, press them flat with the side of the spoolie and hold for a second rather than adding more gel.
If the shape looks too flat or unnatural, brush the hairs upward but not completely vertical. A slight angle toward the tail keeps the look feathery rather than painted on.
- Common mistake: adding more product to fix a hold problem instead of fixing the prep.
- Checkpoint: one thin, even layer outperforms three thick ones.
Your ordered at-home brow routine
- Cleanse and dry the brow area: Remove makeup, oil, and skincare from the brows and surrounding skin, then wait until the skin is completely dry. Checkpoint: dry, bare skin is the foundation of a hold that lasts all day.
- Brush the hairs upward to map the shape: Use a clean spoolie to comb hairs upward and slightly outward, noting any spots where hairs twist or lie flat. Checkpoint: you should see your natural growth pattern clearly before adding product.
- Apply Brow Glue with a light hand: Load the spoolie and wipe off excess, then brush through the brows in sections from inner edge to tail. Common mistake: overloading the brush, which causes stiffness and residue.
- Press and set the shape: Use the side of the spoolie to press hairs flat against the skin, then let the gel set without touching it. Checkpoint: the brow should look feathery, not wet or crunchy.
- Refine and separate: After the gel sets, comb through once with a clean spoolie to remove clumps and soften the finish. Checkpoint: this step is what keeps the look natural rather than painted on.
- Maintain through the day: Avoid touching your brows, and remove makeup gently at night with non-oily products around the brow area. Next step: if you want weeks of hold instead of a day, book a professional lamination and use Brow Glue to maintain it.
Product facts that matter for this routine
- Brow Glue: Brow Glue is an eyebrow boosting gel that locks every brow hair in place without stiffness and residue, and it is described as ideal for a feathery, full, effortless brow. This is the hold step in the routine, so it is the product that determines whether your laminated-style shape stays put all day.
- Brow Glue: Brow Glue is described as a universal, easy to apply formula with long lasting hold, and it can also be used after a salon service. That makes it a practical option for beginners and for maintaining a professional lamination between appointments.
- Pre-Mapped Extensions, Classic, 3-Pairs: MAP MY LASH takes the guesswork out of placement with an easy-to-follow blueprint, using mapping to blend different lengths and curls along the lash line. If you are already styling your brows, mapped lashes are a logical next step for a coordinated, low-guesswork look.
At-home brow lamination with Brow Glue Taupe is a styling routine, not a chemical treatment, and that is exactly what makes it beginner-friendly. Prep dry skin, apply a thin layer, press the hairs into place, and refine with a clean spoolie. If you want a salon-level result that lasts for weeks, book the professional service and keep Brow Glue on hand to maintain the shape between visits.