Quick Answer
Start by organizing the runners and cleaning nubs carefully, then follow the manual's sub-assembly order while dry-fitting every joint before cementing. This approach avoids fit issues common with third-party 1/100 kits.
Why Third-Party Kits Need Extra Care
Unlike official Bandai kits, third-party model kits like the MJZ x Sunday Hobby Xiao Yao Zi often have tighter tolerances and flash on connection points. Taking time to test-fit each part before applying glue or forcing a joint will save you from cracked pegs or misaligned panels later.
Tools You Should Have Ready
A sharp side cutter, hobby knife, sanding sticks (400-1000 grit), plastic cement, tweezers, and a panel line marker are all you need. No special tools are required, but a pin vise can help if any peg holes need slight widening.
Assembly Steps
- Step 1: Sort and Inspect Runners: Lay out all runners and compare each part against the manual. Check for warped or short-shot pieces early so you can contact support if needed. Missing or damaged parts are easiest to replace before you start cutting.
- Step 2: Clean Nubs and Flash: Cut each part from the runner leaving a small nub, then shave it flush with a hobby knife and sand with 600-grit paper. Pay extra attention to peg holes where flash can block insertion. Rushing nub cleanup is the top cause of loose joints and visible stress marks on third-party kits.
- Step 3: Dry-Fit Every Sub-Assembly: Assemble each limb or section without glue first. If a peg feels too tight, sand it lightly; if too loose, apply a thin coat of cement to thicken it. Only proceed when the fit feels firm but not forced. Skipping dry-fit is the most common mistake—it can lead to cracked parts that are hard to fix later.
- Step 4: Apply Cement Selectively: Use plastic cement only on joints that need permanent bonding, such as the torso core or weapon handles. Leave moving joints like elbows and knees unglued to preserve articulation. Over-gluing a movable joint will permanently ruin the kit's poseability.
- Step 5: Panel Line and Decal: After assembly, flow panel liner into engraved lines and wipe excess with a cotton swab. Apply water-slide decals using a decal softener for a painted-on look. Apply a clear coat before panel lining if you plan to topcoat later—this prevents the liner from cracking the plastic.
Kit Features
-
1/100 MJZ x Sunday Hobby Xiao Yao Zi Model Kit: This 1/100 scale model kit from MJZ Studio and Sunday Hobby offers a detailed collaborative design in a model kit format requiring assembly. The larger 1/100 scale makes details more visible, but the hands-on assembly means careful nub removal and fit checking are essential for a clean finish.
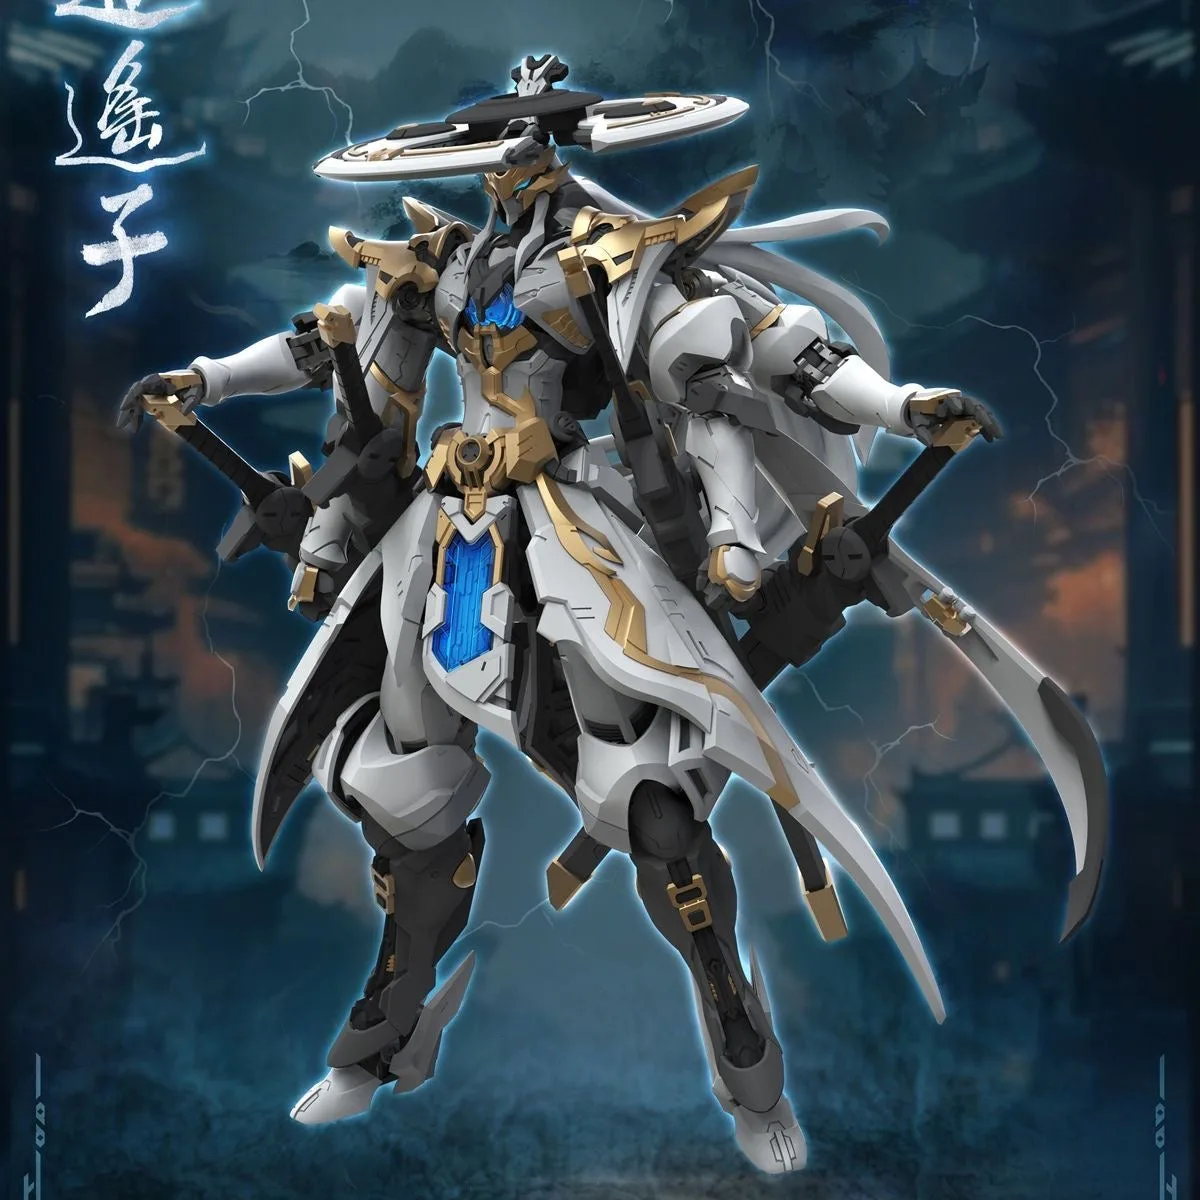
1/100 MJZ x Sunday Hobby Xiao Yao Zi Model Kit