Quick answer
You can build a motion-activated alarm with three littleBits modules: the i8 proximity sensor, the o25 DC motor, and the i31 oscillator. When the proximity sensor detects an object nearby, it triggers the oscillator to sound a tone and the motor to spin, creating both an audible and physical alert.
What You Need for This Project
For this project, you need a littleBits power source (such as a battery or USB power Bit), a mounting board to keep everything stable, and three Bits: the i8 proximity sensor, the o25 DC motor, and the i31 oscillator. The proximity sensor senses objects in front of it and can tell if they are far or near. The oscillator generates audio tones, and the DC motor adds movement. You will also need a small object like a toy car or a paper flag to attach to the motor shaft so the alarm has a visible effect.
Understanding the Circuit Logic
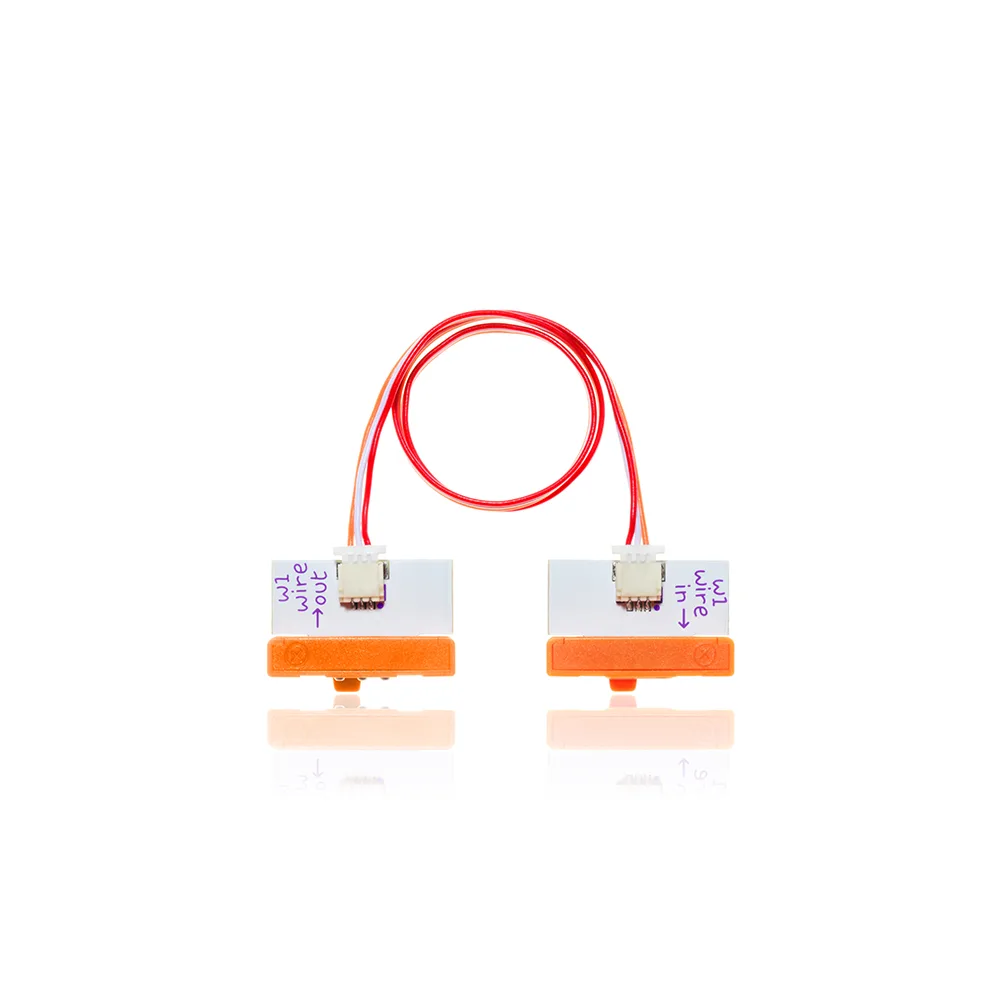
The littleBits system uses color-coded Bits: blue for power, pink for input, green for output, and orange for wire. In this alarm, the power Bit connects to the proximity sensor (pink input). The sensor sends a signal to the oscillator (green output) and the DC motor (green output) when it detects motion. You can chain the outputs using an orange wire Bit if you want both to activate at the same time. This setup teaches students how sensors can trigger multiple outputs in a simple circuit.
Step-by-Step: Building the Alarm
- Step 1: Set up the power and sensor: Snap the power Bit onto the mounting board, then connect the i8 proximity sensor to its output. Make sure the sensor is facing outward so it can detect motion in front of it. Common mistake: placing the sensor facing sideways or backward. Check that the sensor's front is unobstructed.
- Step 2: Connect the oscillator: Snap the i31 oscillator to the output of the proximity sensor. Turn the dial on the oscillator to a mid-range tone so you can hear it clearly when triggered. Checkpoint: If no sound comes out, verify that the power Bit is on and that all connections are fully snapped together.
- Step 3: Add the DC motor: Use an orange wire Bit to connect the proximity sensor's output to the o25 DC motor. Attach a small object like a paper flag to the motor shaft using the cross axle or D shaft option. Common mistake: forgetting to attach the wire Bit. Without it, the motor won't receive the signal. Also, ensure the motor shaft is not blocked.
- Step 4: Test and adjust: Wave your hand in front of the proximity sensor. The oscillator should sound a tone and the motor should spin. Adjust the sensor's sensitivity by changing how far away you place the object. Checkpoint: If the alarm triggers too easily or not at all, move the sensor closer to the expected motion path or adjust the oscillator dial.
Key littleBits Modules for This Alarm
- littleBits i8 proximity sensor: The proximity sensor Bit senses objects in front of it. It can sense if an object is far or near. Try using it to create your own self-navigating car, or a hands-free instrument! This sensor acts as the trigger for your alarm. When someone walks past, it detects the change and sends a signal to the output Bits.
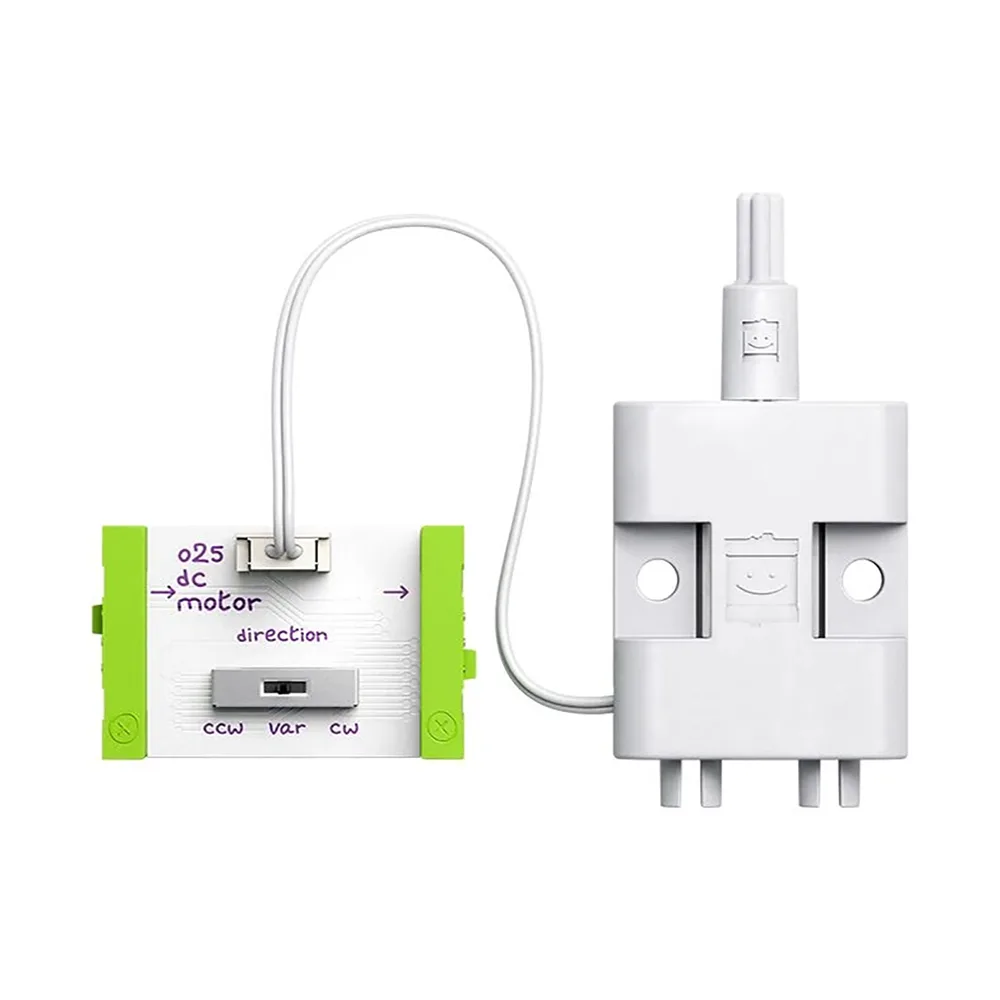
- littleBits o25 DC motor: The littleBits DC motor is a versatile Bit that brings motion to your inventions. Designed for elementary through high school students, this motor Bit is a key component for building projects that spin, drive, or move. It is part of the littleBits system, which makes electronics easy and fun to explore. Available in two shaft options: cross axle and D shaft, to fit different building needs. Connects easily with other… The DC motor gives your alarm a physical alert, like spinning a flag or waving a sign. The two shaft options let you attach different types of moving parts.
- littleBits i31 oscillator: The oscillator is a sound source that is capable of creating audio tones that will be used in almost every sound experiment you create with littleBits. This is the main sound source for the Synth Kit and Music Inventor Kit! The oscillator provides the audible alarm tone. You can adjust the pitch by turning the dial on the Bit, making the sound higher or lower depending on your preference.