Quick answer
Assemble your SpaceNam with careful sprue cutting and dry-fitting, then paint using a basecoat-wash-highlight method to bring out the detailed armor and weapons.
Why SpaceNam are a great sci-fi army project
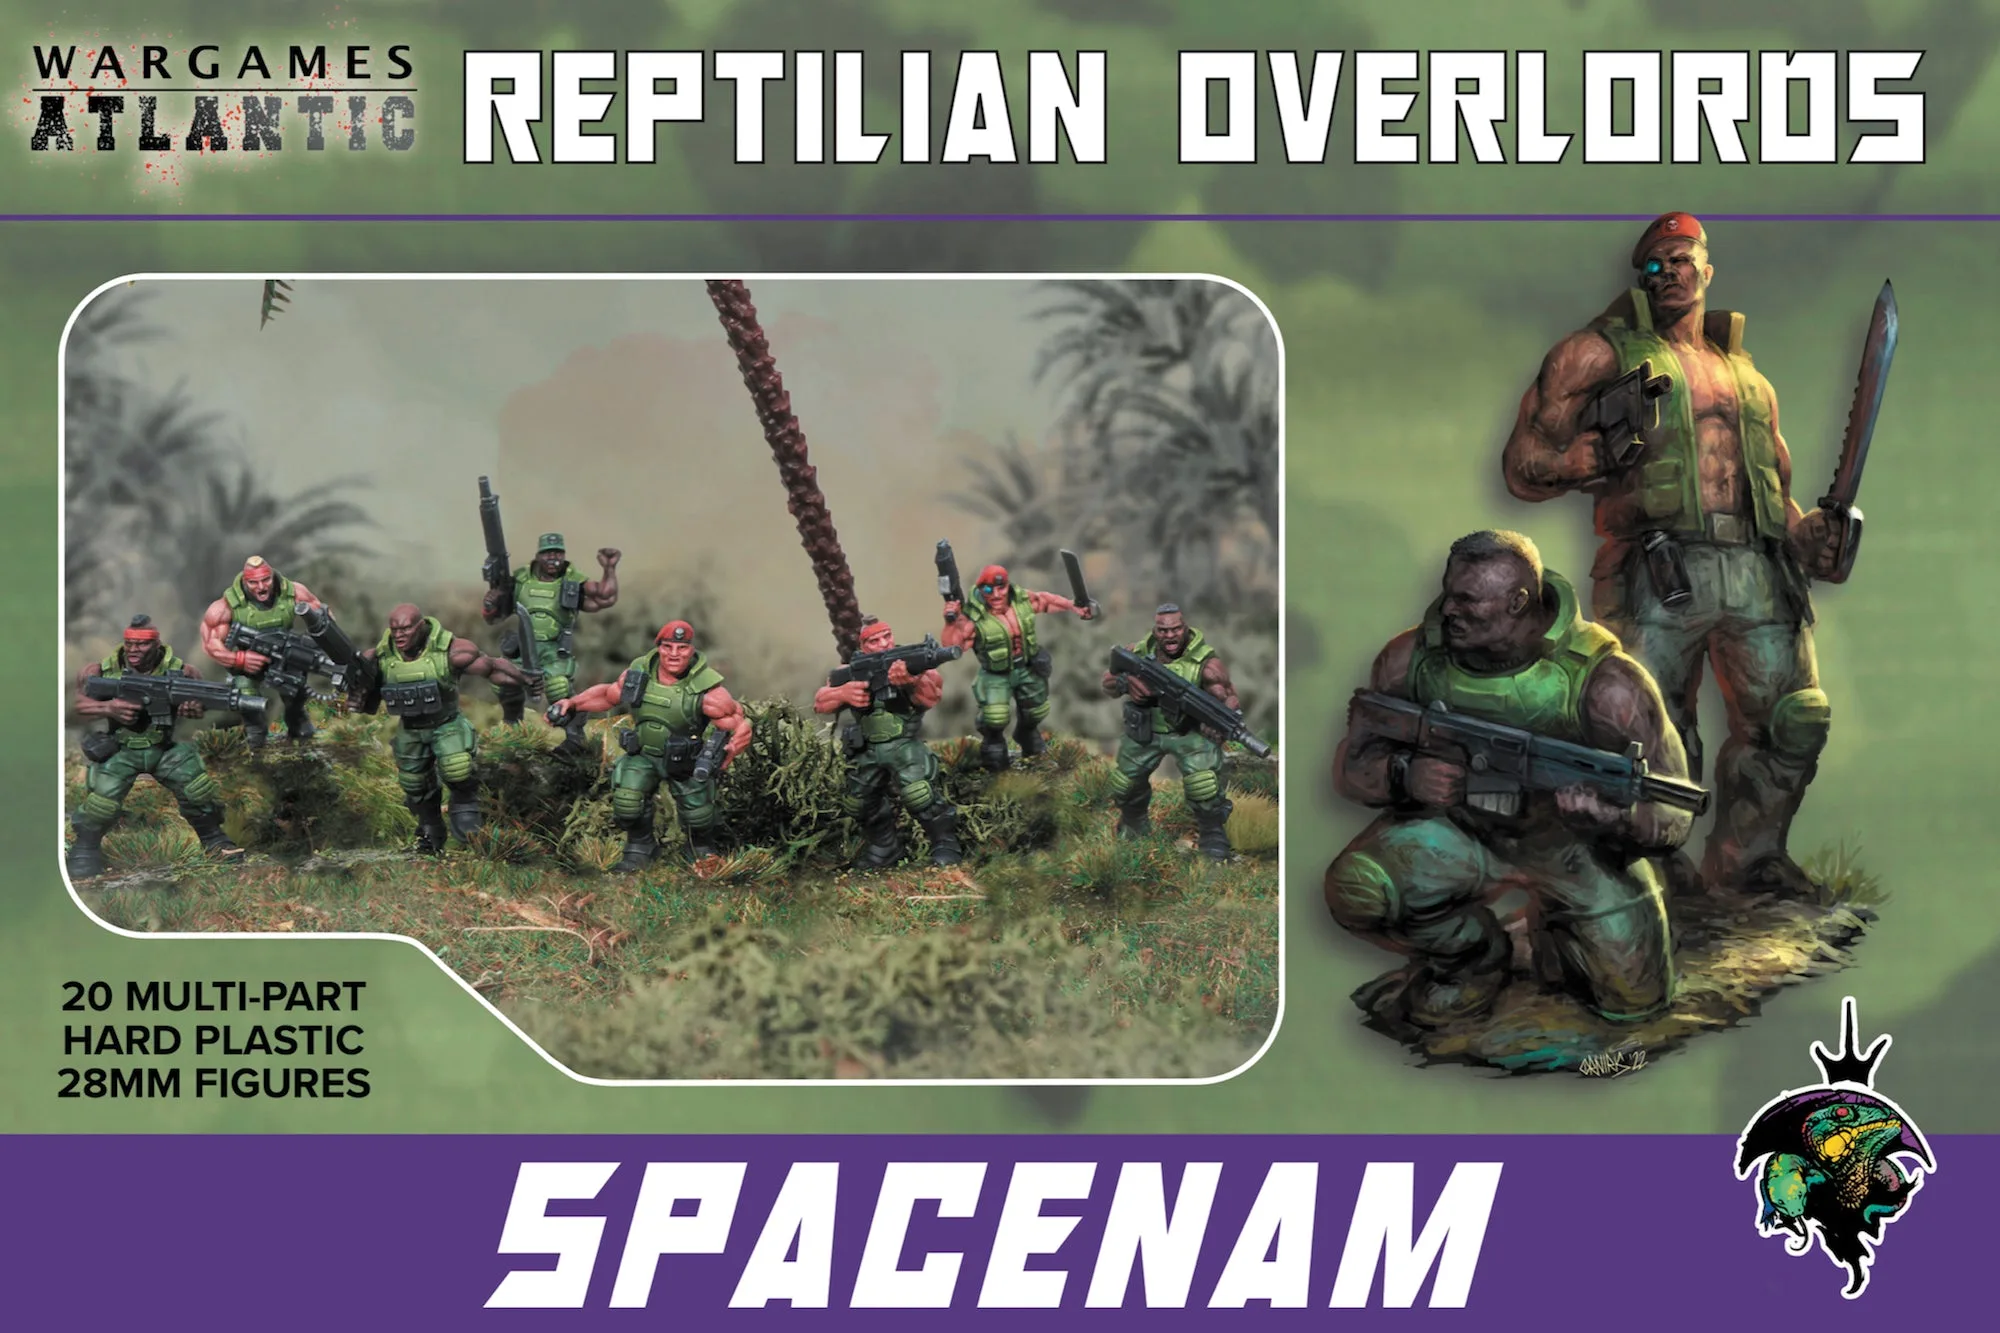
The SpaceNam kit from Wargames Atlantic gives you 20 hard plastic figures with an armory of interesting weapons. This means you can build a versatile force for jungle worlds, derelict freighters, or urban ruins without needing multiple boxes. The reptilian design stands out on the tabletop and offers plenty of surface detail for painting techniques.
What to watch for during assembly
The kit includes standard rifles and other weapon options, but the sprues are packed with small parts. Take your time clipping and cleaning mold lines – rushing leads to gaps or misaligned arms. Dry-fit each arm and weapon before gluing to ensure a natural pose.
Step-by-step assembly and painting guide
- Step 1: Prepare the sprues: Wash the sprues in warm soapy water to remove mold release. Let them dry completely before clipping parts. Skipping this step can cause paint to peel later.
- Step 2: Clip and clean parts: Use sharp sprue cutters to remove parts. Clean mold lines with a hobby knife or file. Pay extra attention to the arms and weapon barrels. Rough mold lines will show through primer, so take your time.
- Step 3: Dry-fit before gluing: Assemble each figure without glue first to check fit. Adjust poses if needed. Use plastic cement for a strong bond. Gluing too early can result in awkward poses or gaps.
- Step 4: Prime the models: Use a spray primer in a well-ventilated area. Light, even coats from about 30 cm away. Let dry for 24 hours if possible. Thick primer coats obscure detail – less is more.
- Step 5: Basecoat the armor and skin: Apply a basecoat of your chosen color for the reptilian skin and armor plates. Use a medium brush and thin your paint slightly. Uneven basecoats will be visible after washing.
- Step 6: Apply a wash for depth: Use a dark wash (like Nuln Oil or Agrax Earthshade) over the entire model. Let it flow into crevices to define scales and armor lines. Avoid pooling wash on flat surfaces – wick away excess with a clean brush.
- Step 7: Highlight raised areas: Dry-brush or edge-highlight the armor and skin with a lighter shade. Focus on scales, helmet ridges, and weapon edges. Too much dry-brush can look chalky – build up slowly.
Product spotlight
-
SpaceNam: This 20 figure hard plastic set includes an armory full of interesting weapons including standard rifles. You can equip your squad with different loadouts for varied game scenarios without buying extra bits.
SpaceNam