Quick answer
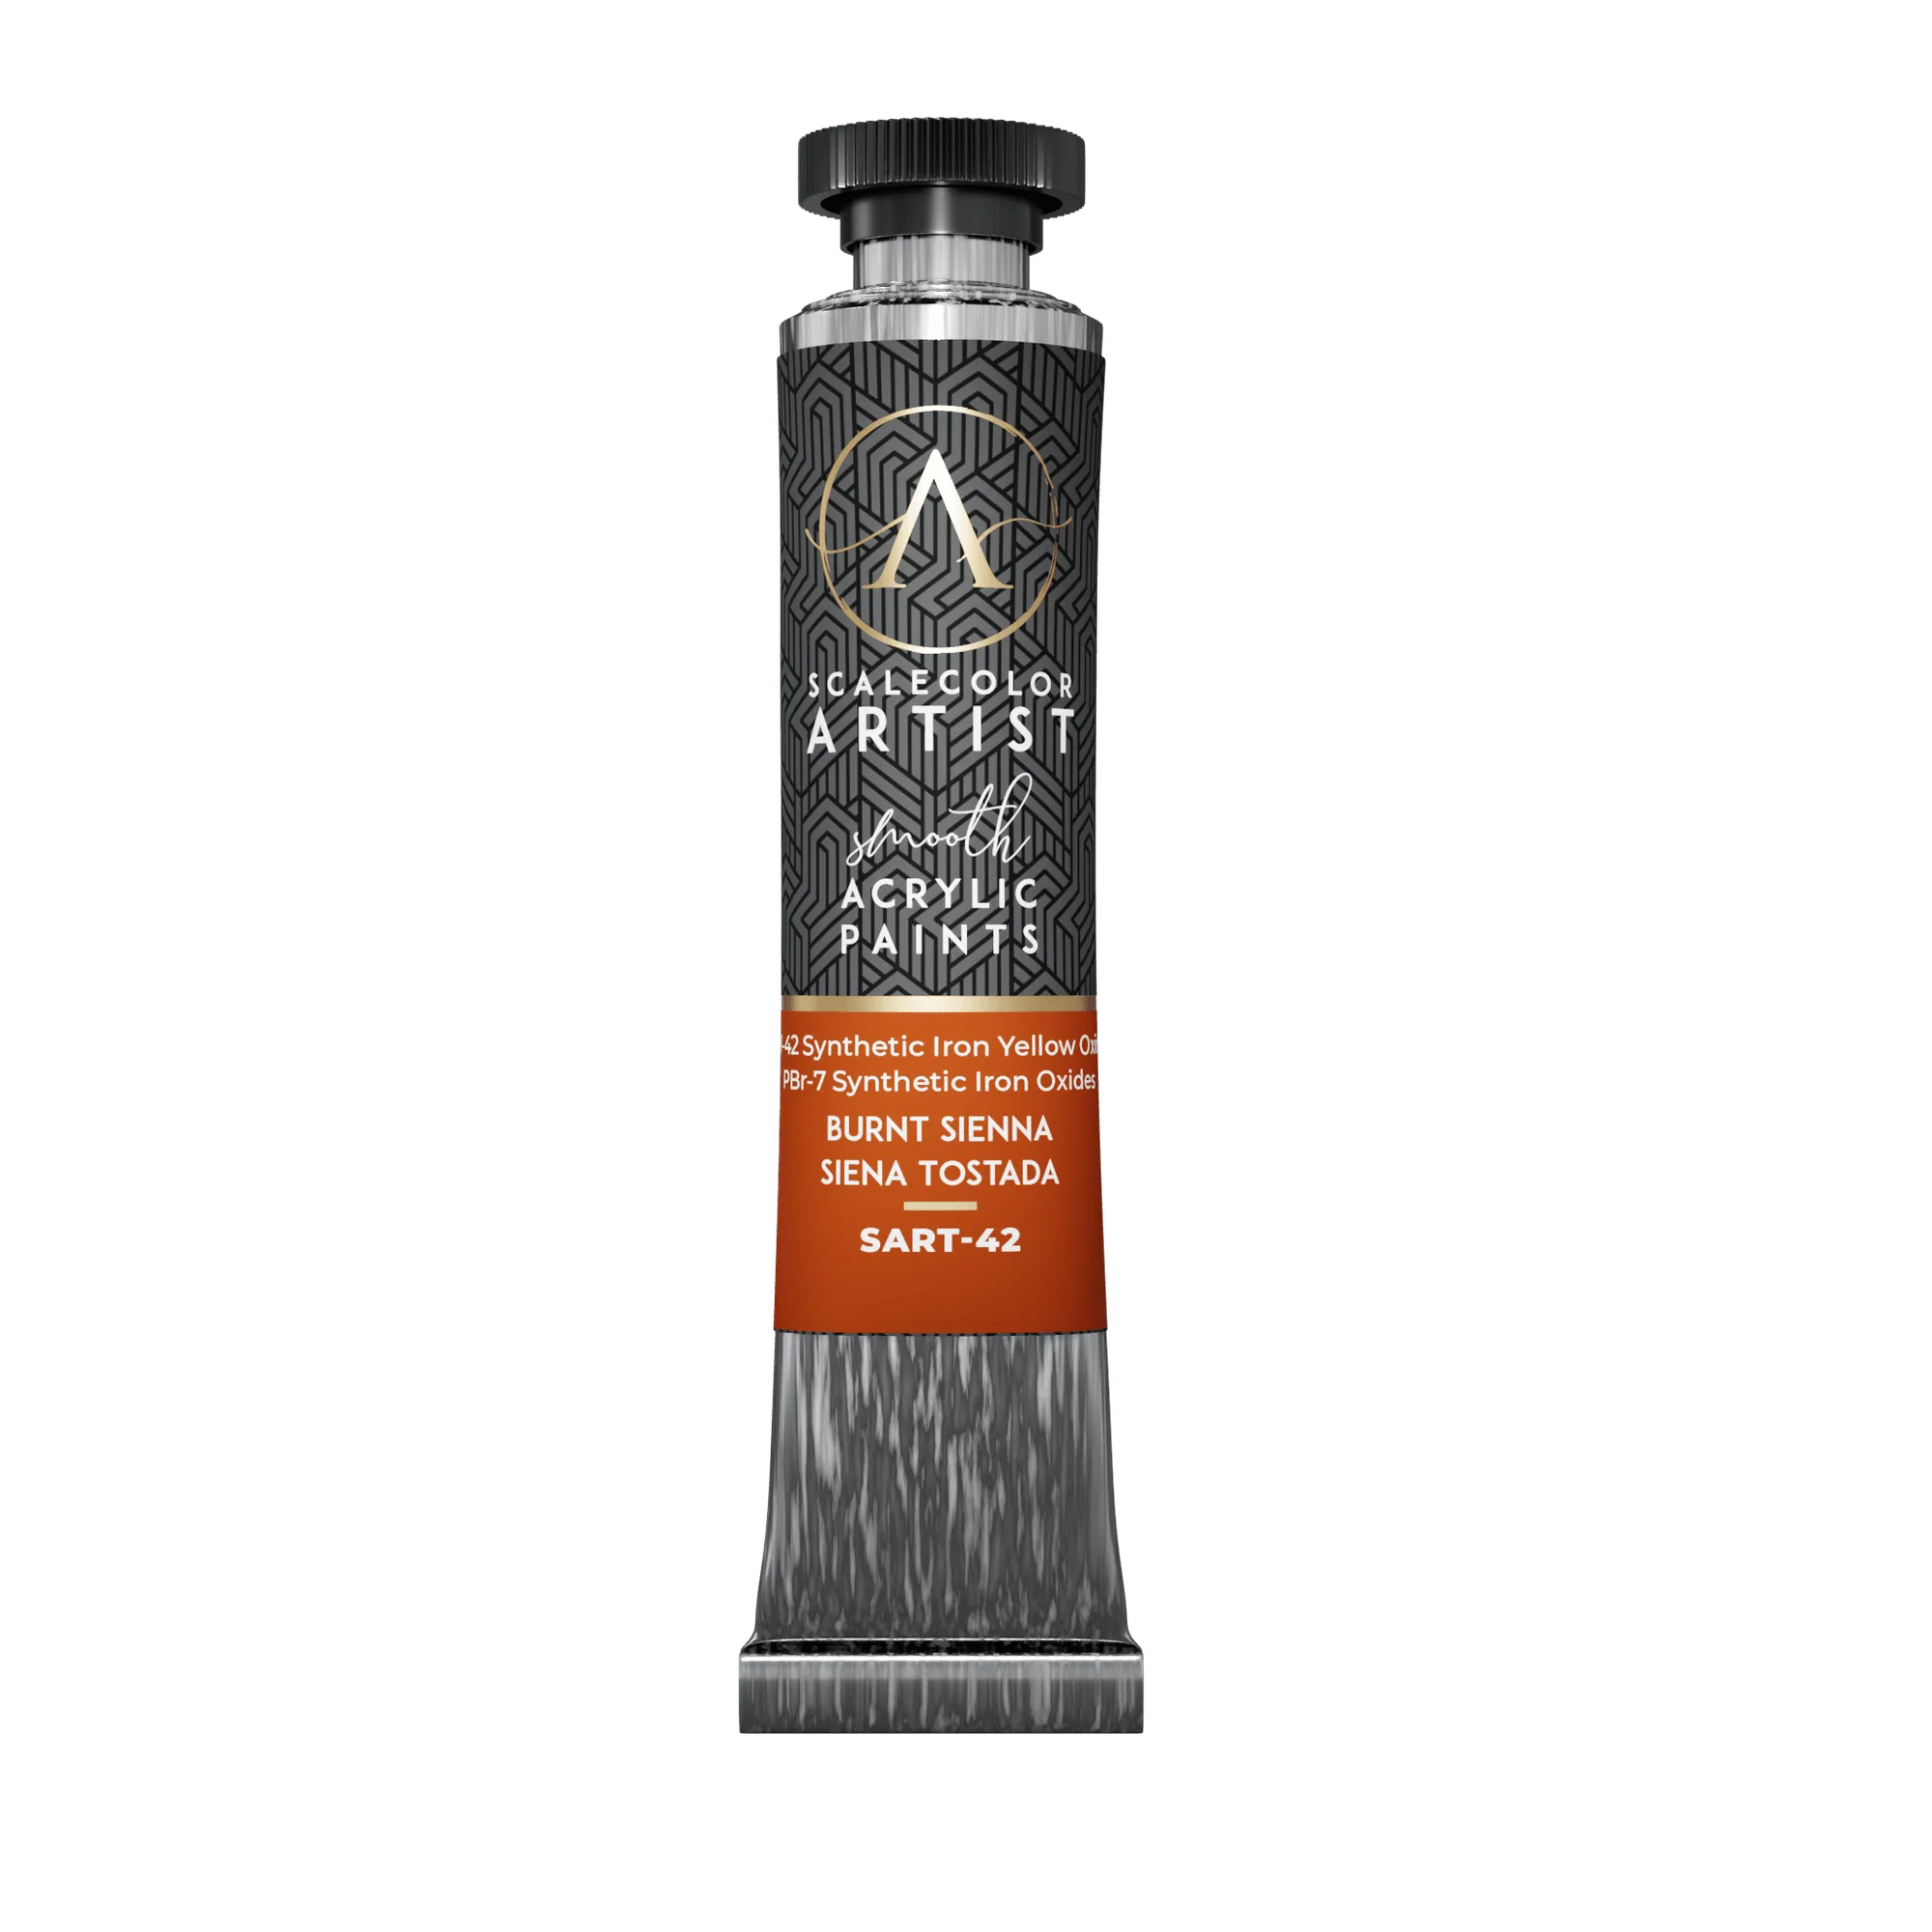
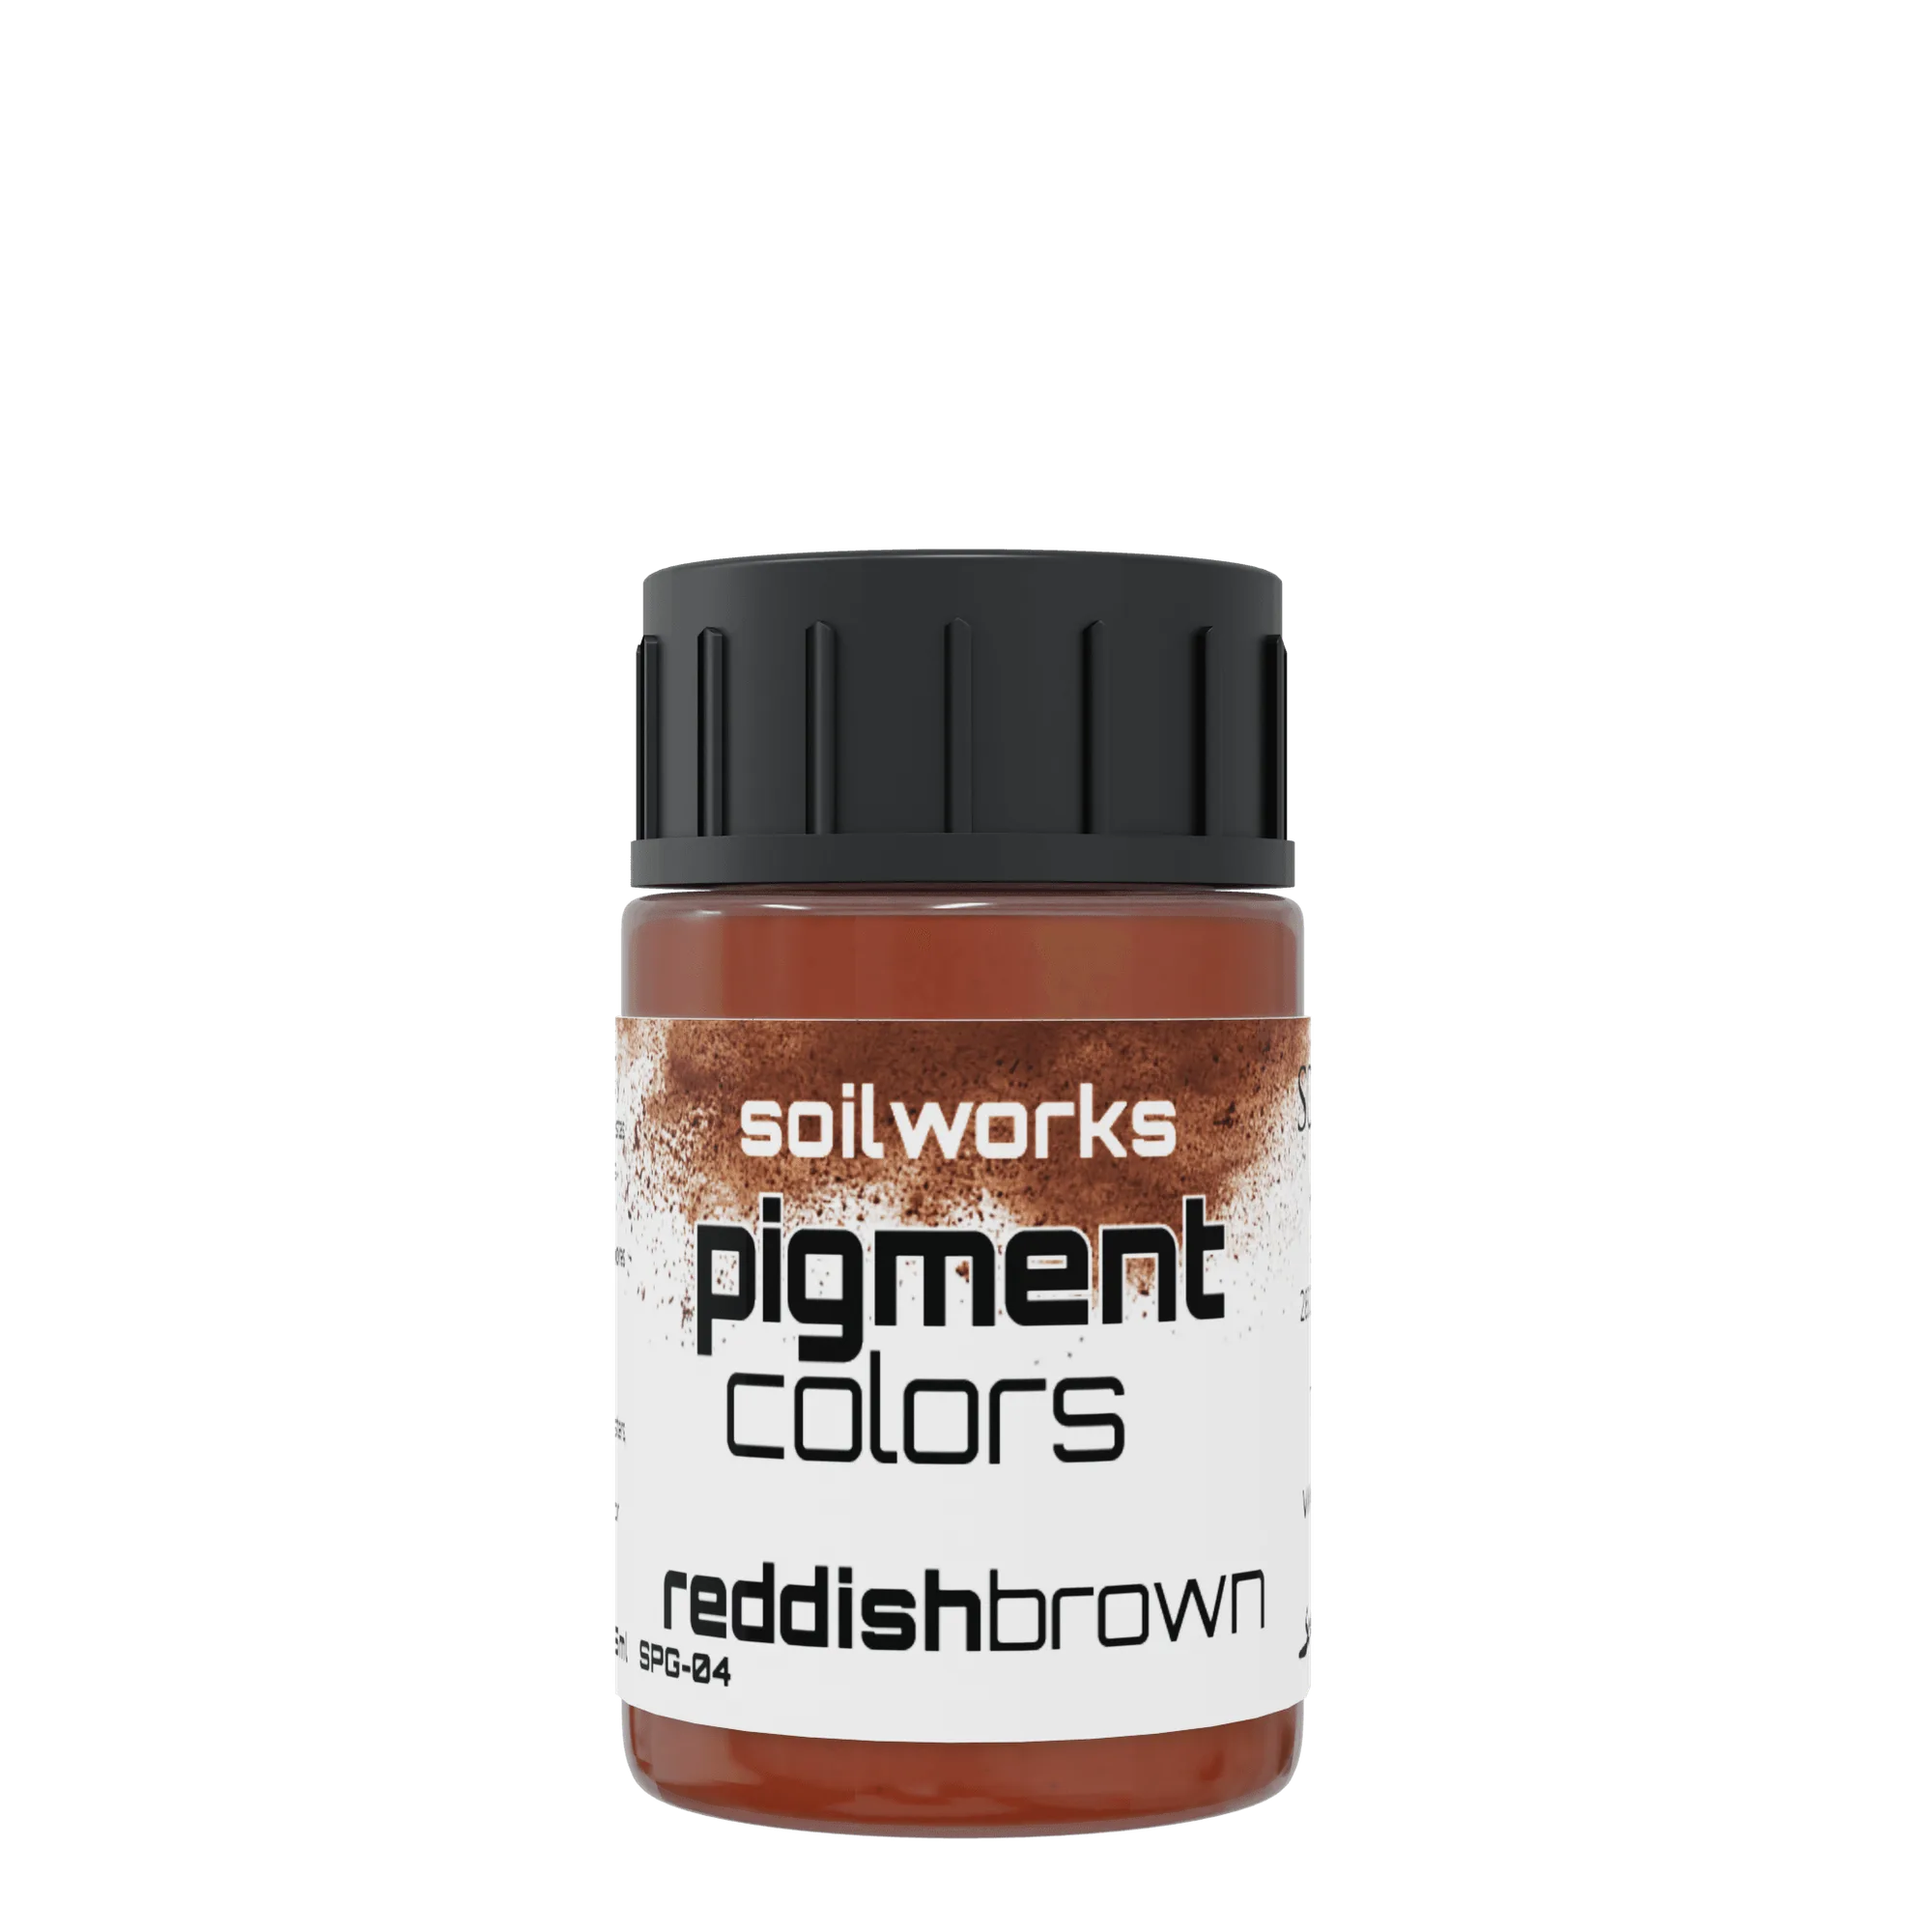
Choose Burnt Sienna when you need a warm, orange-9044978ab4e12cd8d7e14cab-1816325">orange-leaning earth tone that reads as rust, terracotta, or sun-baked soil. Choose Reddish Brown when you want a deeper, redder brown for leather, wood, or shadowed skin. If you are unsure, start with Burnt Sienna as a basecoat and shade with Reddish Brown rather than trying to make one pot do both jobs.
What separates these two earth tones
Burnt Sienna sits on the orange side of the earth spectrum. On a miniature it reads warm and slightly dusty, which makes it useful for rust, clay, and sun-bleached leather. Reddish Brown leans further into red and deeper in value, so it reads as aged wood, worn straps, or the shadow side of warm skin. The practical difference is not just hue but how much you have to correct the tone after application. A warm orange-brown often needs a cooler shade to look natural, while a redder brown can look muddy if you push it too dark too quickly.
Coverage and consistency in practice
Both tones behave like typical acrylics in this range: they thin with water or medium and can be airbrushed. The trade-off shows up in layering. A warm Burnt Sienna basecoat tends to look brighter after two thin coats, so you may need an extra pass to reach full opacity on dark primer. Reddish Brown usually covers slightly more solidly because its darker value hides primer show-through, but that same depth can swallow fine detail if you apply it too thickly. Work in thin coats and let each dry before judging the color.
Mixing and shading without mud
The safest approach is to keep the two tones in the same warm family and adjust value rather than hue. Use Burnt Sienna as your mid-tone, then mix a small amount of Reddish Brown into it for shadows instead of reaching for black. Black desaturates warm earth tones and turns them gray. If you need a highlight, add a pale flesh or bone tone rather than white, which can chalk out the warmth. Test mixes on a spare base or the underside of the model before committing to the visible surface.
Where each tone fits on a typical project
For a military figure with canvas, webbing, and leather, Burnt Sienna handles the lighter canvas and dust while Reddish Brown covers straps and boots. For a fantasy model with rusted armor, Burnt Sienna works as the rust base and Reddish Brown adds depth in the recesses. For skin, neither tone should be the final layer on its own; use them as underpainting or shadow glazes and build the mid-tone with a dedicated flesh color. If your project is mostly one material, buy the single pot that matches it rather than a full set.
Trade-offs at a glance
- Warmth vs depth: Burnt Sienna gives you warmth and a sunlit feel but can look too orange on cool-toned subjects. Reddish Brown gives you depth and richness but can turn muddy if over-shaded. Match the tone to the material, not to personal preference.
- Coverage vs control: Burnt Sienna may need an extra coat over dark primer. Reddish Brown covers more solidly but hides fine detail if applied too heavily. Thin both and build up in layers.
- Single pot vs set: Buying one pot of Burnt Sienna is cheaper for a single project. A set gives you more mixing options but includes colors you may not use. Start with the single pot that matches your main material.
Products in this comparison
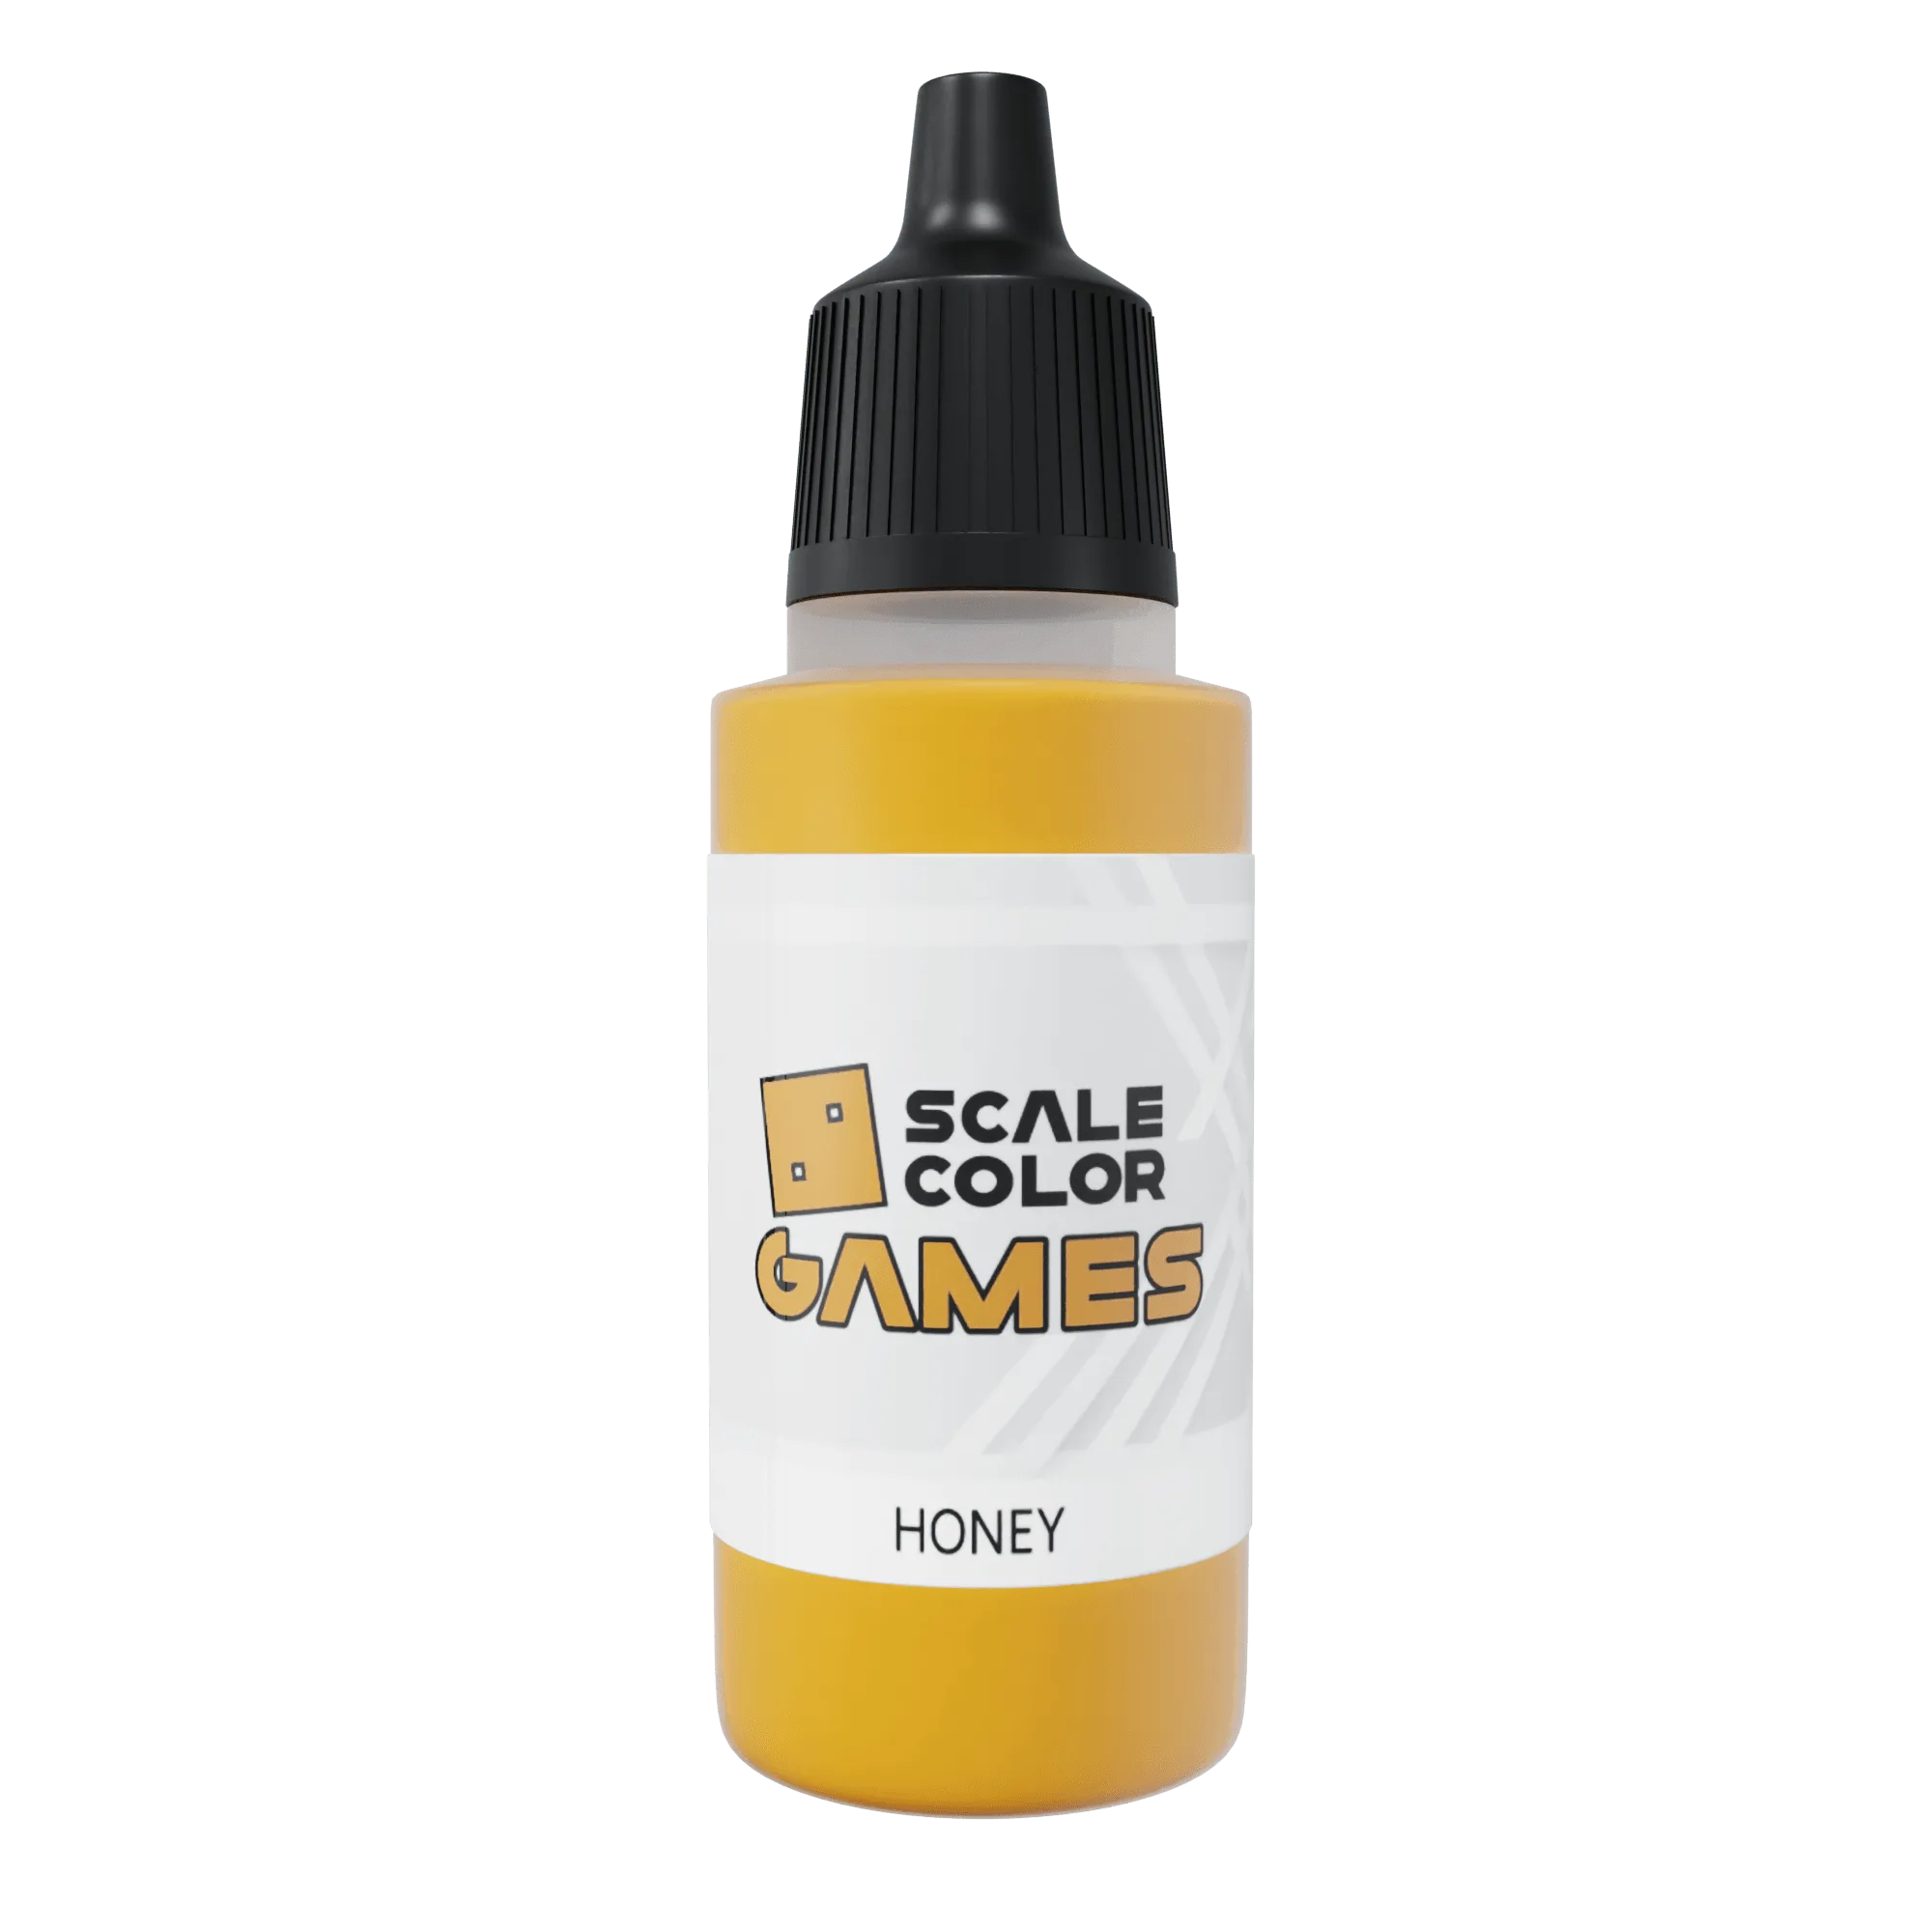
- BURNT SIENNA: Premium creamy acrylic paint in a 20ml pot, valid for brush and airbrush, with high coverage pigments. A single 20ml pot is enough to test Burnt Sienna across several models before committing to a larger set.
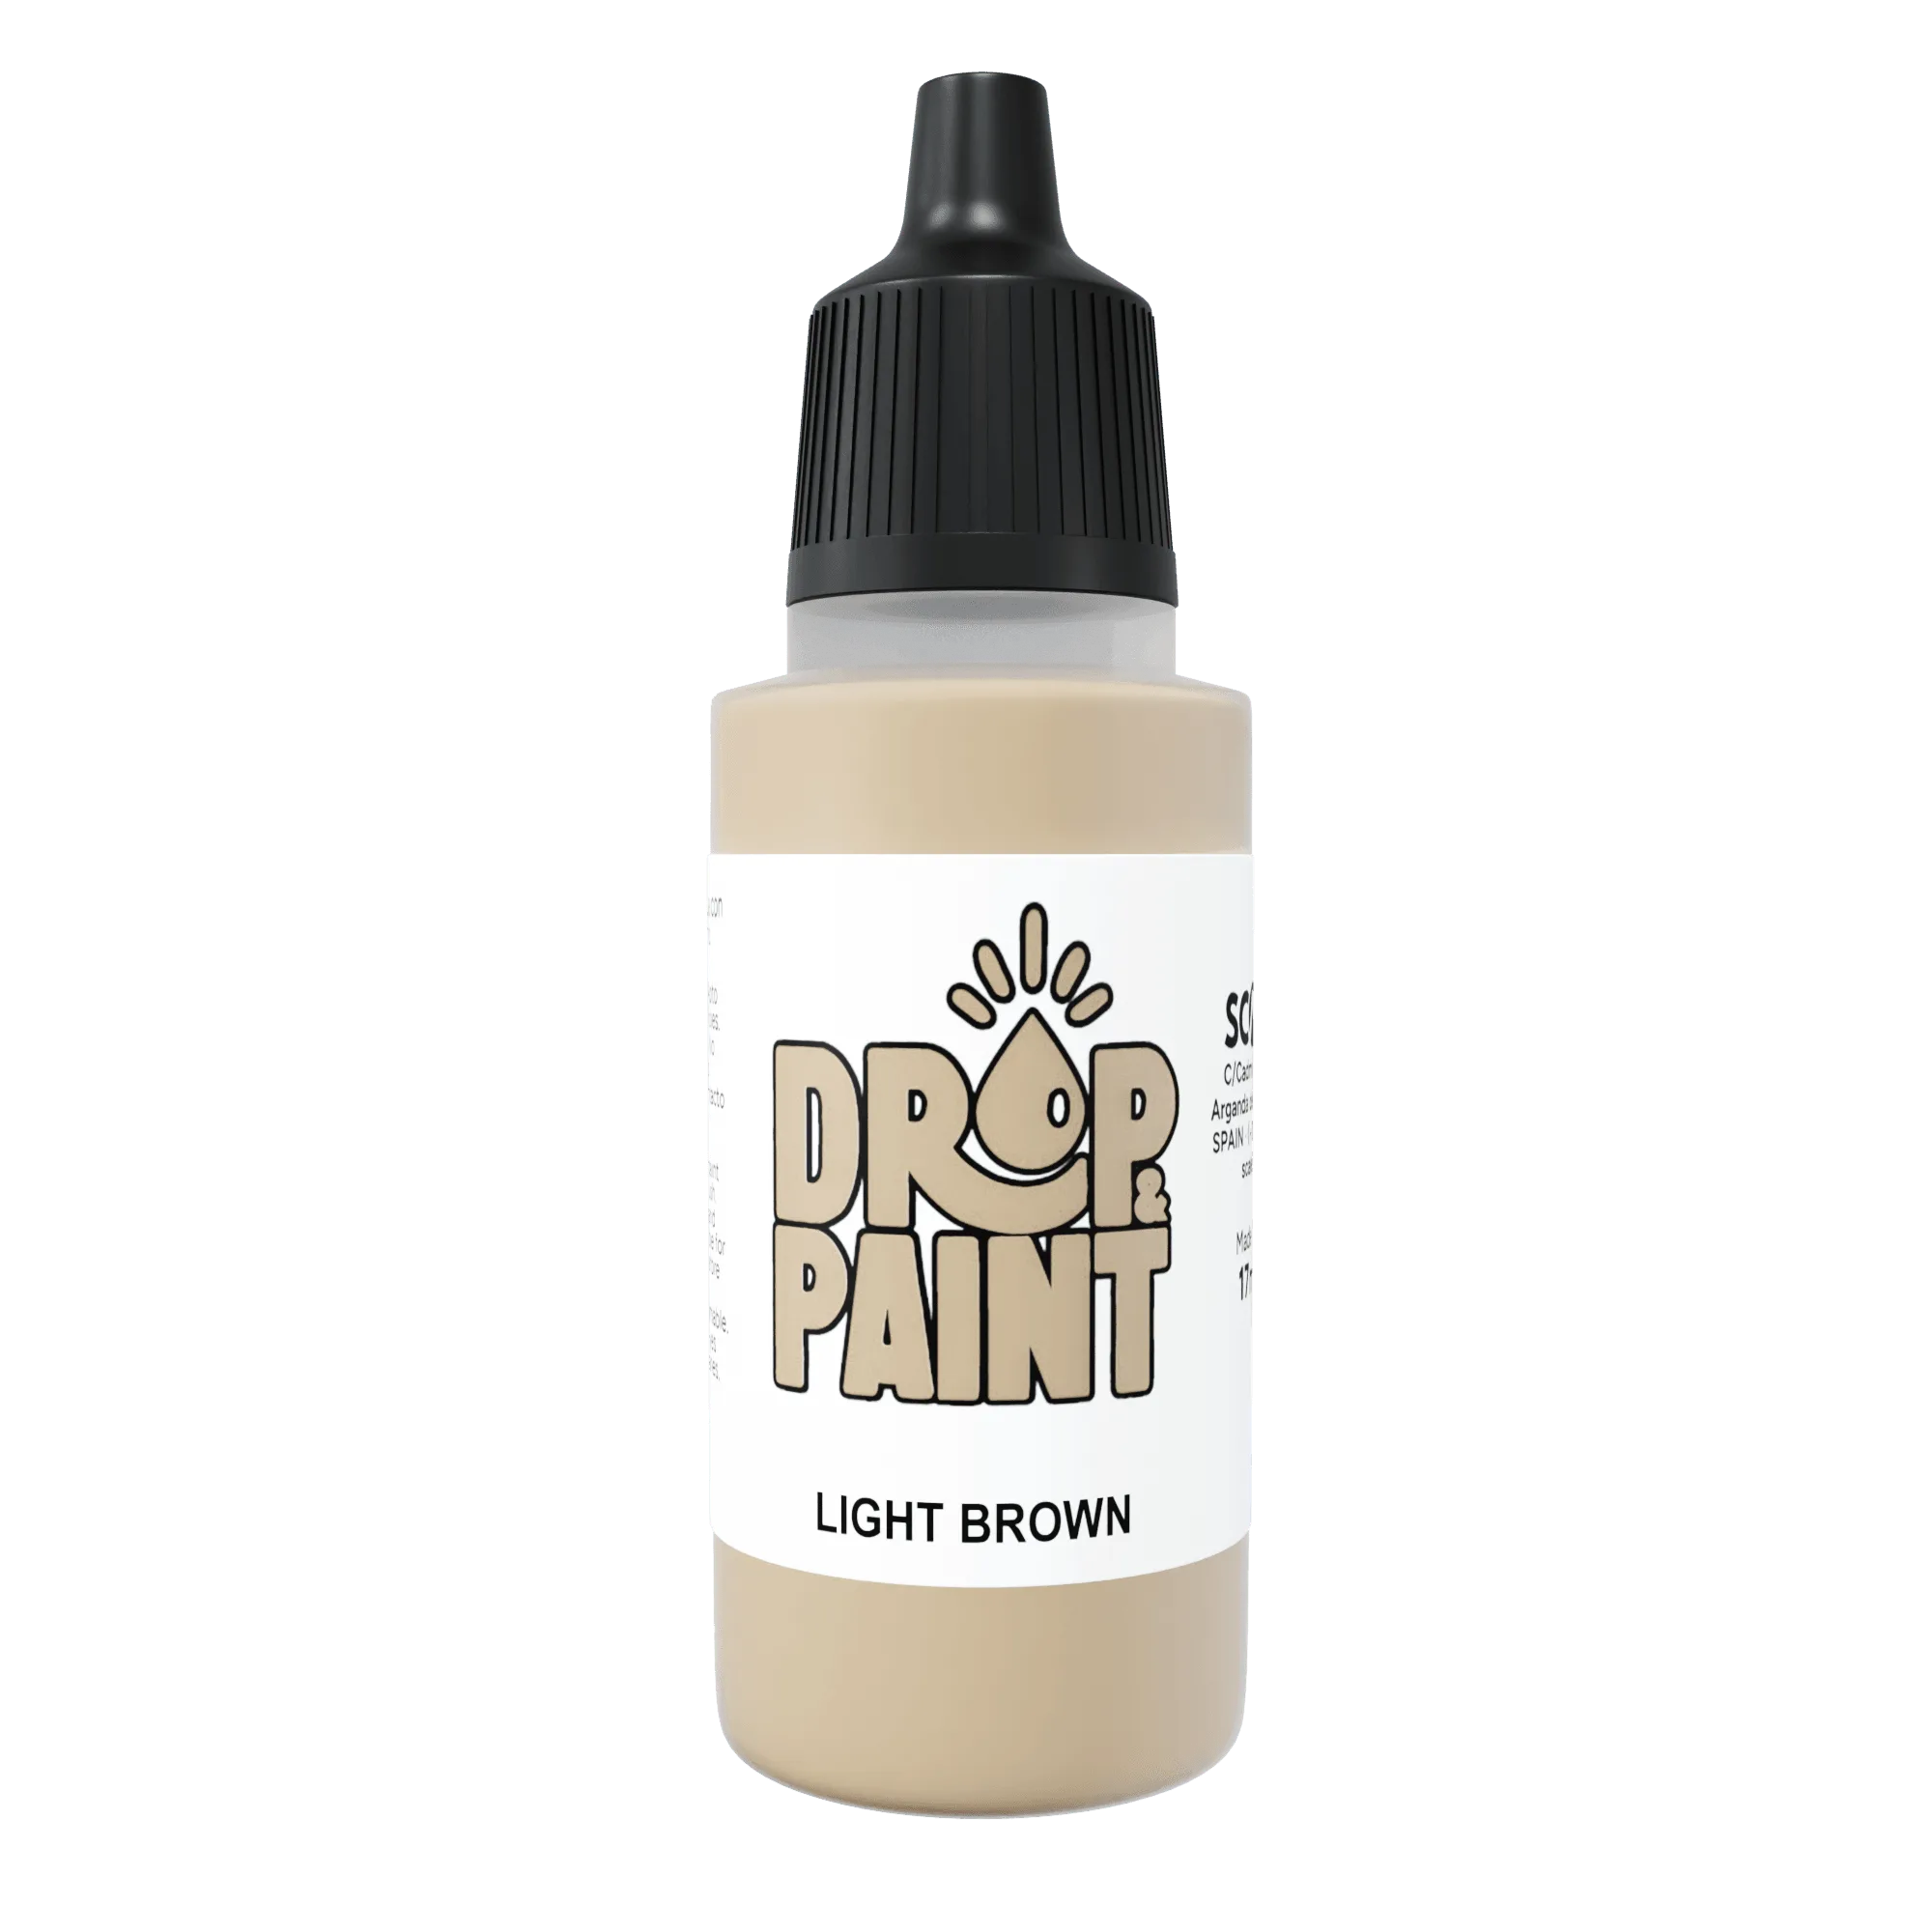
- LIGHT BROWN: Individual acrylic paint pot in a light brown shade, described as suitable for basecoats, highlights, or blending on models and dioramas. Useful as a bridge tone when you want to lighten Reddish Brown without shifting it toward orange.
- OLIVE BROWN: Warfront acrylic paint in a 17ml pot with a matte finish, creamy consistency, and opacity suited to glazes, with tones aimed at modeling and military figures. A matte finish reduces shine on fabric and leather, which matters if you photograph your models under direct light.
Which should you choose?
Best for
- Painters working on rust, clay, or sun-bleached canvas who want a warm earth base
- Hobbyists who plan to shade with a deeper brown rather than black
- Anyone testing earth tones before buying a full paint set
Not for
- Painters who need a single pot to cover both warm highlights and deep shadows
- Projects where a cool, desaturated brown is required
- Anyone looking for a pre-mixed skin tone straight from the pot