Quick answer
Store buttons by size and color in shallow, clear containers you can see into without dumping them out. Sort new and vintage buttons as they arrive, not later, and keep a small working tray for active projects. If your collection is already mixed, sort it once into size bands, then decide what to display and what to archive.
You know the feeling: you need six matching buttons for a cardigan, you open a tin, and you find a tangle of plastic, shell, and metal in every size but the one you need. The buttons are fine. The system is the problem.
This guide treats a messy button collection as a diagnosable issue. You will learn what the symptom usually means, the cause behind it, and the corrective action that actually holds up. It also covers the point where you should stop organizing and simply buy what you need.
Why button collections become unusable
Most collections fail for one of three reasons: everything lives in one deep container, buttons are sorted by a rule you never follow, or new buttons go straight into the pile without being sorted. Deep jars hide the bottom layer, so you dig, spill, and mix everything again. Sorting by color alone sounds tidy until you need a specific size.
The fix is to match the container to the search. You almost always search by size first, then color. Shallow containers with dividers make that search physical rather than visual. When you can see the whole layer at once, you stop dumping.
- Sort by size band first, then color within each band.
- Keep one small tray for the buttons currently in use on a project.
- Add new buttons to the system the same day you bring them home.
Button storage containers that work
The best button storage containers are shallow, stackable, and clear. Craft-store bead organizers, tackle boxes, and divided plastic trays all work. Look for adjustable dividers so you can widen compartments as a size band grows. A compartment that holds 40 small shirt buttons is too small for 40 coat buttons, so plan for mixed sizes.
For larger collections, use a two-tier approach. A stack of lidded trays holds the working collection, and a labeled box in the closet holds overflow and duplicates. Keep the overflow box shallow too. Deep storage is where buttons go to be forgotten.
- Choose clear lids so you can identify a tray without opening it.
- Label each tray by size band, not by brand or project.
- Keep trays out of direct sunlight to slow fading and yellowing.
Sorting vintage buttons without losing the good ones
Sorting vintage buttons takes longer because the sizes are inconsistent and the materials vary. Start by separating metal, shell, glass, and plastic. Metal can rust and shell can chip, so they should not rattle against each other in the same compartment. A soft lining or a small fabric bag inside the compartment protects delicate pieces.
Once materials are separated, sort by size using a simple gauge. A printed card with circles at common sizes, or a ruler with millimeter marks, is enough. Do not try to identify every button by era or maker. That is a collector project, not a storage project.
- Keep a small magnet handy to test for metal buttons quickly.
- Store shell and glass buttons in a padded compartment.
- Set aside any button with a loose shank for repair before it goes in the tray.
Keeping the system tidy over time
A sorting system fails when it takes more than a minute to use. Keep the trays where you sew, not in a closet. A shallow tray on a shelf beside your machine means you can drop a new button into the right compartment without a trip. If you sell handmade items, keep a separate labeled tray for buttons reserved for products so they do not get used on test projects.
Once a season, spend ten minutes checking the trays. Remove buttons you have not touched, move overflow to the archive box, and refill the working tray. This small reset prevents the slow drift back into a mixed pile.
- Keep a small scoop or spoon in the tray for picking up buttons.
- Do not store buttons in bags inside bags; it slows every search.
- If a tray overflows, move the oldest size band to the archive box.
When to display buttons instead of storing them
Some buttons deserve to be seen. A shadow box, a glass jar on a shelf, or a framed card of matching buttons can display a collection without hurting its usability. The tradeoff is light and dust. Display only what you are willing to clean and what you are not actively using. Keep the working collection in trays.
If you display buttons, rotate them. A seasonal swap keeps the display interesting and gives you a chance to check for damage. Buttons with shanks can be pinned to fabric inside a frame, but buttons with sew-through holes need thread or wire to stay in place.
- Display duplicates and sentimental buttons, not your only matching set.
- Avoid direct sun; it fades dyed plastic and dries out shell.
- Dust a display case with a soft brush, not a damp cloth.
Diagnose your button storage problem
- You dig through one deep tin for every button: The container is too deep and unsorted. Move to shallow, divided, clear trays sorted by size band, then color. If you still dig after one week, the tray is too deep or the dividers are too large.
- You own hundreds of buttons but never find a match: The collection is sorted by a rule you do not use, such as color only. Re-sort by size first, because size is the search you actually perform. Stop sorting and buy a specific set when you need six or more matching buttons for one project.
- Vintage buttons are chipping or rusting in storage: Metal, shell, and glass are touching. Separate by material and pad the delicate pieces. Check for loose shanks before storing. If a vintage button is already damaged, set it aside for display rather than use.
Buttons that fit a sorted system
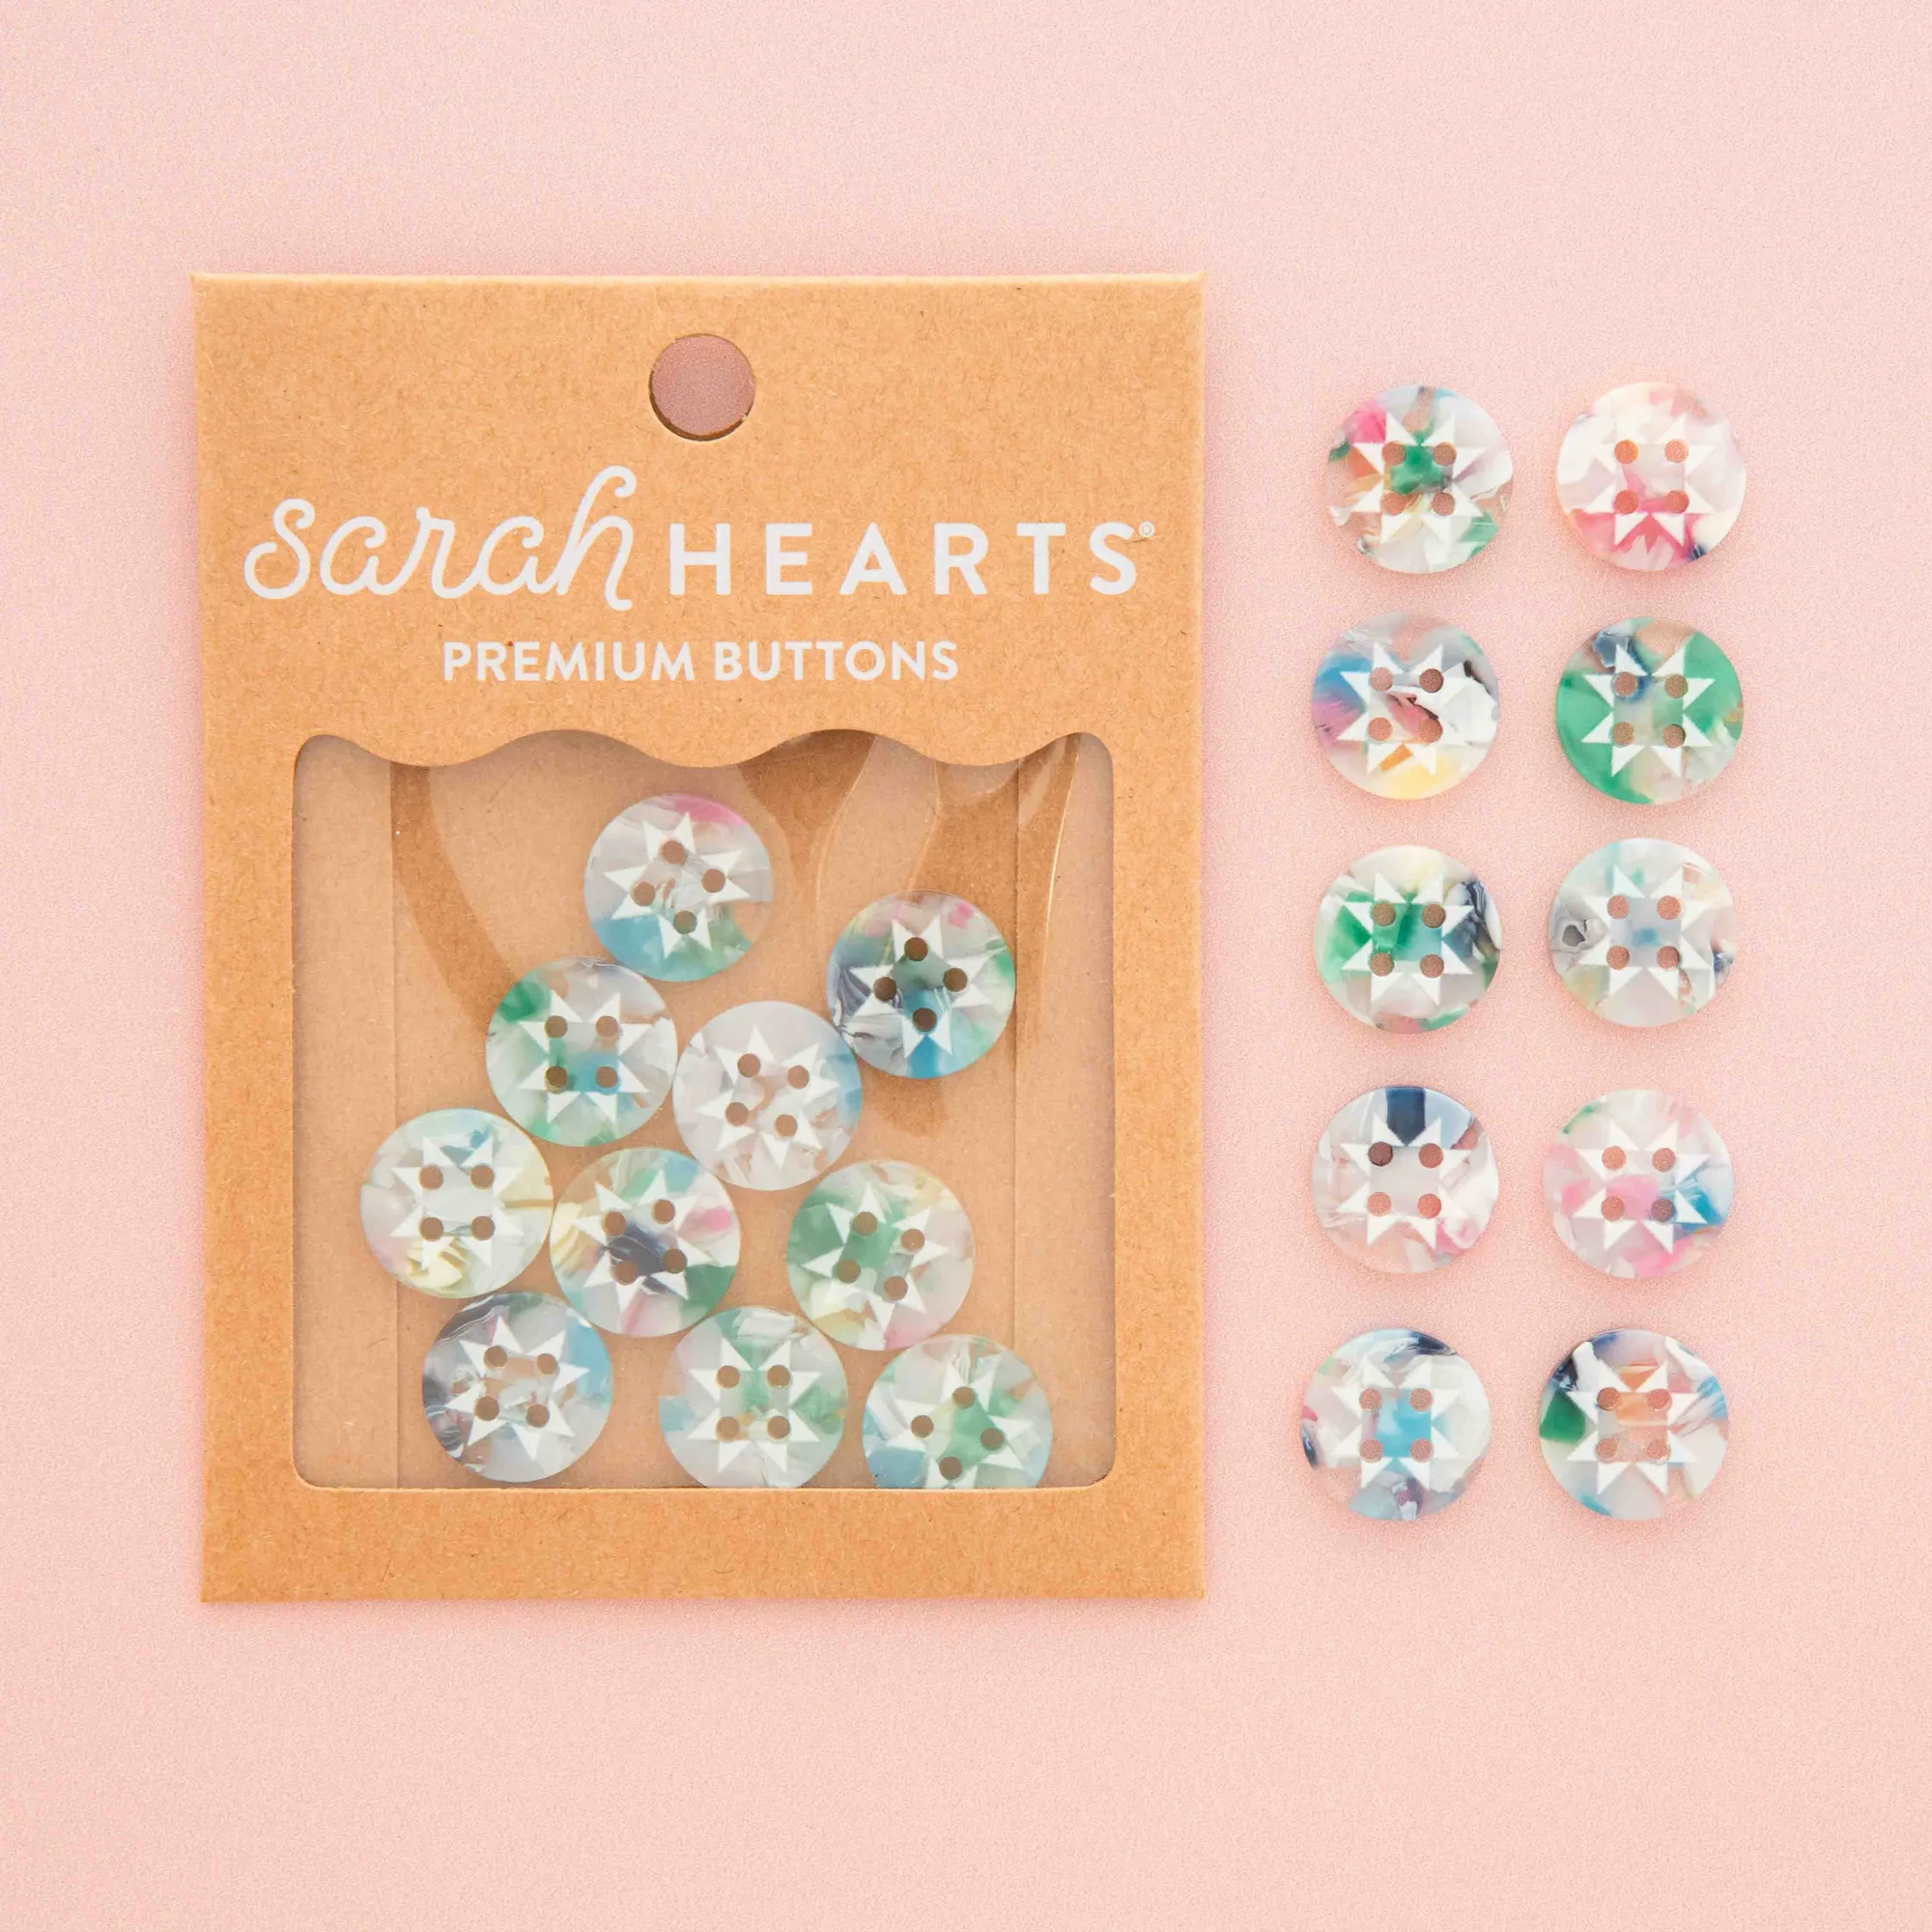
- Small Confetti Quilt Star Buttons: Made from eco-friendly cellulose acetate, each button features a round multicolor confetti design topped with a cream printed quilt star, sold in packs of 10. A pack of 10 is a complete set for a garment or bag, so it can live in its own labeled compartment instead of being mixed into a general size tray.
- Pink Bow Large 1" Buttons: Made from eco-friendly cellulose acetate, with a cute bow shape and pearly light pink color, sold in packs of 6 buttons. Large novelty buttons take up more room, so give them a wider compartment and keep the set together for the project it was bought for.
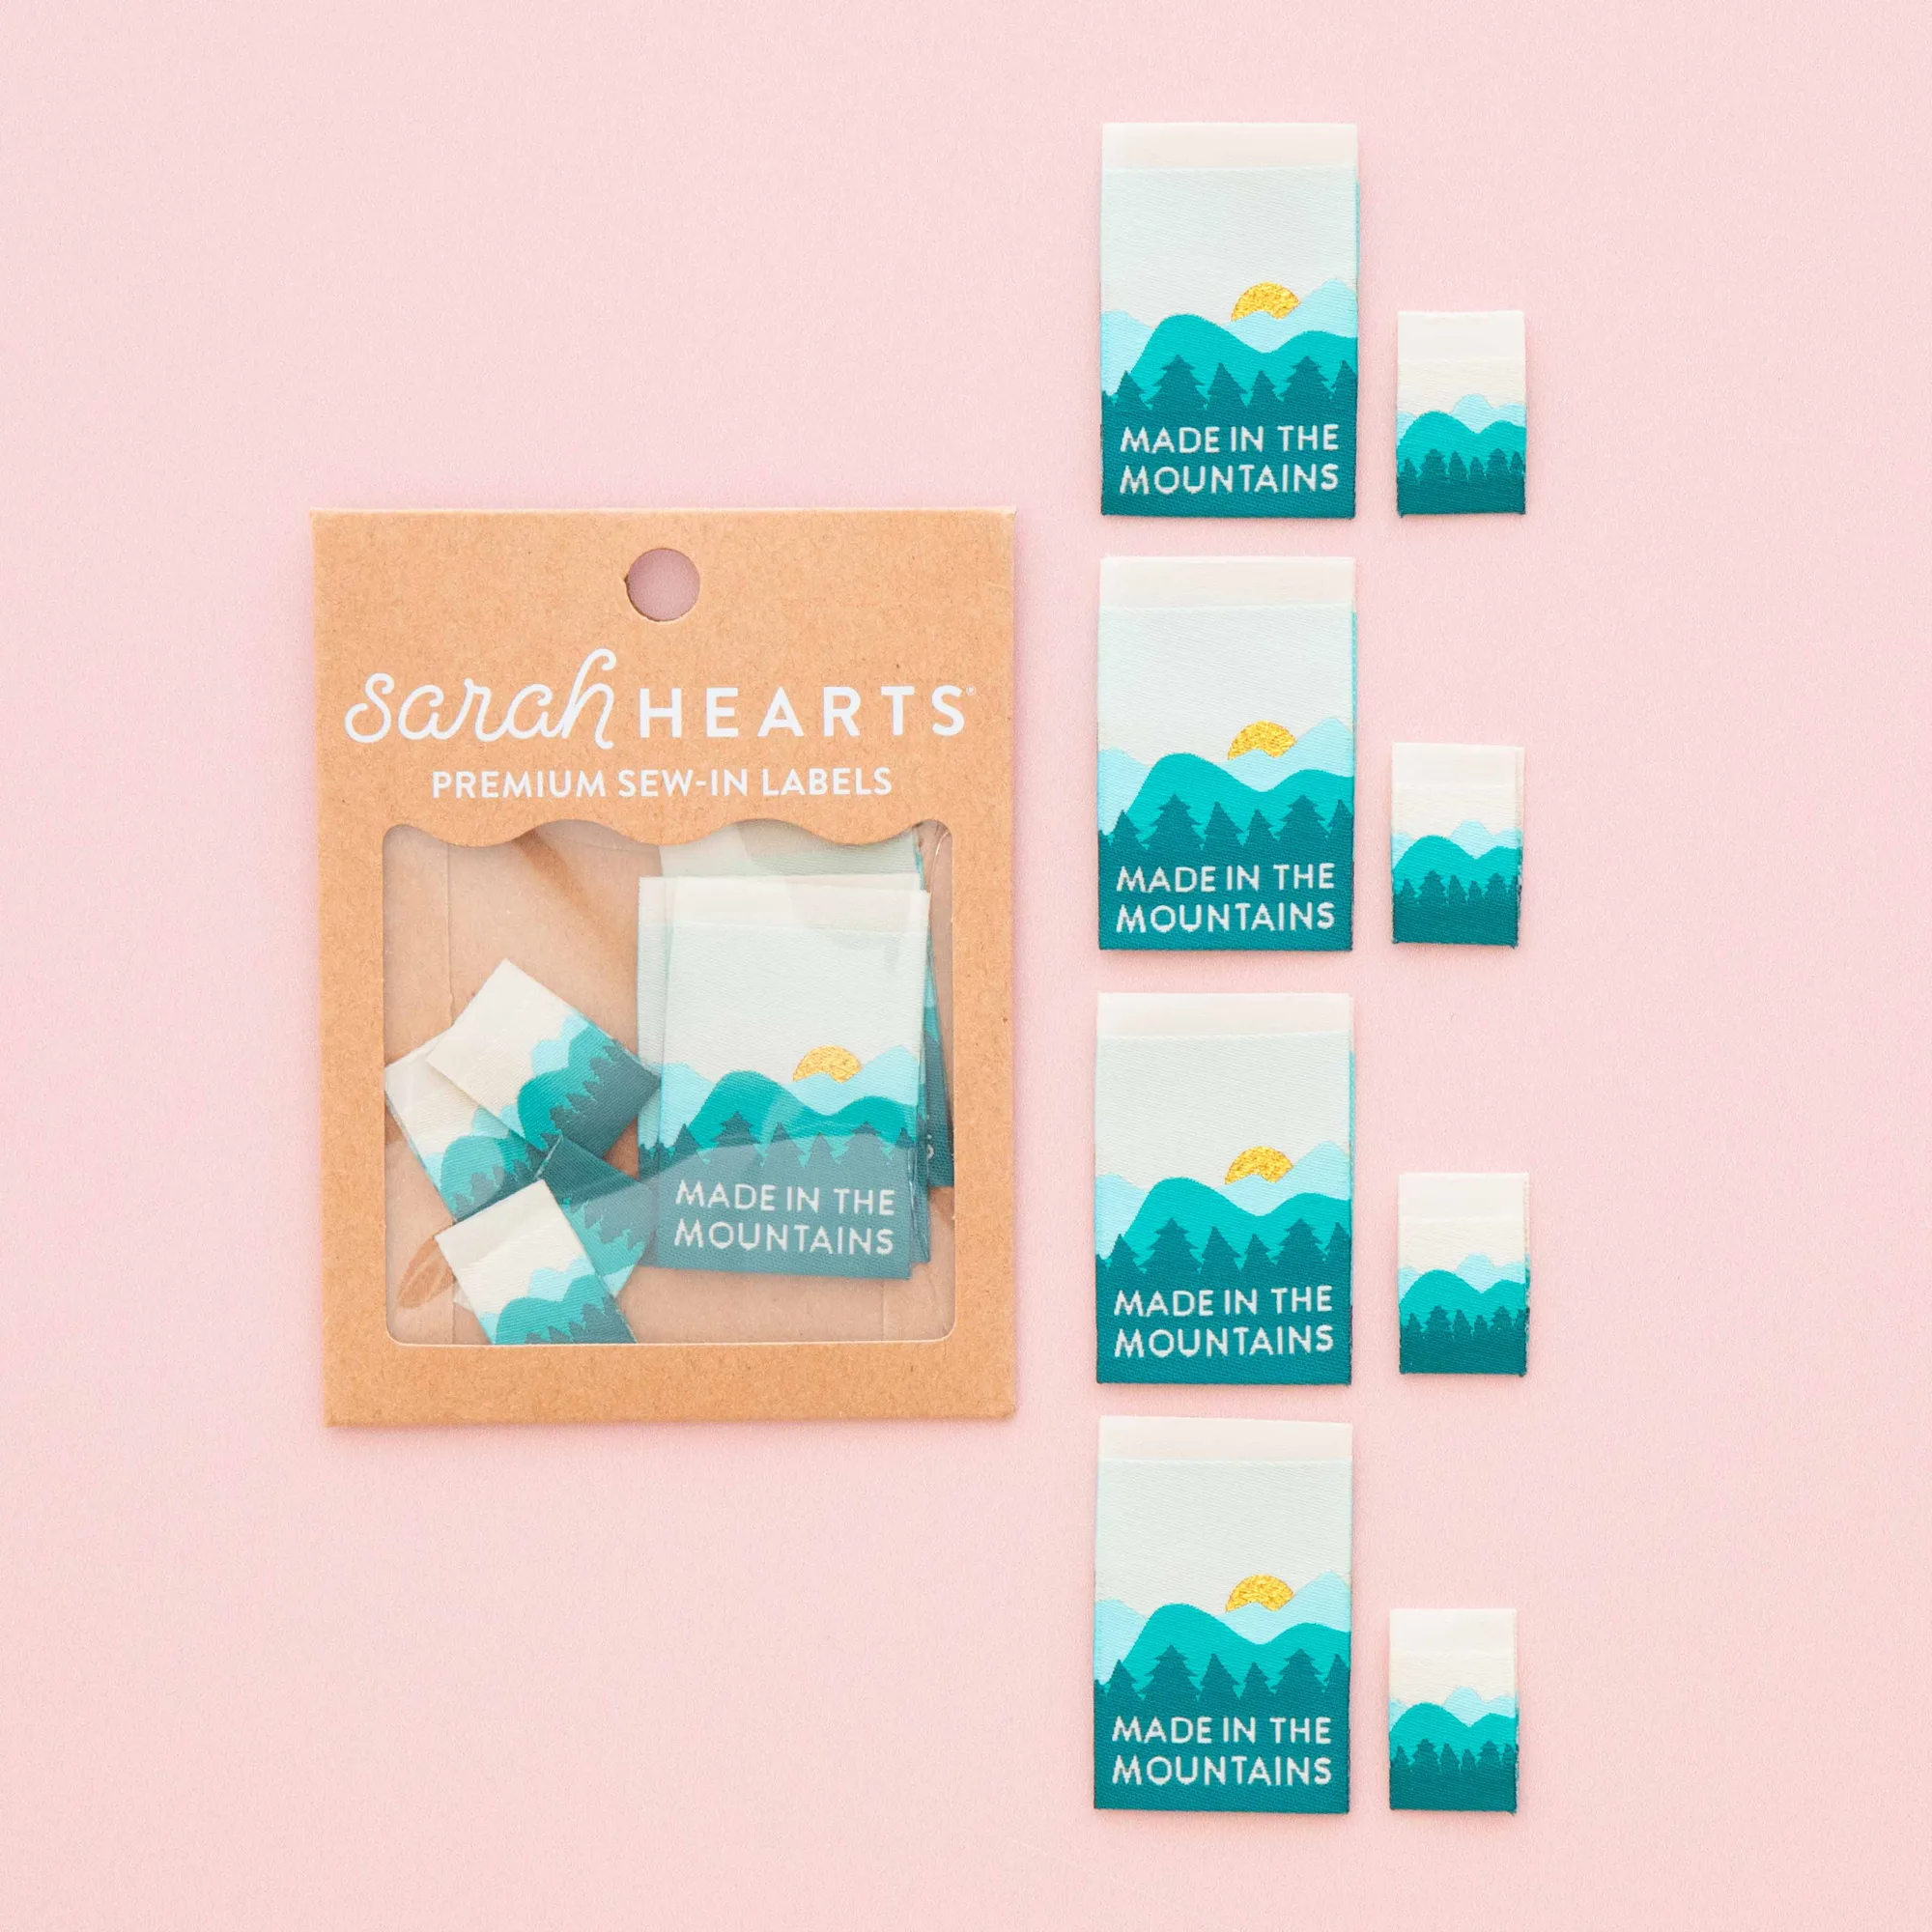
- Made in the Mountains Multipack Woven Sewing Labels: This multipack includes the best selling Made in the Mountains label, just a smidge smaller than the original, with a jade green landscape and a small metallic gold sun, plus a smaller mini mountain label. Labels stored with buttons can be sorted by project, so a finished garment gets its button set and label from the same tray.
A usable button collection is not about owning less. It is about making the next search take seconds instead of minutes. Sort by size, contain in shallow clear trays, and keep the working set where you sew.