Quick answer
Pack essentials, valuables, and a one-day buffer in your cabin bag; check bulky, replaceable, and liquid-heavy items. Start by sorting every item into three piles: carry-on only, checked only, and either. Then pack the cabin bag first, weigh the checked bag at home, and keep a small personal item with medications and documents.
The fastest way to ruin a trip is to pack the wrong things in the wrong bag. Deciding between cabin vs checked luggage is not about airline rules alone — it is about what you can afford to lose, what you need on day one, and how much you want to carry through the terminal.
This guide gives you a repeatable process. Work through the steps in order, and you will pack a carry-on that covers the first 24 hours and a checked bag that stays under weight without wasting space.
Step 1: Sort everything into three piles
Lay out every item you plan to bring. Make three piles: carry-on only, checked only, and either. Carry-on only includes passports, medications, electronics, jewelry, and one full change of clothes. Checked only includes bulky shoes, full-size liquids, and heavy gear. The 'either' pile is where you make tradeoffs based on space and weight.
A common mistake is putting valuables in the checked pile because they are heavy. Never check anything you cannot replace or live without for a few days. If it is expensive, fragile, or essential, it goes in the cabin.
- Checkpoint: If you would file a claim when it goes missing, it belongs in your carry-on.
Step 2: Build your carry-on packing list around the first 24 hours
Your carry-on should cover one full day and night in case your checked bag is delayed. Include a complete outfit, underwear, socks, a toothbrush, any prescription medication, chargers, and a light layer. Add a small pouch for cables and a separate pouch for toiletries that meet liquid rules.
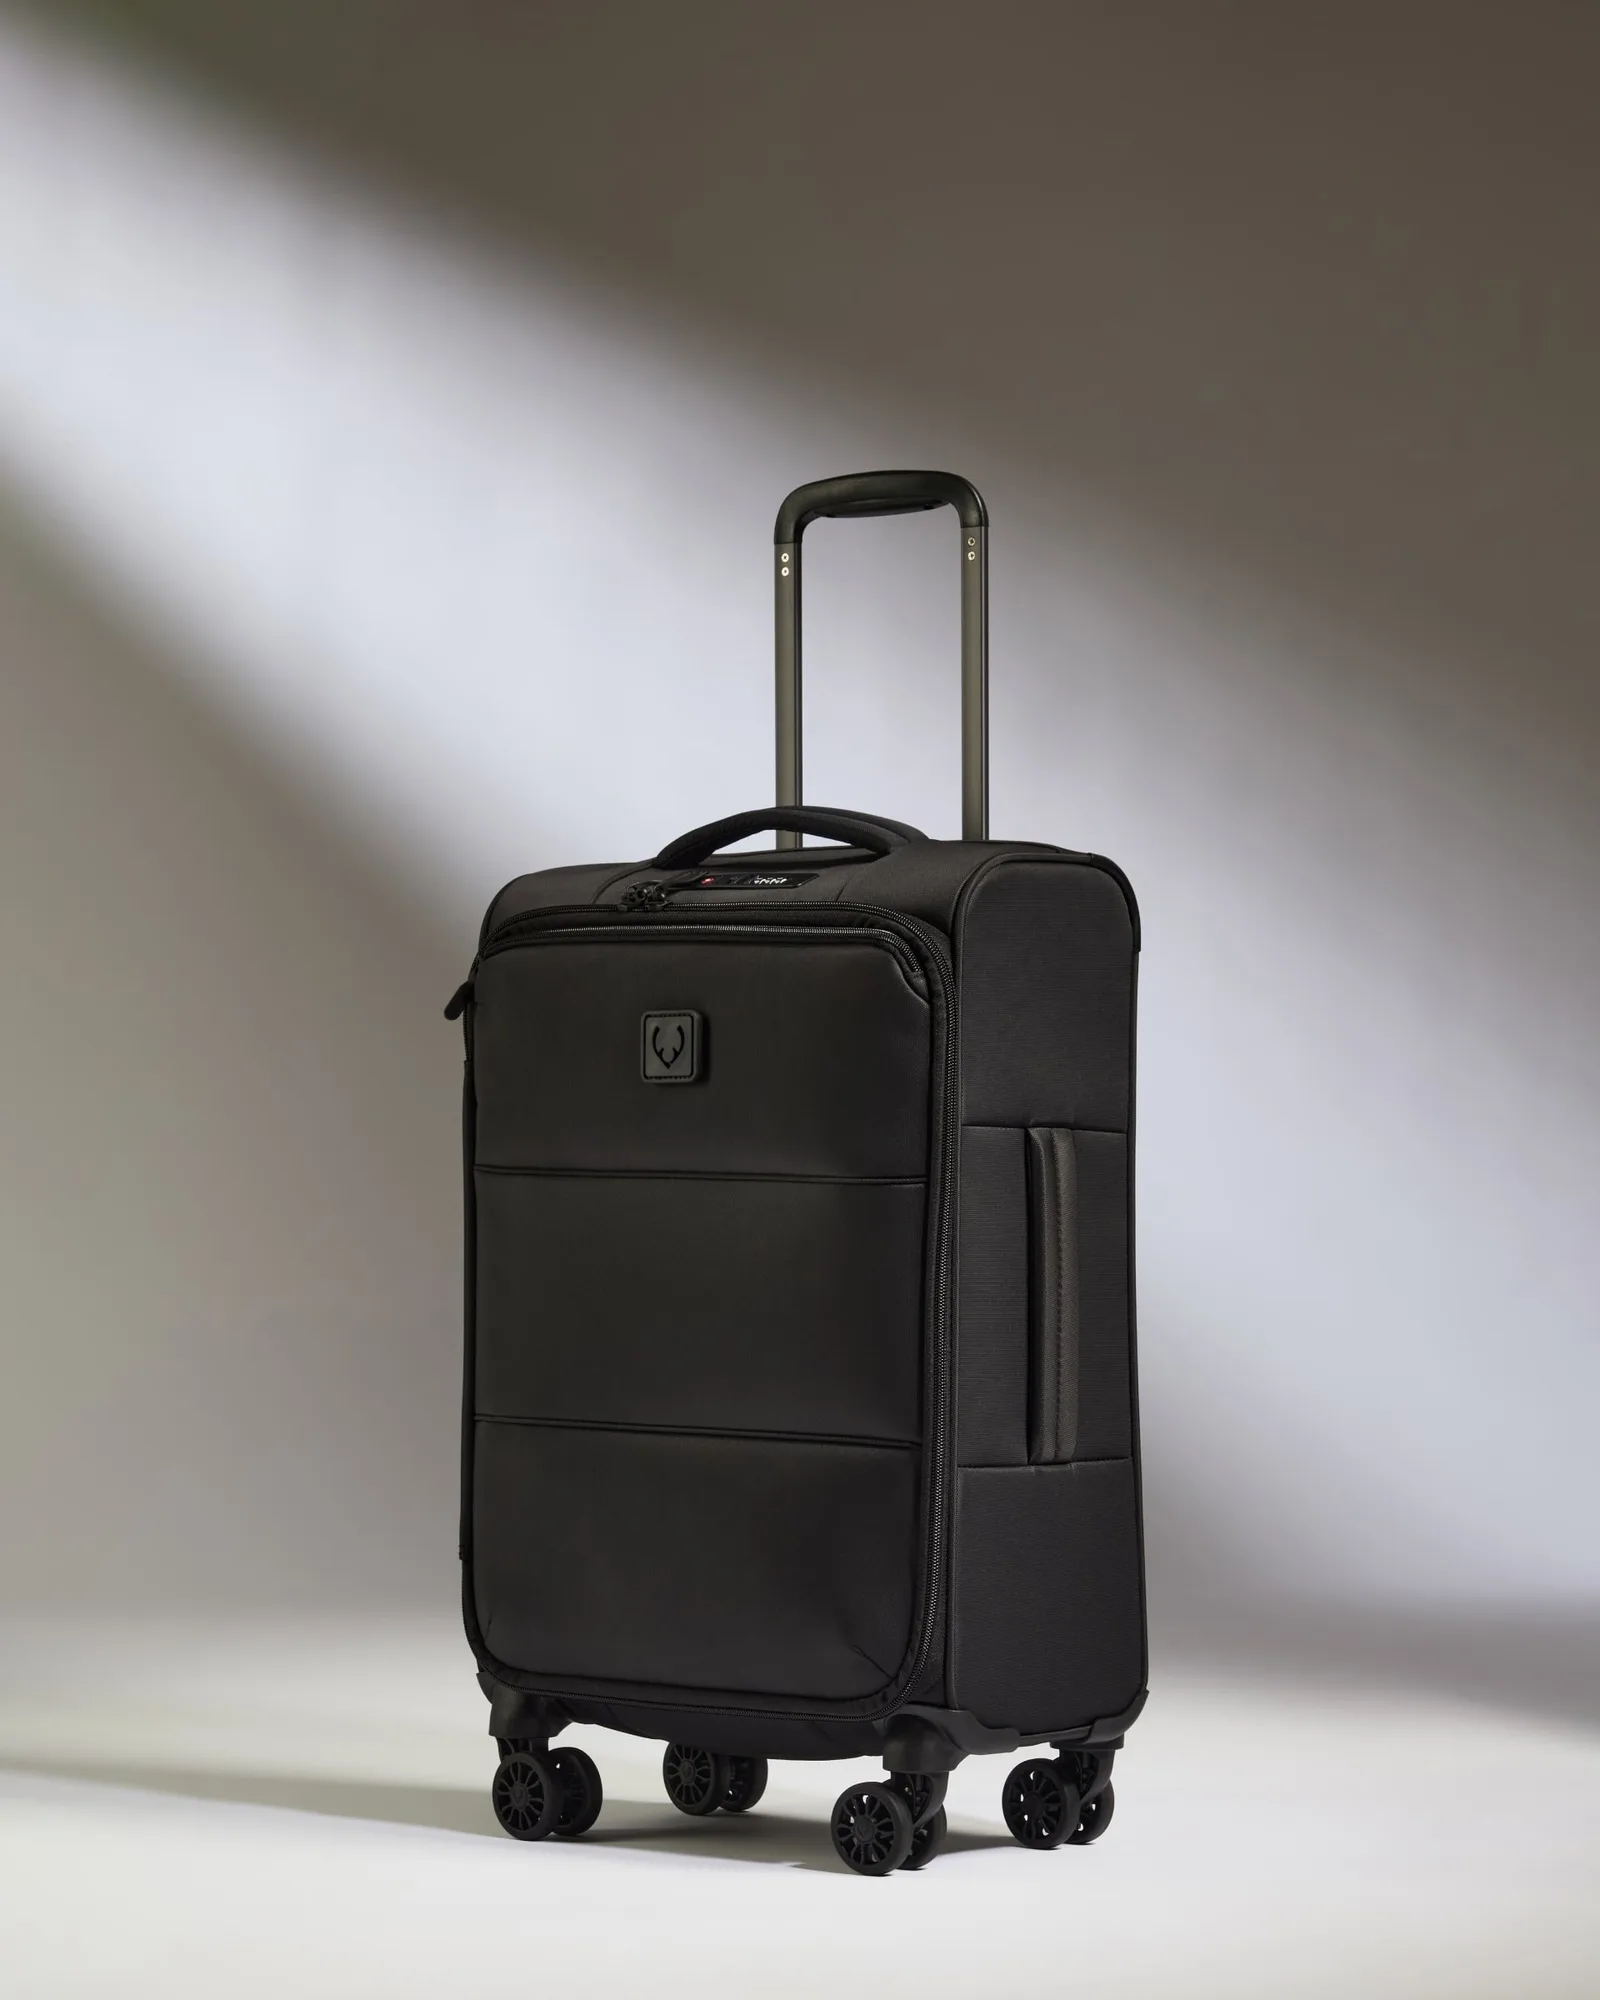
Keep the bag light enough to lift into an overhead bin without help. If you are using a soft expandable carry-on, pack it full but leave the expansion zip closed for the flight — you can open it later for souvenirs.
- Checkpoint: Weigh your carry-on at home. Many airlines enforce a 7–10 kg cabin limit at the gate.
Step 3: Decide what to check — and what to leave at home
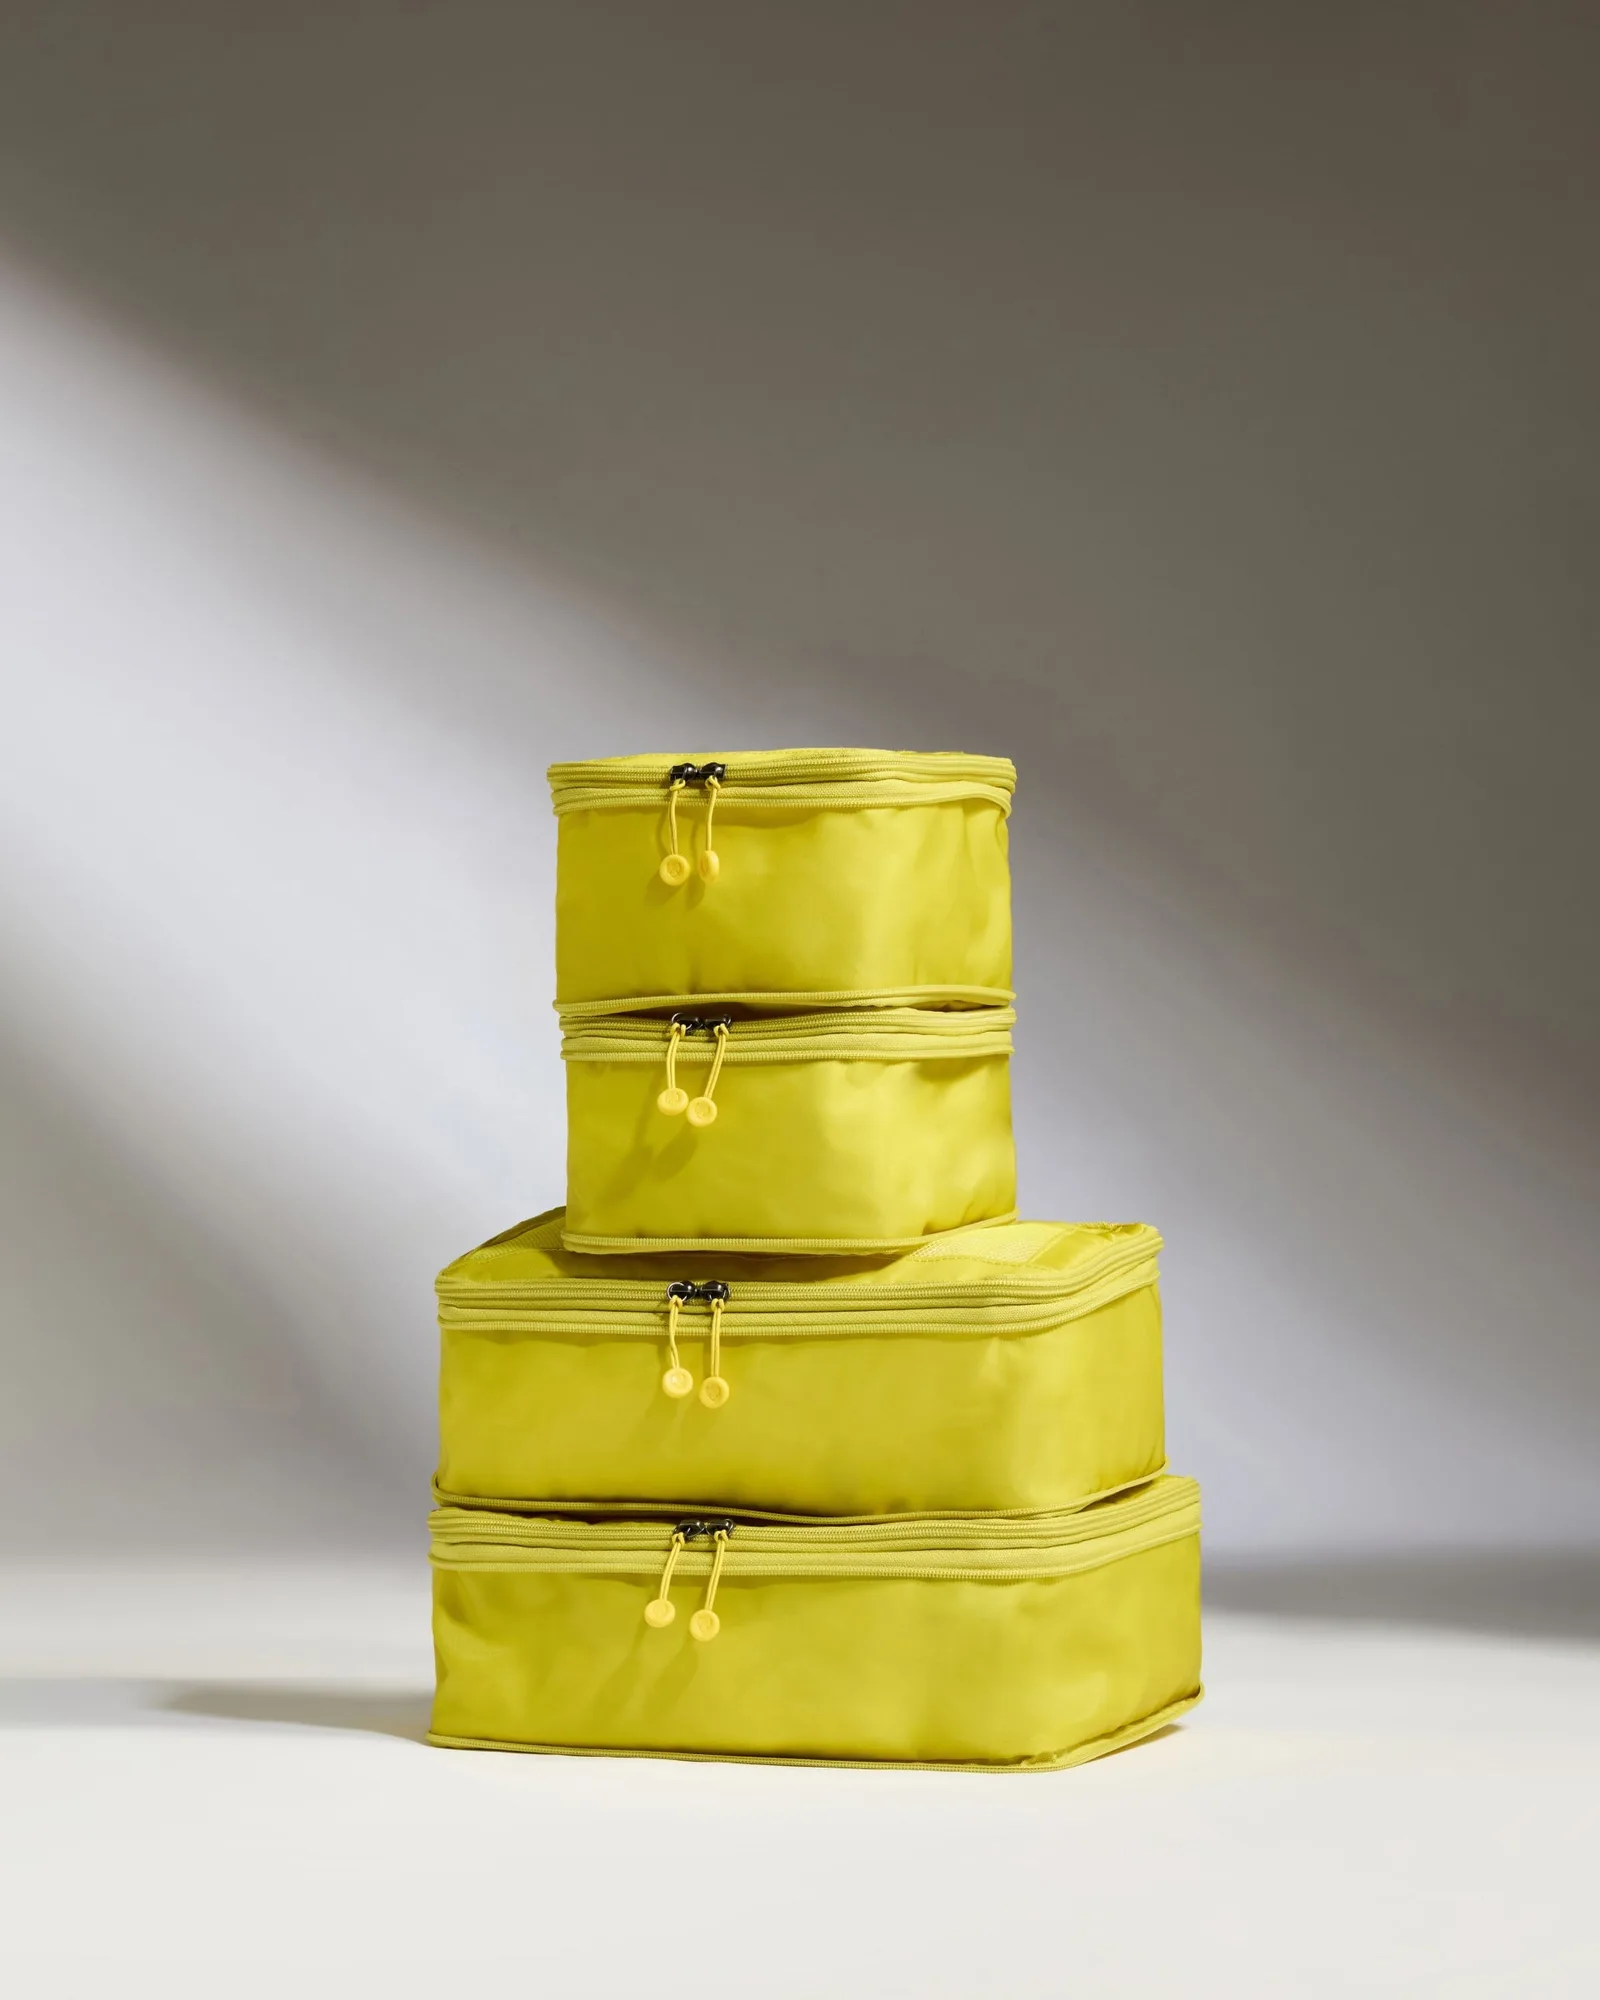
Checked baggage is for things you will not need before you reach your hotel: extra shoes, bulky jackets, full-size toiletries, and heavy workout gear. If you are traveling with a larger suitcase, use packing cubes to group items by category so you can find things without unpacking everything.
A common mistake is checking items that are technically allowed in the cabin but feel inconvenient. That extra pair of boots may be easier to carry than to replace. Ask yourself: if this bag is delayed three days, will I be fine? If yes, check it.
- Checkpoint: Never pack medication, passports, laptops, or jewelry in a checked bag.
Step 4: Pack the cabin bag first, then the checked bag
Packing the cabin bag first forces you to prioritize. Put heavy items at the bottom near the wheels, and keep the top third for things you need during the flight. Use the same logic in your checked bag: heavy items low and centered, lighter items around the edges.
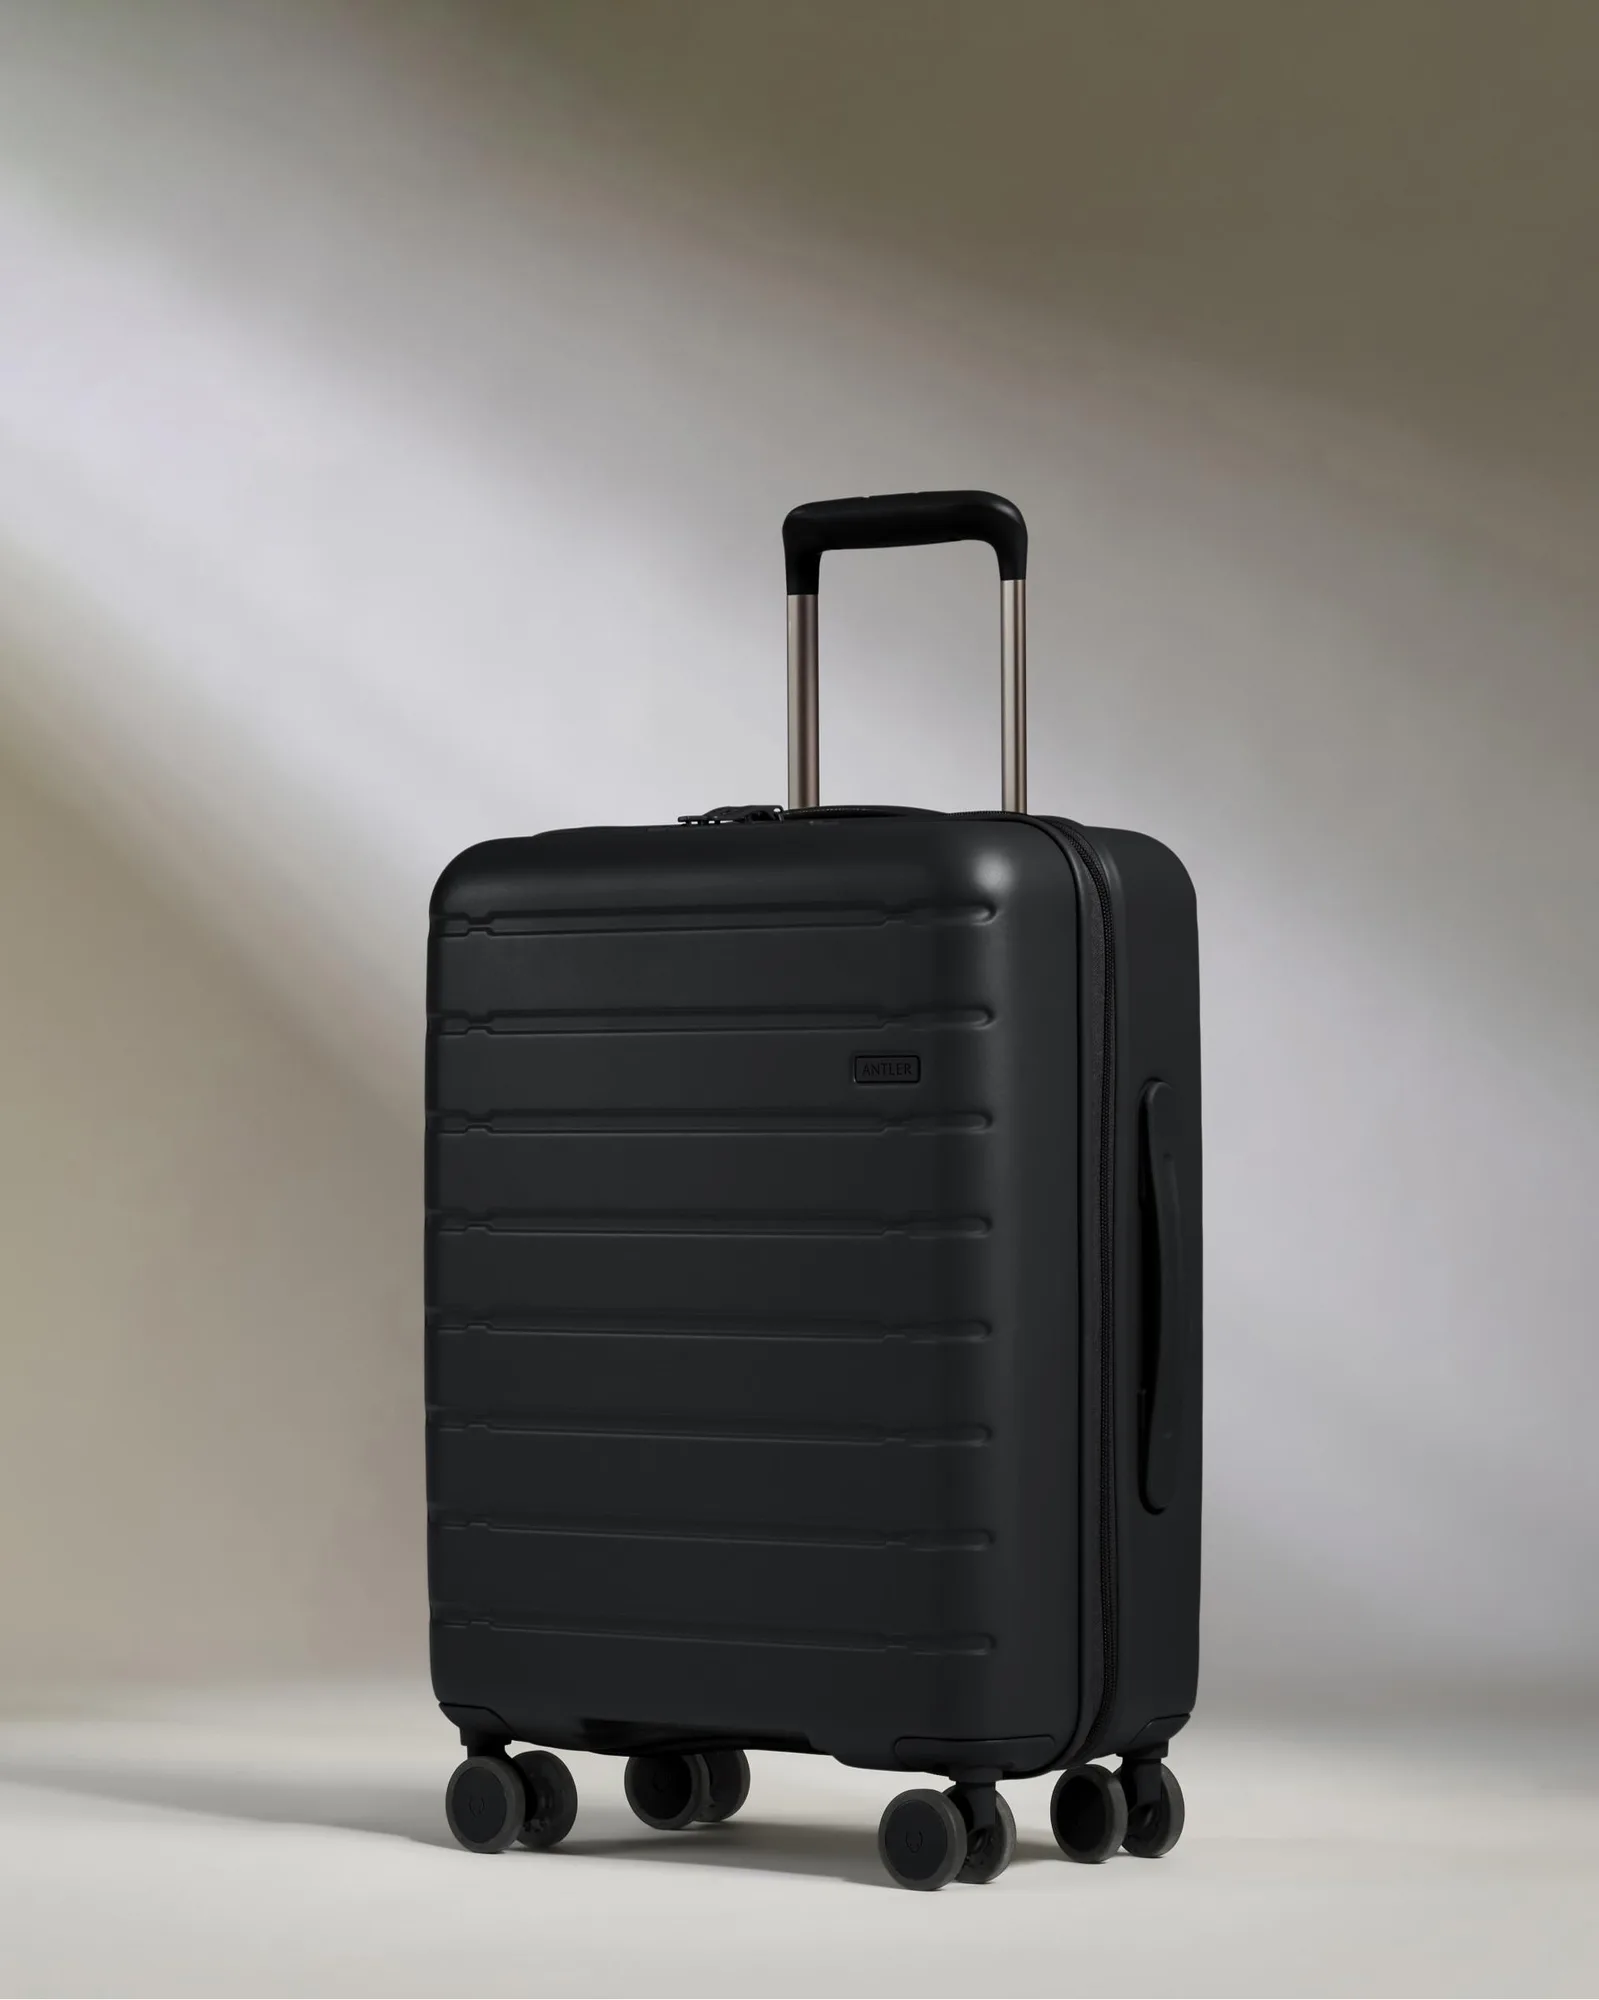
If you are using a hard-shell suitcase, compression packing cubes help you fit more without overstuffing. If you are using a soft bag, avoid over-expanding it before the flight — it may not fit in the overhead bin.
- Checkpoint: Leave a little slack in both bags for souvenirs or weather gear you buy on the trip.
Step 5: Weigh, measure, and label both bags
Weigh your checked bag at home on a luggage scale. Check your airline's size and weight limits for both cabin and checked luggage, because they vary more than most travelers expect. Measure the external dimensions including wheels and handles.
Label both bags with a luggage tag that has your name, phone number, and email — not your home address. Put a copy of your itinerary inside the checked bag in case the external tag falls off.
- Checkpoint: Take a photo of your packed bags and their tags before you leave home.
Your step-by-step packing sequence
- Sort into three piles: Separate items into carry-on only, checked only, and either. Put valuables and essentials in the carry-on pile. Checkpoint: If losing it would ruin the trip, it goes in the cabin.
- Pack the carry-on for 24 hours: Include one full outfit, medications, chargers, and a light layer. Keep it light enough to lift overhead. Checkpoint: Weigh it at home against your airline's cabin limit.
- Fill the checked bag with bulky, replaceable items: Use packing cubes to group by category. Keep heavy items low and centered. Checkpoint: Never check medication, passports, or electronics.
- Weigh, measure, and label both bags: Use a luggage scale, check airline limits, and attach a tag with your phone and email. Checkpoint: Photograph your packed bags and tags before leaving.
Gear that makes this process easier
- Expandable Carry-on Luggage in Midnight Black - Stamford 2.0: Features Hinomoto 360-degree rotating wheels for whisper-quiet gliding and enhanced control. Smooth wheels make a fully packed cabin bag easier to move through busy terminals.
- Packing Cubes in Gorse Yellow - Set of 4: Includes an extra strong compression zip and a mesh window so you can see contents at a glance. Compression cubes let you fit more in a checked bag and keep categories separate without unpacking.
- Lightest Expandable Carry-on Luggage in Black - Soft Stripe 2.0: Made from 100% recycled polyester, inside and out, with an ultra-light construction. A lighter bag helps you stay under cabin weight limits and makes carrying easier.
Packing the right items in the right bag comes down to a simple rule: your cabin bag protects your trip, and your checked bag carries the bulk. Sort, pack the cabin first, weigh both bags, and you will spend less time at the airport counter and more time enjoying the destination.