Your Caraway vegetable peeler is a workhorse in the kitchen, gliding through carrots, potatoes, and zucchini with ease. But to keep it performing at its best, regular cleaning and proper maintenance are essential. In this guide, we'll walk you through the best practices for caring for your peeler, from everyday rinsing to deep cleaning and smart storage.
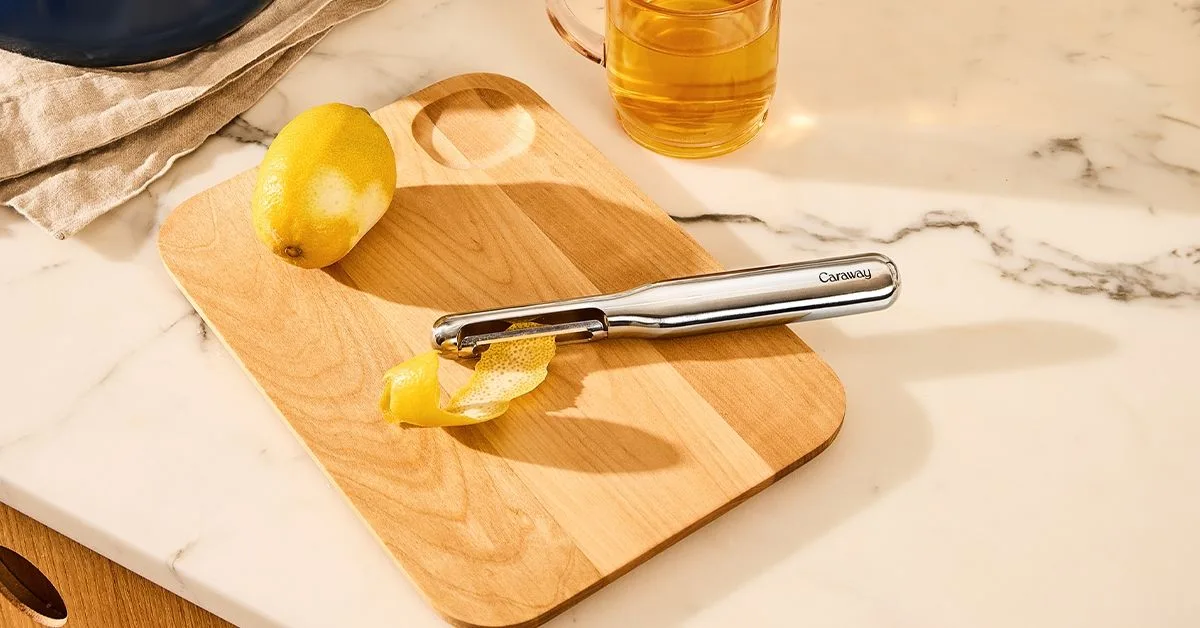
vegetable peeler
Whether you're a seasoned home cook or just starting to build your kitchen toolkit, understanding how to care for your tools extends their lifespan and ensures food safety. Let's dive into the simple yet effective ways to keep your Caraway peeler in top shape.
Why Proper Peeler Care Matters
A well-maintained vegetable peeler not only makes food prep faster and more enjoyable but also reduces the risk of food contamination. Over time, food particles and moisture can accumulate in the crevices of the blade, leading to dullness and potential bacterial growth. By incorporating a few cleaning habits into your routine, you can ensure that your peeler remains sharp, hygienic, and ready for any recipe.
Additionally, caring for your peeler means you'll get the most out of your investment. High-quality kitchen tools like those from Caraway are designed to last, but they require a bit of attention to maintain their performance. With the right care, your peeler can serve you for years, making it a reliable companion in your culinary adventures.
- Prevents dulling of the blade
- Reduces risk of foodborne illness
- Extends the lifespan of the tool
Daily Cleaning: Quick and Easy Steps
After each use, give your Caraway peeler a quick rinse under warm running water to remove any lingering food particles. For most jobs, a simple rinse with a mild dish soap and a soft sponge is sufficient. Avoid using abrasive scrubbers or steel wool, as they can scratch the surface and dull the blade.
If you've been peeling starchy vegetables like potatoes, you may notice a residue that sticks to the blade. Soak the peeler in warm, soapy water for a few minutes before washing to loosen stubborn bits. Then, rinse thoroughly and dry with a soft cloth to prevent water spots and rust.
- Rinse immediately after use to prevent food from drying on the blade
- Use mild dish soap and a soft sponge
- Dry completely before storing
Deep Cleaning for Stubborn Residue
Over time, you may encounter buildup that regular washing can't remove. For a deeper clean, create a solution of equal parts water and white vinegar and soak the peeler for about 15 minutes. This helps break down mineral deposits and disinfect the blade. After soaking, wash with soap and warm water, then rinse and dry thoroughly.
For an even more thorough approach, you can use a toothbrush or a small brush to gently scrub the blade's crevices and the pivot point if your peeler has a swivel action. This ensures no food particles are left behind, keeping your peeler hygienic and functioning smoothly.
- Use a vinegar solution for mineral buildup
- Gently scrub crevices with a soft brush
- Rinse well to remove any cleaning solution residue
Drying and Storage Best Practices
Proper drying is crucial to prevent rust and corrosion. After washing, always dry your peeler with a clean, dry cloth or let it air dry completely before storing. Avoid leaving it wet in a drawer or on the counter, as moisture can damage the blade over time.
Store your peeler in a dry place, such as a utensil holder or a drawer organizer, where it won't rub against other metal tools that could dull its edge. If your peeler came with a protective cover, use it to shield the blade when not in use. Keeping your peeler separate from other utensils also reduces the risk of accidental nicks.
- Dry thoroughly to prevent rust
- Store in a dry, separate spot to avoid blade damage
- Use a protective cover if available
Maintaining Sharpness and Performance
Even with excellent care, every blade will eventually dull. To keep your Caraway peeler performing like new, you can hone it regularly with a ceramic sharpening rod or a whetstone. However, be sure to follow the manufacturer's instructions, as some peelers have blades that are not meant to be sharpened by the user.
If you notice your peeler struggling to glide through vegetables, it may be time to replace it. While Caraway peelers are built to last, eventual wear is normal. Keeping a spare on hand ensures you're never stuck with a dull peeler in the middle of meal prep.
- Hone the blade periodically with a ceramic rod
- Replace the peeler if it becomes too dull to use safely
- Consider having a backup for heavy use
Integrating Peeler Care into Your Kitchen Routine
Caring for your peeler is just one part of maintaining a functional kitchen. To streamline your meal prep, consider pairing your peeler with other Caraway essentials that are equally easy to care for. For instance, the 12” Prep & Serve Butcher Block provides a sturdy surface for peeling and chopping, and it can be easily cleaned with a quick wipe.
Additionally, using a 45L Slim Step Trash Can makes disposing of peels and scraps effortless, keeping your workspace tidy. By integrating these tools into your routine, you'll spend less time on cleanup and more time enjoying your cooking.
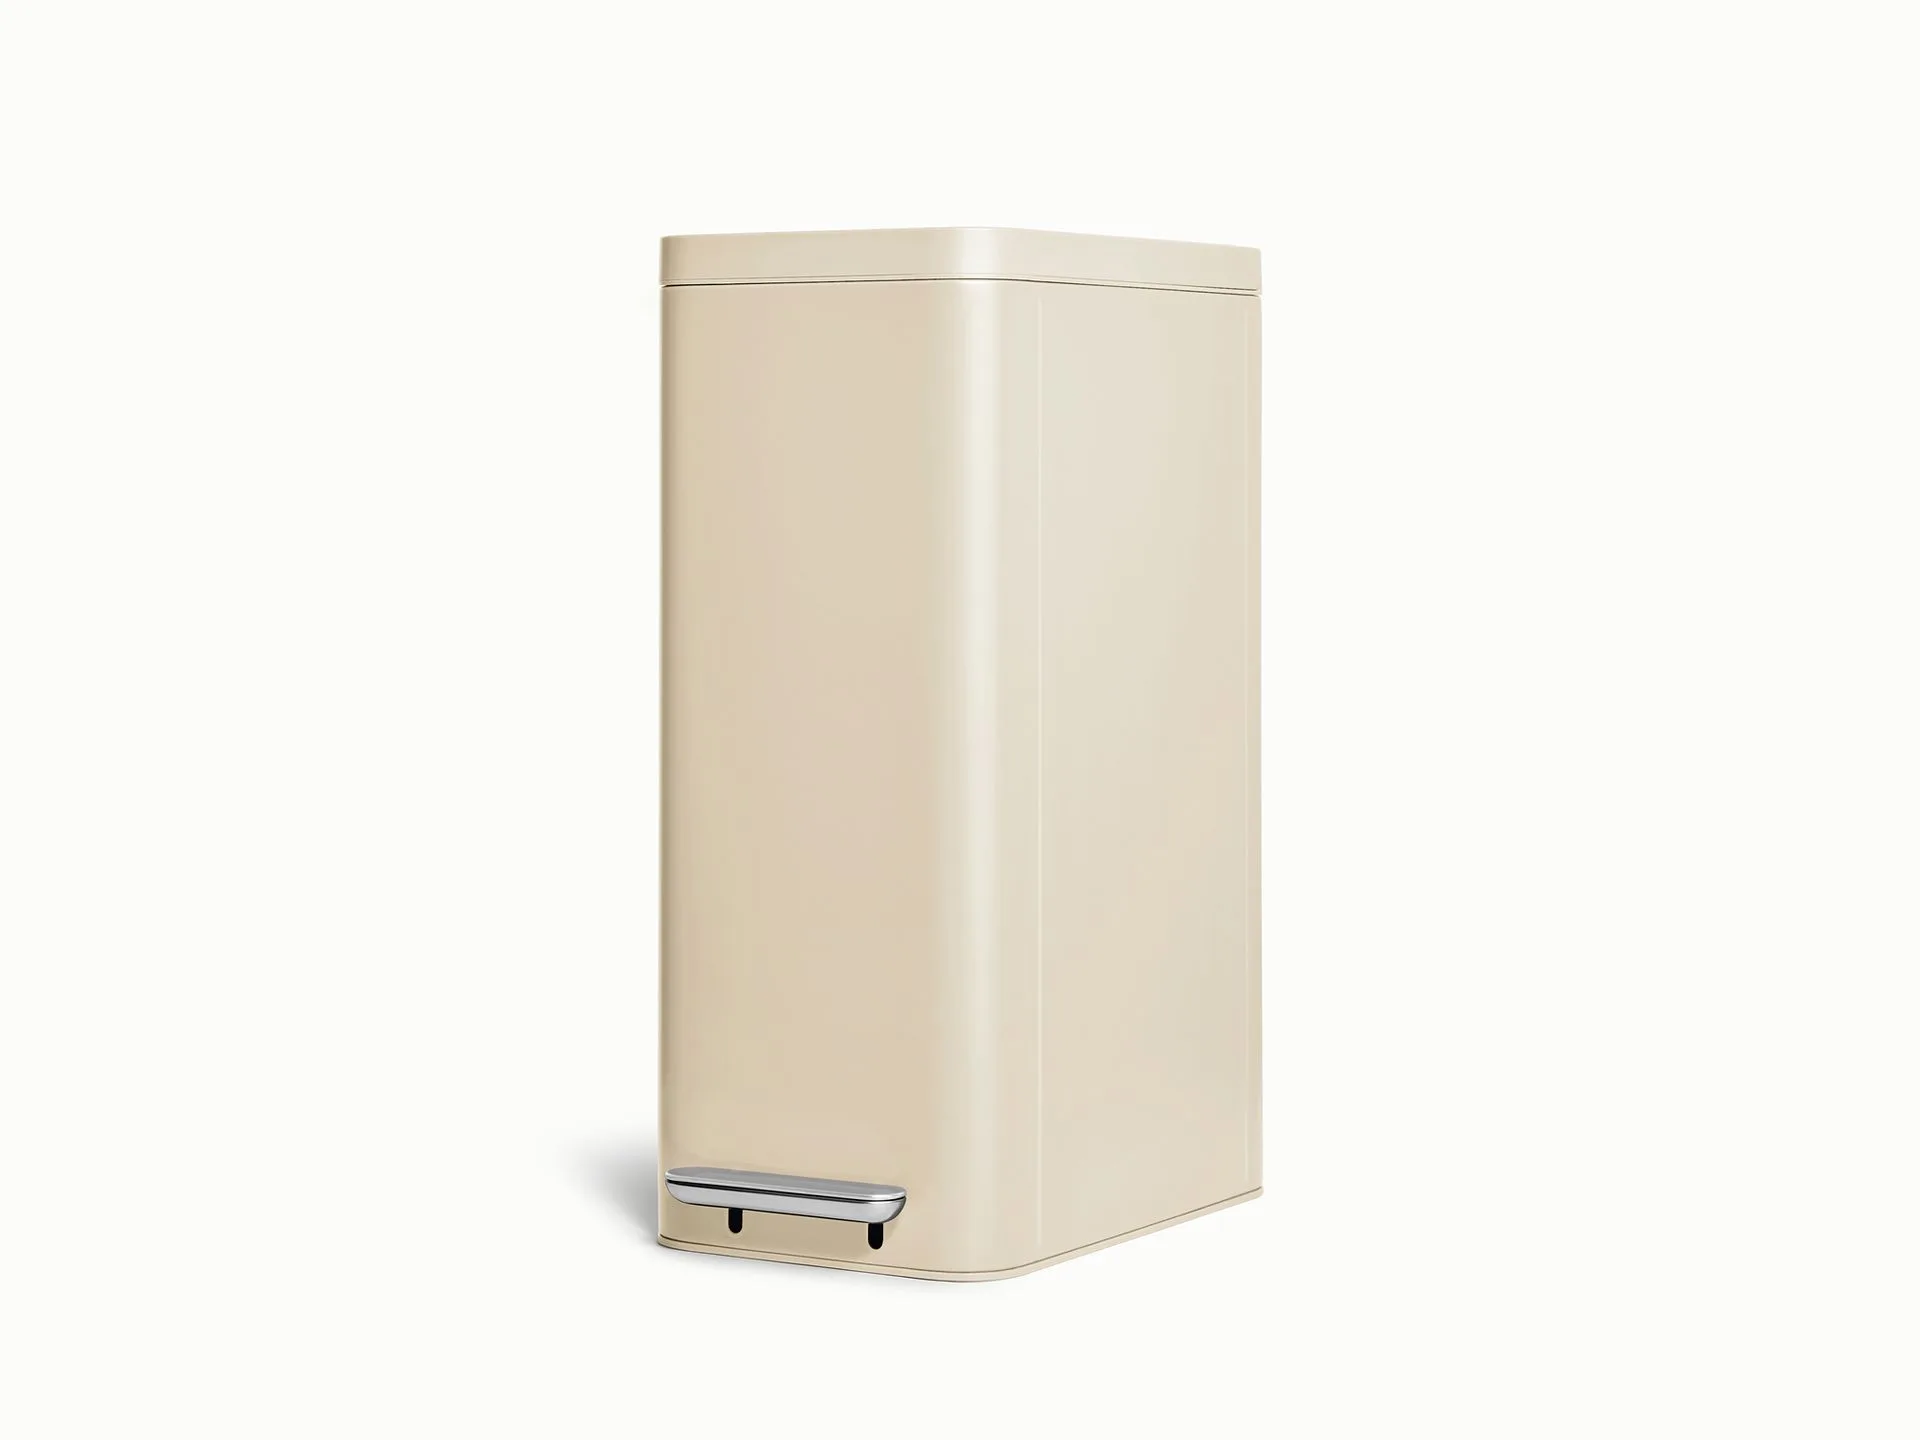
45L Slim Step Trash Can
- Use a prep board to protect your countertops
- Keep a trash can nearby for quick disposal
- Establish a daily cleaning habit after each use
By following these simple care tips, your Caraway vegetable peeler will stay sharp, clean, and ready for every recipe. Remember to rinse, dry, and store it properly, and don't forget to give it a deep clean every few weeks. With a little attention, your peeler will serve you well for years to come. Explore more Caraway kitchen tools to elevate your cooking experience.