Quick answer
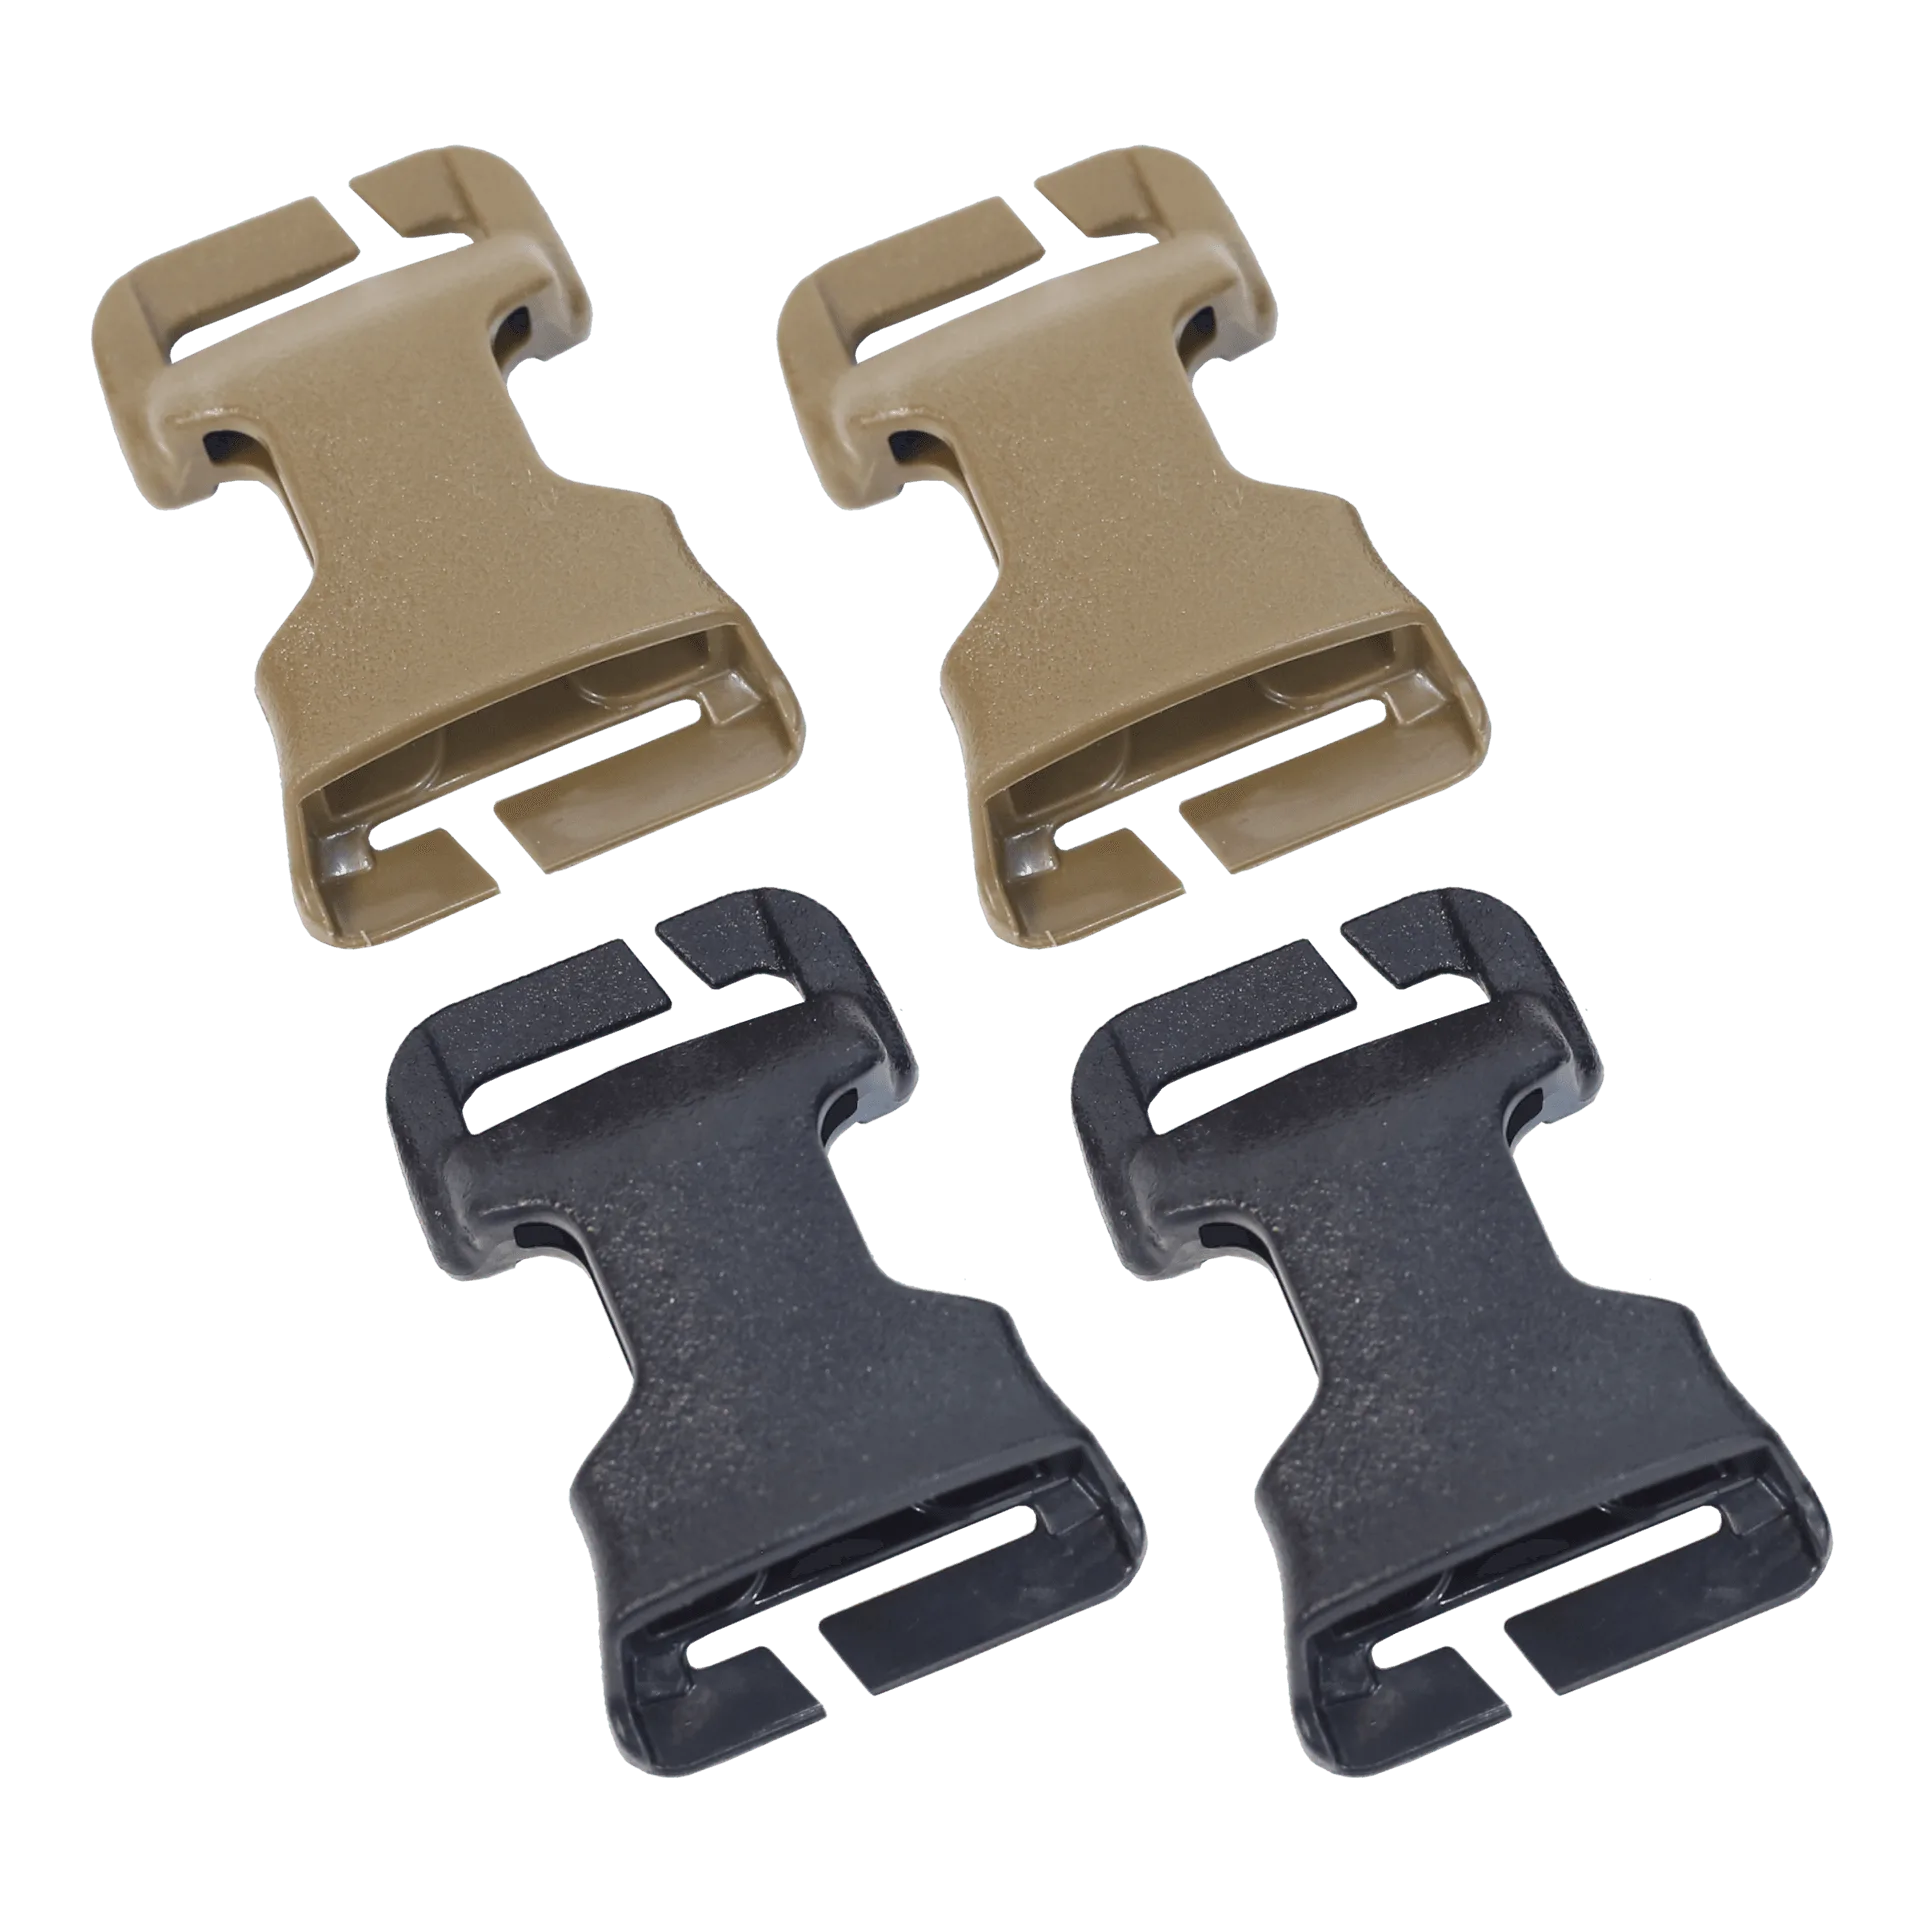
To convert a chest rig to a plate carrier, you need a chest rig attachment kit that matches your rig's buckles and your carrier's mounting points. The ITW QASM Chest Rig Attachment Kit from LOYAL TO THE MISSION lets you attach any chest rig with male ITW 1" side release buckles to a Ferro Concepts armor carrier. Follow the steps below to mount it securely and avoid common mistakes.
Why convert a chest rig instead of buying a new setup
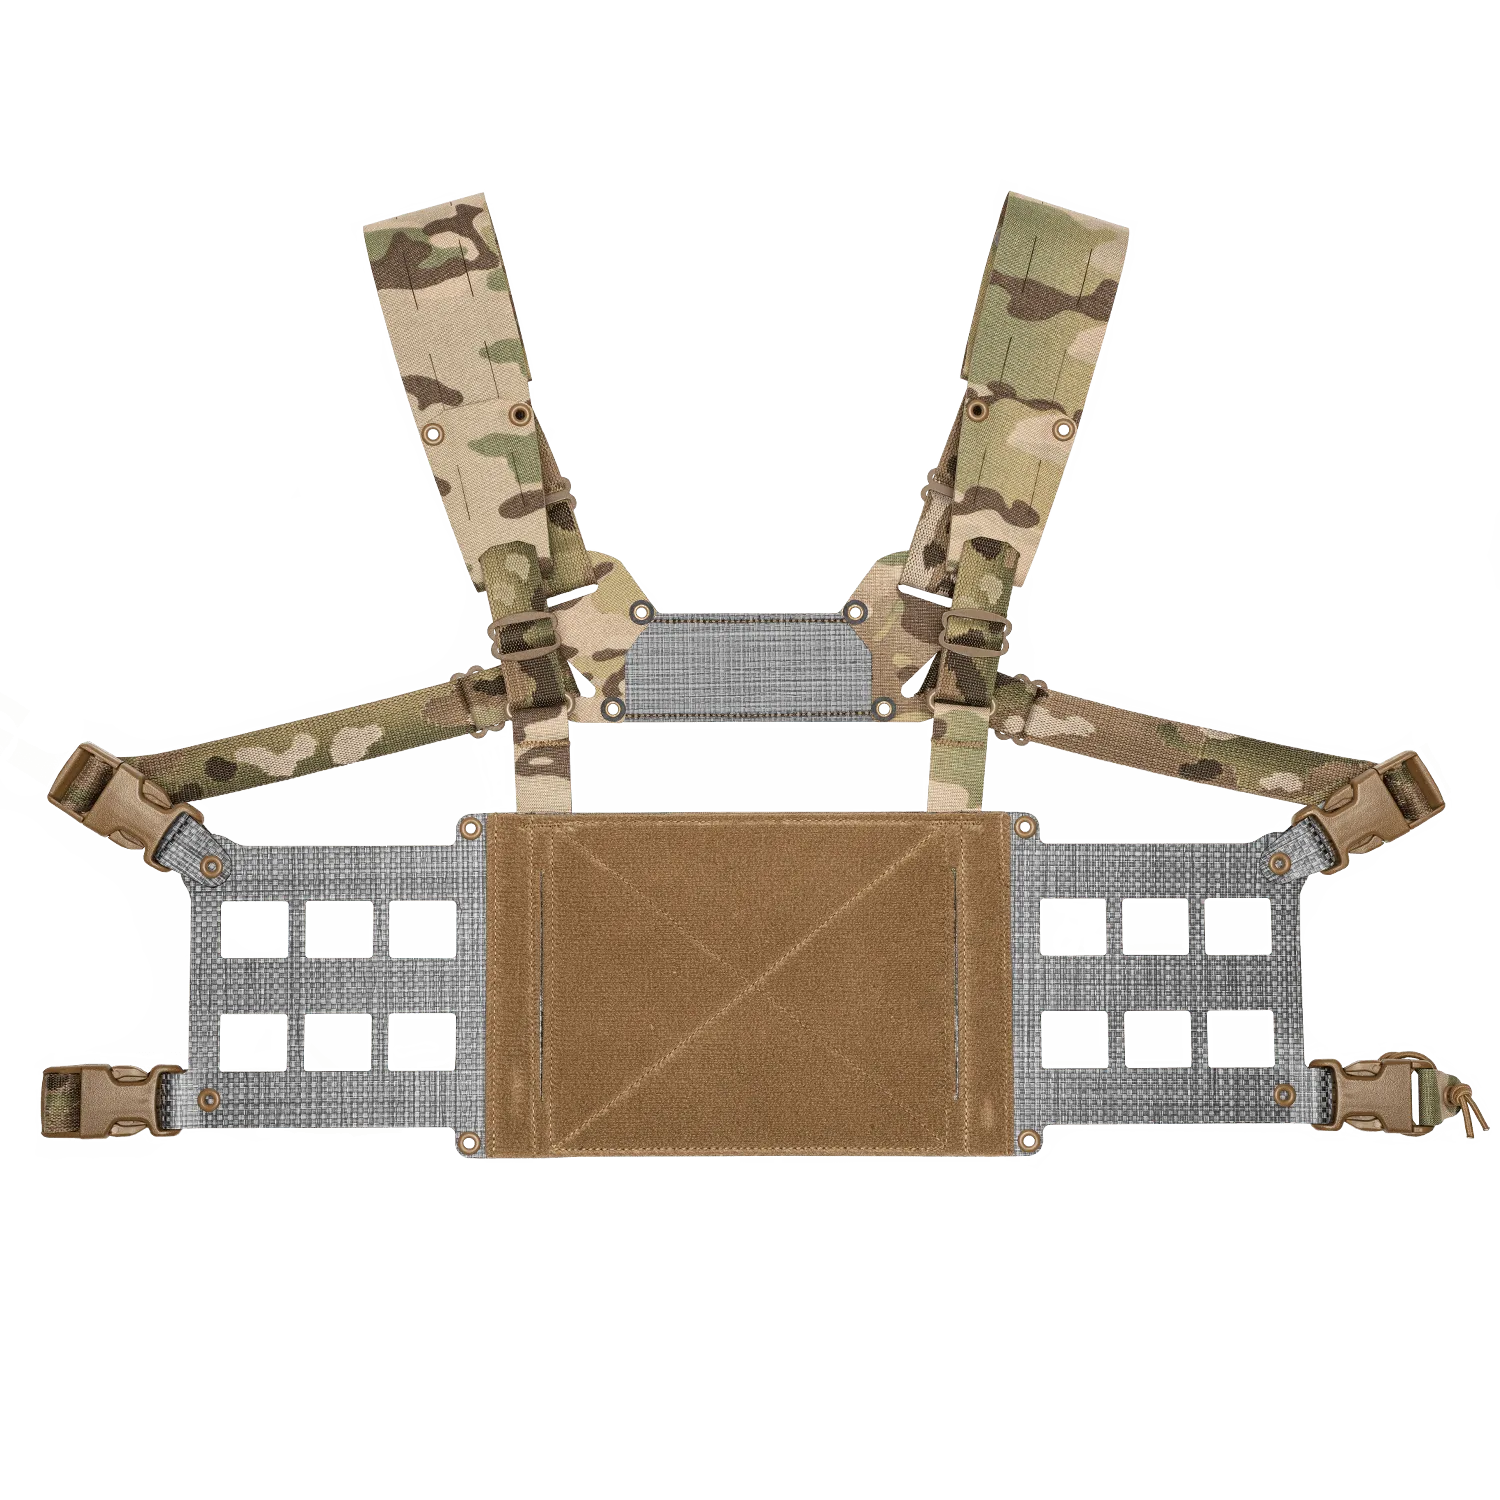
Converting a chest rig to a plate carrier saves money and keeps your existing pouch layout. If you already run a Chesty Rig Wide V2, adding a QASM kit lets you move that rig onto a carrier without buying a whole new front panel. The Chesty Rig Wide V2 has side MOLLE panels with a third column and improved rigidity, so it can handle heavier loads when mounted. The conversion is also reversible: you can detach the rig and use it standalone when needed.
What you need before you start
Gather your chest rig, your plate carrier, and the attachment kit. The ITW QASM kit includes two 1" Quick Attach Surface Mount buckles. You also need a way to mount the buckles to your carrier—typically via MOLLE webbing or a compatible attachment point. Check that your chest rig has male ITW 1" side release buckles; if it uses a different buckle type, this kit won't work. A flathead screwdriver or MOLLE stick helps with threading.
Step-by-step conversion process
- Check buckle compatibility: Confirm your chest rig has male ITW 1" side release buckles. The QASM kit only works with this buckle type. If your rig uses a different buckle, you'll need a different adapter. Common mistake: assuming all chest rig buckles are ITW 1". Measure or check the buckle marking before ordering.
- Mount the QASM buckles to your carrier: Attach the two QASM buckles to your Ferro Concepts armor carrier. Use the carrier's MOLLE webbing or designated attachment points. Thread the buckles so the release tabs face outward for easy access. Checkpoint: Ensure the buckles are secure and won't rotate under load. Test by pulling firmly on each buckle.
- Align and attach the chest rig: With the buckles mounted, bring your chest rig up to the carrier and clip its male buckles into the QASM receivers. Adjust the rig's straps so it sits at your desired height—typically with the top of the rig just below your collarbone. Common mistake: mounting the rig too low, which can interfere with drawing magazines or accessing pouches. Aim for the rig to sit high on the chest.
- Adjust for fit and access: Fine-tune the strap lengths on both sides to center the rig. If you use a Chesty Rig Wide V2, you can add 6x5 or 12x5 General Purpose Pockets to the side MOLLE panels. Ensure the rig doesn't block your carrier's quick-release or admin pouches. Checkpoint: Do a few dry draws from your mag pouches and test reaching any medical gear. If something binds, readjust before heading out.
- Test and secure: Put on the carrier with the attached rig and move around—jump, crouch, and simulate shouldering a rifle. The rig should stay put without bouncing. If it shifts, tighten the QASM buckles or adjust the rig's straps. Recheck all connections after any adjustment. Final check: Tug on the rig firmly. It should not detach. If it does, the buckles may not be fully seated.
Product facts
- Chest Rig Attachment Kit: The ITW QASM Chest Rig Attachment Kit is a simple kit that allows any chest rig with male ITW 1" side release buckle to be attached to any Ferro Concepts armor carrier. The kit consists of two ITW 1" Quick Attach Surface Mount Buckles (QASM). This kit is the core hardware for converting a compatible chest rig to a plate carrier. It works with Ferro Concepts carriers, so check your carrier brand before buying.
- Chesty Rig Wide V2: The Chesty Rig Wide V2 features improved side MOLLE panels with increased rigidity and a third column of MOLLE, making them ideal for our 6x5 or 12x5 General Purpose Pockets. The front has pass-throughs for the Wingman V2 and Wingthing. If you use a Chesty Rig Wide V2, the QASM kit attaches directly to its buckles. The reinforced MOLLE panels mean you can add pouches without sag, and the pass-throughs let you keep accessories like the Wingman V2 even when mounted to a carrier.