Router Guide Bushing or Inlay Kit – What’s the Difference?
When you’re setting up to route an inlay, the first decision is whether to buy a standalone template guide bushing or a complete inlay kit. Both methods use a bushing that follows a template, but the kit adds a matching bit and centering pin to simplify alignment. The choice comes down to whether you already own compatible bits and bushings, or you want a matched system that removes guesswork.
Two Approaches, Two Product Families
-
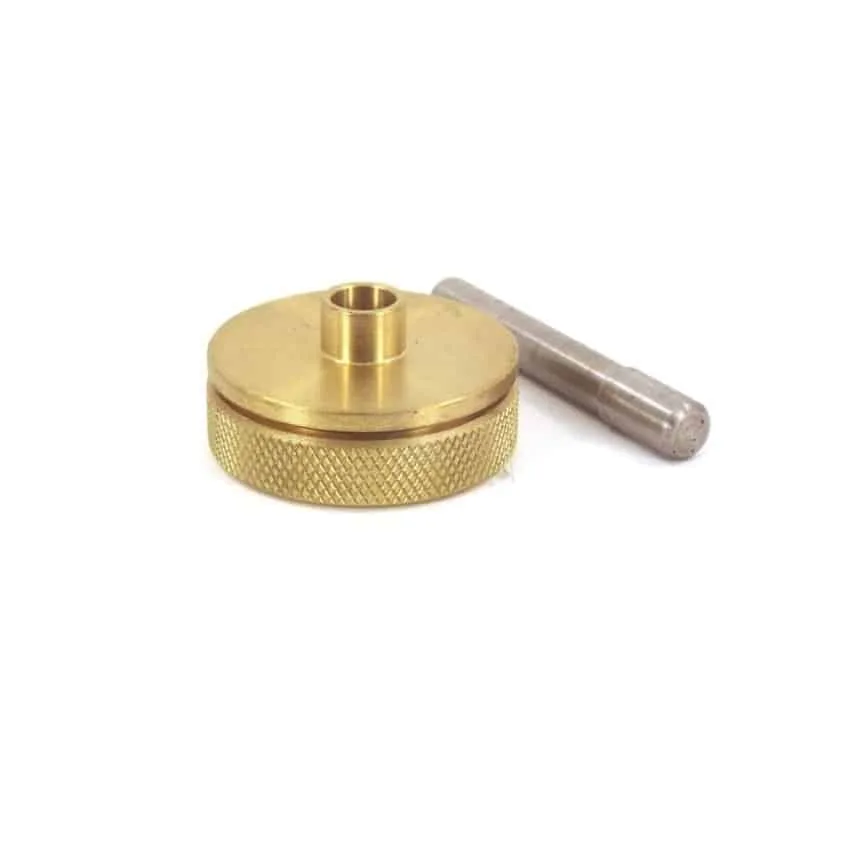
Whiteside 9501 Large Brass Inlay Kit – 1/4″ Diameter: Whiteside 9501 Brass Inlay Kit includes a solid brass bushing, 1/4″ down cut spiral bit, and centering pin. Made in USA. A complete kit eliminates compatibility concerns: the bit diameter matches the bushing, and the centering pin lets you align the template precisely before routing.
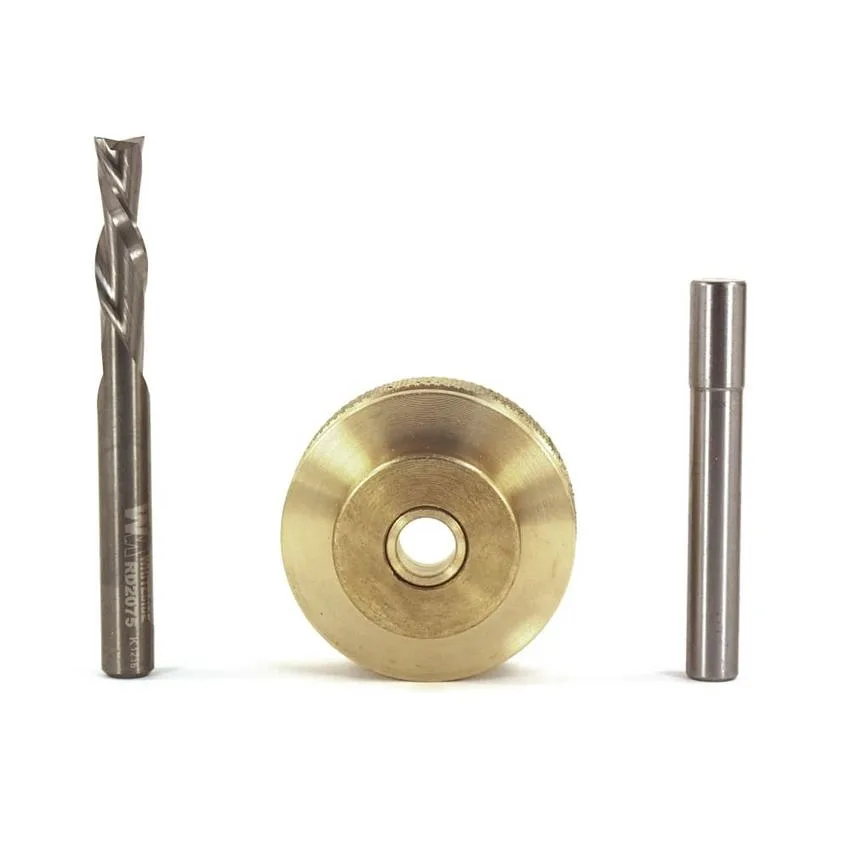
Whiteside 9501 Large Brass Inlay Kit – 1/4″ Diameter
-
Whiteside W-9540-44N Template Guide Bushing – 11/32″ID, 7/16″OD: Whiteside W-9540-44N Template Guide Bushing – solid brass, 11/32″ inside diameter, 7/16″ outside diameter. Supplied with bushing and lineup pin. If you already own a suitable bit, a standalone bushing is a lower-cost way to add template-guided routing to your setup. You supply the bit and ensure its diameter is smaller than the bushing’s inside diameter.
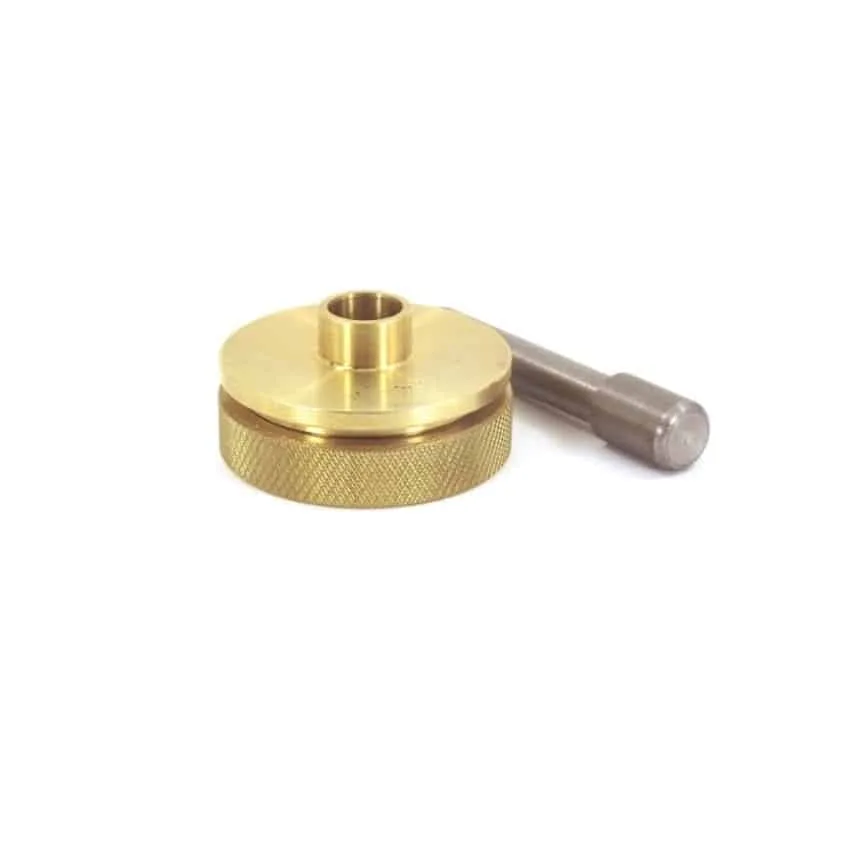
Whiteside W-9540-44N Template Guide Bushing – 11/32″ID, 7/16″OD
Bit Diameter and Bushing Inside Diameter Must Match Your Template
For template-guided inlay work, the bushing’s inside diameter must be larger than the bit’s cutting diameter. The difference creates an offset that the template must account for. A complete inlay kit like the Whiteside 9501 (1/4″ diameter) pairs a bushing and bit that are already sized to work together, so the offset is predictable and consistent. With a standalone bushing such as the Whiteside W-9540-44N (11/32″ ID), you choose any bit with a cutting diameter smaller than 11/32″. That flexibility is useful if you prefer a specific bit geometry, but you must calculate the offset yourself.
Inlay Kit vs Template Guide Bushing: Key Trade-Offs
- Ease of setup: An inlay kit includes a centering pin and matched bit, so you can set the template position without measuring offsets. A standalone bushing requires you to measure and account for the offset between bushing OD and bit diameter.
- Cost and flexibility: A standalone bushing costs less and lets you use bits you already own. An inlay kit costs more but removes compatibility uncertainty. If you do frequent inlays, the kit pays for itself in time saved.
- Precision and fit: Both methods can produce clean, accurate inlays. The kit’s matched components reduce the chance of an offset error. The standalone approach demands careful measurement but offers more bit choices (e.g., up-cut vs down-cut spiral).
When to Choose a Standalone Bushing
Choose a template guide bushing like the Whiteside W-9540-44N or W-9540-62N if you already have a collection of router bits and want to add template-guided routing to your workflow. You can pair the bushing with any bit whose cutting diameter is smaller than the bushing’s inside diameter. The supplied lineup pin helps you center the bushing in the router collet, and the solid brass construction provides durable, consistent guidance. This route works well for one-off inlays or when you need a specific bit profile (e.g., a dovetail bit) that isn’t available in a kit.
When a Complete Inlay Kit Makes Sense
If you’re new to inlay work or want guaranteed compatibility, a brass inlay kit like the Whiteside 9501 (1/4″) or Whiteside 9500 (1/8″) is the straightforward choice. The kit includes a down-cut spiral bit that pushes chips downward, reducing tear-out on the top surface of the inlay and cavity. The centering pin lets you align the template to your workpiece without guesswork. The 1/4″ kit suits larger decorative inlays; the 1/8″ kit is better for fine, detailed work. Both are made in the USA and built for repeated use.