Quick answer
Use a chunker shear first to remove bulk and create texture, then switch to a finishing shear for clean, soft edges and detailed blending. A chunker has spaced teeth that leave a natural, slightly irregular finish, while a finishing shear cuts more smoothly for a polished look. If you only need to soften lines or tidy a finish, skip the chunker and go straight to the finishing shear.
What each shear actually does to the coat
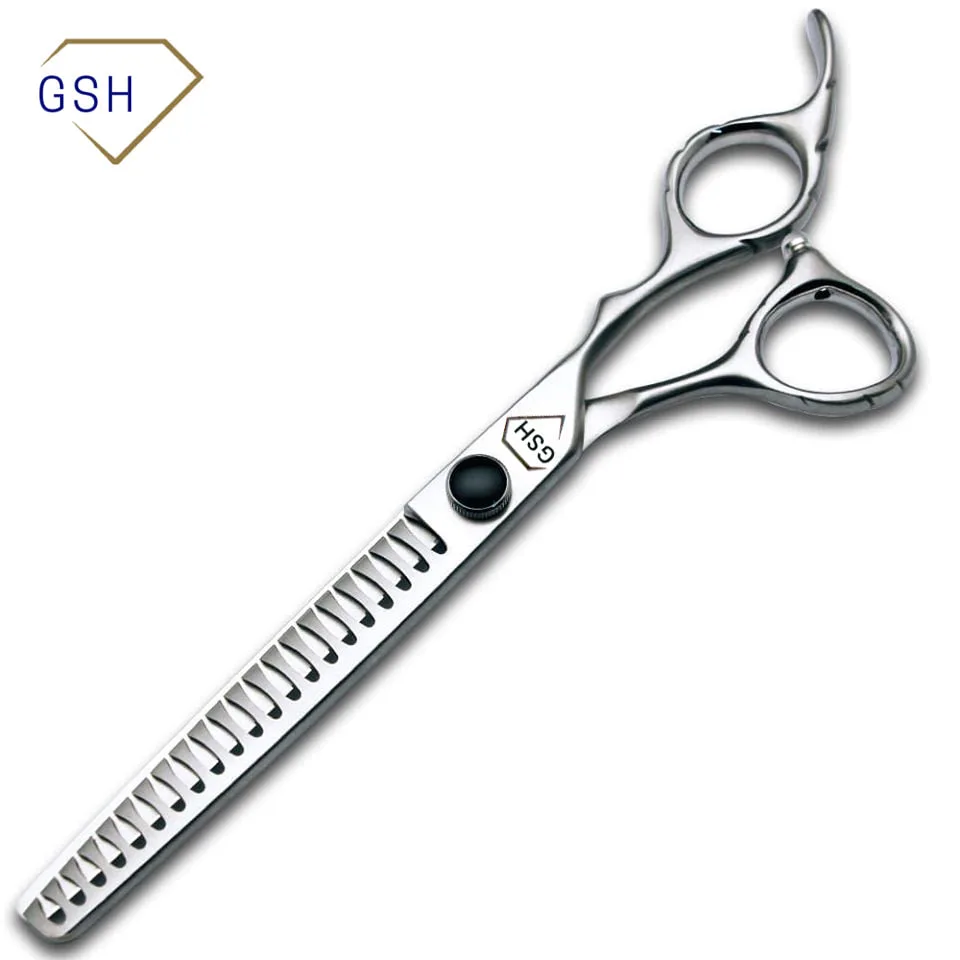
A chunker shear, sometimes called a blending shear, has wide-spaced teeth that remove larger sections of hair while leaving a textured, natural finish. It is not meant for smooth, precise lines. A finishing shear, on the other hand, has finer teeth or a straight blade that cuts more cleanly, making it ideal for softening transition lines and creating a polished outline. The key difference is how much hair each tooth removes and how visible the cut pattern remains. Chunkers leave a slightly chunky, broken-up look that blends well on legs, tails, and furnishings, while finishing shears leave a smoother surface that reads as more formal or show-ready.
Match the shear to the stage of the groom
Think of your groom in stages: bulk removal, shaping, and finishing. Chunkers belong in the bulk removal and rough shaping stage, especially on thick or dense coats. Finishing shears belong in the final shaping and detail stage, where you need control and a clean edge. Using a finishing shear too early on heavy coat can dull the blade faster and leave visible stair-step lines. Using a chunker too late can make a finished trim look uneven. The order matters more than the number of shears you own.
Tooth count and length: what the numbers tell you
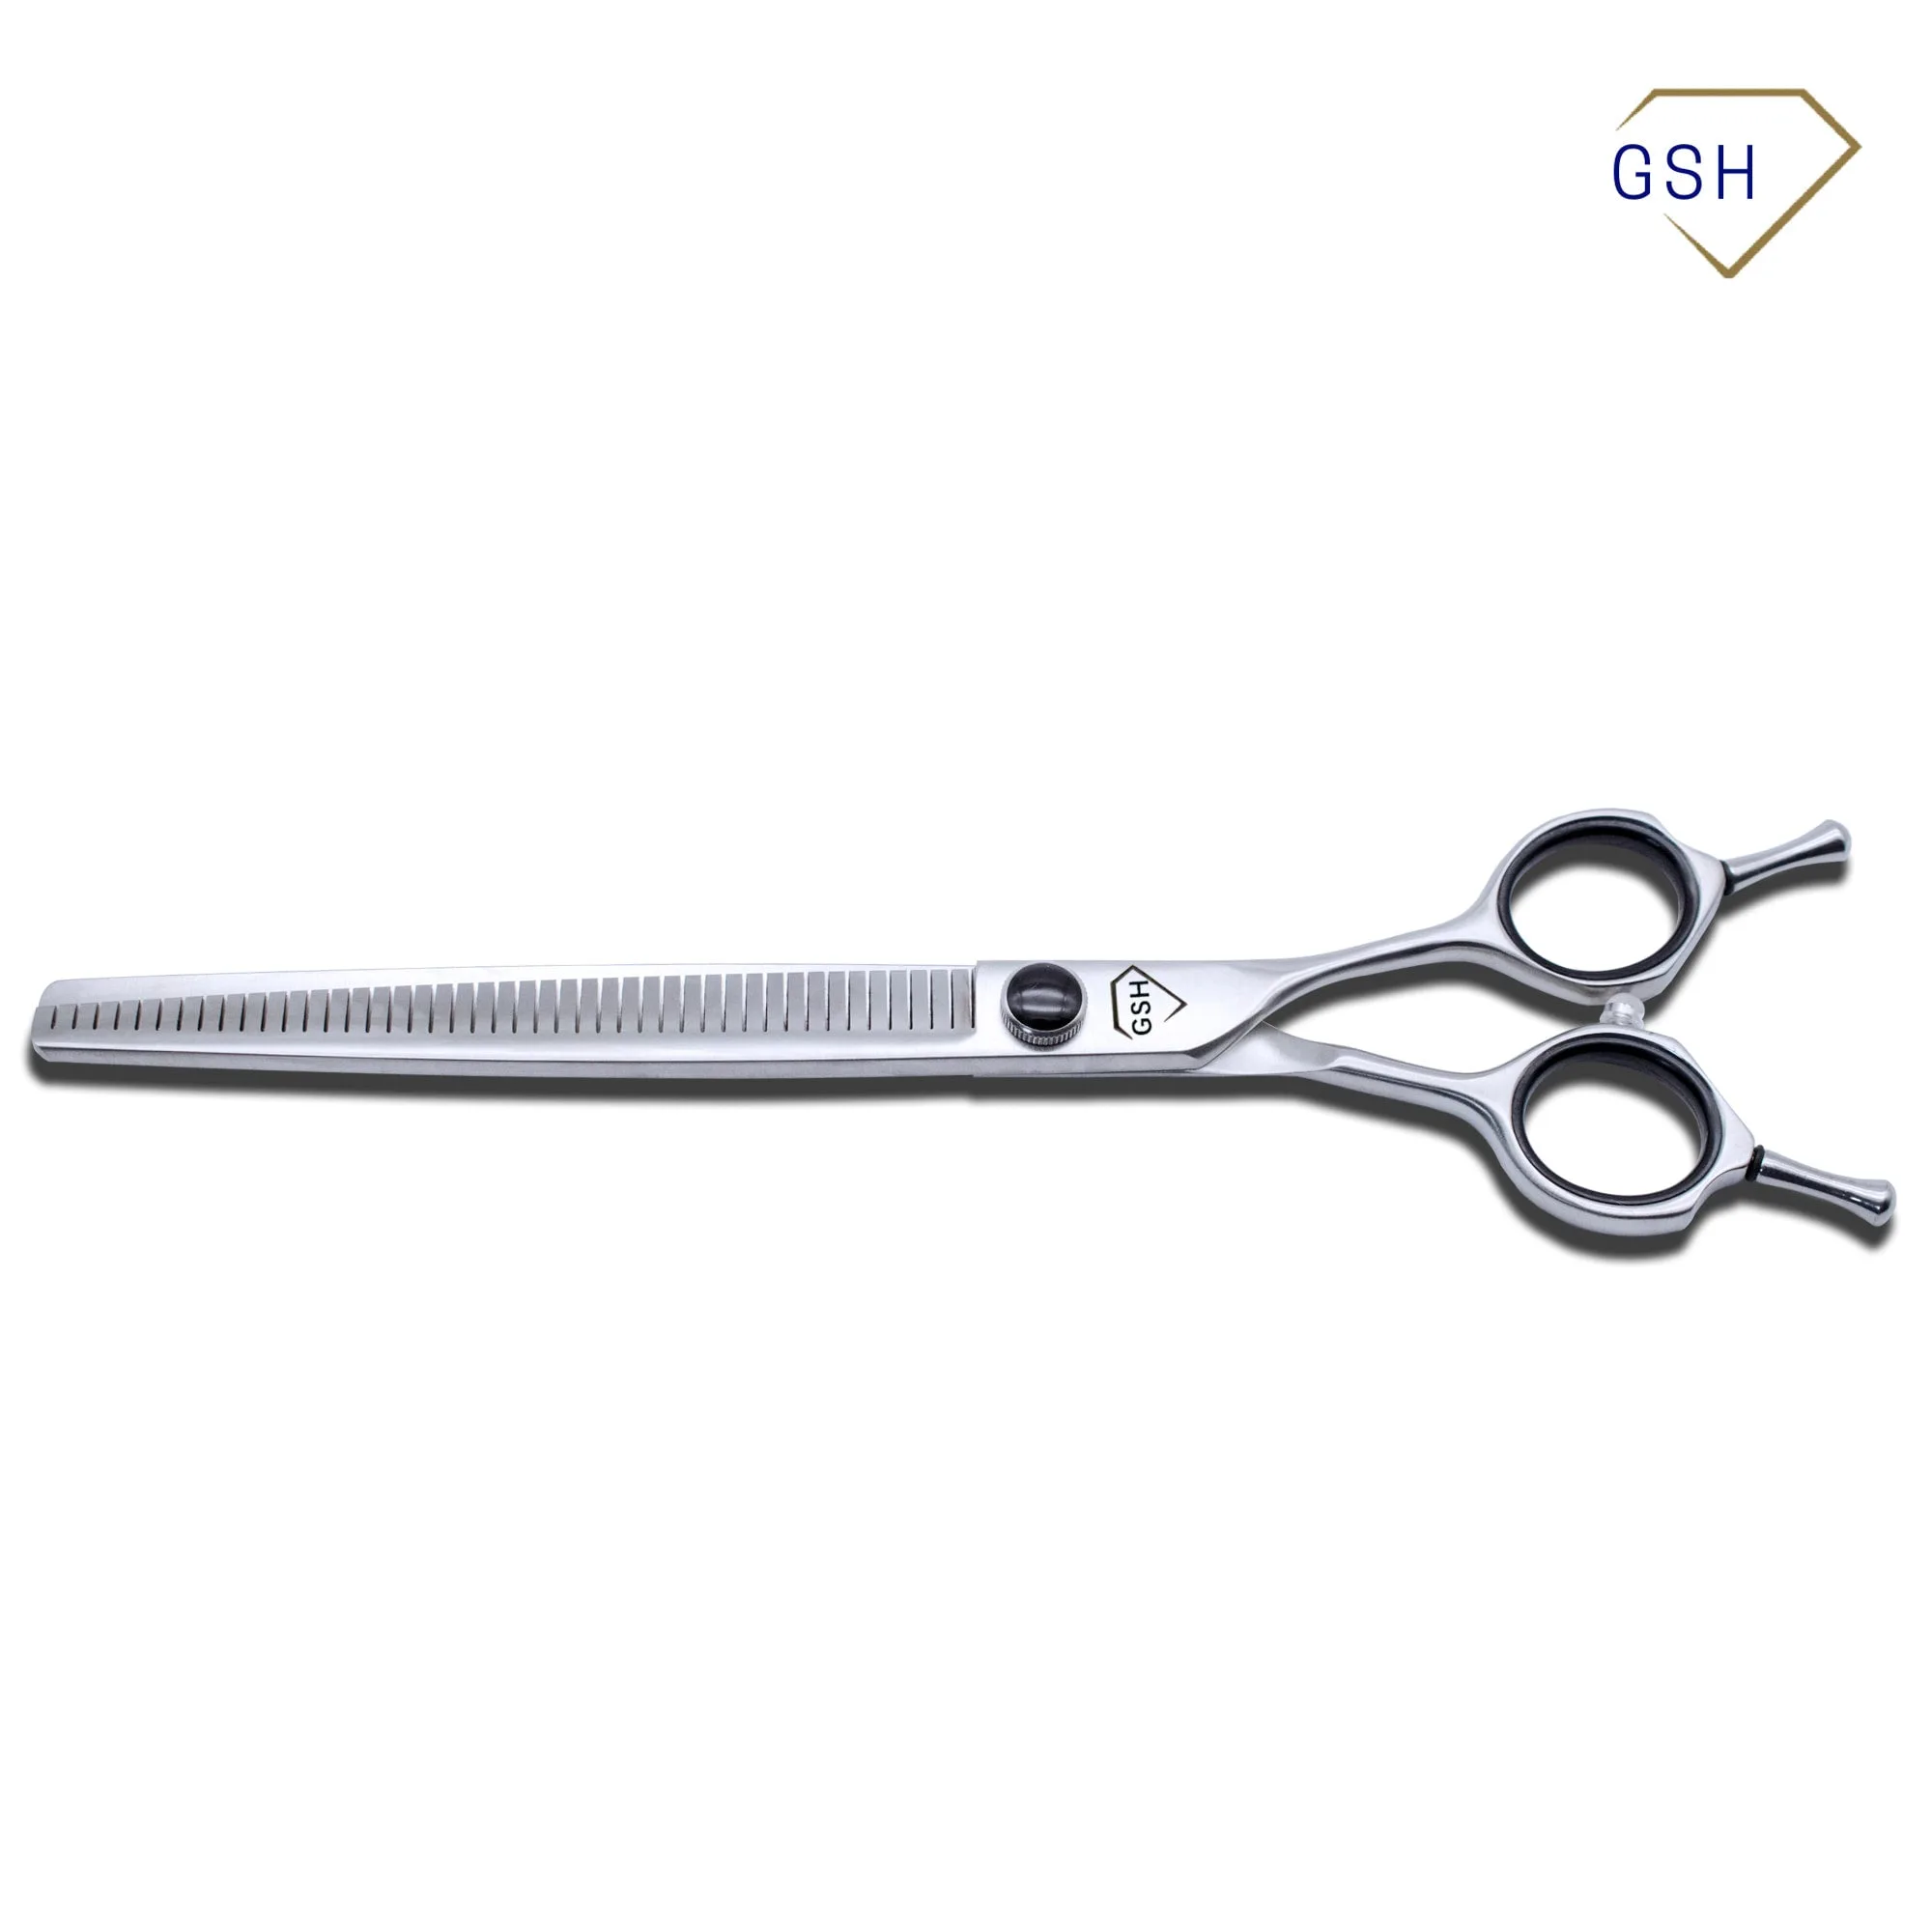
Tooth count affects how much hair is removed and how subtle the blend is. A 21-tooth chunker like the 7in 21 Tooth Chunker removes more hair per cut and leaves a more textured finish, making it useful for quick bulk reduction on thick areas. A 45-tooth piano-style shear like the 8in 45 Tooth Piano removes less hair per cut and creates a finer, more precise blend, so it works well as a finishing or blending shear on lighter coats or for detail work. Longer shears give more reach but can be harder to control in tight areas, so choose length based on the body part and your hand size.
Coat type and condition change the choice
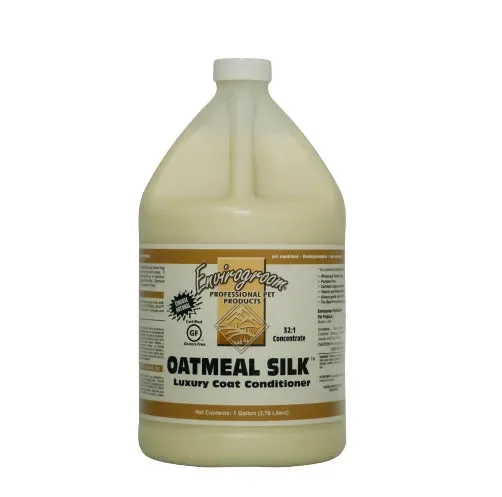
On dense, double coats, a chunker helps open up the coat and remove bulk without creating harsh lines. On fine or silky coats, a chunker can leave visible steps if used too aggressively, so a finishing shear or a higher-tooth blending shear is often safer. Coat condition also matters: clean, conditioned coat cuts more predictably than dry, static-prone hair. An anti-static conditioner such as Oatmeal Silk 32:1 Luxury Coat Conditioner can reduce flyaway hair and make both shears easier to control, especially on finishing work where stray hairs obscure your line.
Step-by-step: chunker to finishing shear
- 1. Assess coat density and desired finish: Run your hands through the coat to judge density and check for mats or uneven areas. Decide whether you need bulk removal (chunker) or only line softening (finishing shear). Mistake to avoid: grabbing a chunker on a fine coat that only needs light blending—you will create visible steps.
- 2. Start with the chunker on heavy areas: Using a 7-inch 21-tooth chunker, work in small sections on legs, tail, and furnishings where bulk is heaviest. Cut with the grain and avoid closing the shear fully on the same spot repeatedly. Checkpoint: step back every few cuts—if you see deep stair-steps, you are removing too much at once.
- 3. Blend the chunked areas: Switch to a finer blending tool or use the tips of the chunker to soften the transition between clipped and scissored areas. Work in a crisscross pattern rather than straight lines. Mistake to avoid: blending only in one direction, which leaves a visible ridge.
- 4. Finish with the finishing shear: Use an 8-inch 45-tooth piano shear for the final pass on edges, feet, and face. Take thin, deliberate snips and keep the blade parallel to the body contour. Checkpoint: the finish should look smooth from arm's length—if you see chop marks, you are cutting too much per snip.
- 5. Condition and review: Lightly mist or bathe with an anti-static conditioner, dry, and brush through to reveal any uneven areas. Re-touch only where needed with the finishing shear. Mistake to avoid: over-thinning during the review—stop when the coat looks balanced, not when every hair is perfect.
Products that support this process
- 7in 21 Tooth Chunker: 7-inch, 21-tooth chunker from the GSH Classic Shears line, designed for efficient texturizing and blending; removes bulk while leaving a natural finish. Use it in the bulk-removal and rough-shaping stage on thicker coats where you want texture and faster bulk reduction.
- 8in 45 Tooth Piano: 8-inch GSH Classic Shear with a 45-tooth piano-style blade, intended for fine, precise cutting. A good choice for the finishing and blending stage when you need a smoother, more controlled cut with less hair removed per snip.
- Oatmeal Silk 32:1 Luxury Coat Conditioner: Oatmeal-rich conditioner fortified and balanced for all coat types; anti-static formula conditions coat for easy brushing and combing; safe for puppies, kittens, and horses. Conditioning before finishing reduces static and flyaway hair, so your finishing shear lines stay clean and predictable.