Why Sensor Cleaning Matters
Dust and debris on your camera sensor can ruin photos by creating visible spots, especially at small apertures. Cleaning the sensor yourself is a practical skill, but it requires the right tools and careful technique to avoid damaging the delicate surface.
VSGO Sensor Cleaning Swabs are designed specifically for APS-C sensors, offering a safe and effective solution. This guide walks you through the process using these swabs, based on their supplied features and compatibility.
What You Need: VSGO Sensor Cleaning Swabs
-
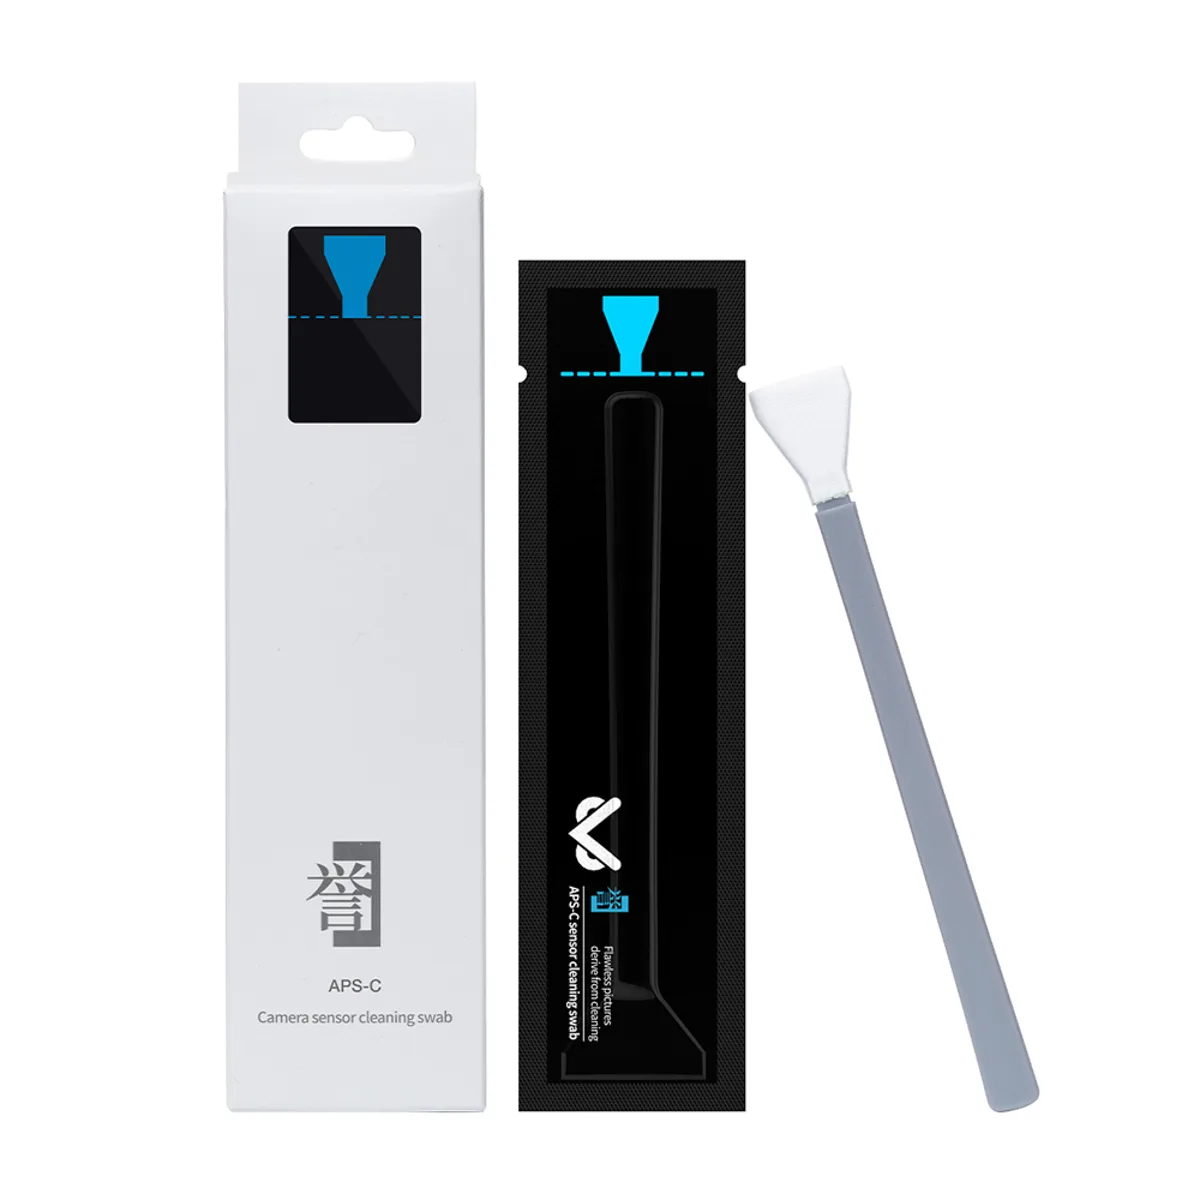
VSGO Sensor Cleaning Swabs for APS-C Cameras: Sensor Cleaning Swab Size: 16mm (0.63in), perfectly fits the APS-C sensor. Using the correct swab width prevents missed areas and ensures full coverage without touching the sensor edges.
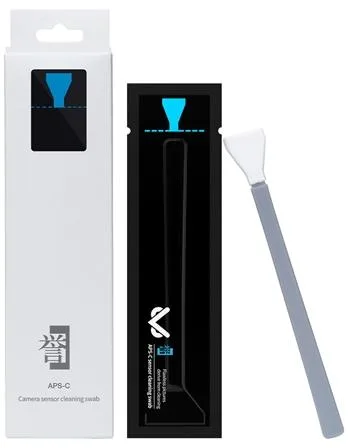
VSGO Sensor Cleaning Swabs for APS-C Cameras
-
VSGO Sensor Cleaning Swabs for APS-C Cameras: High Quality: Sensor cleaning swab with alcohol-free cleaner can protect your optical coating. Alcohol-free cleaner avoids damaging the delicate optical coating on your sensor, a common risk with harsh solvents.
-
VSGO Sensor Cleaning Swabs for APS-C Cameras: Special Soft Design: Sensor cleaning swab matches the ergonomics and is comfortable to use. The ergonomic handle gives you better control, reducing the chance of accidental contact or excessive pressure.
Step-by-Step Sensor Cleaning with VSGO Swabs
These steps are based on the supplied product details. Always start with the least invasive cleaning method first.
- 1. Prepare your camera and environment: Work in a dust-free area, ideally a clean room or bathroom with minimal airflow. Ensure your camera battery is fully charged to keep the shutter open. Remove the lens and set the camera to 'Sensor Cleaning' mode (refer to your camera manual).
- 2. Inspect the sensor first: Use a blower (not supplied) to remove loose dust. This reduces the risk of dragging grit across the sensor. If spots remain, proceed with the swab.
- 3. Open the VSGO swab package: VSGO swabs come individually sealed. Open the package just before use to avoid contamination. Do not touch the swab tip.
- 4. Apply the cleaning solution (if needed): The VSGO swab is alcohol-free and can be used dry or with a compatible cleaning fluid. If using a solution, apply a single drop to the swab tip—never directly on the sensor.
- 5. Wipe the sensor: Gently place the swab at one edge of the sensor and drag it smoothly across to the opposite edge in one continuous motion. Do not press hard or go back and forth. Use a fresh swab for each pass.
- 6. Check the result: Reattach the lens, take a test photo of a bright, uniform surface (like a white wall), and inspect for spots. Repeat if needed with a new swab.
What to Avoid
Never use canned air or compressed gas—they can blow moisture or propellant onto the sensor. Avoid cotton swabs or tissues, which can leave fibers. If you are unsure about performing the cleaning yourself, consider professional service.
When to Seek Professional Help
If stubborn spots remain after multiple attempts, or if you see smears that won't lift, stop. Professional sensor cleaning is safer than repeated DIY attempts that risk damaging the sensor or its coatings.