Silicone replacement straws are a game-changer for toddler cup care — flexible, durable, and free from the chemical concerns of plastic. But if you've ever pulled out a straw and spotted a faint pink or black speck inside, you know the challenge: moisture and trapped milk or juice can lead to mold if you don't clean them thoroughly. The good news is that with a few simple habits, you can keep those straws fresh, safe, and long-lasting.
Whether you're using a silicone training cup with a straw for your little one's first sips or transitioning to a bigger cup, proper maintenance matters. Below, we'll walk through daily rinses, weekly deep cleans, and storage tips that prevent buildup and extend the life of your silicone replacement straws.
Why Silicone Straws Need Special Care
Silicone is non-porous and resists staining better than plastic, but it's not immune to residue. The narrow interior of a straw creates a perfect hiding spot for bacteria and mold if liquid sits too long. Toddler cups often hold milk, formula, juice, or smoothies — all of which leave behind sugars and proteins that can turn into a biofilm. That's why regular cleaning isn't just about hygiene; it's about preventing the dreaded mold that can develop in hard-to-reach areas.
Unlike rigid plastic straws, silicone is flexible, which makes it easier to clean with a brush but also trickier to dry completely. If you store a damp straw in a closed cup or drawer, you're inviting trouble. The key is to treat silicone replacement straws like any reusable kitchen tool: clean promptly and dry thoroughly.
- Always rinse straws immediately after use to prevent residue from drying inside.
- Use a dedicated straw brush that matches the length and diameter of your toddler cup straws.
Daily Cleaning Routine for Silicone Straws
For everyday use, a quick rinse isn't enough. After each meal, disassemble the cup and remove the straw. Run warm water through both ends, then use a small straw brush to scrub the interior. A drop of mild dish soap on the brush helps break down oils from milk or purees. Rinse thoroughly until no suds remain. This takes less than a minute and dramatically reduces the chance of buildup.
If your toddler's cup has a silicone valve or extra parts — like the Silicone Training Cup + Straw — clean those pieces separately. Pay special attention to the straw's connection point, where liquid can pool. After washing, shake out excess water and place the straw upright in a drying rack or on a clean towel. Avoid stacking wet straws together; they need airflow to dry fully.
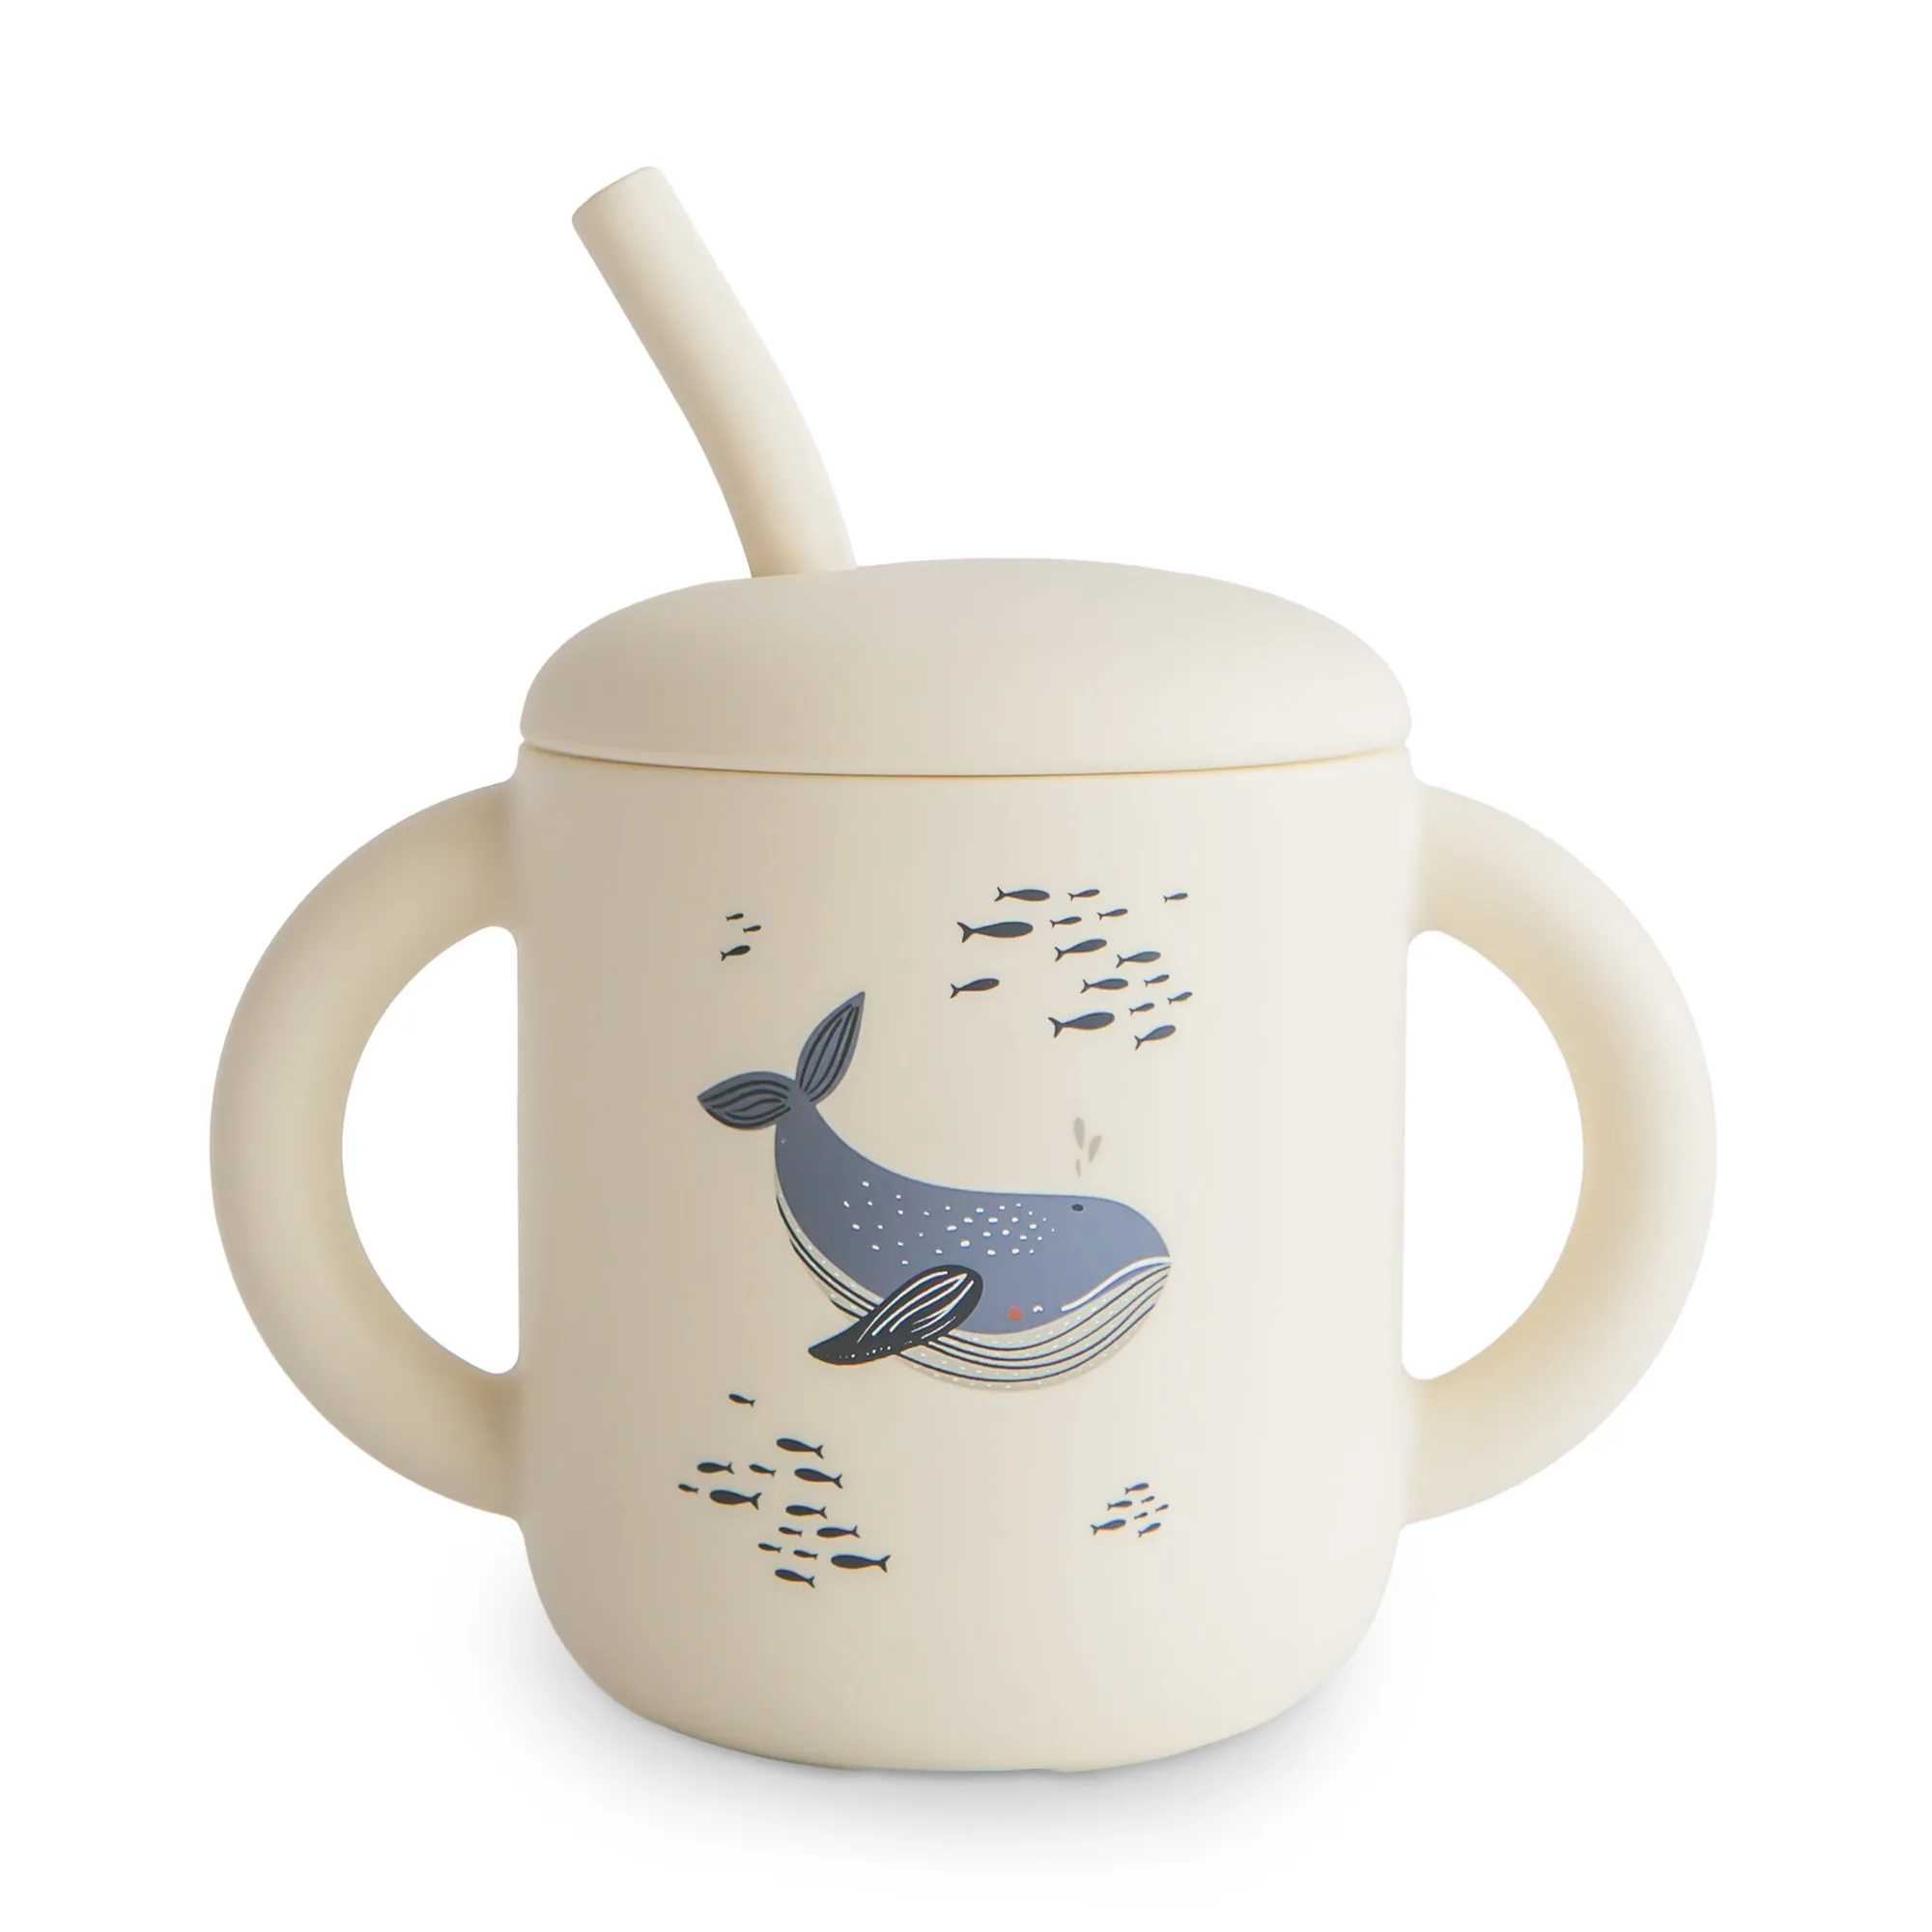
Silicone Training Cup + Straw
- For stubborn residue, soak the straw in warm soapy water for 10 minutes before brushing.
Weekly Deep Cleaning and Sanitizing
Once a week, give your silicone replacement straws a deeper clean. Boiling is the simplest method: bring a pot of water to a rolling boil, remove from heat, and submerge the straws for 5 minutes. Silicone can handle the heat without warping. Alternatively, you can run them through the top rack of the dishwasher — but place them in a mesh bag or utensil basket so they don't fall into the heating element.
Another effective method is a vinegar soak. Mix equal parts white vinegar and warm water, let the straws soak for 15–20 minutes, then rinse and brush. This helps dissolve mineral deposits and any lingering odors. For parents who prefer a no-chemical approach, a dedicated steam sterilizer works well too. Just remember: sanitizing doesn't replace scrubbing. Always brush first to remove physical debris.
- Check straws for cloudiness or cracks during deep cleaning — replace them if you see any damage.
How to Prevent Mold and Odor in Silicone Straws
Mold prevention starts with drying. After cleaning, use a clean, lint-free cloth to gently push through the straw's interior, or let it air-dry vertically in a well-ventilated spot. Never store a straw while it's still damp. If you notice a musty smell, that's a sign of trapped moisture. A quick bleach solution (1 teaspoon unscented bleach per quart of water) can sanitize, but rinse extremely well afterward.
Also, consider rotating between two sets of straws if your toddler uses a cup daily. This gives each set a full 24 hours to dry completely. And don't forget to inspect the straw's flexibility — silicone that becomes sticky or brittle has degraded and should be replaced. With consistent care, a quality silicone straw can last for months, saving you money and reducing waste.
- Store straws in a dry, open container rather than sealed in a drawer or cup.
When to Replace Silicone Straws
Even with perfect care, silicone replacement straws don't last forever. Look for signs of wear: cracks, splits, or a rough texture inside that a brush can't smooth out. If the straw becomes discolored beyond what cleaning can fix, it's time for a new one. For safety, replace straws every 3–4 months, or sooner if your toddler is a heavy chewer.
Some parents worry about the environmental impact of replacing silicone items, but remember: silicone is more durable than plastic and can be recycled at specialized facilities. When you do buy new straws, choose ones that fit your existing toddler cup. Products like the Silicone Training Cup + Straw are designed for easy replacement, so you can keep the cup body and swap out just the straw.
- Keep a spare set of straws on hand so you're never tempted to use a worn one.
Cleaning silicone replacement straws doesn't have to be a hassle. With a quick daily rinse, a weekly deep clean, and proper drying habits, you can keep your toddler's cup straws mold-free and safe. A little routine goes a long way in extending the life of your silicone straws — and ensuring every sip is as fresh as the first.