Quick Answer
Most hair clip problems come from three fixable habits: clamping too much hair into a clip that is too small, placing the clip too high or too low on the head, and twisting hair tightly before clipping. Match the clip size to the amount of hair, position the clip where the style actually needs support, and let the teeth grip without forcing them closed.
A hair clip that slips, pulls, or snaps usually isn't a bad clip. It's a mismatch between the clip, your hair, and how you're using it. The good news is that most of these problems have simple fixes you can try in under a minute.
This guide walks through the most common hair clip mistakes, what each one looks like, why it happens, and what to do instead. It also covers the point where you should stop adjusting and switch to a different clip or style entirely.
Mistake 1: Using a Clip That's Too Small for the Section
The most frequent cause of slipping and pulling is overloading a small clip. Mini claws and mini alligator clips are designed for fine hair, short styles, and half-up sections, not for gathering a full head of thick hair. When you force a small clip to hold too much, the teeth can't close properly, the spring wears out faster, and the clip slides down within an hour.
The fix is straightforward: match the clip size to the section. If you're gathering all your hair, use a large claw. If you're pinning a half-up style or a small accent section, a mini clip works well. If a clip won't close without pressure, that's your signal to remove some hair or size up.
- If the clip pops open on its own, the section is too thick for that clip.
- If the clip slides down but stays closed, the section is too thin or too smooth for the grip.
- When in doubt, split the section and use two clips instead of forcing one.
Mistake 2: Positioning the Clip in the Wrong Spot
Hair clip positioning errors are behind most complaints about headaches and drooping styles. Placing a claw clip directly on top of the head concentrates weight at the crown, which pulls on the scalp. Placing it too low at the nape can cause the clip to dig in when you lean back or turn your head.
A better approach is to anchor the clip where the style needs support. For a French twist or updo, position the clip at the mid-back of the head, angled slightly downward. For a half-up style, place it at the crown but keep the gathered hair loose enough that the clip sits flat against the head rather than standing out.
- Angle the clip so the teeth point toward the scalp, not straight up.
- If you feel pressure points within five minutes, reposition before the style sets.
- For thick hair, a larger clip placed lower often holds better than a small clip placed high.
Mistake 3: Twisting Hair Too Tightly Before Clipping
Twisting hair tightly before clipping can create tension at the roots, which may lead to discomfort and, over time, stress on the hair. It also makes the clip sit unevenly because the twisted bundle is thicker in the middle than at the ends. The clip then grips unevenly and starts to rotate or slide.
Instead, gather hair loosely, give it a gentle twist only if needed for the style, and let the clip do the holding. If the style requires a tight twist, use a clip with a wider jaw so the teeth can close around the bundle without pinching.
- Loose gathering plus a properly sized clip holds better than a tight twist plus a small clip.
- If you need a tight style, consider a French barrette or a larger claw instead of forcing a mini clip.
- Stop tightening if you feel pulling at the roots; that's a sign the tension is too high.
Mistake 4: Ignoring Hair Texture and Clip Material
Smooth, fine hair and coarse, curly hair behave very differently with the same clip. Smooth hair gives clips less to grip, so clips slide more easily. Coarse hair creates more friction but can also snap thinner teeth if the clip is forced. The material matters too: cellulose acetate clips are plant-based and have a slight flexibility that helps them grip without scratching, but they still need to be matched to the section size.
If your hair is very smooth, try a clip with more pronounced teeth or a slightly larger size so the spring can maintain tension. If your hair is very thick or coarse, choose a large claw with wide teeth rather than a mini clip with fine teeth.
- Fine hair: look for clips with defined teeth and a firm spring.
- Thick hair: choose large claws with wide jaws and avoid forcing mini clips.
- Textured hair: a slightly larger clip prevents teeth from digging into the hair.
Mistake 5: Using Damaged or Worn Clips
A clip with a bent hinge, missing teeth, or a weakened spring will never hold properly, no matter how you position it. Continuing to use a damaged clip can also snag hair, causing breakage. If a clip has lost its tension or no longer closes evenly, it's time to replace it.
Check your clips periodically. If the hinge feels loose or the teeth don't meet, retire that clip. For clips that are still in good shape, store them loosely so they don't get compressed and bent.
- A clip that requires repeated readjustment is often a worn clip, not a styling problem.
- Store clips in a small pouch or box to protect the hinge and teeth.
- If a clip has snagged your hair more than once, stop using it.
Diagnose Your Clip Problem
- Symptom: Clip slides down within an hour: Likely cause: the section is too thin or too smooth for the clip's grip, or the clip is positioned too high. Corrective action: reposition the clip lower and angle the teeth toward the scalp; if it still slides, try a clip with more defined teeth or a slightly larger size. If it still slides after repositioning, switch to a different clip style or add a second clip for support.
- Symptom: Clip pops open or won't stay closed: Likely cause: too much hair for the clip's jaw size. Corrective action: remove some hair from the section or split it into two smaller sections. If the clip still pops open, size up to a larger claw. Stop forcing the clip closed; repeated forcing weakens the spring and can damage the hinge.
- Symptom: Scalp tenderness or headache after wearing: Likely cause: the clip is positioned too high or the hair is twisted too tightly, concentrating weight and tension at the roots. Corrective action: reposition the clip to the mid-back of the head, loosen the twist, and let the clip hold the style rather than pulling it tight. If tenderness continues, stop using that clip placement and try a lower, looser style or a different clip size.
- Symptom: Hair snagging or breaking when removing the clip: Likely cause: damaged teeth, a bent hinge, or a clip that is too small and has been forced. Corrective action: inspect the clip for bent or missing teeth. If damaged, replace it. If not damaged, remove the clip more slowly, opening it fully before sliding it out. If snagging continues with a new clip, the issue may be technique; try loosening the section before removing the clip.
Clips That Match the Fix
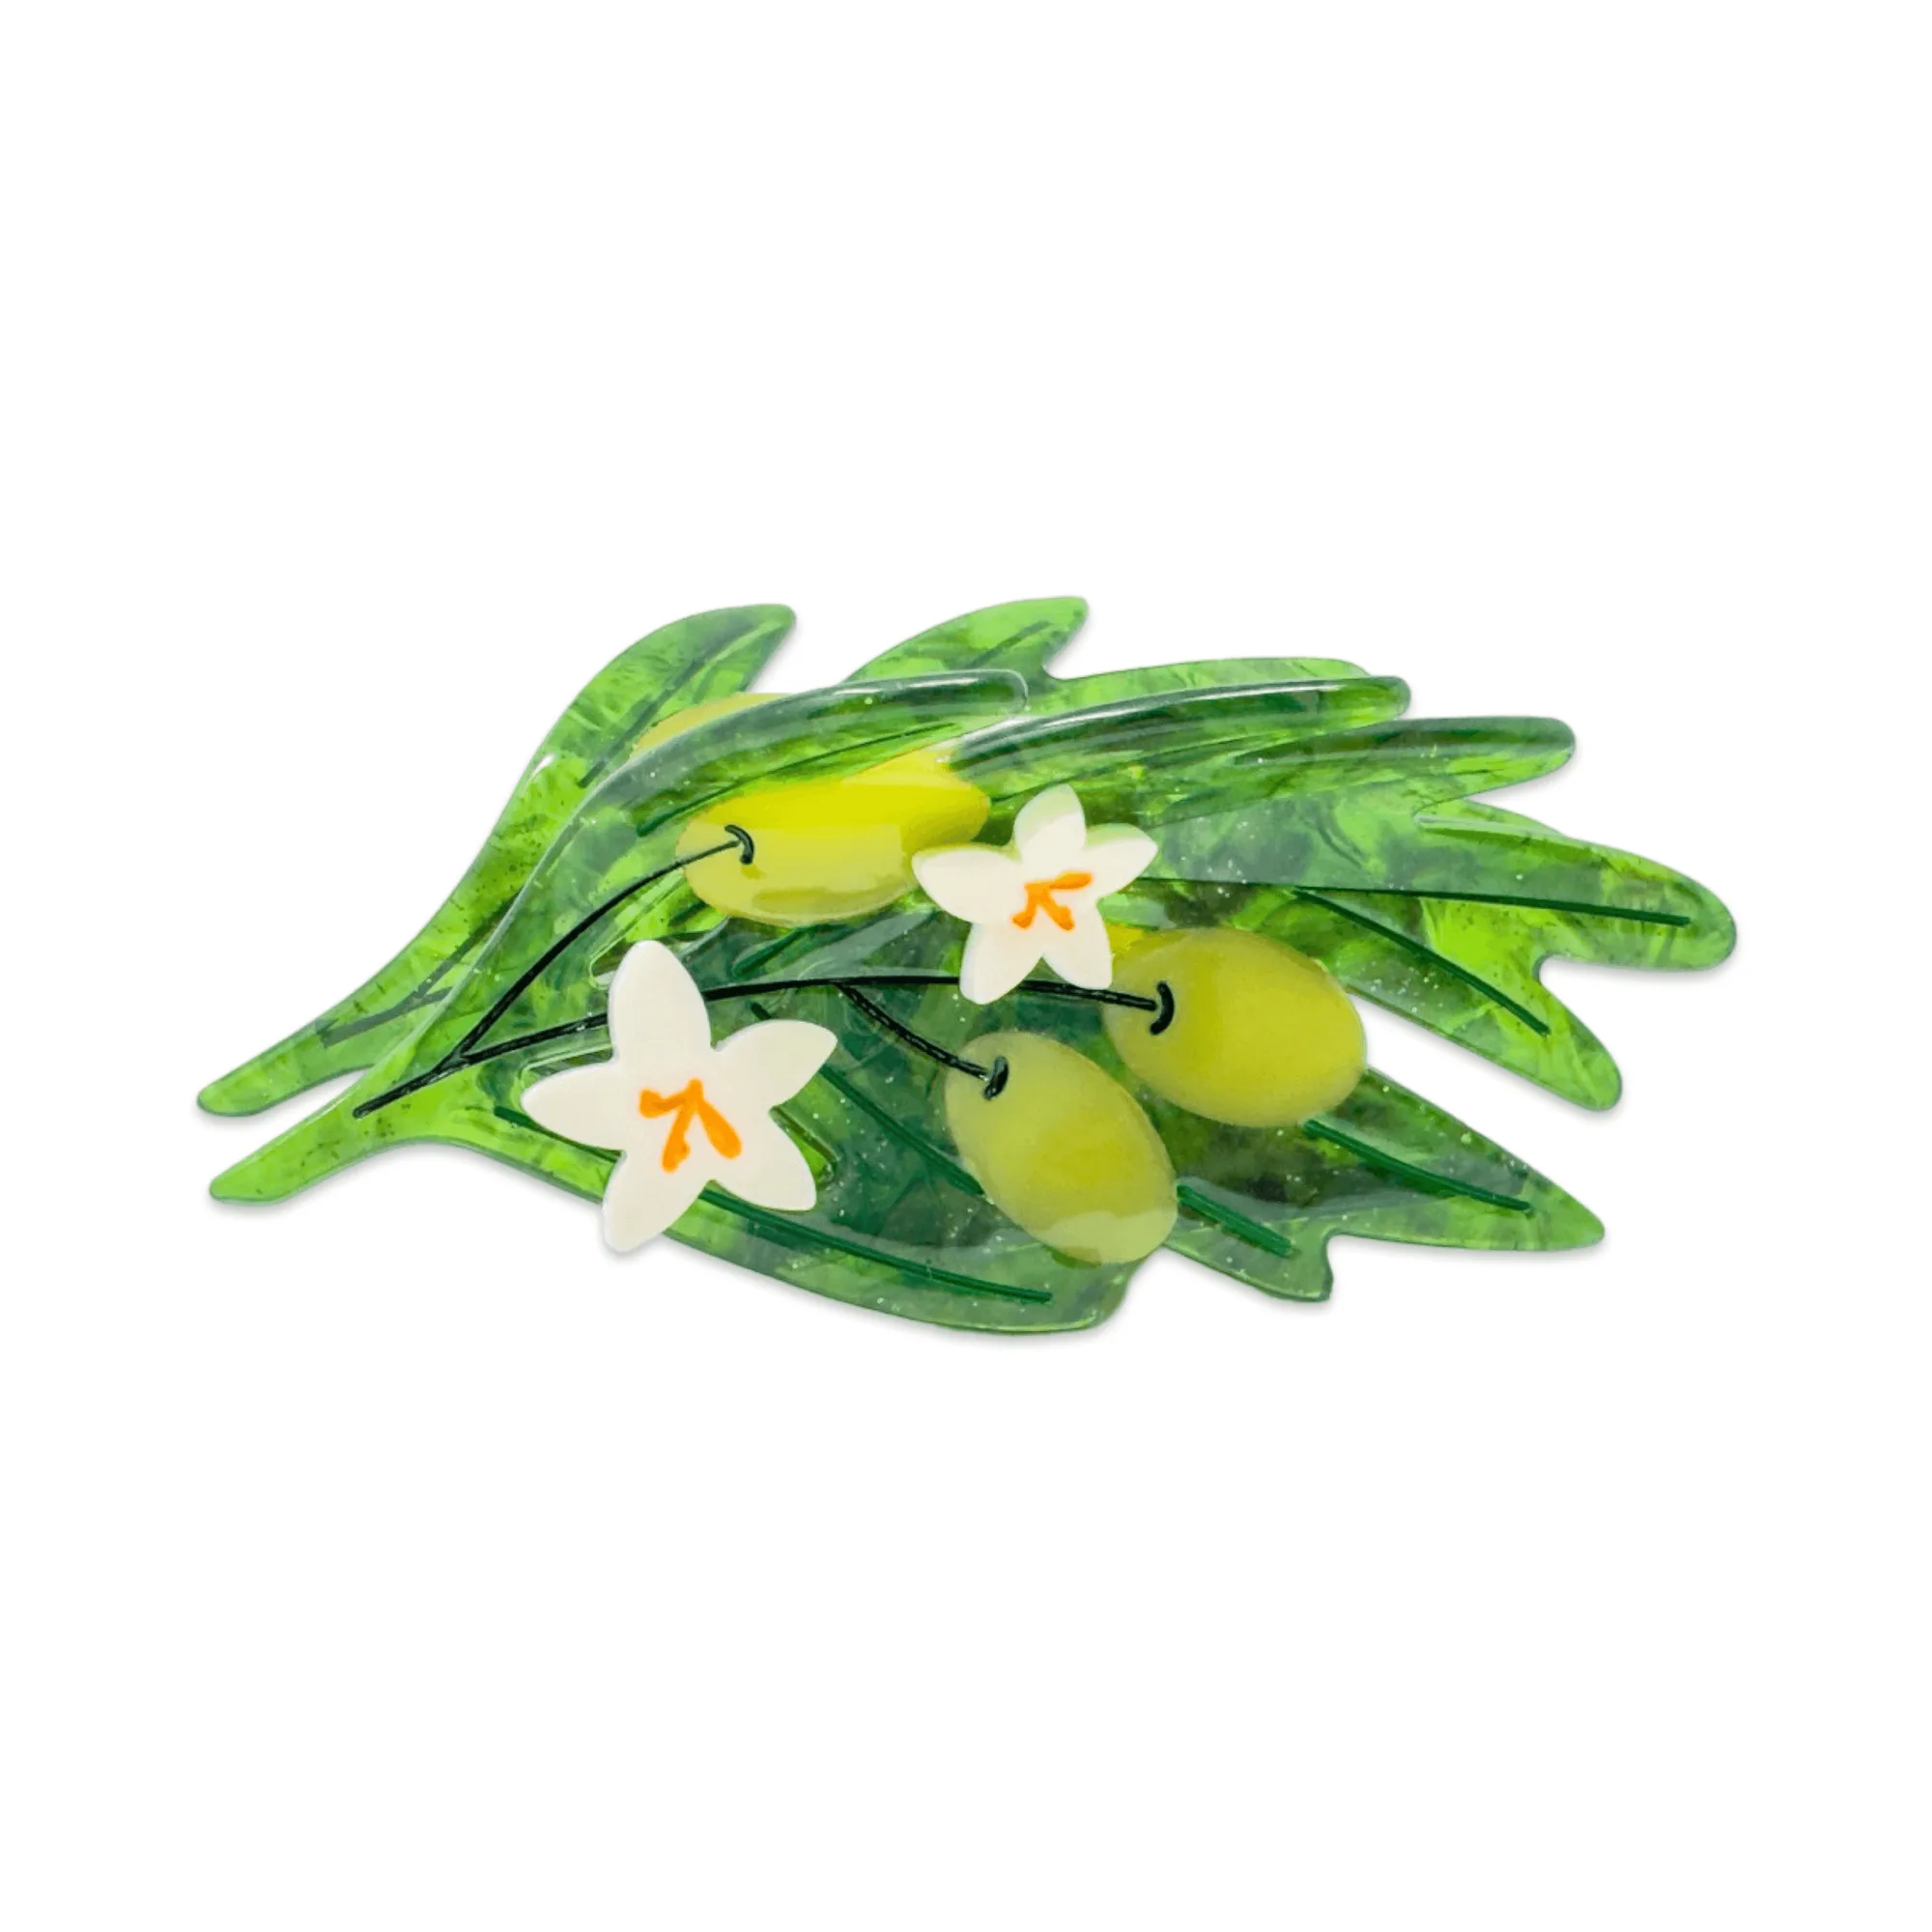
- Large Olive Branch Hair Claw Clip: Measures 4" x 2" and is made from eco-friendly cellulose acetate with delicate olive blossoms and leafy details. A large claw like this is the right choice when you're gathering a full head of hair or need a secure hold without forcing a small clip.
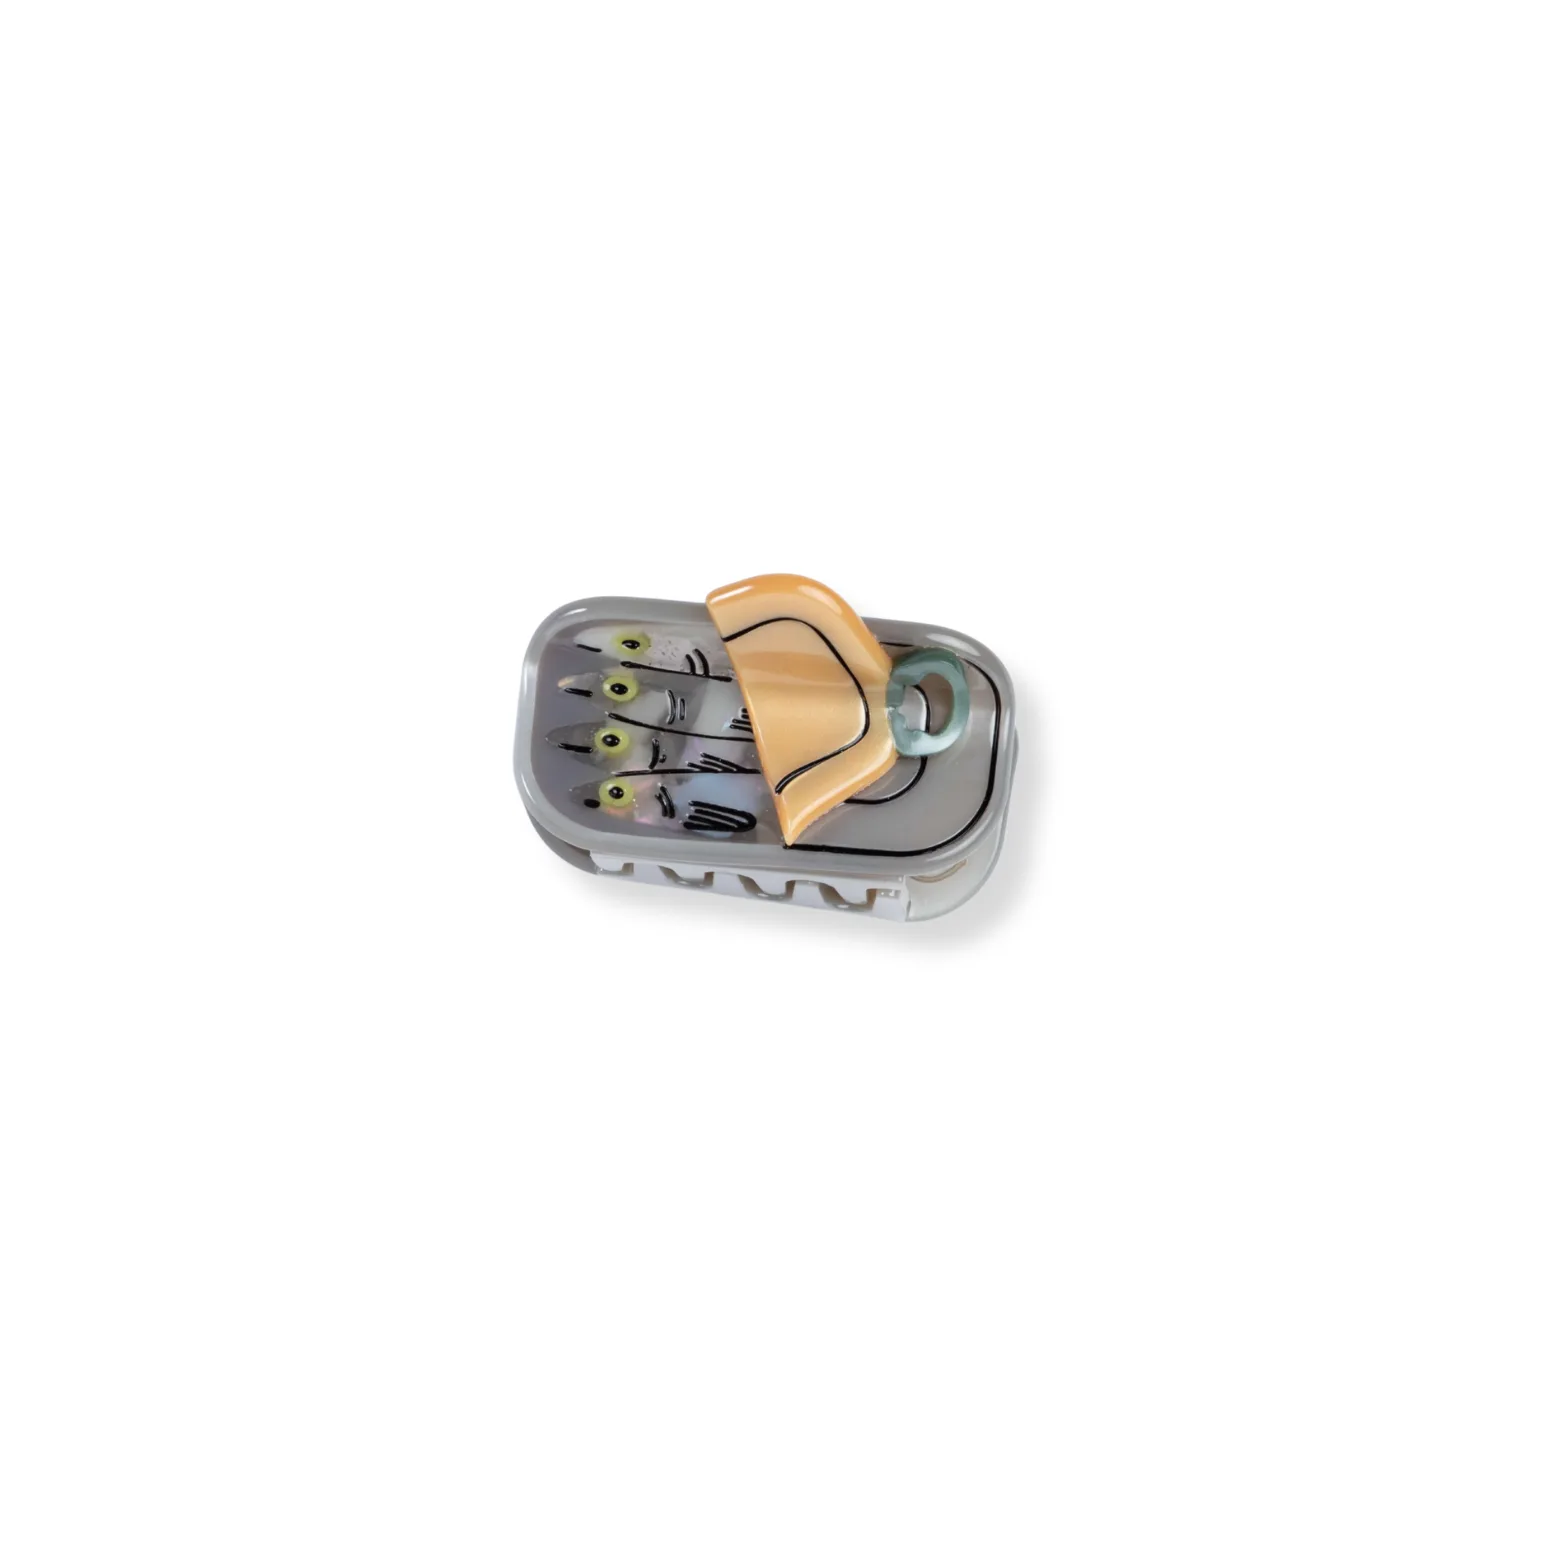
- Mini Tinned Fish Hair Claw Clip: Crafted from eco-friendly cellulose acetate with hand-painted details, and ideal for fine hair, short styles, and half-up looks. This is a good example of a mini clip used correctly: for small sections, not for gathering all your hair.
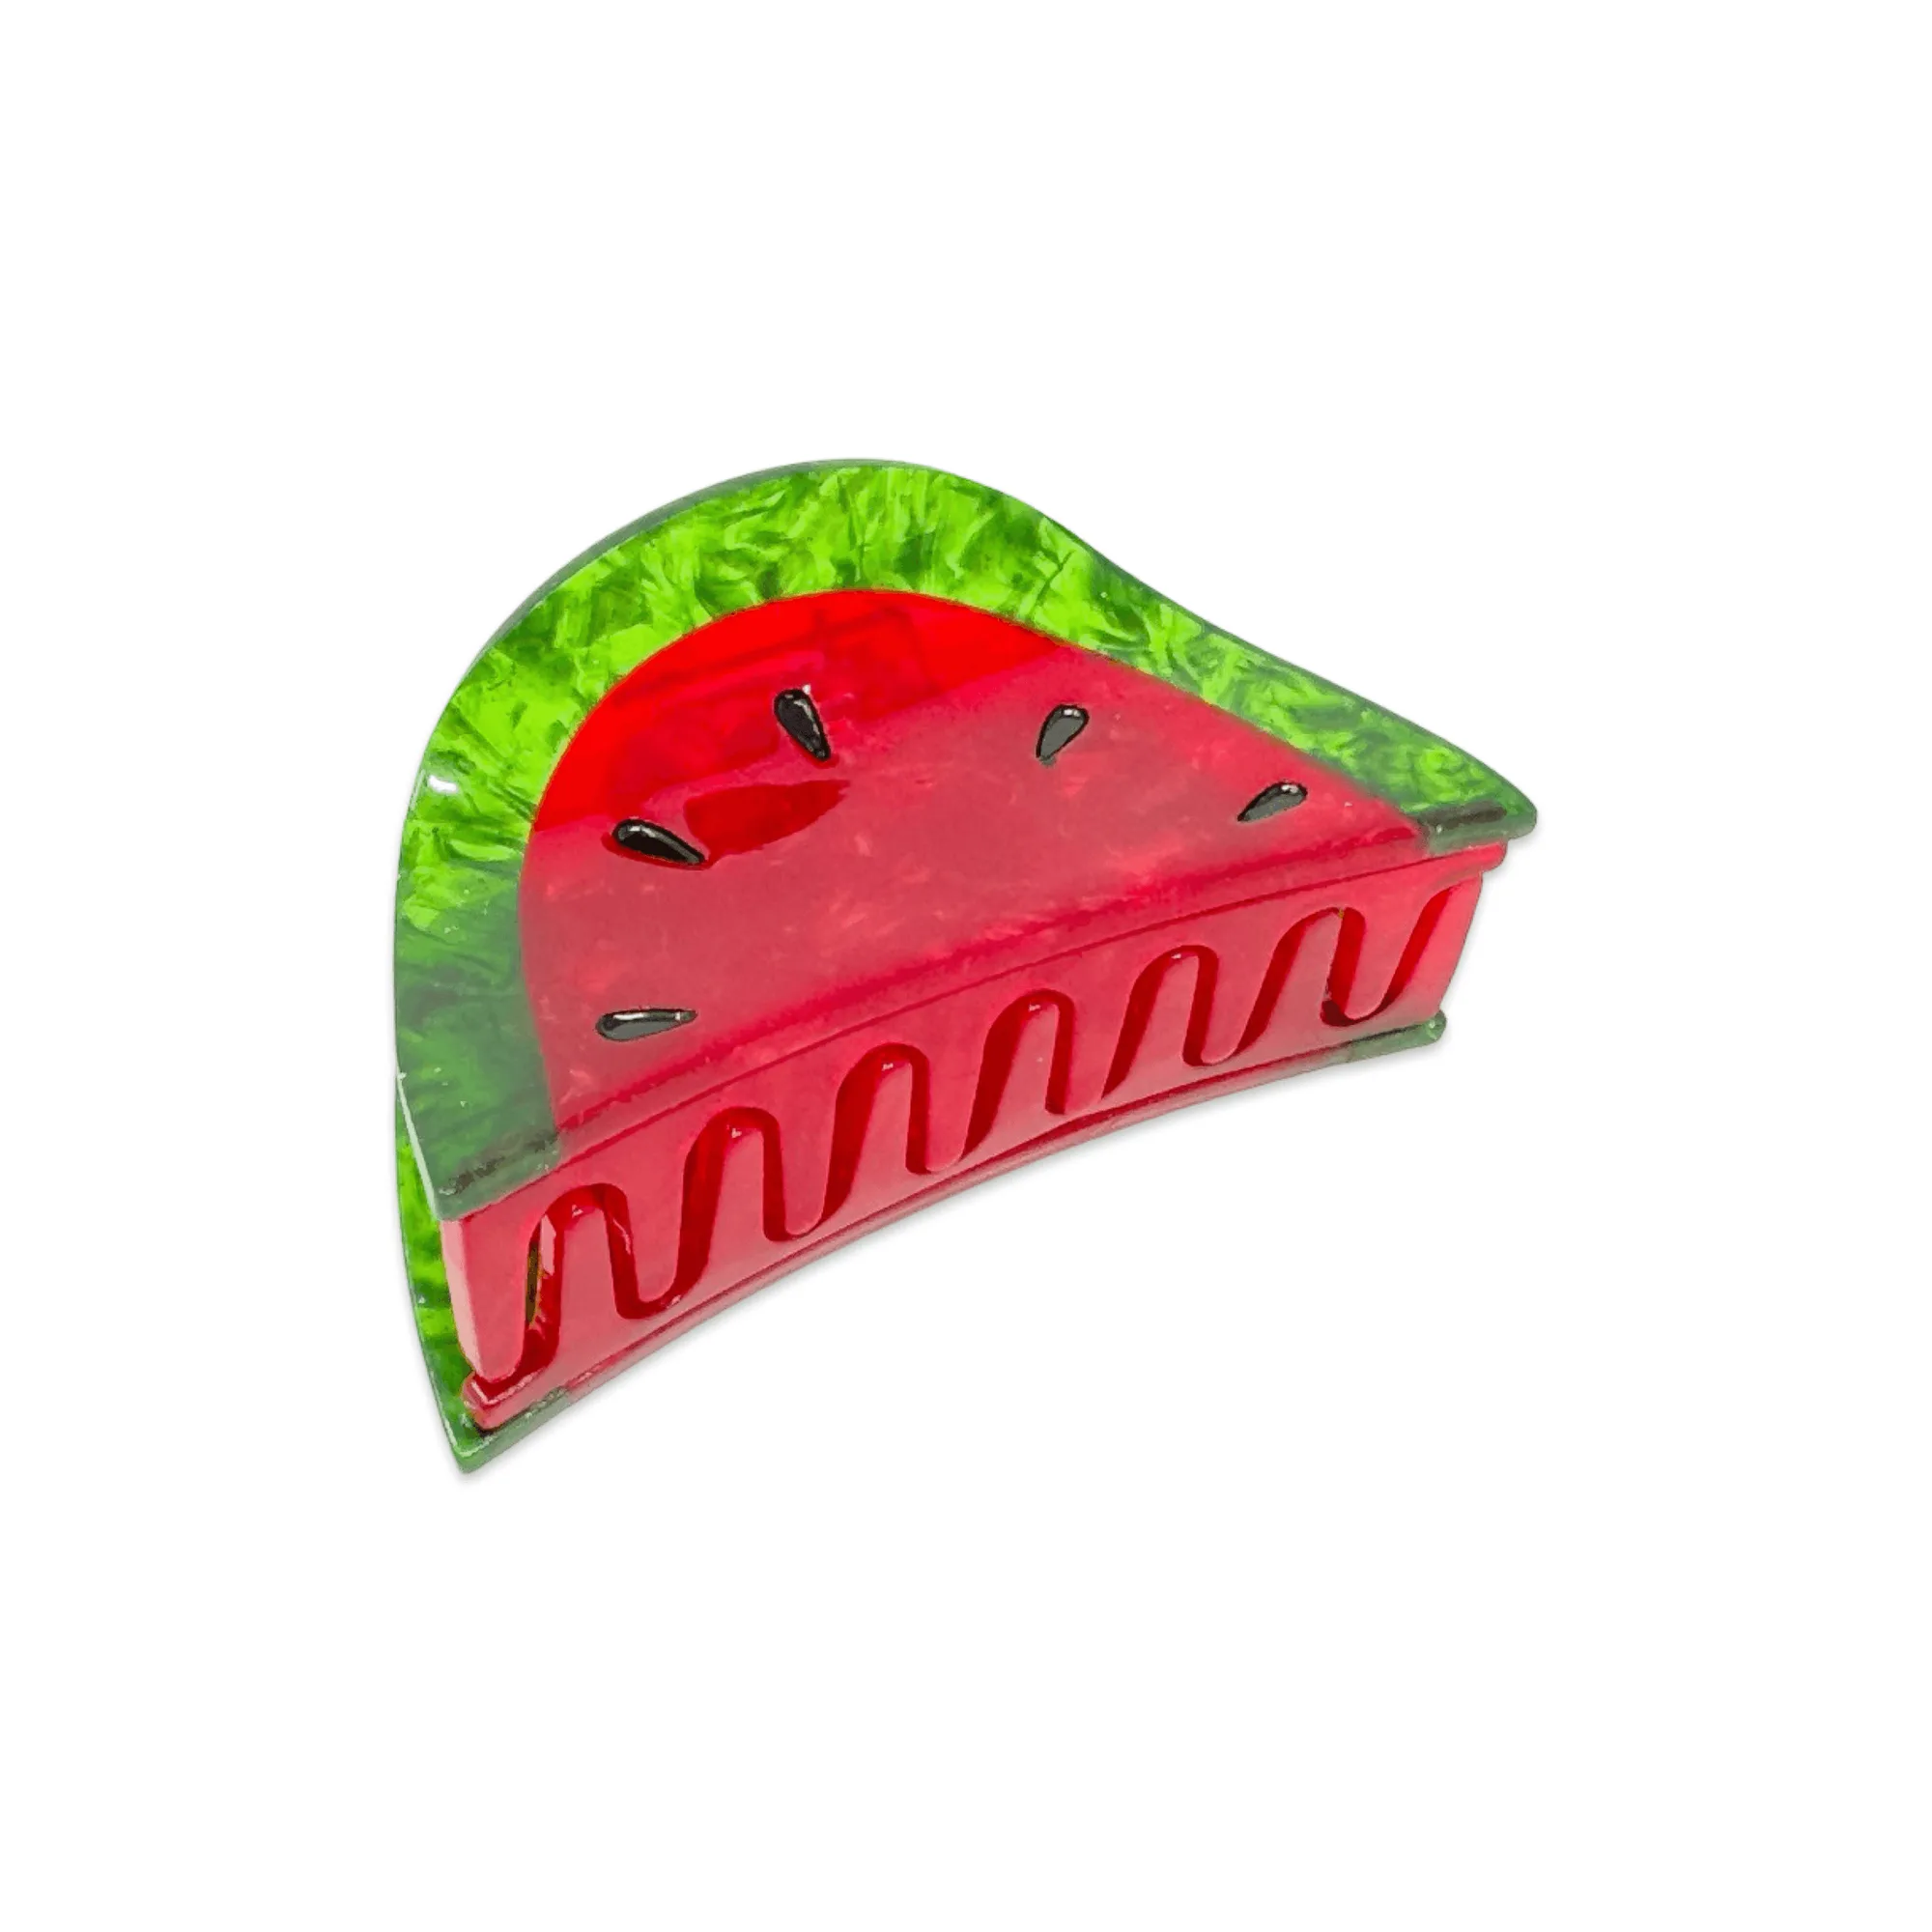
- Midi Watermelon Hair Claw Clip: Measures approximately 3" x 1.5" x 1.5" and is handmade and hand-painted from eco-friendly cellulose acetate. A midi size sits between mini and large, making it a useful middle option when a mini slips but a large claw feels like too much.
Most hair clip mistakes come down to size, position, and tension. Fix those three and you'll get better hold, fewer headaches, and less stress on your hair. If a clip still isn't working after adjustments, it's probably the wrong clip for that job, not a failure on your part.