Quick answer
Most beginner quilting problems trace back to one of four things: an inaccurate seam allowance, a dull blade or needle, a mismatched thread or marking tool, or a fabric that fights the design. Fix the cause, not the symptom. If a fix does not hold after two honest attempts, stop, switch tools or technique, and test on scrap fabric before you touch the quilt again.
Every quilter has a first project they would rather not show anyone. The blocks are a little small, the seams lean, the binding waves. That is normal, and almost none of it is caused by a lack of talent. It is caused by small, repeatable setup errors that are easy to diagnose once you know what to look for.
This guide works backward from the symptom you can see to the cause you can fix. Each entry gives you the likely reason, the corrective action, and a clear stopping point so you do not keep adjusting a problem that needs a different tool or a different approach entirely.
Your blocks finish too small or too large
If every block is consistently off by the same amount, your seam allowance is the culprit, not your cutting. Most patterns are written for a scant 1/4 inch seam, which means the fabric edge sits just inside the 1/4 inch mark on your presser foot or guide. A full 1/4 inch seam quietly shrinks every unit, and the error compounds with each block you join.
Test before you cut a whole quilt. Sew three 2-1/2 inch strips together, press, and measure the center strip. It should be exactly 2 inches wide. If it is not, move your needle position or your fabric guide and test again. This five-minute check saves hours of re-cutting later.
- Measure the sewn unit, never the seam itself. The finished size is the only number that matters.
- Press seams to one side rather than open when a pattern calls for nesting, so intersections lock together.
- If your machine has no adjustable needle position, use a magnetic seam guide instead of eyeballing the edge.
Seams look wavy or the quilt top will not lie flat
Wavy seams usually mean the fabric was stretched during sewing or pressing, not that your machine is misbehaving. Feeding fabric by pulling it through the machine distorts the bias edges, and pressing with a back-and-forth ironing motion stretches them further. The distortion is baked in by the time you notice it at the ironing board.
Let the feed dogs move the fabric. If a long seam feels like it is dragging, lower your stitch length slightly and support the weight of the quilt rather than tugging it. When pressing, set the seam with the iron flat, then press down and lift rather than sliding the iron across the fabric.
- Starch or a light sizing before cutting helps fabric hold its shape through handling.
- If one seam is wavy but the rest are flat, unpick that seam rather than trying to press the wave out.
- A dry iron with no steam gives you more control on piecing than a steaming iron does.
Marks will not come out of the fabric
Marking problems are almost always a tool mismatch. Some markers are designed to disappear with water, some with heat, and some with the eraser end of the pen itself. If you use a water-soluble marker on fabric that later gets pressed with a hot iron before washing, the mark can set. If you use a heat-erasable marker and then expose the quilt to cold, the mark can reappear.
Match the marker to the fabric and to what happens next in your process. For detailed applique or embroidery placement, a water-soluble dual-tip pen such as the Chacopen Blue Water Soluble Dual Tip Pen With Eraser # 5013CV lets you mark fine lines and erase with either water or the built-in eraser end, which is useful when you want to correct a placement without wetting the whole block. Always test on a scrap of the same fabric first, especially on dark or coarse weaves.
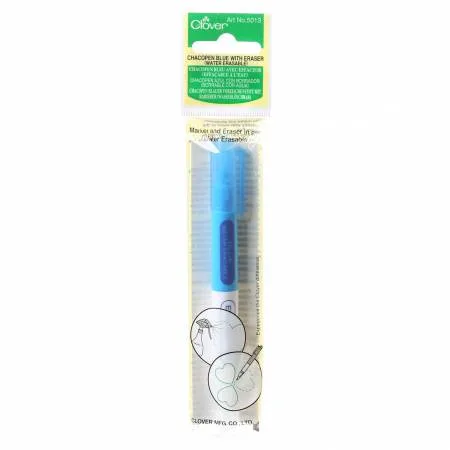
Chacopen Blue Water Soluble Dual Tip Pen With Eraser # 5013CV
- Test every marking tool on a scrap of the actual fabric before using it on a project.
- Mark lightly. A heavy line is harder to remove than a light one.
- Remove marks before pressing whenever the marker instructions call for it.
Your fabric choice is making the project harder than it needs to be
Some beginner frustration is not technique at all. It is fabric. Large-scale directional prints are hard to fussy cut, busy prints hide your piecing accuracy so you cannot learn from it, and loosely woven fabrics fray and stretch at the bias. Choosing a calmer fabric for your first few projects removes a variable you do not need to fight.
Tonal and textured basics are the quiet workhorses here. Linen Texture Smoky - 1 yard TP-1473-B5 from Andover Fabrics brings the subtle woven look of natural linen to quilting cotton, reading as a solid from a distance while adding depth up close. At 44/45 inches wide, it works as a background, sashing, or binding without competing with your feature prints. Note that this cut is one yard and is not a continuous cut, so plan your yardage accordingly if you need a long strip.

Linen Texture Smoky - 1 yard TP-1473-B5
- Pre-wash if your pattern or fabric manufacturer recommends it; otherwise, test a scrap for shrinkage before committing.
- Buy a little extra of your background fabric. Running short mid-project is a common and avoidable beginner problem.
- If a print is directional, lay out all your pieces before you sew so you can keep the orientation consistent.
Thread breaks, skips stitches, or shows through
Thread problems are usually a needle, tension, or weight issue, in that order. A dull or wrong-size needle causes skipped stitches and frayed thread. The wrong thread weight for the job causes breaks. And a top tension that is too tight pulls the bobbin thread up to the surface, where it shows.
Change the needle first, then rethread top and bottom with the presser foot up so the thread seats in the tension discs. If the problem persists, adjust top tension one small step at a time and test on a scrap sandwich of the same fabrics and batting you are using. If two adjustments do not fix it, stop and rethread from scratch rather than continuing to tighten.
- Keep a spare needle on hand and change it at the start of every large project.
- Match thread weight to the job: finer thread for piecing, heavier for quilting where you want the stitch to show.
- Write down the settings that work on your machine so you can return to them later.
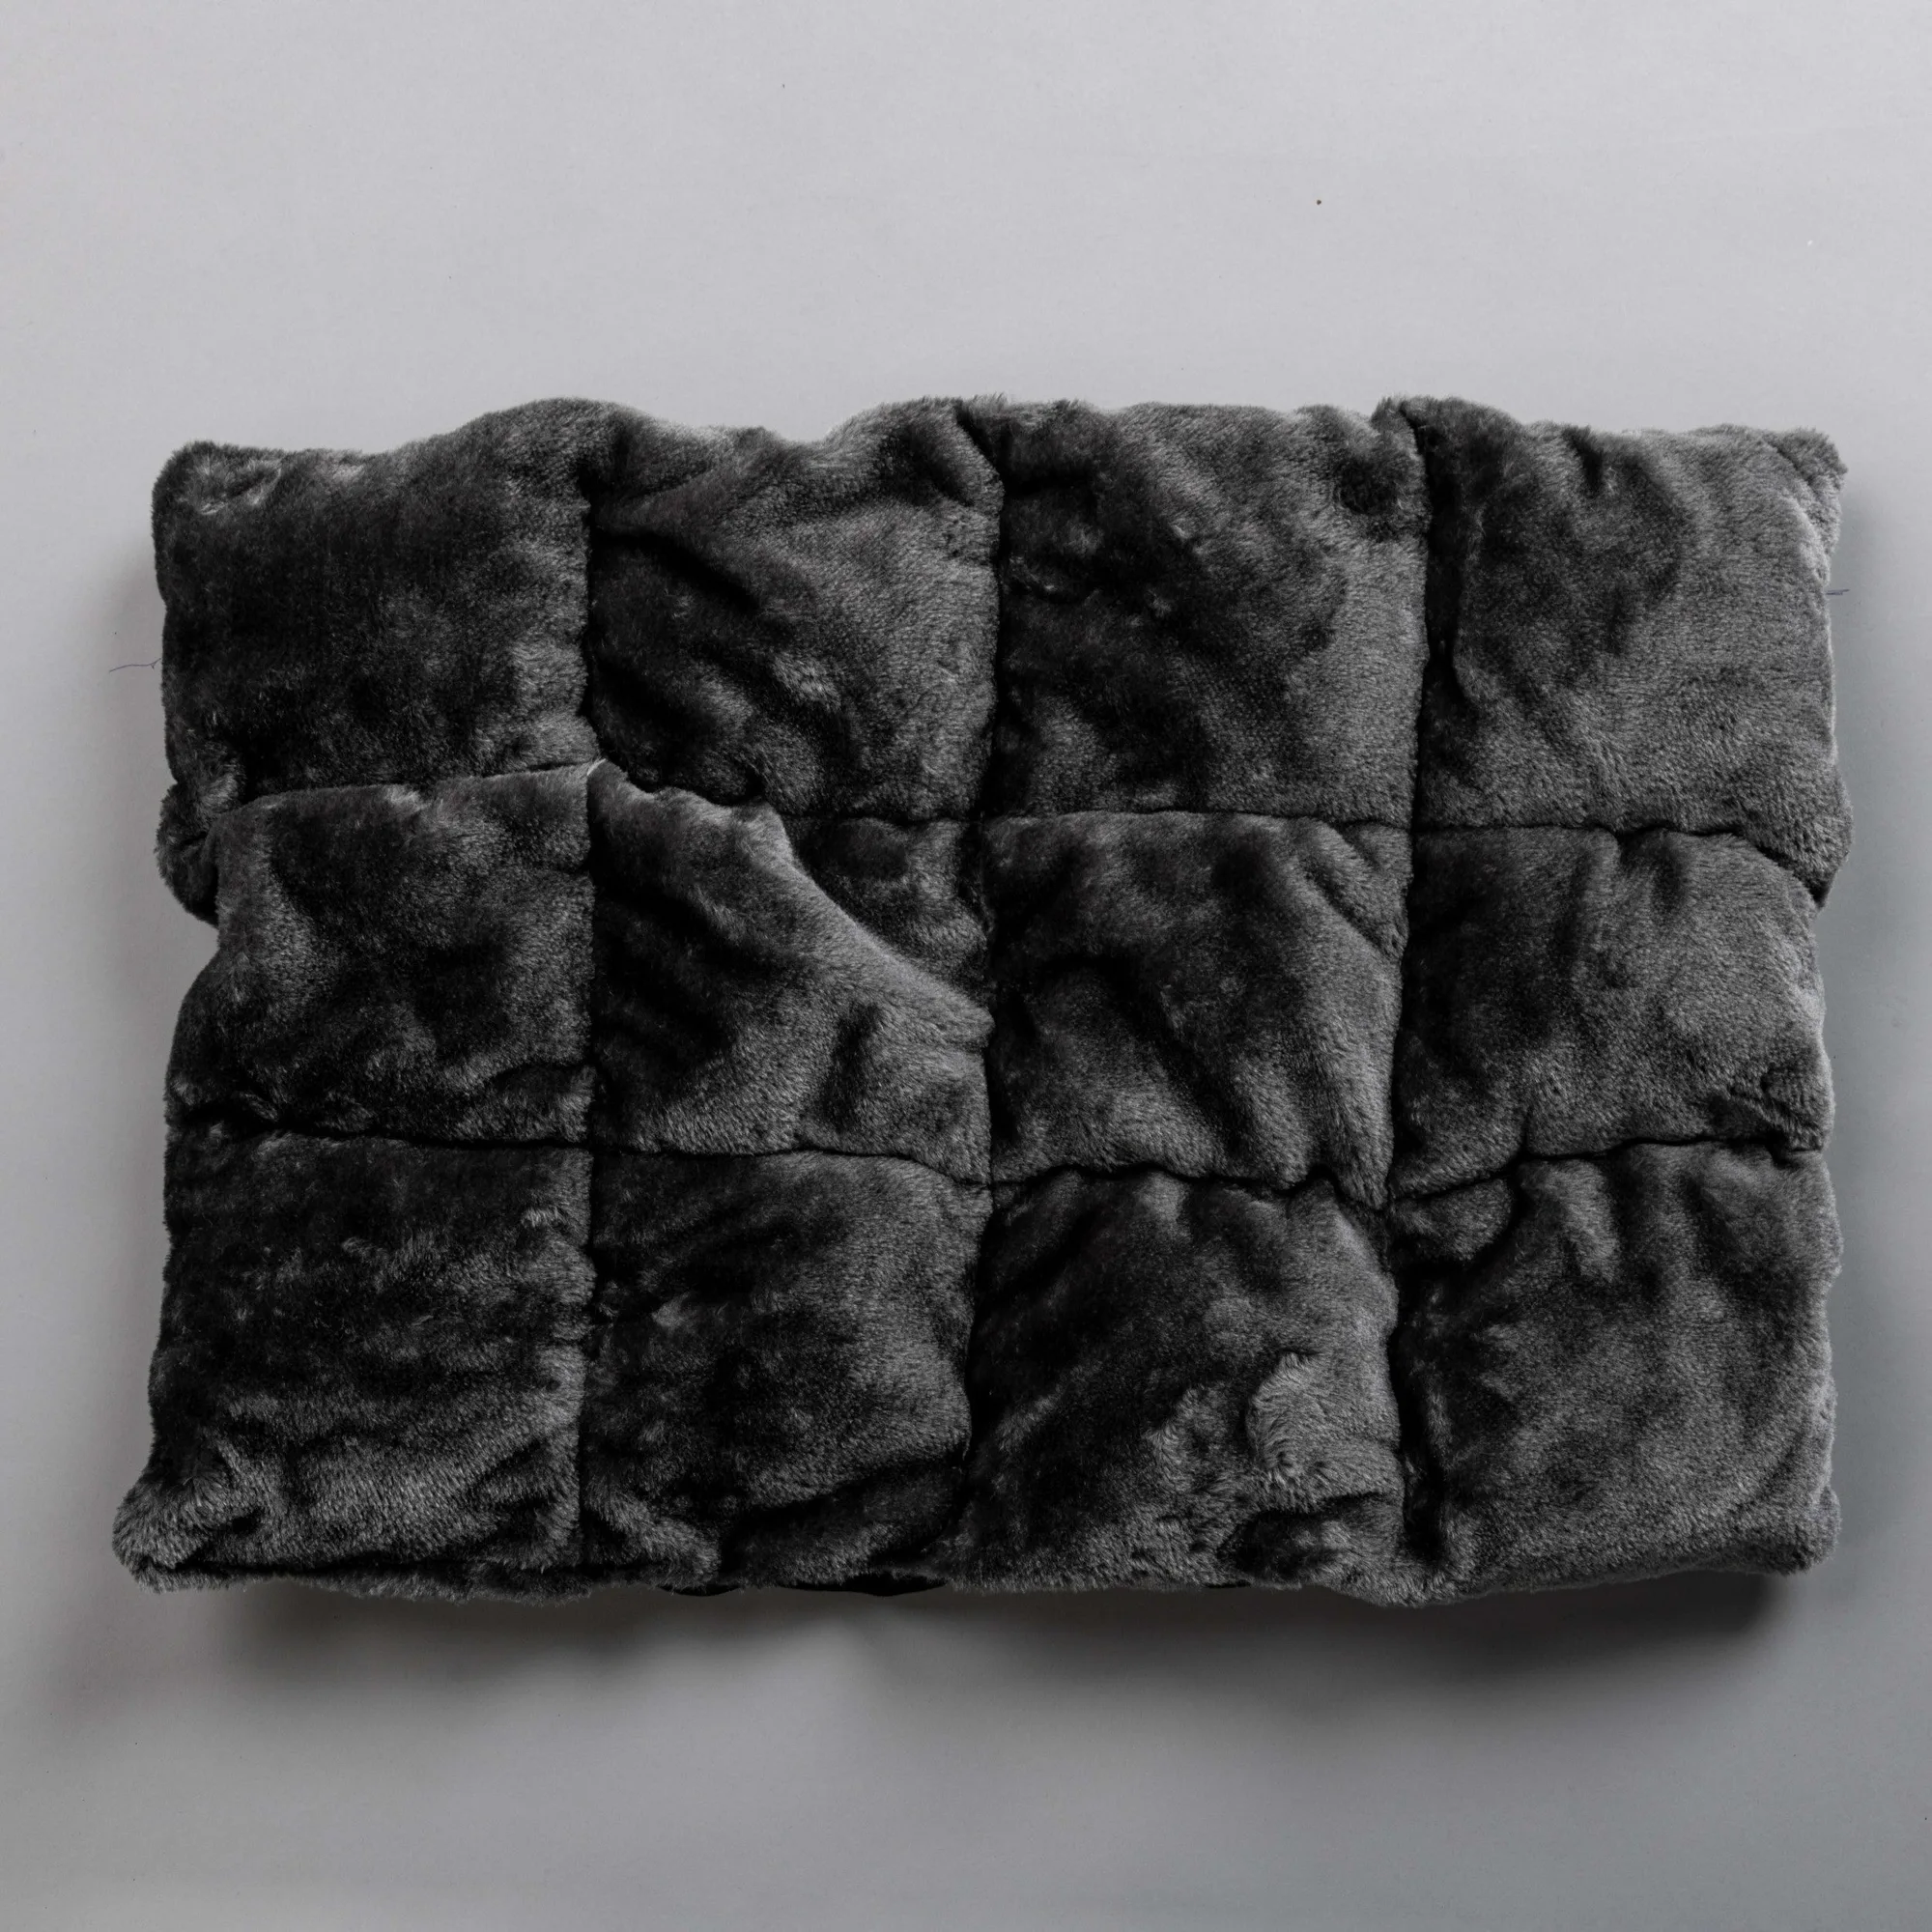
Your wool pressing mat is shedding lint or losing its surface
Wool pressing mats collect lint, stray threads, and pet hair, and over time that buildup makes the surface feel matted and less effective at holding heat and shape. The fix is not washing or replacing the mat. It is a simple surface cleaning tool used regularly.
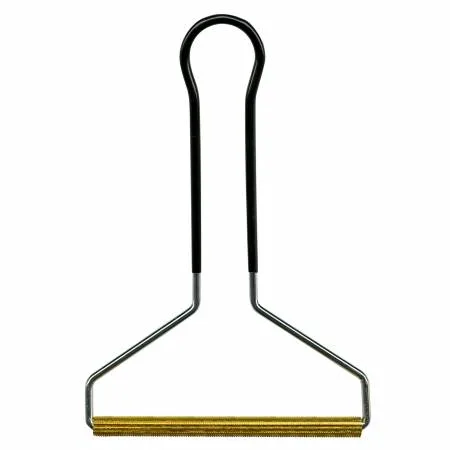
The Wool Mat Cleaning Tool # TGQ135 from The Gypsy Quilter is a 4-1/2 inch cylindrical cleaning blade you drag across the mat surface to lift stray threads, lint, and debris. It is small enough to keep next to your ironing station and use in a few seconds between projects. If your mat has a deep stain or has lost its loft, cleaning will not restore it, and that is the point to consider replacing the mat rather than cleaning harder.
- Clean the mat when you finish a project, not when it looks bad.
- Store the mat flat so it does not crease or curl.
- If the mat smells scorched or feels compressed, replace it rather than continuing to use it.
Symptom, cause, fix, and when to stop
- Blocks consistently finish the wrong size: Cause: seam allowance is off, usually a full 1/4 inch instead of a scant 1/4 inch. Fix: sew three test strips, press, and measure the center strip. Adjust needle position or guide and retest. If the test unit measures correctly twice in a row, you are ready to sew. If it still does not, stop and check your cutting accuracy before adjusting the machine again.
- Seams are wavy and the top will not lie flat: Cause: fabric stretched during sewing or pressing. Fix: let the feed dogs move the fabric, support its weight, and press by lifting the iron rather than sliding it. If one seam is wavy, unpick it. If the whole top is wavy, stop and check whether your fabric was cut on grain before you sew another seam.
- Marks will not come out: Cause: the marking tool does not match the fabric or the next step in your process, such as heat setting a water-soluble mark. Fix: test every marker on a scrap of the same fabric, mark lightly, and remove marks before pressing when the marker instructions call for it. If a mark will not lift after two removal attempts, stop. Do not scrub or use a stronger solvent on the quilt. Set that piece aside and test removal methods on scrap first.
- Thread breaks, skips, or shows on the surface: Cause: dull or wrong-size needle, incorrect thread weight, or top tension too tight. Fix: change the needle, rethread with the presser foot up, then adjust top tension one small step at a time on a scrap sandwich. If two tension adjustments do not fix it, stop adjusting. Rethread from scratch or change the needle again rather than continuing to tighten.
- Wool pressing mat feels matted or sheds debris: Cause: accumulated lint, threads, and pet hair on the mat surface. Fix: drag the Wool Mat Cleaning Tool # TGQ135 across the surface to lift debris. If the mat is deeply stained, scorched, or has lost its loft, cleaning will not restore it. Replace the mat instead of cleaning harder.
Tools that solve specific beginner problems
- Chacopen Blue Water Soluble Dual Tip Pen With Eraser # 5013CV: Clover Chacopen with Eraser is convenient for marking and copying detailed designs for applique, embroidery, handicrafts, sewing, and quilting. Marks disappear instantly with water or with the eraser end of the pen. One pen per pack. Gives you a way to mark fine placement lines and correct them without wetting the whole block, which matters most on detailed applique and on fabrics where you want to test removal first.
- Linen Texture Smoky - 1 yard TP-1473-B5: Linen Texture brings the subtle woven look of natural linen to quilting cotton, with a soft tonal texture that reads as solid from a distance but adds quiet depth up close. Width 44/45 inches, by Andover Fabrics. Cut is 1 yard and not a continuous cut. A calm, tonal basic removes the distraction of a busy print so you can see and correct your piecing accuracy. The non-continuous cut means you should plan yardage carefully for long strips.
- Wool Mat Cleaning Tool # TGQ135: The Gypsy Quilter Wool Mat Cleaning Tool has a cylindrical cleaning blade you drag across the surface of your wool mat to remove stray threads, lint, pet hair, and other debris. It measures 4-1/2 inches in length and 3/8 inches in diameter. Keeps your pressing surface working properly with a few seconds of maintenance, which prevents the lint buildup that makes a mat feel matted and less effective.
Beginner quilting problems are almost always diagnosable, and the fix is usually smaller than it feels. Work from the symptom to the cause, test on scrap, and give yourself a clear stopping point so you do not keep adjusting a problem that needs a different tool or a fresh start.