Quick answer
Most upholstery nail mistakes trace back to three causes: driving decorative nails into hard or unsupported material, spacing them by eye instead of marking a line, and choosing a nail with the wrong head or length for the trim. Fix the cause, not just the bent nail. If the surface is too hard to drive a nail without crushing it, switch to a different fastener or pre-drill.
Decorative nailhead trim looks simple until you drive the first nail and it bends, or you step back and see the spacing drifting wider with every row. The good news is that almost every decorative nail problem has a predictable cause, and most can be corrected without pulling the whole strip.
This guide walks through the mistakes that show up most often, what each one tells you about the material or your technique, and the point where you should stop forcing a nail and choose a different approach.
Nails bend or mushroom as you drive them
Symptom: the nail bends sideways, the head flattens unevenly, or it refuses to sink. Likely cause: you are driving into a hard frame, a knot, or a spot with no give behind the fabric, and the nail has nowhere to go. Thin decorative nails are not designed to cut through dense hardwood the way a screw or a heavier fastener would.
Corrective action: stop before the head deforms. Pull the nail with a proper removal tool, then either pre-drill a pilot hole slightly smaller than the nail shank or reposition a few millimeters away from the hard spot. Always wear safety glasses and use the correct driving tool rather than improvising with whatever is on the bench.
- Test one nail in a hidden area before committing to a full row.
- If a nail bends on the first tap, the surface is telling you it is too dense for that nail.
- Replace deformed nails rather than trying to straighten and reuse them.
Spacing drifts and the row looks uneven
Symptom: the gaps between nails widen or narrow as you work across a panel. Likely cause: you are eyeballing placement instead of marking a guide line, and small errors compound over a long run. This is the single most common nailhead trim error on headboards and ottomans.
Corrective action: mark a faint chalk or removable-ink line for the row, then tick the spacing intervals along it before you drive anything. Work from the center outward on symmetrical pieces so any adjustment happens at the ends, where it is least visible. If you have already driven a crooked run, remove the nails from the last third and reset from the center.
- Measure the full run and divide by the number of nails so spacing is consistent.
- On curves, shorten the spacing slightly rather than forcing a straight interval.
- Keep a removable marking tool on hand so guide lines disappear cleanly.
Nails pull loose or the fabric puckers
Symptom: a nail sits proud, spins, or drags a pucker of fabric with it. Likely cause: the nail is too short for the layers it has to pass through, or the fabric was not held taut when the nail went in. Decorative nails hold by friction and a small amount of compression, so loose fabric gives them nothing to grip.
Corrective action: pull the nail, smooth and re-tension the fabric, and reset. If the layers are genuinely too thick for the nail length, that is your stopping point: choose a longer fastener or a different trim method rather than hammering a short nail deeper, which only damages the head and the fabric.
- Hold fabric taut with one hand while driving with the other.
- If the nail spins freely after setting, it is not gripping and will work loose.
- Do not over-drive to compensate for a short nail; the head will crush the weave.
Rust, tarnish, or color mismatch shows up later
Symptom: the finish dulls, discolors, or clashes with the surrounding hardware after a few weeks. Likely cause: the nail finish does not match the metal already on the piece, or the environment is damp enough to affect an unprotected finish. This is one of those decorative nail problems that is much easier to prevent than to fix.
Corrective action: match the nail finish to the other visible hardware on the piece before you start, and buy a few extra so a future repair uses the same batch. If a finish has already failed, replacing the affected nails is usually faster and cleaner than trying to refinish them in place.
- Compare nail finish against hinges, pulls, and legs in the same lighting.
- Buy spares from the same pack so color and size stay consistent.
- In humid rooms, expect more finish wear and plan for replacement.
When to stop and choose another fastener
Symptom: repeated failures in the same spot no matter how carefully you work. Likely cause: the substrate is wrong for decorative nails, or the trim is in a high-stress area that needs a mechanical fastener rather than a decorative one. This is the point where persistence costs more than it saves.
Corrective action: switch to a screw eye, a sew-on snap, or another appropriate closure for functional stress points, and reserve decorative nails for visual trim on stable surfaces. Knowing when to stop is a skill, not a failure. If two attempts fail in the same location, change the hardware.
- Decorative nails are for appearance; use mechanical fasteners where parts move or bear load.
- If the material crushes or splits, stop and reassess the substrate.
- A clean switch to the right hardware always looks better than a patched nail row.
Diagnosis: match the symptom to the fix
- Nail bends or head mushrooms: Surface is too hard or unsupported for the nail. Pull it, pre-drill a pilot hole, or reposition. If two nails bend in the same spot, stop and change the fastener.
- Spacing drifts across the row: You are placing by eye. Mark a guide line and tick intervals, working from the center outward. Reset the last third rather than living with a crooked run.
- Nail sits proud, spins, or puckers fabric: Nail is too short for the layers or the fabric was not taut. Re-tension and reset, or choose a longer fastener. Never over-drive a short nail; the head will crush the weave.
- Finish dulls or clashes later: Finish mismatch or damp environment. Match hardware before starting and keep spares from the same pack. Replace affected nails rather than refinishing in place.
- Repeated failure in the same location: Wrong substrate or a high-stress area. Switch to a screw eye or sew-on snap for functional points. Two failed attempts means change the hardware, not the technique.
Products that help prevent these mistakes
- 7/16" Square Decorative Nails, Nickel, 24 pc: Use to add pattern and dimension to upholstered chairs, ottomans or headboards; use nails alone or mix with other Dritz Home decorative nail styles to create visual interest. Square heads read as deliberate pattern rather than a straight line, so small spacing variations are less obvious than with round nailhead trim.
- 5/16" Screw Eyes, Silver, 12 pc: Designed to attach cables or ropes to surfaces, these screw eyes are great for light-duty requirements; you can use them to run pull cords along mounting boards in Roman, Austrian and Balloon shades. When a spot needs to bear a pull or a cord rather than just look finished, a screw eye is the right swap instead of forcing a decorative nail.
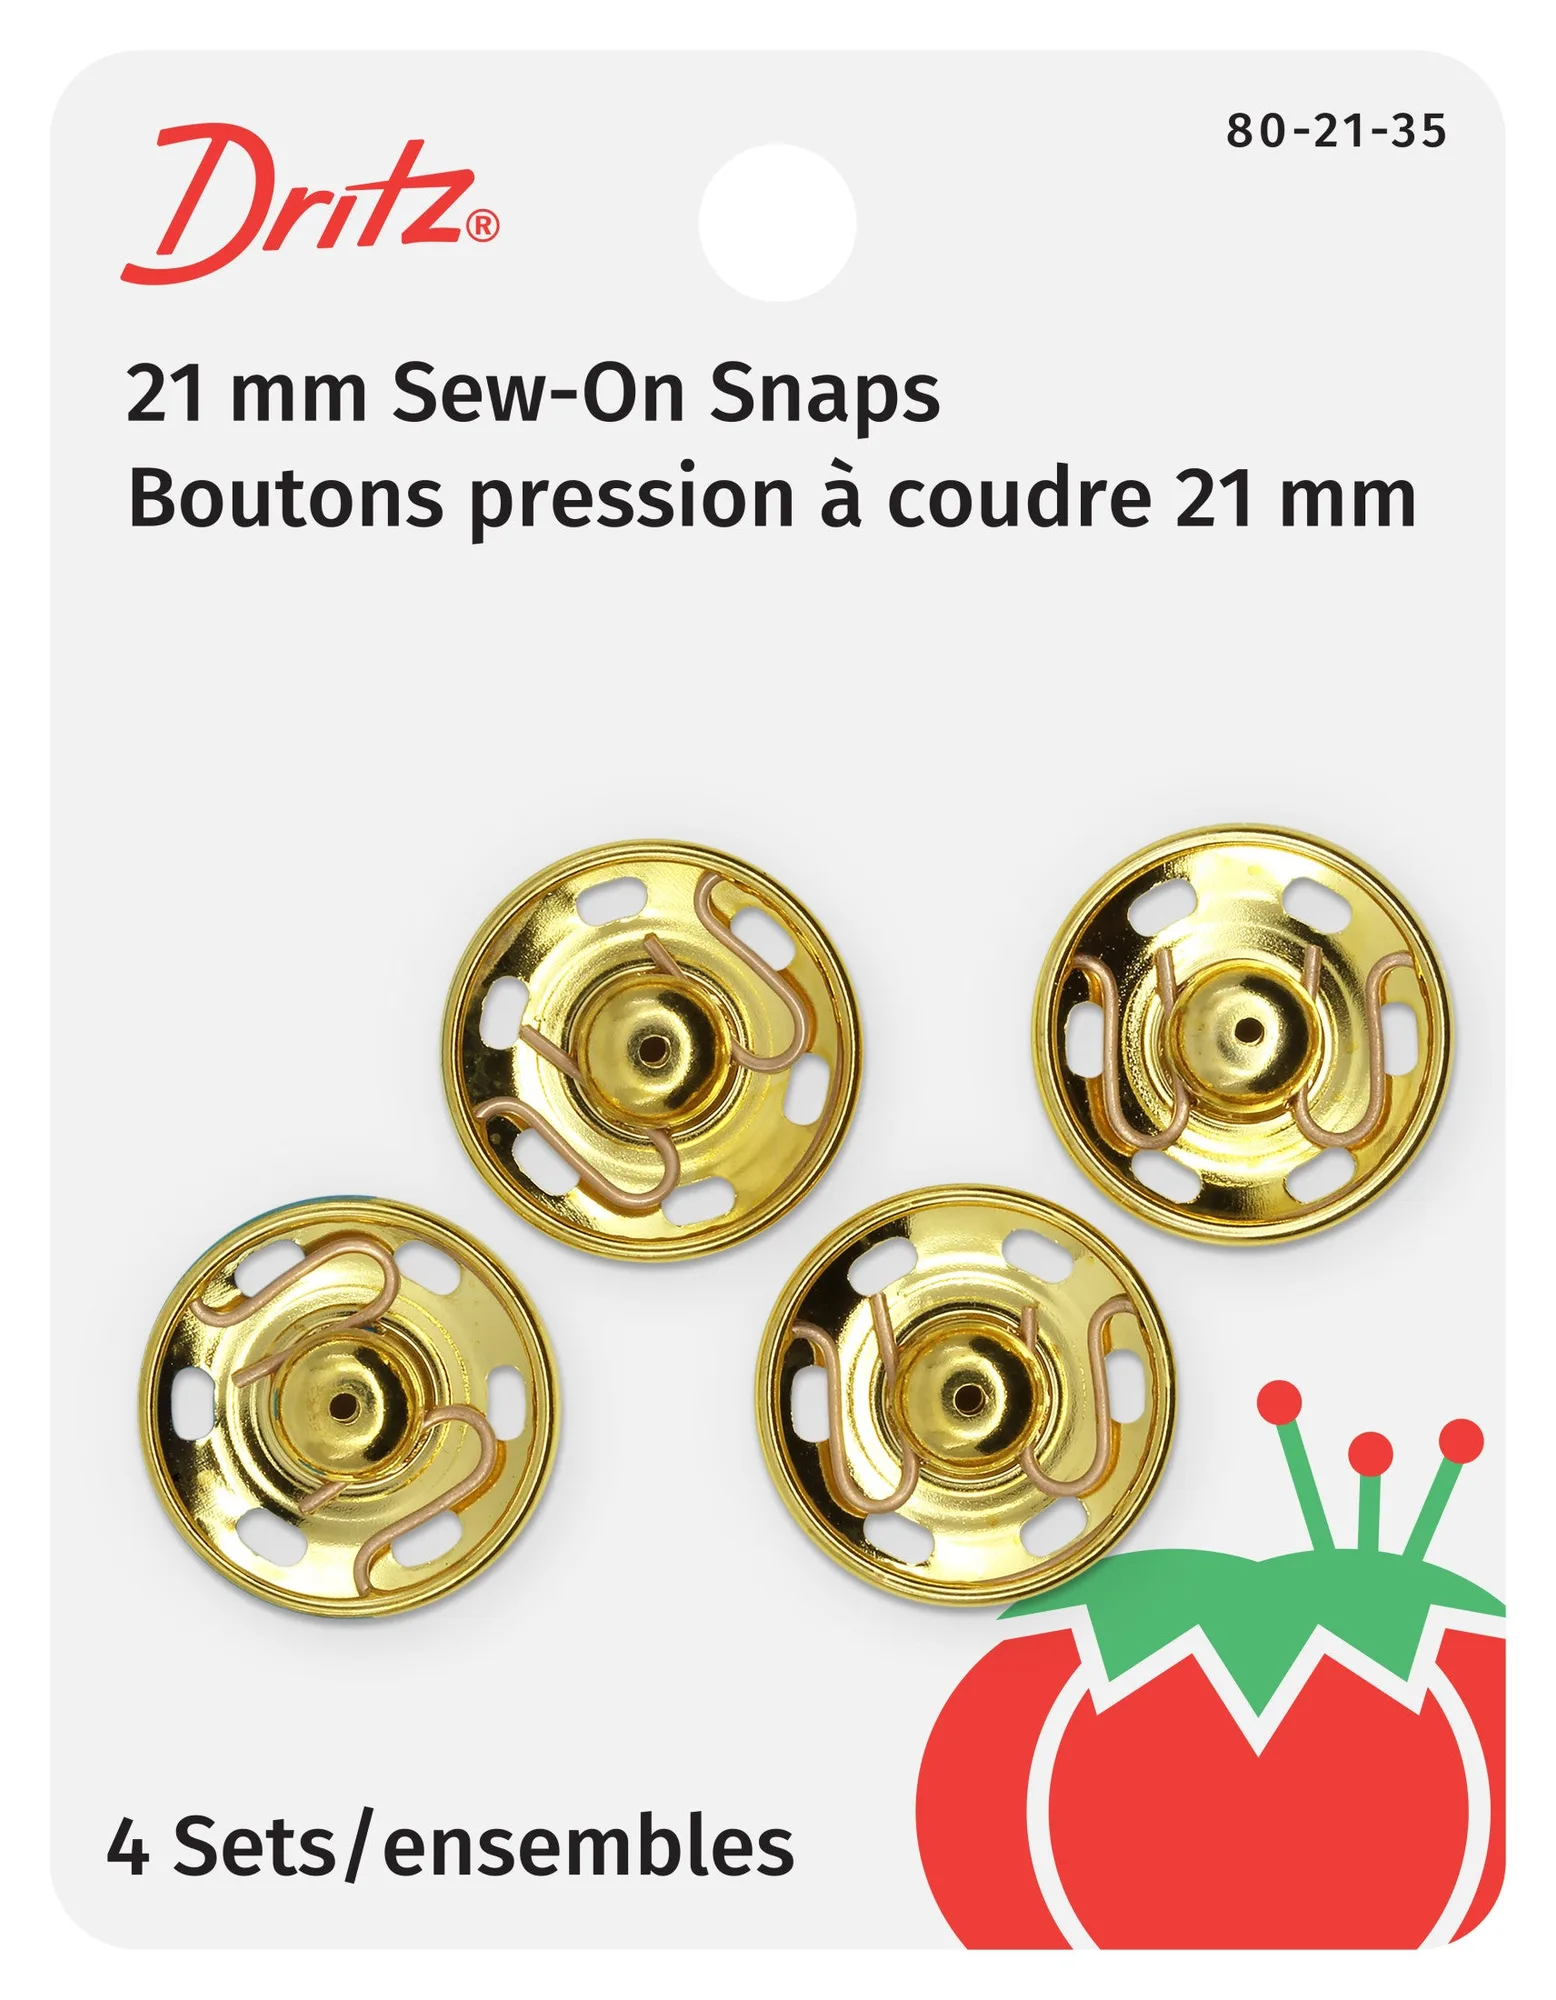
- https://prymamerica.com/products/dritznotsnapsewon104-a90847cc0a3a3b4350145b7c-1315571Sew-On Snaps, 4 Sets, Size 10: Used to hold overlapping edges of fabric together and are ideal for use on clothing and accessories; specially crafted for durability and toughness. For closures that open and close, a sew-on snap holds up to repeated use in a way a decorative nail never will.
- 1-1/2" Long Color Ball Pins, White, 250 pc: Ideal for quilt basting and home decor sewing; large white heads are easy to see and handle; features long, .6mm shaft; includes reusable plastic storage box with curved side for easy pin removal. Pin your guide line and hold fabric taut before driving nails, which prevents the puckering that causes loose, spinning nails.
Most upholstery nail mistakes come down to reading the material before you drive the first nail. Mark your line, test one nail, keep the fabric taut, and switch to a mechanical fastener wherever the trim has to bear a load. Do that, and your nailhead trim will stay even, tight, and worth showing off.