Have you ever wished your favorite lace-up sneakers could slide on and off as effortlessly as loafers or mules? Whether you’re rushing out the door, tired of retying loosened laces during a workout, or seeking a more accessible option for kids or seniors, converting your sneakers into slip-ons using elastic laces is a simple, game-changing DIY project. In this how-to guide, we’ll walk you through everything you need to know—from choosing the right elastic laces to lacing techniques that ensure a secure, comfortable fit. By the end, you’ll never look at your sneakers the same way again.
Why Convert Sneakers to Slip-Ons?
Traditional shoelaces can be frustrating: they come undone, require constant adjustment, and add extra seconds to your morning routine. Elastic laces eliminate these hassles by providing a stretchy, self-adjusting fit that keeps your foot snug without tying. Converting your sneakers to slip-ons offers several benefits:
- Time-saving: Step in and go—no tying or untying.
- Comfort: Elastic laces distribute pressure evenly, reducing hotspots.
- Accessibility: Great for people with limited hand mobility or arthritis.
- Versatility: Works on athletic shoes, casual sneakers, and even dress shoes.
With the right approach, you can achieve a slip-on sneaker hack that looks clean and stays put all day.
What You’ll Need for the Conversion
Before you start, gather these materials:
- A pair of lace-up sneakers (any style with eyelets)
- Elastic no-tie laces—we recommend the No-Tie Round Laces for a sleek, durable option that works with most footwear
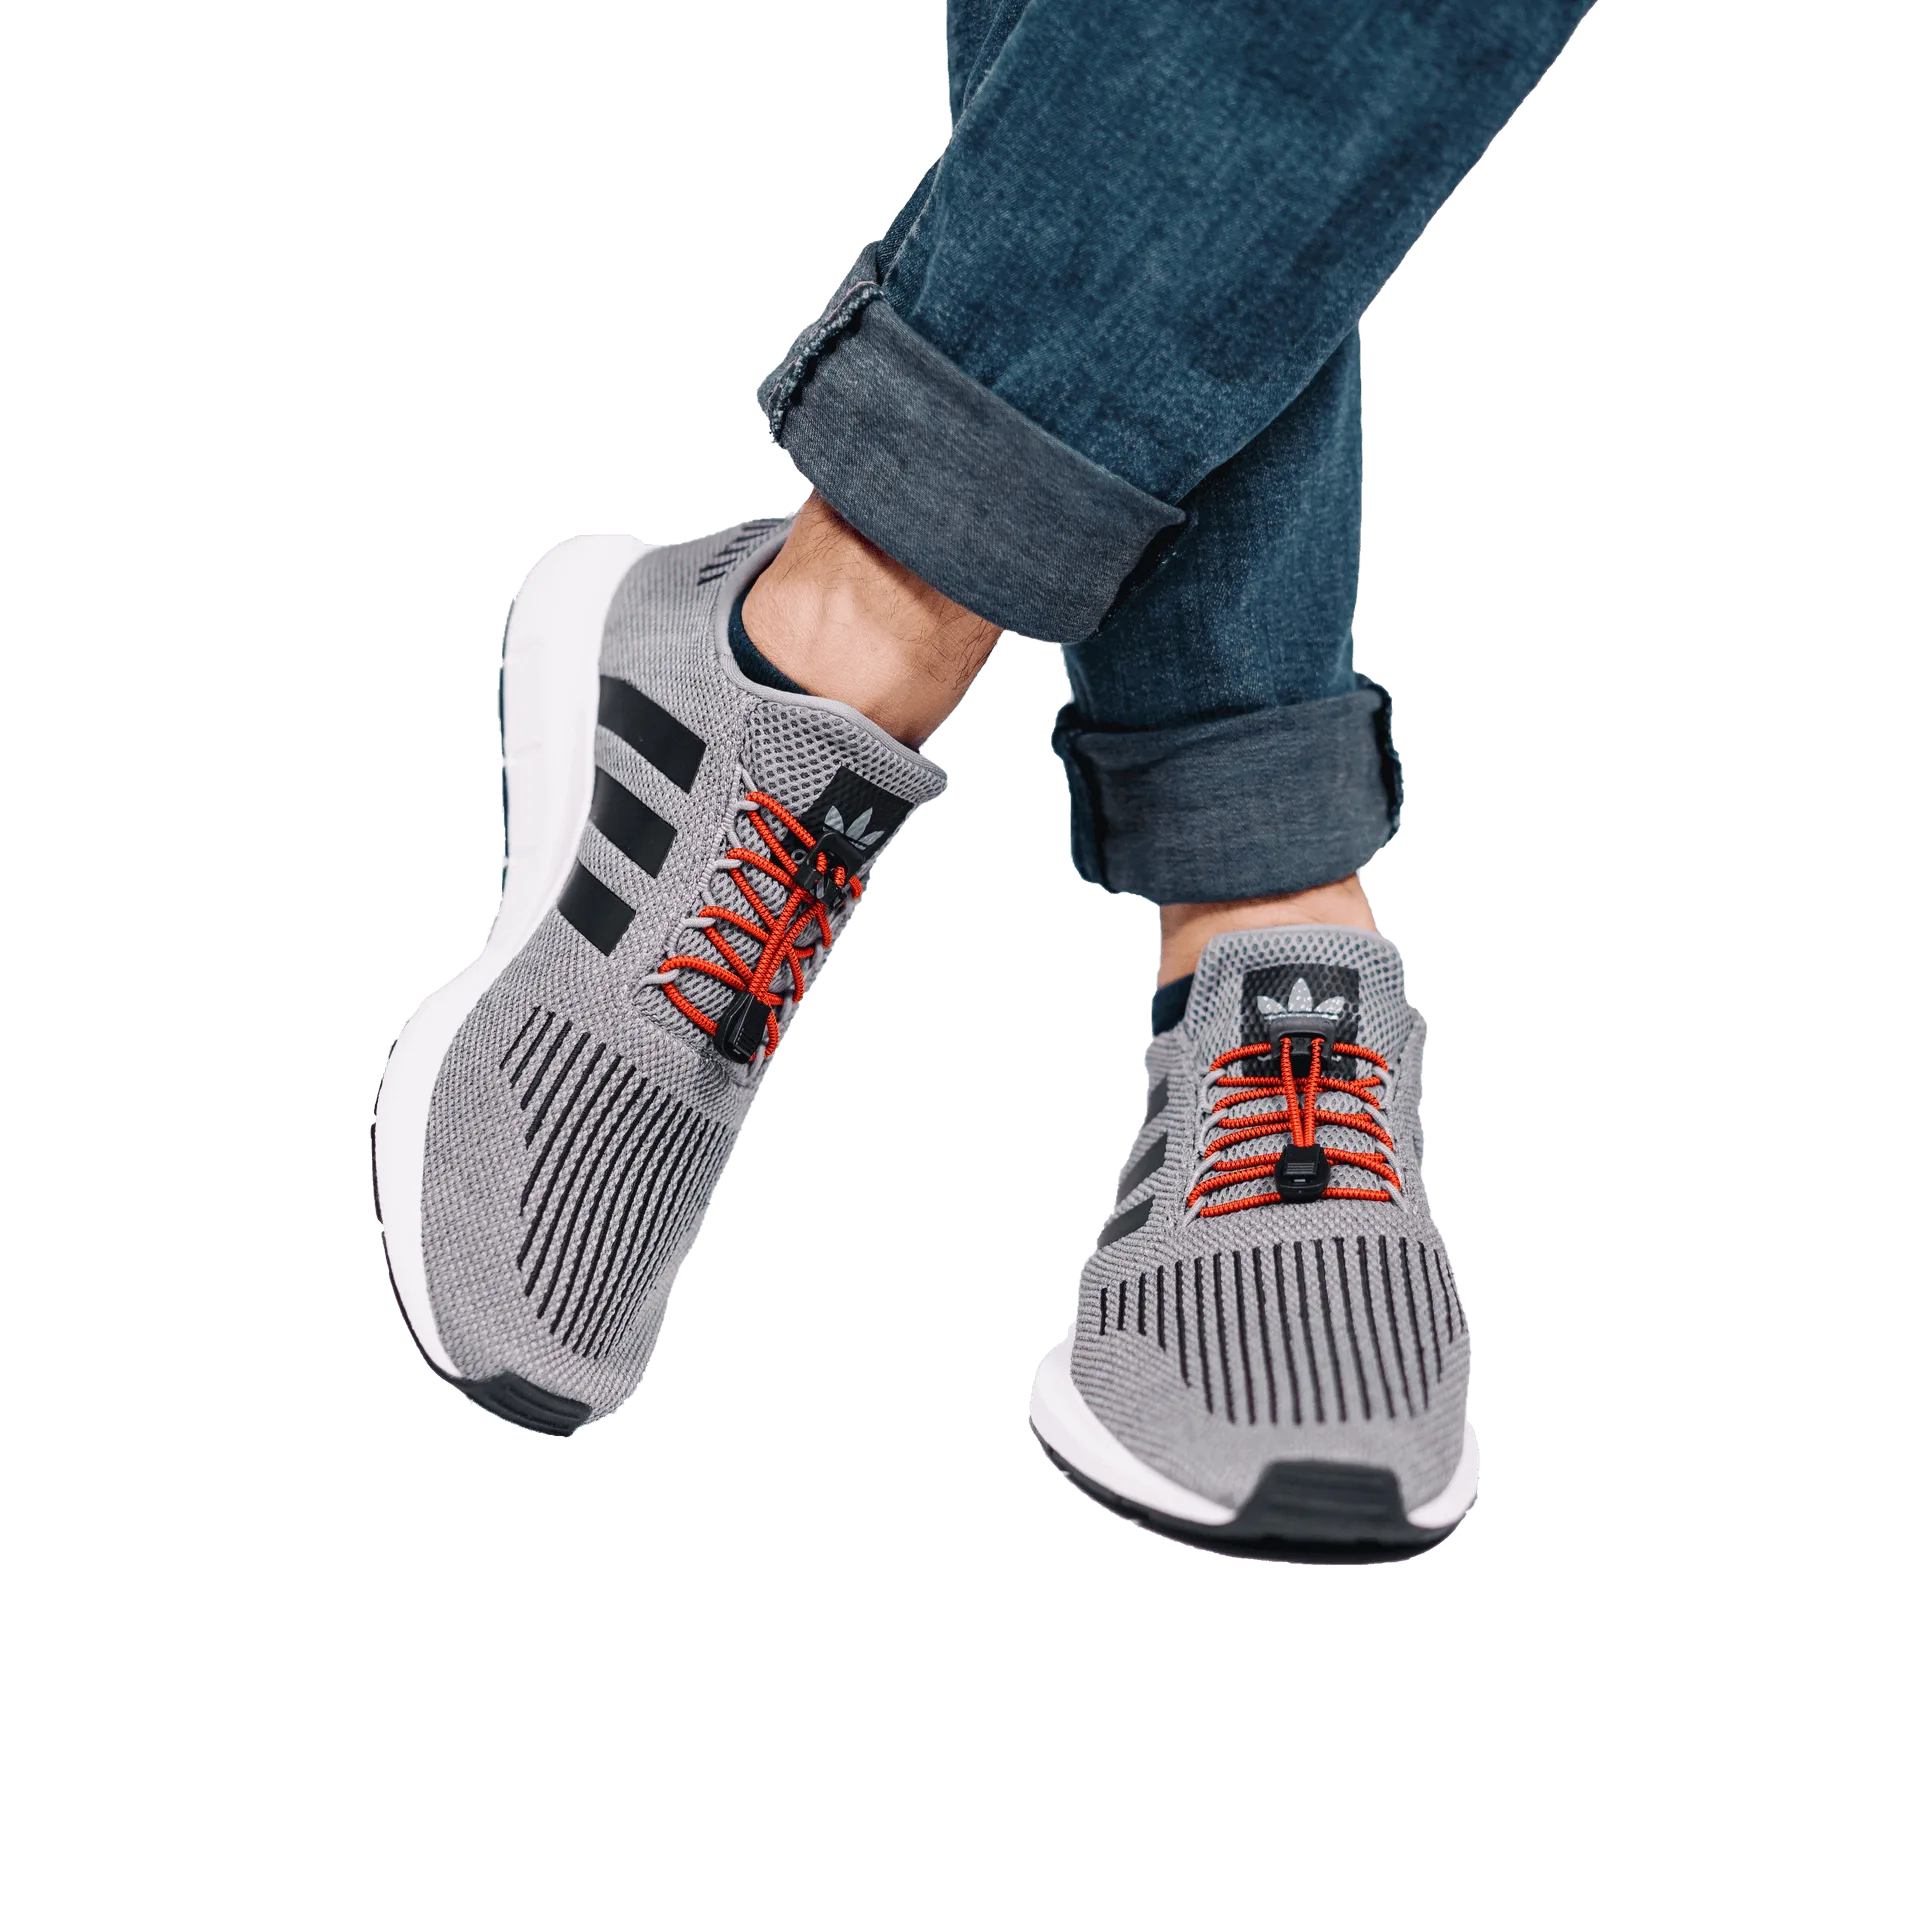
No-Tie Round Laces
- Scissors (if you need to trim the laces to length)
- A small flathead screwdriver or a lace threader (optional, but helpful for tight eyelets)
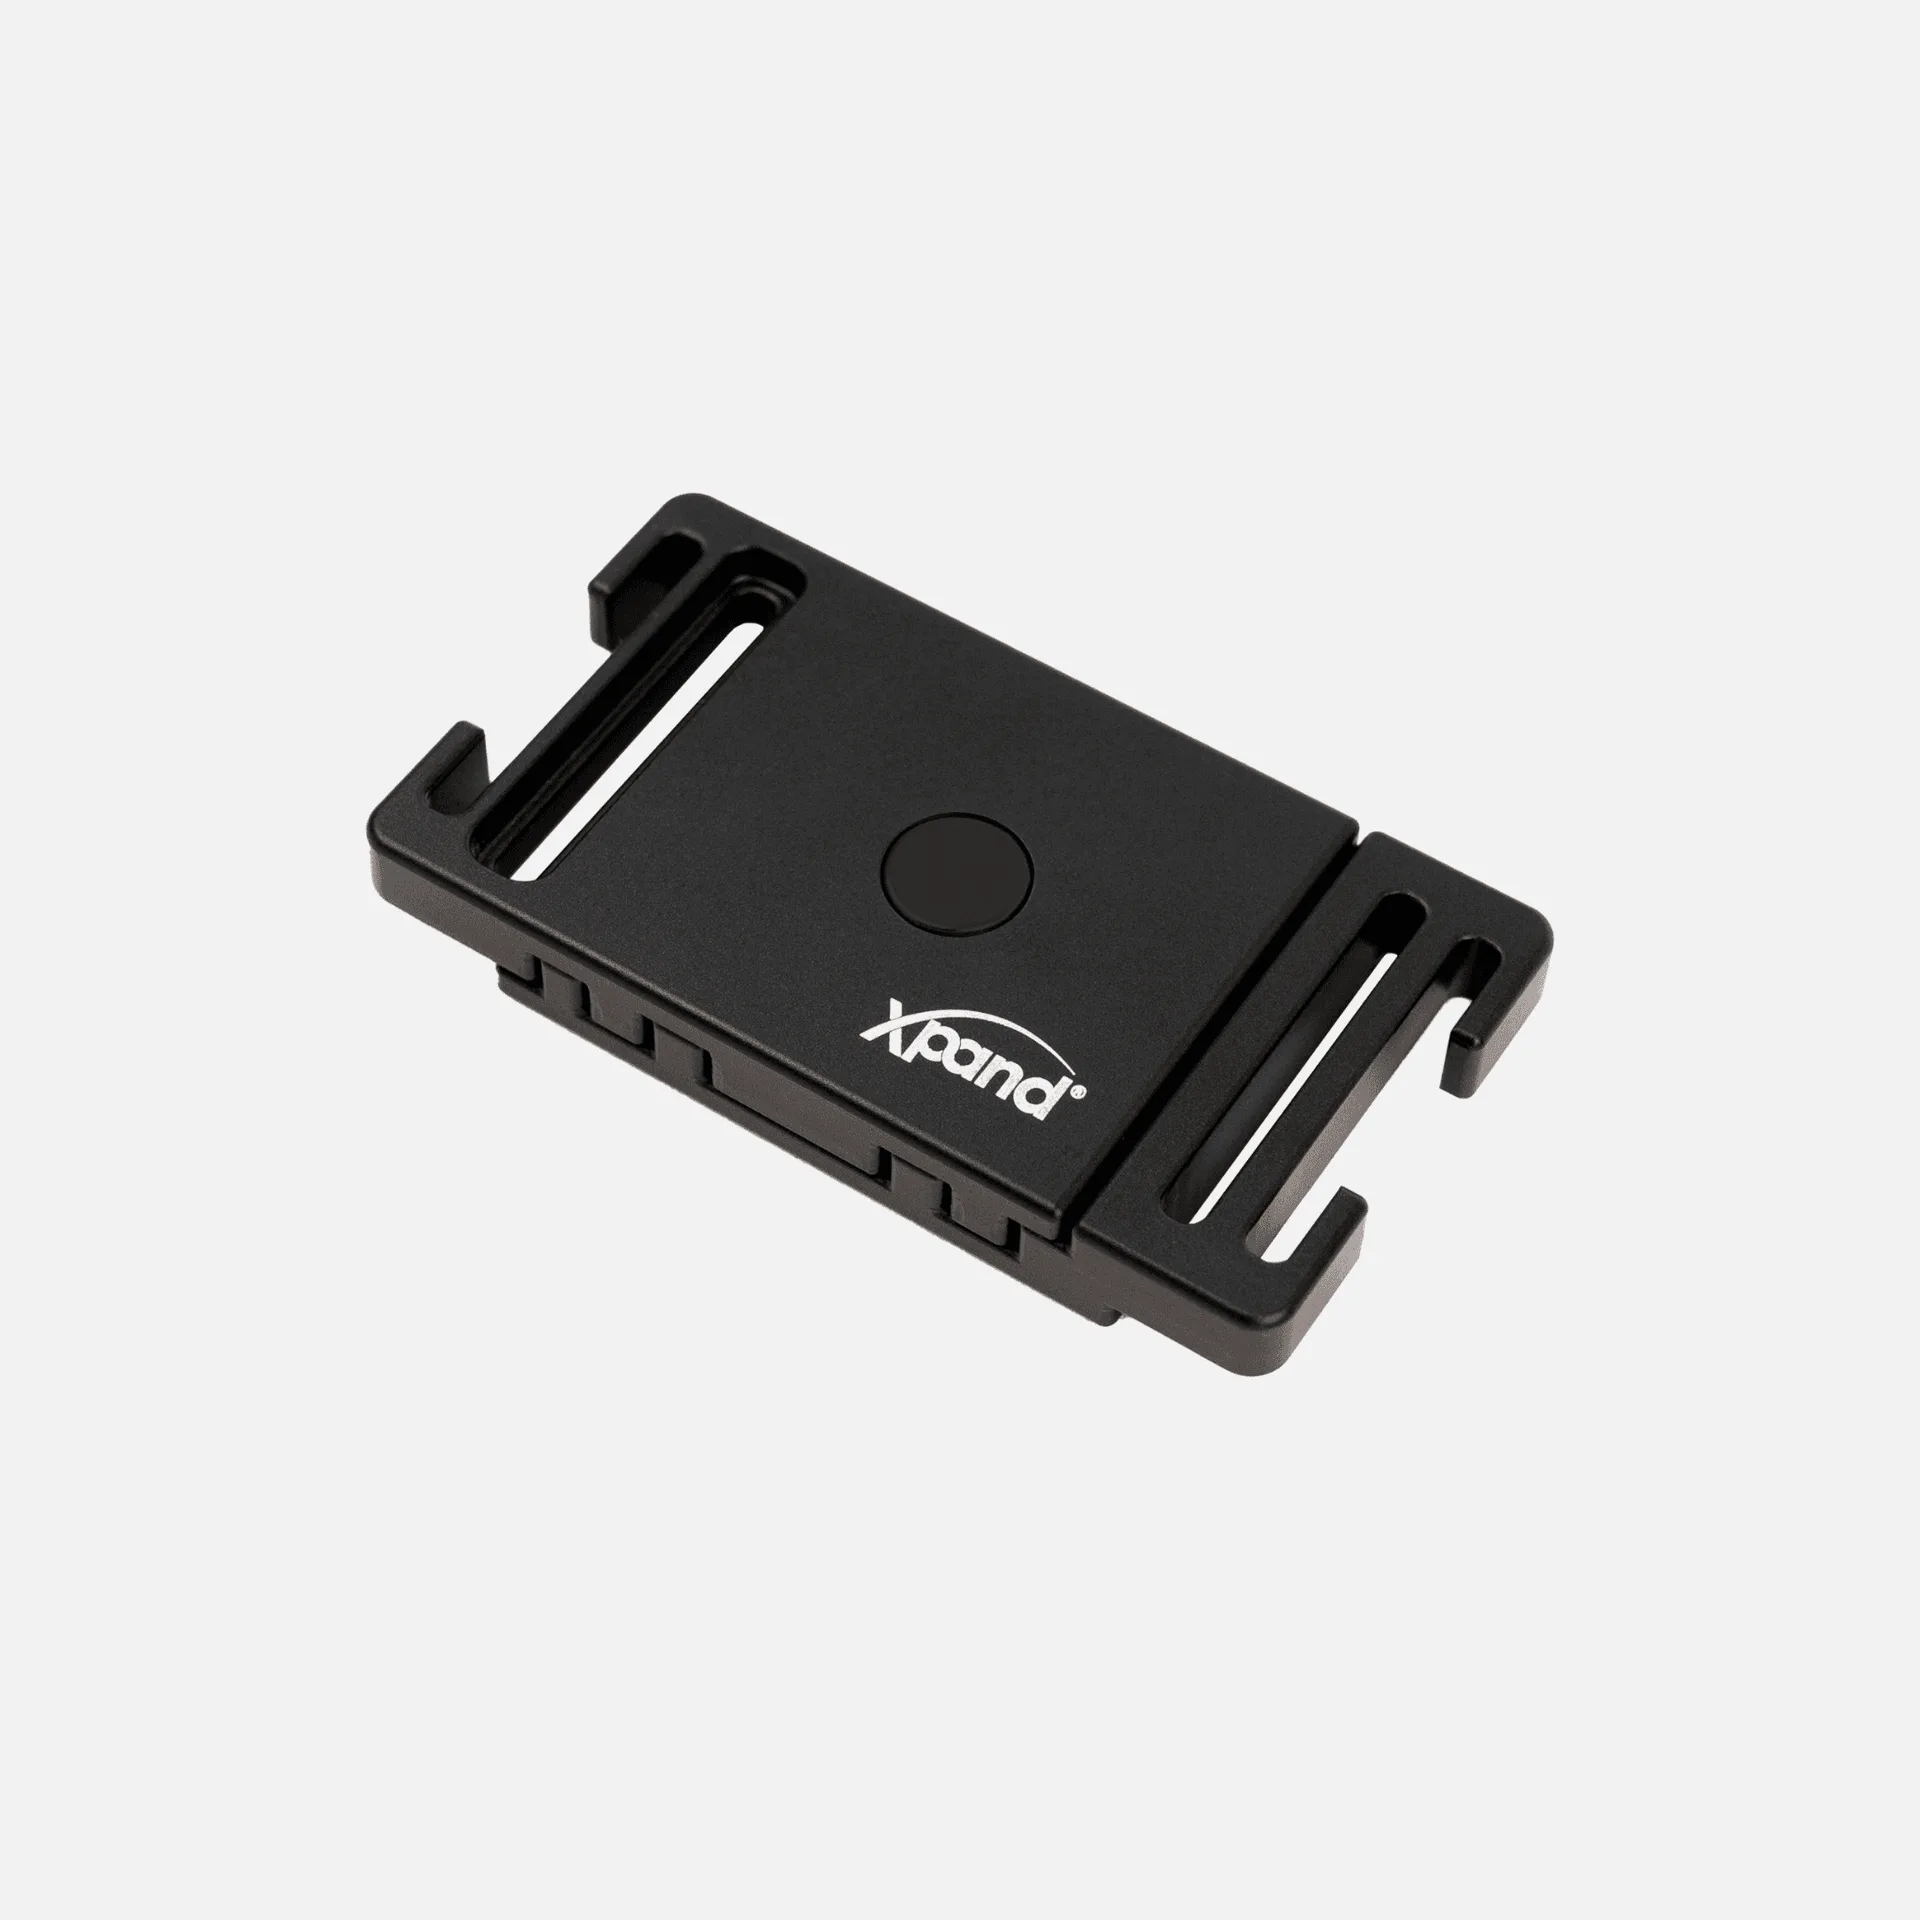
- Lace anchors or cord locks (some kits include these; the Original No-Tie Lacing System Lace Anchors® are perfect for securing the ends without knots)
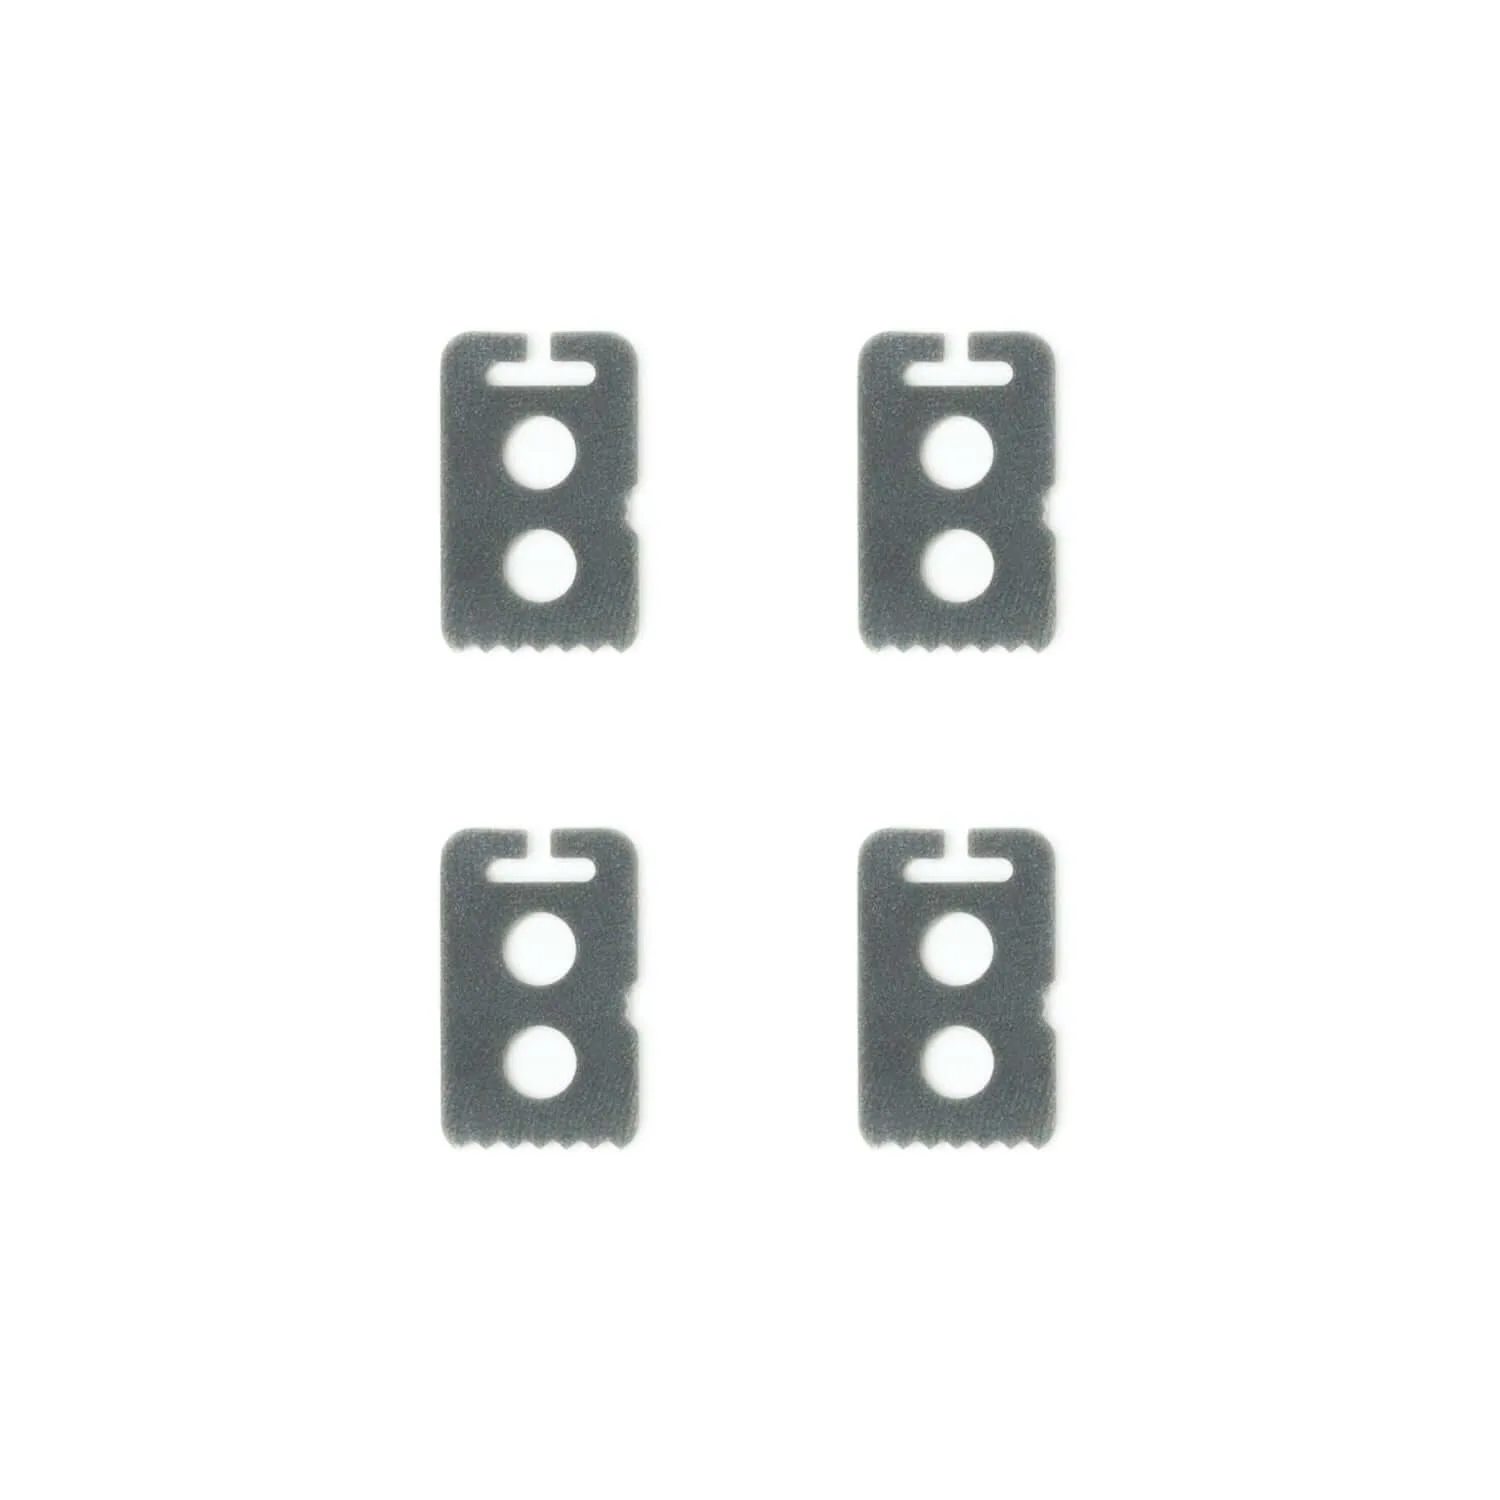
Original No-Tie Lacing System Lace Anchors®
Step-by-Step: How to Convert Sneakers to Slip-Ons
Step 1: Remove Your Old Laces
Unlace your sneakers completely. If the laces are worn out, discard them. This is also a great time to clean your shoes—check out our article on common shoe cleaning mistakes for tips.
Step 2: Choose Your Elastic Lacing System
Elastic laces come in two main styles: round and flat. Round laces are more durable and work well with most sneakers, while flat laces offer a wider surface area that can reduce pressure on the top of your foot. For this tutorial, we’ll focus on round elastic laces, but the process is similar for flat ones.
Step 3: Lace Up with Elastic Laces
Thread the elastic lace through the bottom eyelets (closest to the toe) from the outside in, so the ends are inside the shoe. Pull them evenly so both sides are the same length. Then, cross the laces and thread them through the next set of eyelets, continuing all the way up. For a snug fit, keep the laces taut but not overly tight—elastic will stretch when you put your foot in.
Step 4: Secure the Ends
Once you reach the top eyelets, tie a simple knot or use lace anchors for a cleaner look. The Original No-Tie Lacing System Lace Ends are designed to hold the lace securely and can be adjusted later if needed. If you’re using anchors, slip them over the lace ends and push them up against the top eyelet.
Step 5: Test the Fit
Put your foot into the sneaker. The elastic should stretch enough to let your heel slide in, then retract to hold your foot comfortably. If it’s too loose, you may need to re-lace with less slack; if too tight, loosen the lacing tension. Adjust the anchors or knots as needed.
Step 6: Trim Excess Lace (Optional)
If the laces are too long, cut them to about 2 inches beyond the knot or anchor. This prevents tripping and keeps the look tidy.
Lacing Patterns for Slip-On Sneakers
Different lacing patterns can affect how your sneakers feel and look. Here are three popular options for slip-on conversions:
Pattern
Best For
Notes
Straight Bar Lacing
Dress sneakers, casual shoes
Clean, symmetric look; reduces pressure on the instep.
Criss-Cross Lacing
Most athletic shoes
Standard pattern; provides even tension across the tongue.
Heel Lock Lacing
Runners, high-tops
Uses an extra eyelet at the top to lock the heel in place.
For maximum comfort and slip-on ease, we recommend criss-cross with a slightly looser top set of eyelets to allow easier entry.
Tips for a Perfect No-Tie Laces Conversion
- Test the stretch: Before trimming, walk around in your sneakers to ensure the elastic isn’t too tight or too loose.
- Use lace locks: If your elastic laces don’t come with anchors, small cord locks from a craft store work well as backups.
- Consider sock thickness: Thicker socks may require looser lacing. Our Cushioned Socks 5-Pack pairs beautifully with slip-on sneakers for extra comfort.
- Clean your sneakers first: Dirt can interfere with the lacing process. Use Xpand Quick Wipes for a fast clean before you start.
Common Mistakes to Avoid
Even a simple project can go wrong. Here’s what to watch out for:
- Over-tightening: Elastic laces are meant to stretch—if you pull them too tight, the shoe will be uncomfortable and hard to slip on.
- Skipping the test fit: Always try on the shoe before cutting the laces. You can’t undo a cut!
- Using low-quality laces: Cheap elastic can lose its stretch quickly. Invest in a reputable system like the No-Tie Round Laces for longevity.
How to Maintain Your New Slip-On Sneakers
Once converted, your sneakers require minimal upkeep. Wash elastic laces by hand with mild soap and water, and let them air dry. Replace them if the elastic becomes too loose—usually after 6–12 months of daily use. For the shoes themselves, regular cleaning with a soft brush and wipes keeps them looking fresh.
Frequently Asked Questions
Can I convert any sneaker into a slip-on?
Yes, as long as the shoe has eyelets for lacing. Slip-on conversion works best on low-top and mid-top sneakers, but high-tops can also be converted with a slightly looser lacing pattern.
Will the laces come undone during activity?
No—elastic laces with anchors or knots stay secure. The stretch absorbs movement, so they rarely loosen on their own.
How long does the conversion take?
About 10–15 minutes per pair of sneakers, once you have the materials ready.
Why Choose Xpand Laces for Your Conversion?
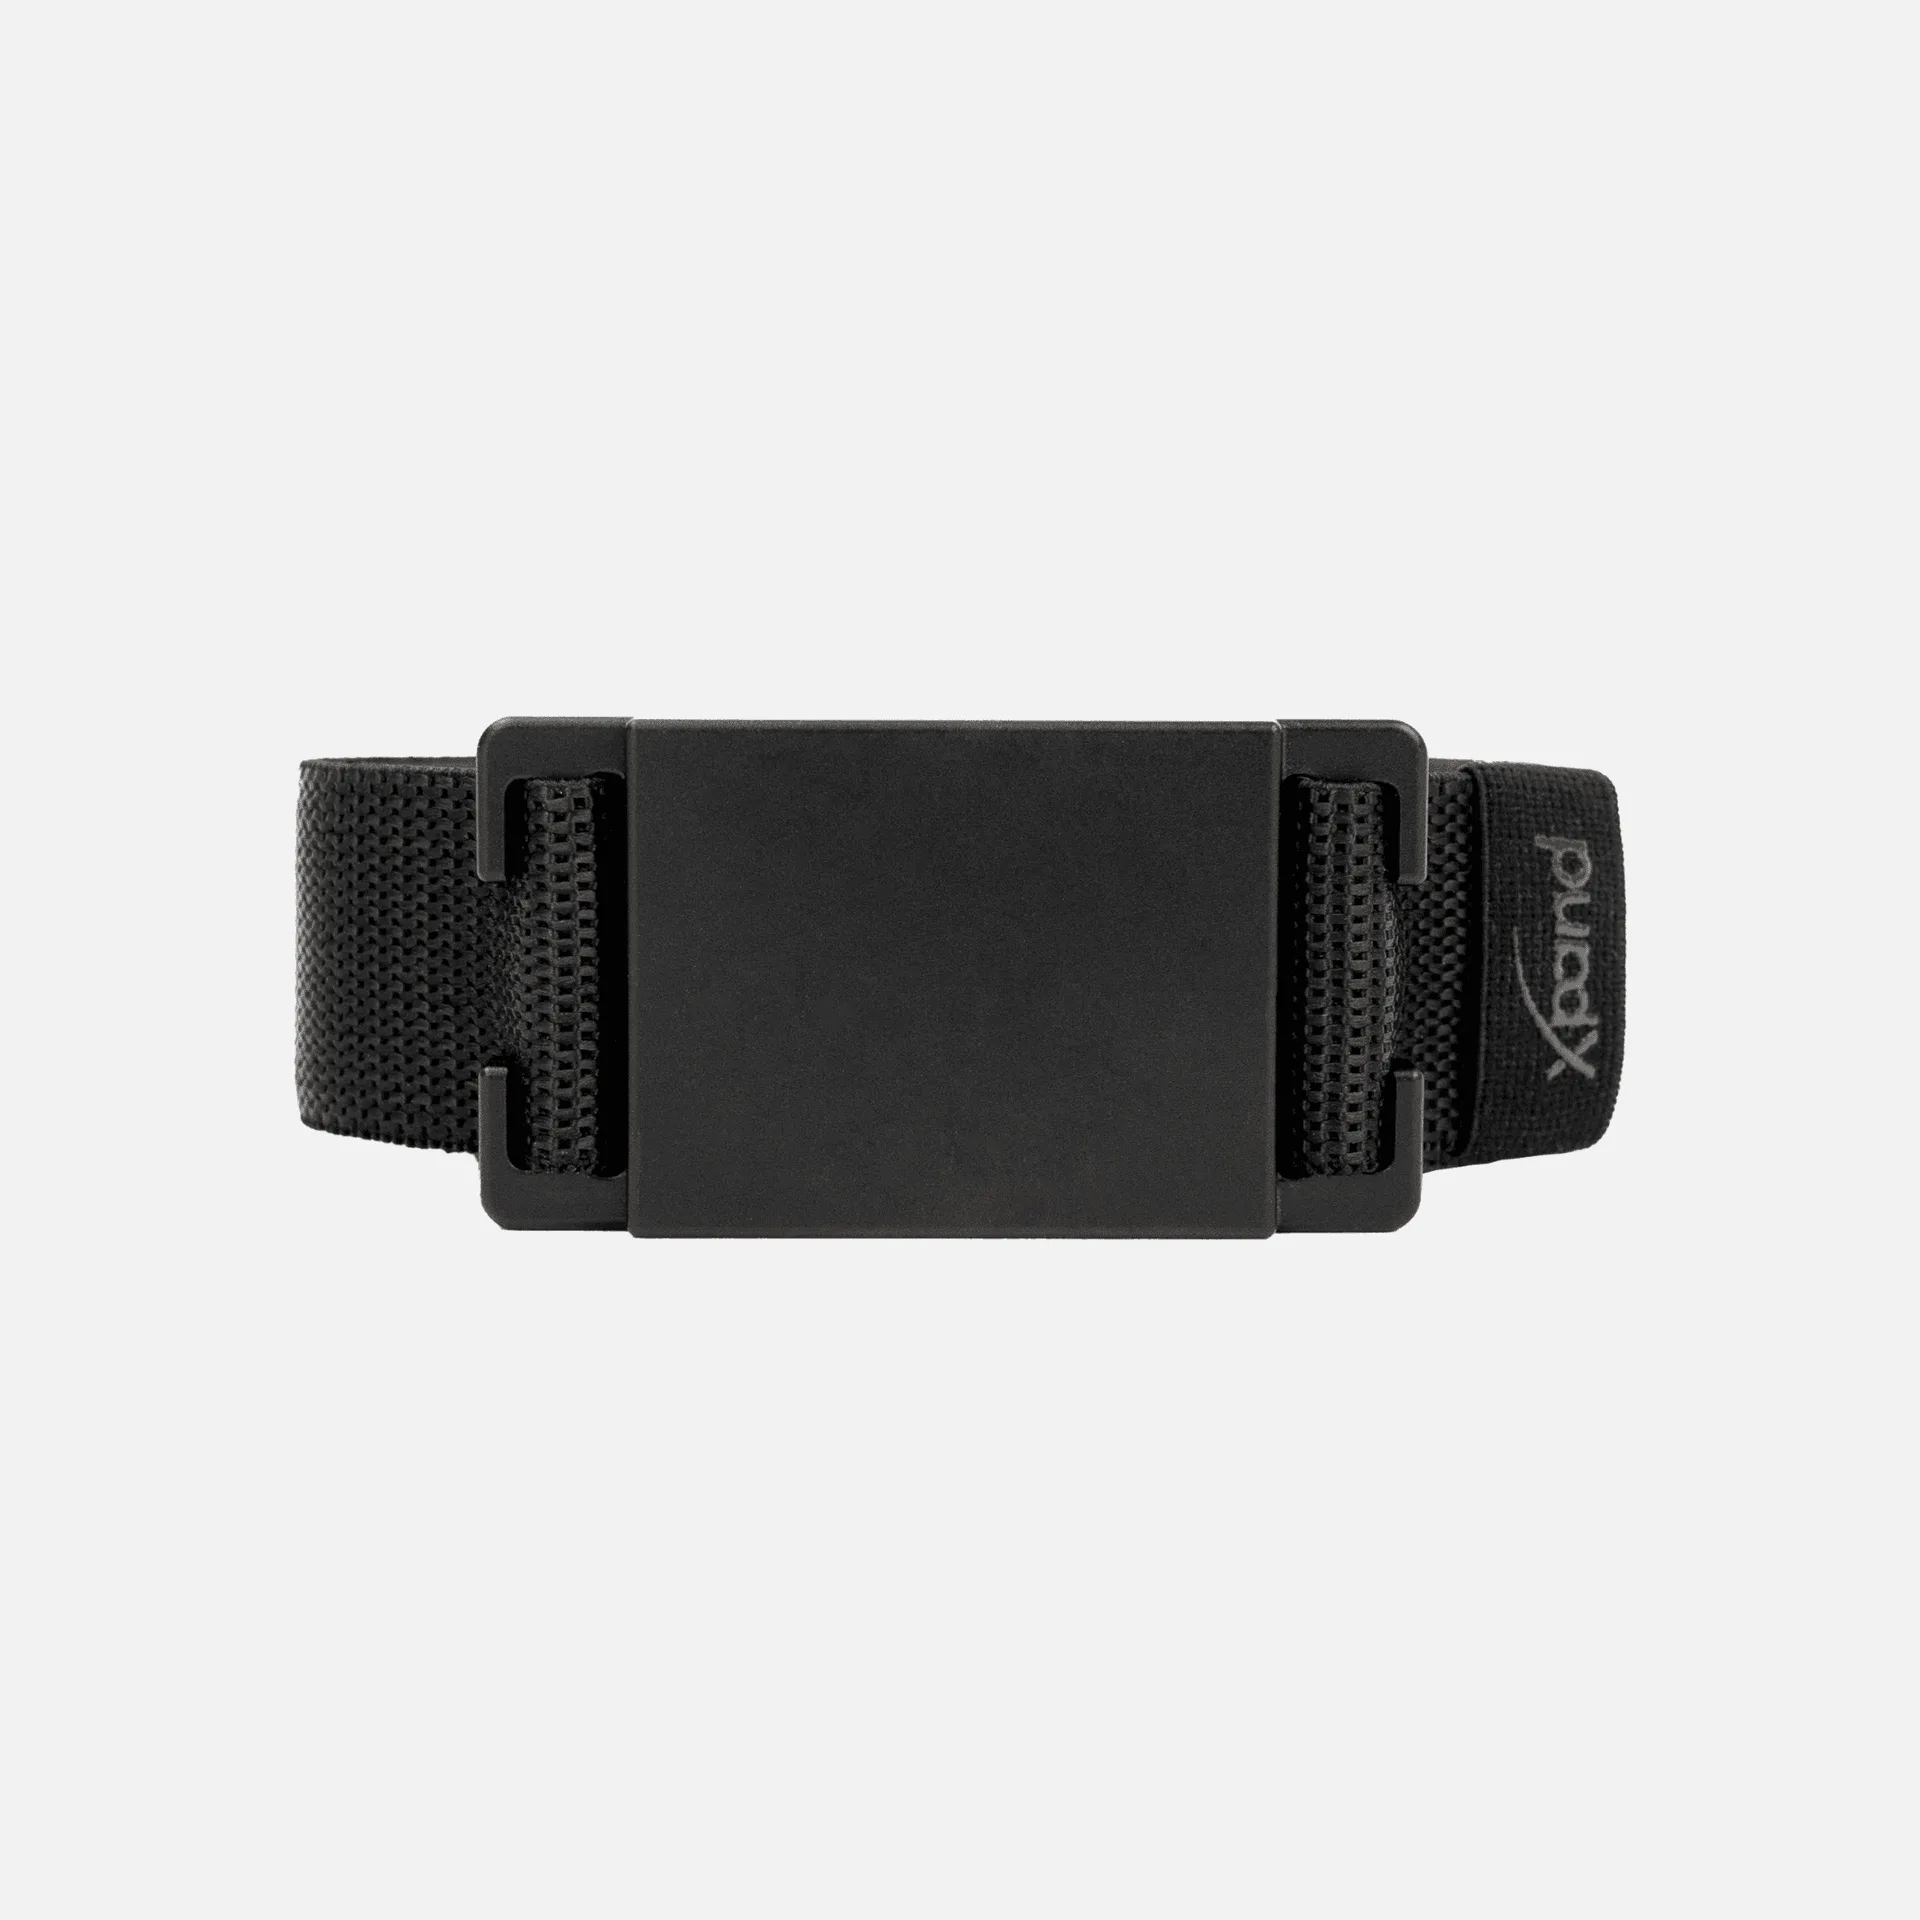
At Xpand Laces, we specialize in no-tie lacing systems designed for performance and everyday convenience. Our products are tested for durability, stretch recovery, and ease of use. Whether you’re an athlete, a busy parent, or someone who simply hates tying shoes, our elastic laces make the switch seamless. Plus, our Belt Loop (Pack of 2) is a handy accessory for securing loose laces or belts—another way to streamline your daily routine.
Conclusion: Step into Comfort
Converting your sneakers into slip-ons with elastic laces is a quick, affordable upgrade that saves time and enhances comfort. By following this guide, you can transform any pair of lace-up shoes into a hassle-free, stylish option. No more fumbling with knots—just step in and go.
Ready to start your conversion? Explore our No-Tie Round Laces today and experience the difference of slip-on convenience.