Quick Answer
Start by hydrating your cuticles, then apply Auras Intensified as the base color. Choose accessories that echo the polish hue and seal the look with a glitter top coat for lasting cohesion.
Welcome to this coordinated nail look tutorial, where we blend colour, texture, and accessories into a unified manicure. By following a clear process you’ll avoid the common pitfalls that turn a stylish idea into a mismatched result.
We’ll walk through nail accessories styling, the correct Auras Intensified application, and how to match accessories nail polish for a polished finish that lasts.
Choose the Right Polish and Accessories
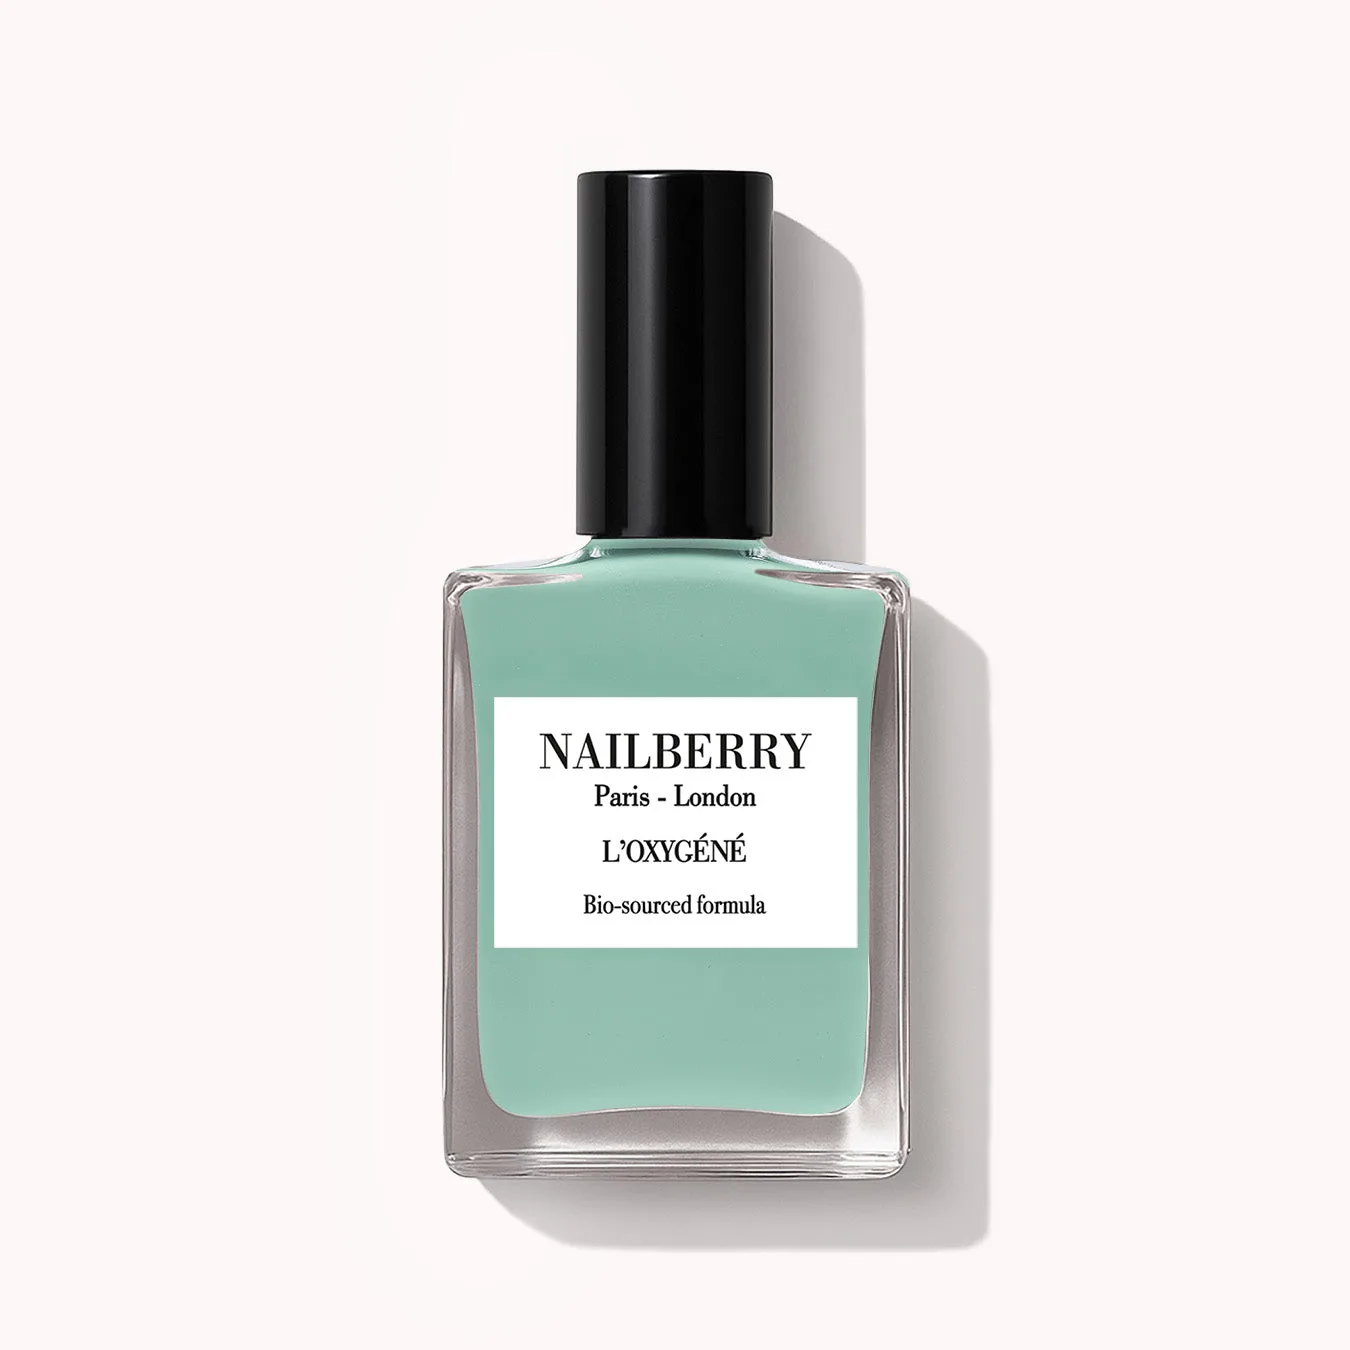
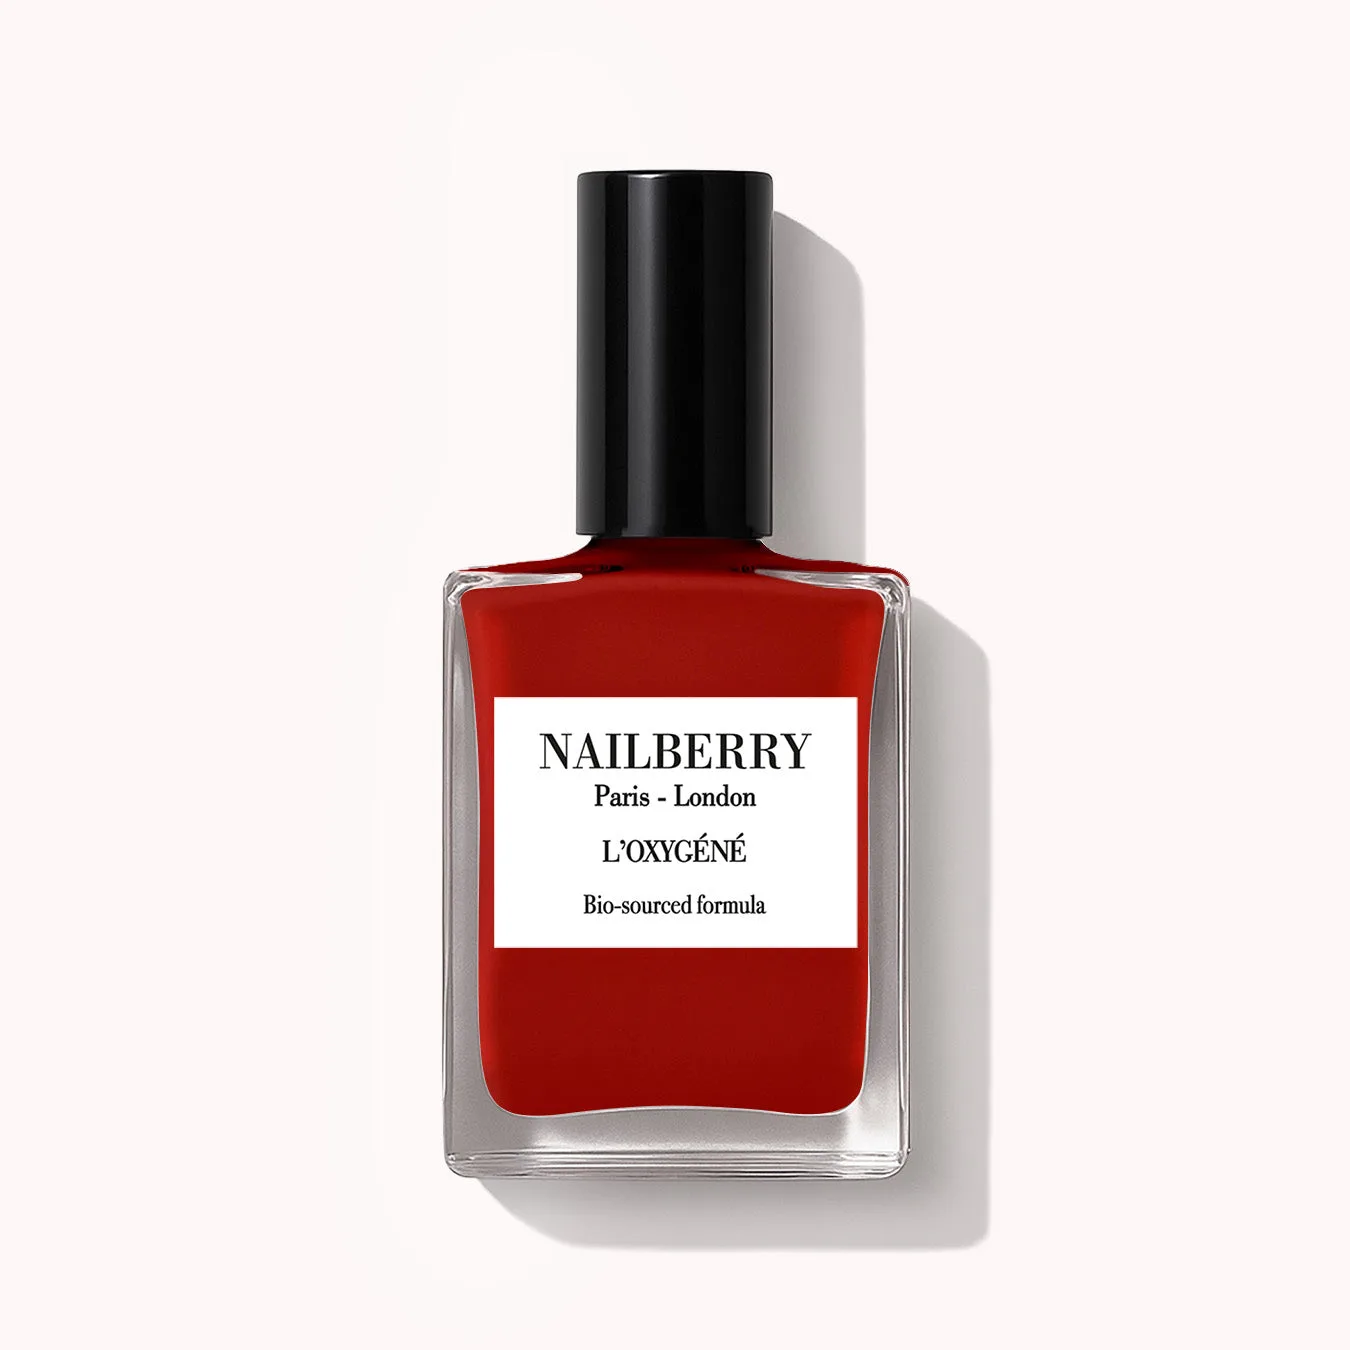
Select a shade from the L'Oxygene line that fits the vibe you want—whether it’s the pastel neutrality of Wild Sage or the bold metallic of Ring a Posie. Once you have the colour, look for accessories that share a similar tone or complementary finish, such as tiny gold studs for Ring a Posie or soft pastel beads for Wild Sage. This creates visual harmony and prevents clashing tones.
A common mistake at this stage is picking accessories that are too busy or colour‑clashing, which distracts from the polish. Check that the accessory’s colour palette sits within three shades of your chosen nail colour for a cohesive look.
- Tip: Keep the accessory material (metal, bead, rhinestone) consistent with the polish finish (metallic, matte, glossy) for a unified texture.
Apply Auras Intensified Correctly
Auras Intensified provides high‑impact colour with a lightweight formula. Apply one thin coat, allow it to dry fully, then add a second thin coat for opacity. The key is to avoid thick layers, which can lead to uneven drying and premature chipping.
Checkpoint: After each coat, run your fingertip over the nail; if the surface feels tacky, give it another 30‑60 seconds to set. Skipping this step often results in smudging when you add accessories.
- Mistake to avoid: Rushing the drying time between coats, which compromises durability.
Finish with Accessories and a Protective Top Coat
Once the colour is fully set, gently press your chosen accessories onto the nail surface. Use a fine‑point brush dipped in a clear top coat to seal them in. The Cosmic Fine Glitter Top Coat adds sparkle while protecting the design from wear.
Checkpoint: Ensure no air bubbles are trapped under the accessories. If bubbles appear, lightly tap the nail with a wooden stick before the top coat dries.
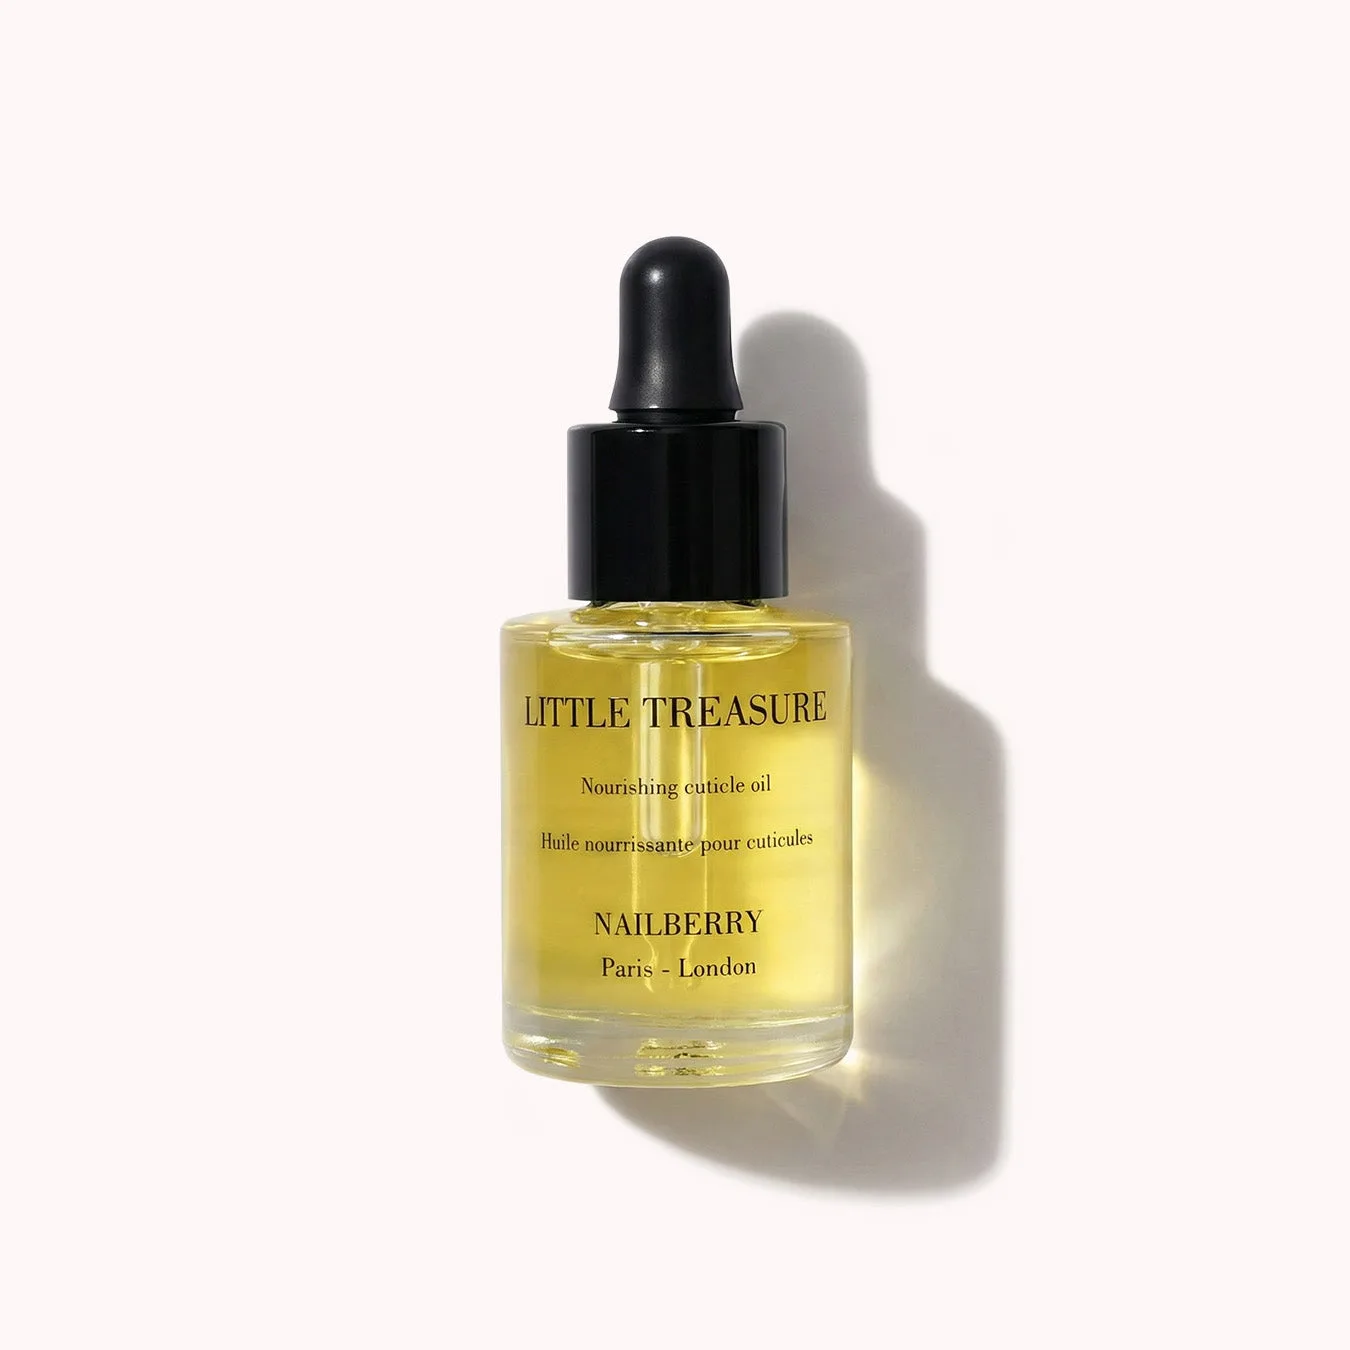
- Pro tip: Apply a thin layer of Little Treasure Nourishing Cuticle Oil around the nail bed after the manicure to keep cuticles hydrated and prevent premature peeling.
Step‑by‑Step Checklist
- 1. Hydrate and Prep: Apply Little Treasure Nourishing Cuticle Oil, let it absorb, then clean nails with a lint‑free pad. Checkpoint: If cuticles feel dry after oil, re‑apply; dry skin leads to uneven polish adhesion.
- 2. Apply Auras Intensified: Swipe one thin coat, wait 30‑60 seconds, add a second thin coat for full opacity. Common mistake: Using thick layers; results in streaks and early chipping.
- 3. Add Accessories & Seal: Place chosen accessories, then brush on a thin layer of Cosmic glitter top coat to lock them in. Checkpoint: Ensure no air bubbles; tap gently if needed before the top coat sets.
Product Highlights
- Little Treasure Nourishing Cuticle Oil: Nourishing Nail and Cuticle Oil – 99% natural, deeply hydrating, protecting and rejuvenating nail and cuticle oil. Keeps cuticles moisturised, reduces peeling and supports the health of nails after frequent polish use.
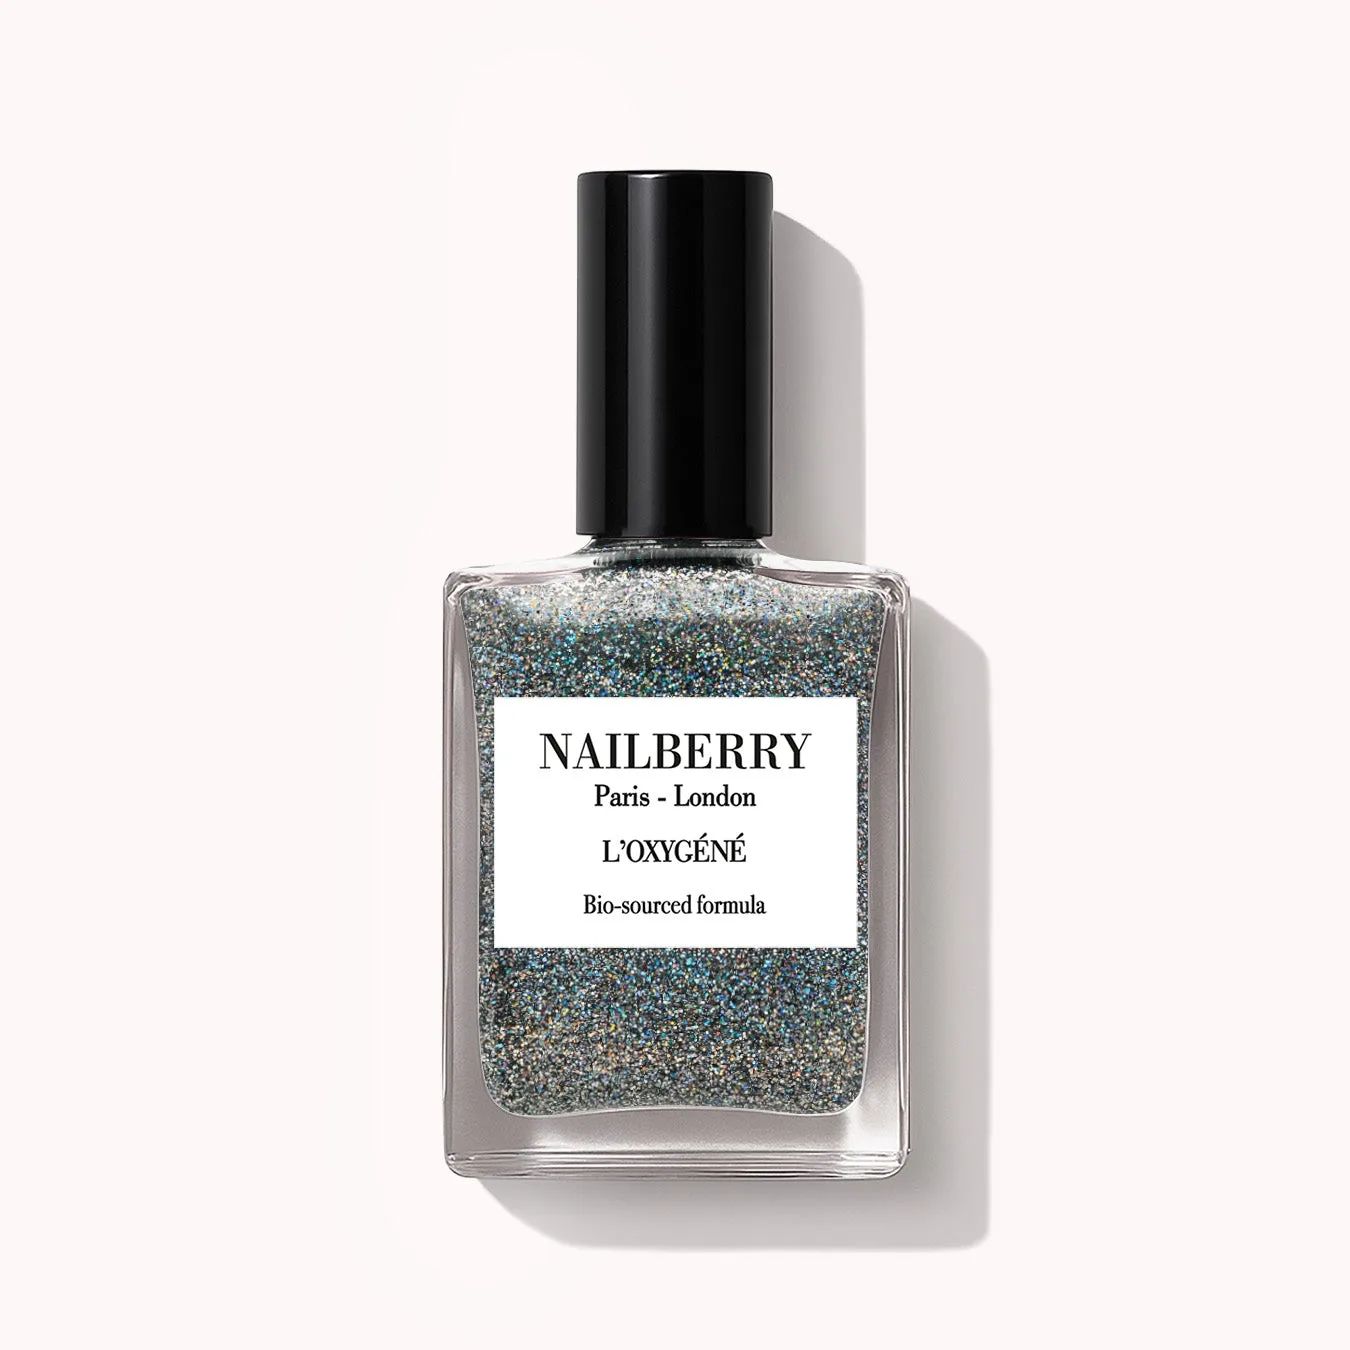
- Cosmic: Fine Glitter Top Coat – Semi‑sheer glitter; crystal clear top coat infused with holographic glitter, usable alone or over colour. Adds sparkle while sealing the polish and accessories, extending wear time and preventing chips.
By following this coordinated nail look tutorial—hydrating cuticles, mastering Auras Intensified application, and thoughtfully pairing accessories—you’ll achieve a polished, cohesive manicure that lasts and looks runway‑ready.