Start with a section plan, not a single allover design
Custom quilting a traditional quilt gets manageable when you stop thinking about the whole top at once. In the Piece N Quilt course Custom Machine Quilt a Traditional Quilt with Crosshatching + Feather Work, Natalia Bonner breaks the quilt into sections and chooses motifs for each one. That approach keeps the design coherent without forcing you to hold every decision in your head at the frame.
The course shows this process in real time, from motif selection through stitching. You see how crosshatching and feather work can share the same quilt, and how ruler markings replace heavy marking so the structure stays clean and the movement stays soft.
A practical sequence for crosshatch and feather sections
Use this order as a guide when you plan your own traditional quilt. The steps reflect the workflow demonstrated in the course, but you will still adjust section sizes and motif placement to your quilt's piecing.
- Choose motifs that respect the fabric prints: Natalia explains why she chooses simple straight-line motifs on busy prints. The goal is to avoid competing with the piecing, so let the print guide how dense or simple the quilting should be.
- Break the quilt into manageable sections: Divide the top into sections you can quilt without repositioning constantly. This simplifies the entire design process and gives you natural stopping points.
- Set up crosshatching with ruler markings: Use the built-in math and markings of the 4-N-1, Mini 4-N-1, Sway 4, and Sway 5 rulers to create 1/2" and 1" spacing. You do not need to mark every line; the ruler markings do the measuring for you.
- Use the Sway 5 hook end for quick alignment: The hook end helps you align the ruler quickly without drawing reference lines. This is especially useful when you are working across a large section and want to keep momentum.
- Place feather work where it adds movement: Feathers can soften the structure of crosshatching. The course shows how to combine free-motion quilting, rulers, and no-mark crosshatching to elevate a classic design. Watch how Natalia positions feather motifs relative to the crosshatched areas so the two techniques complement rather than fight each other.
- Handle thread and hand placement for smooth lines: Natalia pulls up her bobbin thread and ties off on top. She also demonstrates gentle pressure and comfortable hand placement to stay in her quilting sweet spot. These habits support smooth, precise lines over long stitching sessions.
Why ruler markings replace heavy marking
Marking every crosshatch line is slow and risks leaving residue or distorting the fabric. The course demonstrates a different approach: use the ruler's own markings to establish spacing. With the 4-N-1 and Mini 4-N-1 rulers, you can create 1/2" and 1" intervals without measuring each line. The Sway 4 and Sway 5 rulers add curved and straight options, and the hook end of the Sway 5 gives you a quick alignment point.
One small exception appears in the course: Natalia marks a simple X to align circles perfectly without drawing them on every block. That is a targeted reference mark, not full-line marking. The result is crosshatching that stays accurate while the quilt surface remains free of drawn lines.
The rulers and supplies behind the demonstration
-
Custom Machine Quilt a Traditional Quilt with Crosshatching + Feather Work: The course demonstrates the 4-N-1, Mini 4-N-1, Sway 4, and Sway 5 machine quilting rulers for creating 1/2" and 1" spacing without marking every line. These are the specific rulers used to achieve no-mark crosshatching, so you can match your own ruler set to the techniques shown.
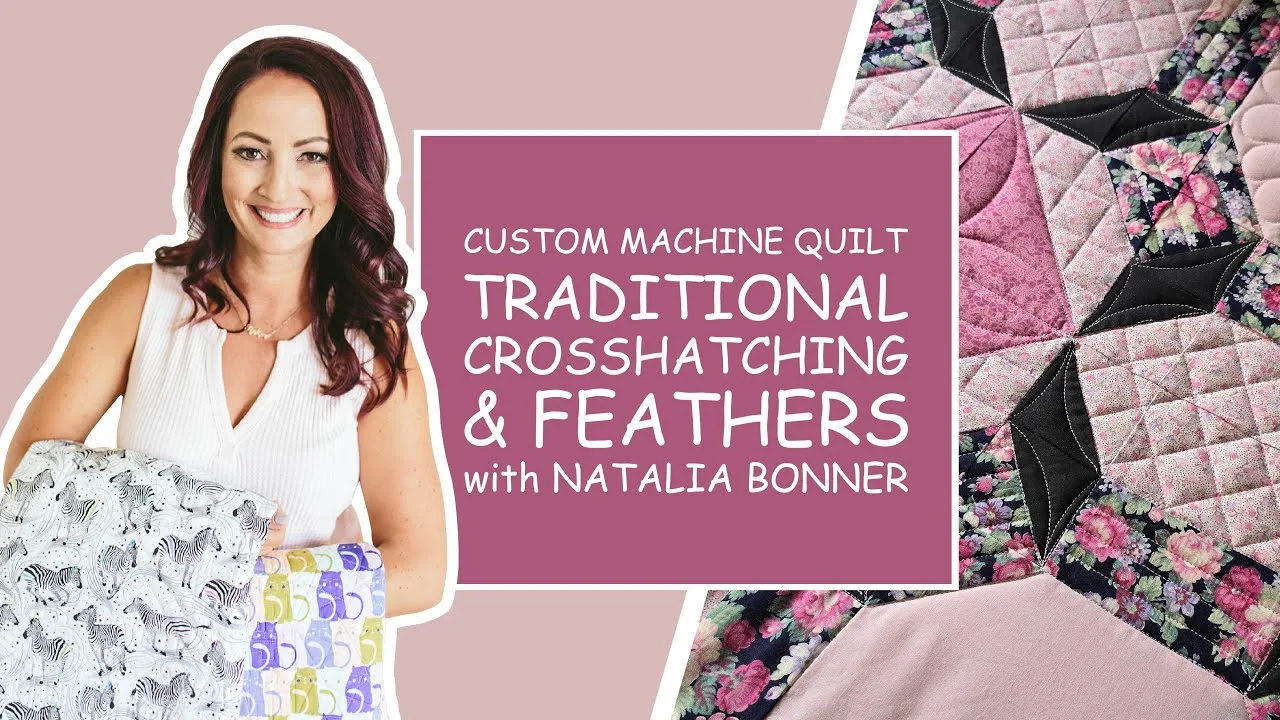
Custom Machine Quilt a Traditional Quilt with Crosshatching + Feather Work
-
Custom Machine Quilt a Traditional Quilt with Crosshatching + Feather Work: Natalia quilts on a Gammill 22" longarm in stitch-regulated mode at 13 SPI, using a ruler base, ruler foot, and a Piece N Quilt PopSocket Ruler Grip. This tells you the machine setup and accessories used in the video, which helps you judge how the techniques might translate to your own frame.
-
Custom Machine Quilt a Traditional Quilt with Crosshatching + Feather Work: The course lists Quilter's Dream Wool batting, So Fine! thread in Light Pink, and Light Pink pre-wound SuperBOBs as the materials used. Batting and thread choices affect stitch definition and how feather work reads, so these details give you a starting point for your own supplies.
What to watch for when you follow along
The course is a behind-the-shoulder video, so you see the quilting unfold stitch by stitch. Keep an eye on these moments as you watch.
- Motif selection on busy prints: Notice when Natalia chooses simple straight-line motifs instead of dense feather work. The fabric print often dictates the level of detail that will read well.
- Section breaks: Watch how she divides the quilt and where she stops to reposition. These breaks are your chance to check spacing and tie off before moving on.
- Ruler grip and hand position: The PopSocket Ruler Grip and comfortable hand placement are small details that make a big difference in control, especially during long crosshatch runs.
- Bobbin thread handling: Pulling up the bobbin thread and tying off on top keeps the back of the quilt clean. This is a habit worth adopting from the start.
Access options for the course
You can purchase this video individually for $6.99, or join PNQ Academy for $12 per month to access this lesson plus over 150 additional quilting tutorials, with new videos added every month. The course is listed at a catalog price of USD 4.19 compared to a comparison price of USD 6.99, so check the current price on the product page before you buy.
If you prefer to watch at your own pace and revisit specific techniques, the individual purchase gives you that option. If you want a broader library of quilting lessons, the academy membership may be the better fit.