Quick answer
Use a 5.5" curved nose hemostat as a third hand to clamp, hold, or retrieve small parts during crafts, model building, and repairs. Its three-level locking mechanism lets you apply just the right pressure without damaging delicate materials.
Why a hemostat works better than tweezers or pliers
Standard tweezers require constant finger pressure. Pliers can crush or mar a part. A curved nose hemostat locks onto an object and stays clamped without any hand effort, freeing your fingers for gluing, soldering, or painting. The curved tip also reaches behind or under components that straight tools cannot access.
Where the curved nose hemostat falls short
The curved nose hemostat is not designed for heavy twisting or prying. Its locking mechanism holds at three pressure levels, but it is not a vise. If you need to apply strong torque or hold a part under heavy force, a dedicated clamp or vise is a better choice. Also, the stainless steel jaws can scratch soft materials like bare aluminum or polished plastic—add a layer of masking tape for protection.
How to use a curved nose hemostat in 6 steps
- 1. Choose the right pressure level: Open the hemostat and test the locking positions on a scrap piece of your material. Level 1 (closest to the hinge) gives a light hold for paper or thin plastic. Level 3 (farthest) provides a firm grip for thicker items like cork or wood. Mistake: locking at level 3 on soft cardstock can leave permanent indent marks. Always test first.
- 2. Position the part inside the jaws: Slide the curved tip around or under the part you want to hold. For small beads or wires, open the jaws just enough to accept the item, then release the handle to let the locking mechanism catch automatically. Mistake: forcing the jaws open too wide can stress the hinge. Open only as far as needed.
- 3. Lock the hemostat in place: Squeeze the handles together until you hear or feel the lock engage. The hemostat now holds the part without any hand pressure. Mistake: if the lock feels loose, you may have missed the notch. Release and try again, seating the locking pin fully.
- 4. Use your free hands for the main task: With the part clamped, apply glue, solder, paint, or thread. The hemostat keeps the part steady and at the angle you set. Mistake: moving the clamped part while the glue is wet can break the bond. Let the hemostat rest undisturbed until the adhesive sets.
- 5. Release the lock carefully: Squeeze the handles slightly to disengage the lock, then open the jaws and remove the hemostat. If the part sticks, wiggle gently rather than prying. Mistake: yanking the hemostat off can bend thin wires or tear paper. Always release the lock first.
- 6. Clean and store the hemostat: Wipe the jaws with a dry cloth to remove adhesive or debris. Store the hemostat closed (lock engaged) to protect the tip and keep the hinge aligned. Mistake: leaving glue residue on the jaws can harden and prevent smooth locking. Clean immediately after use.
Product spotlight
-
5.5" Curved Nose Hemostat: The Excel Blades 5.5" Curved Nose Hemostat is made from stainless steel with a curved tip and three-level locking position mechanism. The curved tip helps you reach objects in tight spots, and the three-level lock lets you choose a light, medium, or firm grip without squeezing continuously.
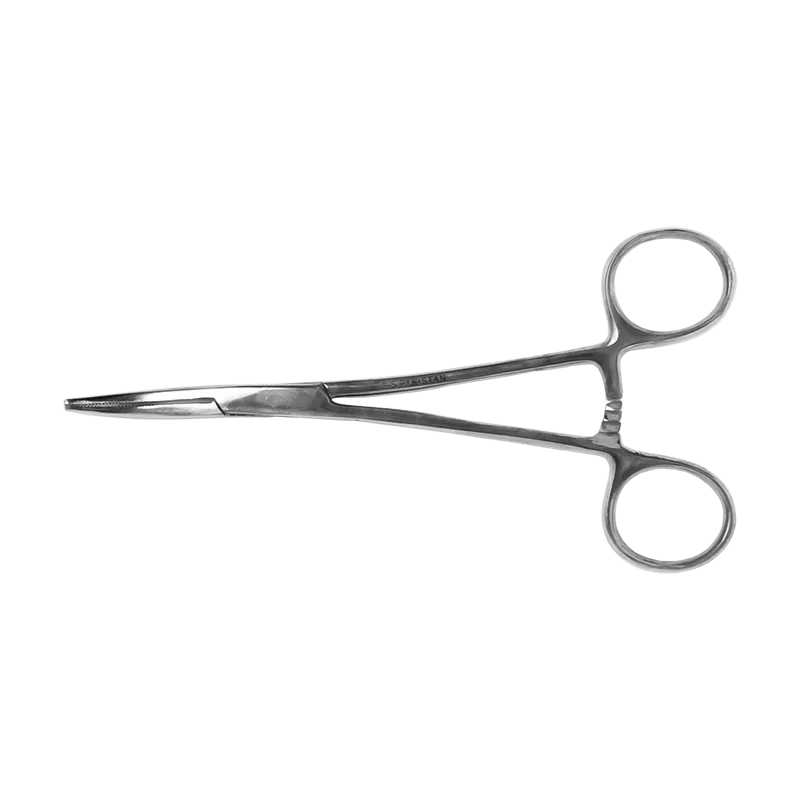
5.5" Curved Nose Hemostat