Quick answer
Combine free-motion feather motifs with ruler-work straight lines to customize a Blue Star quilt. This tutorial walks you through the process so you can add elegant, balanced quilting to a traditional star pattern.
Why feathers and straight lines work together
Feather motifs bring a soft, flowing contrast to the bold geometry of a star quilt. Straight lines frame those curves, giving the overall design a polished, professional finish. The key is to let each element shine without competing: use feathers inside the star points or borders, then add ruler-work lines in the open background areas.
Step-by-step: Quilting feathers and lines on a Blue Star quilt
- 1. Mark or visualize your feather paths: Decide which areas will get feathers (typically the star points or a border) and lightly mark the center spine or use a stencil. Avoid marking on areas that will later be ruler-quilted. Common mistake: skipping the planning step leads to feathers that crowd the star points.
- 2. Quilt the feather motifs with free-motion: Start at the base of a star point and stitch a continuous smooth curve, echoing back to fill the shape. Keep your speed steady and use a micro-stipple to connect feather rounds if needed. Pause between motifs to check the curve symmetry—don't rush to fill all points at once.
- 3. Switch to ruler work for straight lines: Attach your ruler base and use a straight ruler to stitch parallel lines in the background or sashing. Line up your first pass with the quilt's seam or a marked guide. Watch your ruler control—even a slight shift creates noticeable uneven spacing.
- 4. Echo and balance the design: Add a second row of feathers or a narrow echo line around the star to separate it from the background straight lines. Adjust the density so feathers feel airy and lines feel crisp. Too much echo can make the star look heavy—one echo line usually suffices.
- 5. Stitch the outer border feathers: If the quilt has a border, repeat the feather motif there using a continuous plumed feather design. Match the scale to the border width. Common checkpoint: verify the border feathers align with the star points for a cohesive look.
- 6. Finish with background filler if needed: Fill any remaining open areas with a subtle allover pattern like a meander or pebbling to add texture without competing with the main design. Leave empty space if the feathers and lines already fill the quilt—more quilting isn't always better.
About this tutorial
-
Custom Quilt a Traditional Blue Star Quilt with Feathers & Lines: Professional machine quilter Natalia Bonner demonstrates a balanced combination of free-motion quilting and ruler work to bring the Blue Star quilt to life with graceful feather motifs and crisp straight lines. This video gives you a real-world example of blending two core longarm skills on one project, so you can see exactly how to transition between techniques.
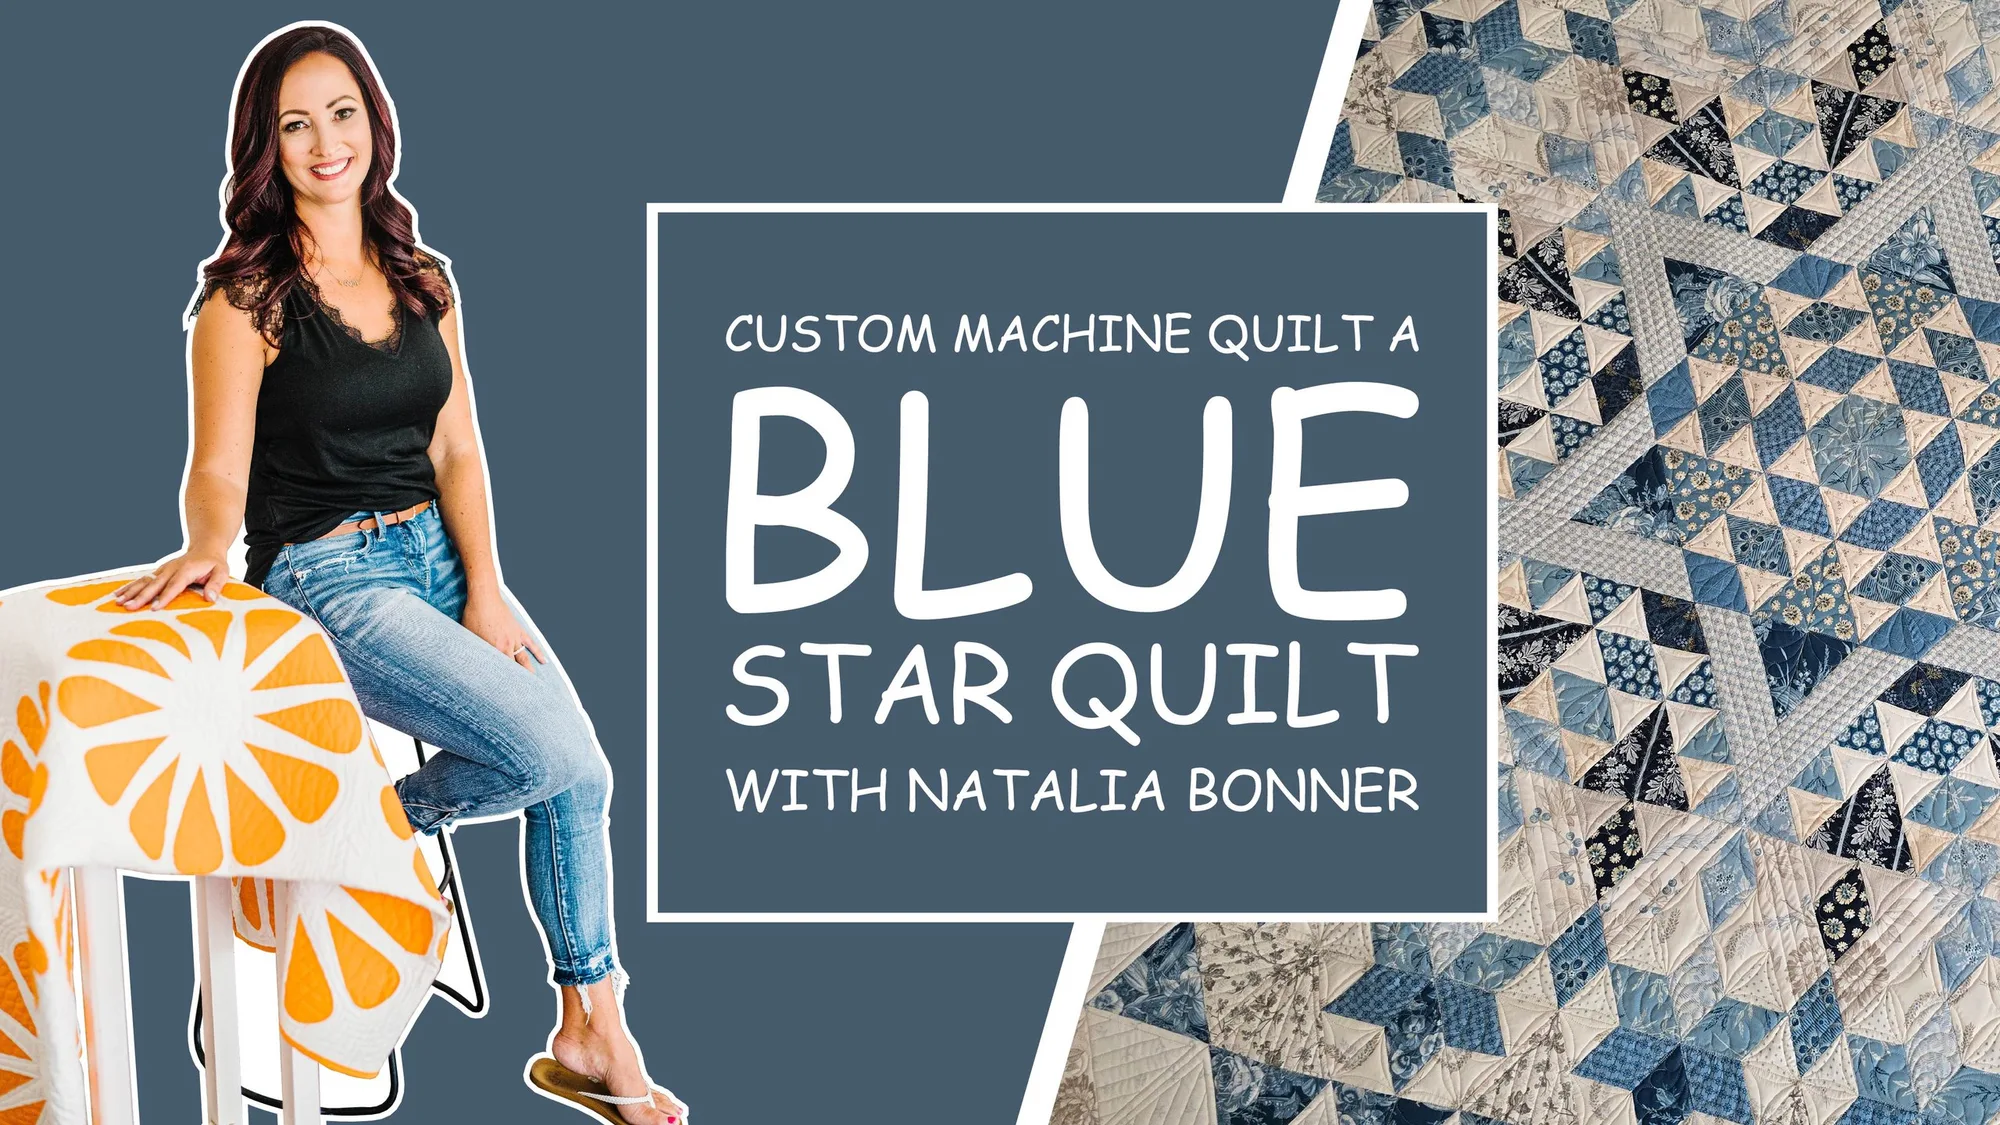
Custom Quilt a Traditional Blue Star Quilt with Feathers & Lines