Quick answer
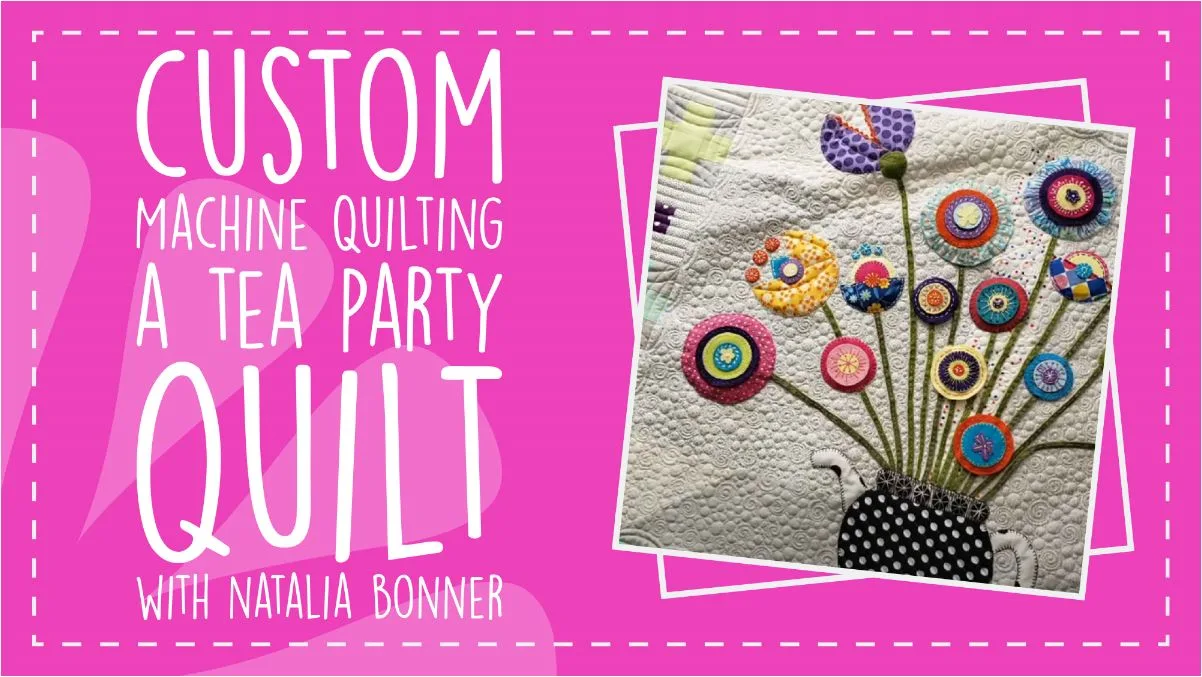
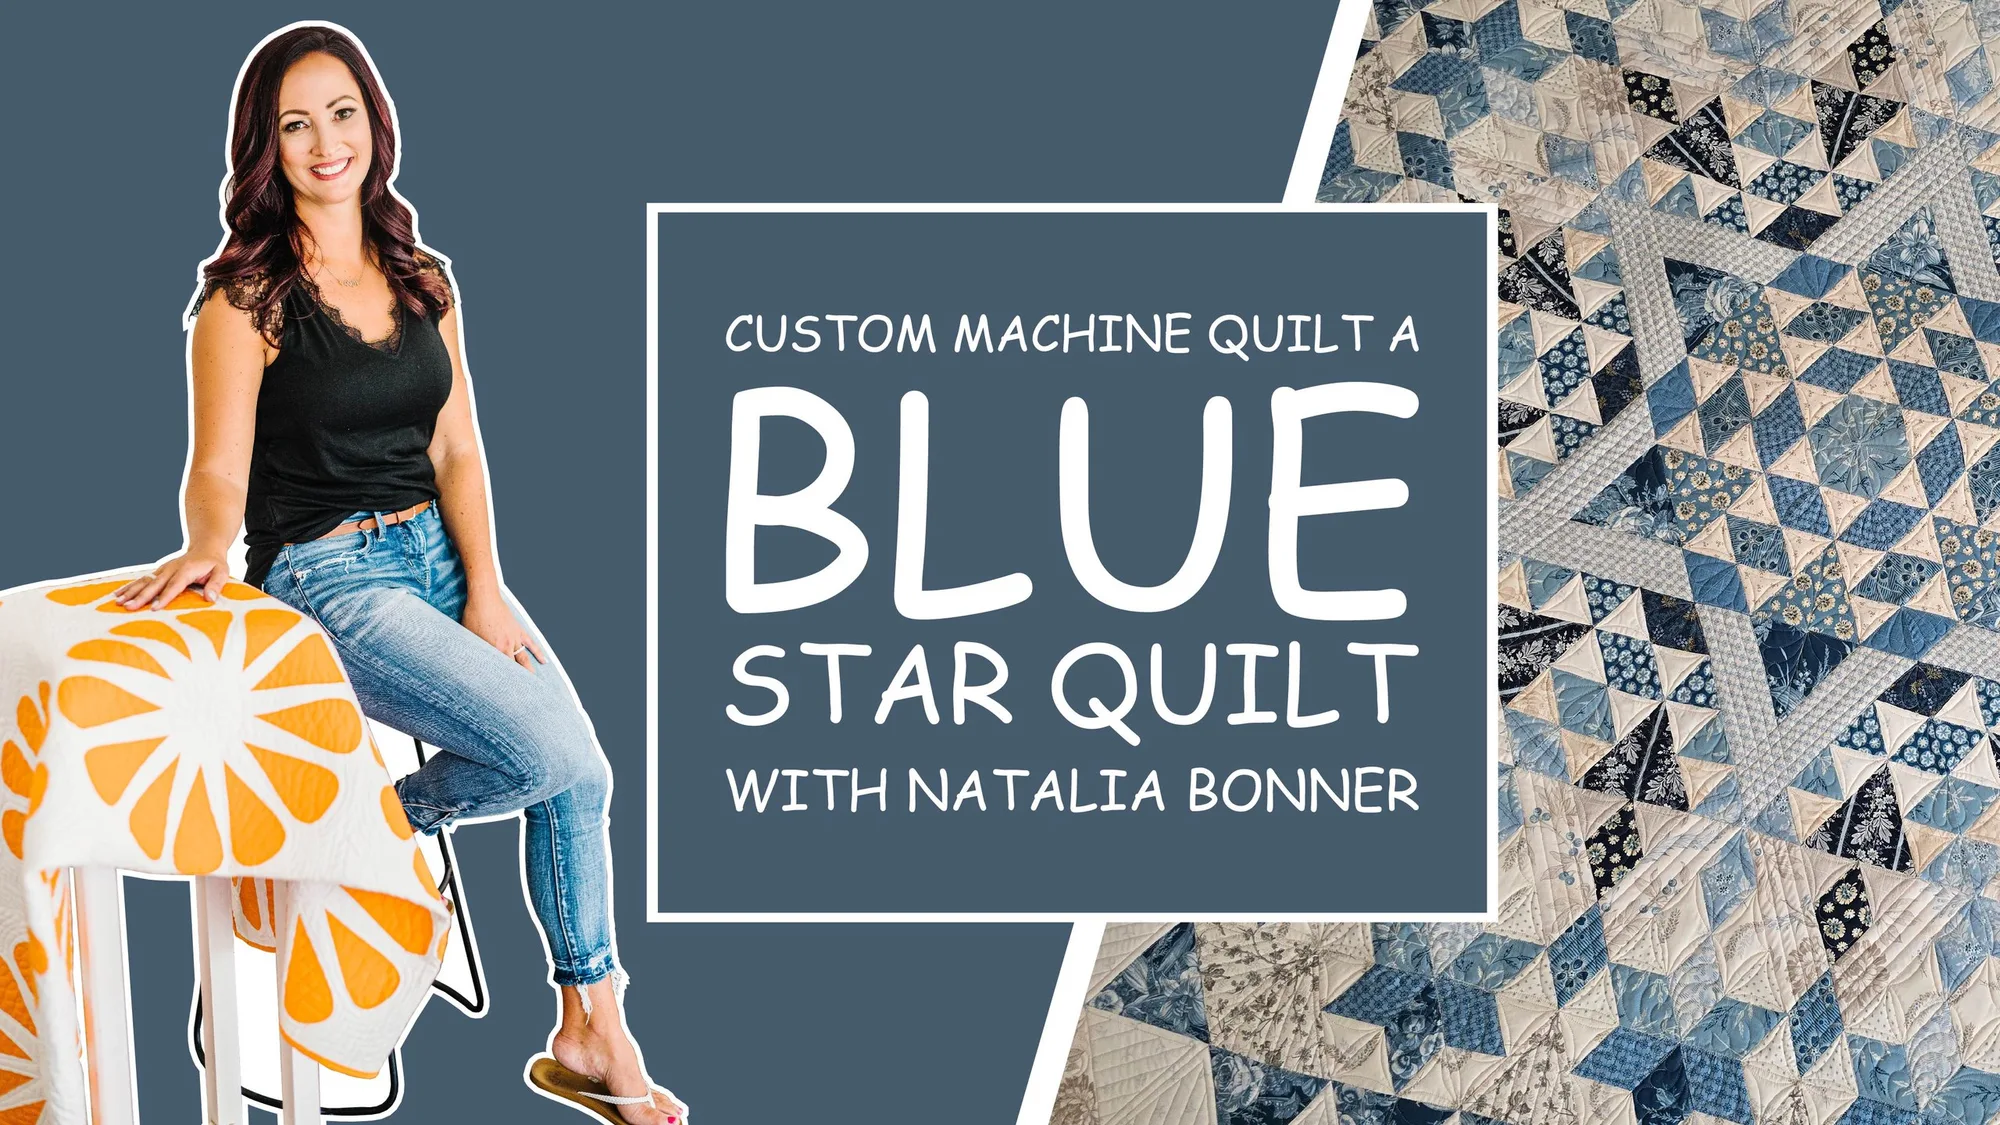
Custom machine quilting a Tea Party Quilt works best when you plan the design before you touch the machine. Start with a detailed plan, mark only what you need, then quilt in passes that move from stable ruler work to free-motion fills. If you want a full walkthrough of planning and quilting a specific quilt, watch Custom Machine Quilting a Tea Party Quilt with Natalia Bonner.
Plan the quilting before you load the quilt
Sketch the quilt top in sections and assign a motif to each area: borders, sashing, blocks, and background. Decide which lines need ruler work for straight edges and which areas will use free-motion quilting for texture. This planning step prevents you from quilting yourself into a corner and helps you choose thread colors that support the design instead of competing with it.
Mark only what the design requires
Mark registration lines for borders, sashing, and any repeated motif that must stay aligned. For free-motion areas, skip heavy marking and instead use the quilt's piecing as a guide. Test your marking tool on a scrap of the same fabric to confirm it removes cleanly, and mark lightly so the lines do not become permanent.
Choose rulers and thread for the Tea Party Quilt
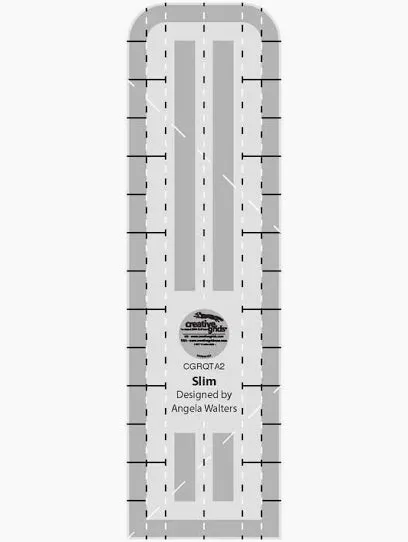
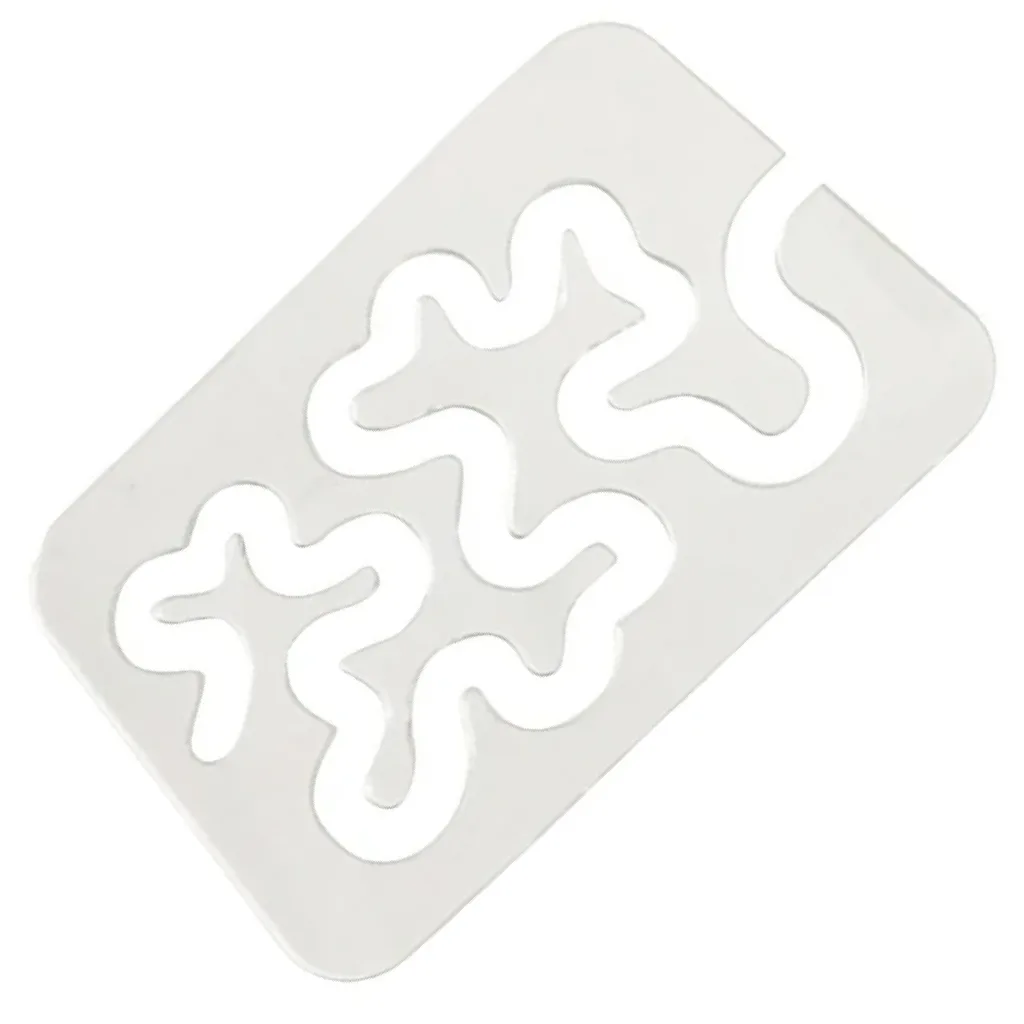
Ruler work gives you crisp lines in borders and sashing, while free-motion quilting adds softness in open areas. Match thread weight to the look you want: a finer thread blends into piecing, while a slightly heavier thread makes motifs stand out. If you are unsure which combination suits your quilt, a guided video walkthrough can show the decision process in real time.
Quilt in a logical order to avoid backtracking
Start with the most structured areas, such as borders and sashing, then move into blocks and background fills. This order stabilizes the quilt and reduces the chance of distorting pieced shapes. Work in passes across the quilt rather than finishing one block completely, so you maintain even tension and avoid dragging the quilt back and forth.
Check tension and stitch quality as you go
Pause at the end of each pass to check the stitch quality on both the front and back. Look for balanced tension, smooth curves, and consistent stitch length. If you see problems, fix them before continuing; unpicking a small section is faster than repairing a large one. Keep a small scrap quilt sandwich nearby to test adjustments without touching your quilt.
Tea Party Quilt custom quilting steps
- Sketch a full quilting plan: Draw the quilt top and assign a specific motif to each section: borders, sashing, blocks, and background. Note where you will use rulers and where you will use free-motion quilting. Checkpoint: every area of the quilt has a planned design before you load it.
- Mark registration lines: Use a removable marker to draw only the lines needed for alignment, such as border spines or sashing guides. Test the marker on scrap fabric first. Common mistake: marking too much and leaving visible lines after quilting.
- Set up the machine and test tension: Install your chosen ruler foot and thread, then make a small quilt sandwich to test tension and stitch length. Adjust until the stitches look balanced on both sides. Checkpoint: the test sandwich matches your quilt's batting and fabric layers.
- Quilt the borders and sashing first: Use rulers to stitch straight lines and consistent curves in the borders and sashing. Work from one side of the quilt to the other to keep the quilt stable. Common mistake: starting with free-motion fills and then struggling to align border lines.
- Add free-motion motifs in blocks and background: Switch to free-motion quilting for the open areas. Use the piecing as a guide and keep your stitch length and speed consistent. Checkpoint: pause to check the back of the quilt for tension issues after the first block.
- Quilt the final fills and check the back: Complete any remaining background fills, then inspect the entire quilt from the back for skipped stitches, tension problems, or loose threads. Next step: trim threads, remove markings, and bind the quilt.
Course options for this walkthrough
- Custom Machine Quilting a Tea Party Quilt: Custom Machine Quilting a Tea Party Quilt is a PNQ Academy video where Natalia Bonner demonstrates ruler work, free-motion quilting, and feathers on a Tea Party Quilt. Seeing the full process on this specific quilt helps you apply the same sequence and techniques to your own Tea Party Quilt.
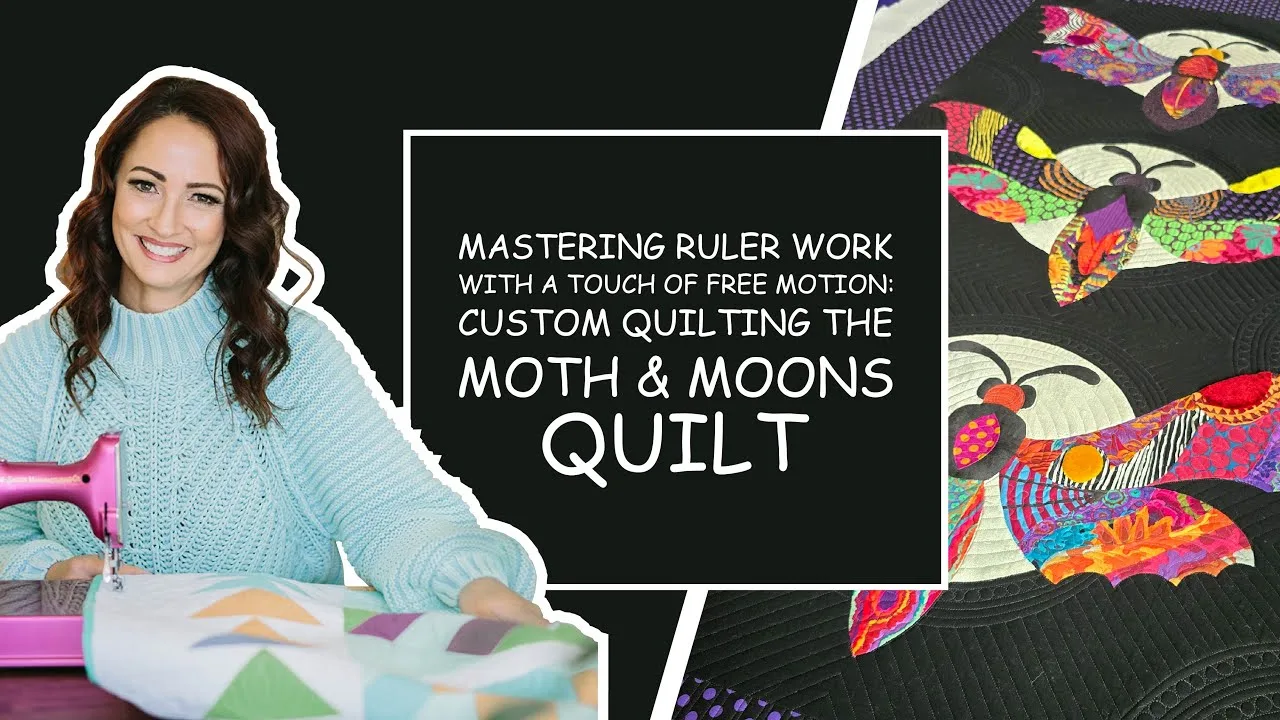
- Custom Machine Quilting | Moth & Moons Quilt with Natalia Bonner: Custom Machine Quilting | Moth & Moons Quilt with Natalia Bonner is a 45-minute PNQ Academy video that covers planning, marking, ruler quilting, and free-motion quilting on a different quilt. The planning and marking approach transfers well if you want a second example of how to organize a custom quilting plan.