Quick answer
Cuticle prep is the single biggest factor in how long a gel manicure lasts. Gently push back the cuticle, remove only the non-living tissue on the nail plate, dehydrate the surface, and keep the gel off your skin. A few careful minutes here prevent lifting, chipping, and the temptation to pick.
A gel manicure that lifts at the cuticle within days is rarely a product problem. It is usually a prep problem. Gel needs a clean, dry, oil-free surface to bond to, and the cuticle area is where that bond is most often compromised.
This guide walks through a practical cuticle care routine before gel application, plus a maintenance routine between manicures. It also explains why the products you choose matter, using real examples from the Ballpit Nails line.
Why cuticle prep decides how long your gel lasts
The cuticle is a thin layer of dead skin that seals the base of the nail. When it is dry, ragged, or overgrown, gel can pool in the crevices or sit on top of flaky skin. That creates an edge where lifting starts, and once lifting begins, water and oil get underneath and the whole manicure peels.
Good cuticle prep for gel polish is not about cutting everything away. It is about creating a smooth, clean surface on the nail plate while keeping the surrounding skin intact. Over-cutting damages the seal and invites infection, which is a far bigger problem than a chipped nail.
- Work on clean, dry hands, not right after a shower or dishwashing.
- Keep gel off the skin entirely; if it touches, clean it before curing.
- Never use a metal tool to dig into the cuticle pocket.
The prep routine that prevents lifting
Start by shaping nails and gently pushing back the cuticle with a wooden stick or a cuticle pusher after softening the skin with a cuticle remover or warm water. Wipe away any residue. Then lightly buff the nail plate with a fine grit buffer to remove shine, and use a lint-free wipe with cleanser or alcohol to dehydrate the surface.
If you use a pH bonder or primer, apply a thin layer and let it dry. These steps remove natural oils and create a consistent surface. Skipping dehydration is the most common reason gel lifts at the cuticle within a few days, even when the application itself was flawless.
- Use a cuticle remover rather than force; it dissolves dead tissue safely.
- Buff gently in one direction, not back and forth, to avoid heat and damage.
- Let dehydrator or primer dry completely before applying base coat.
How to care for cuticles between manicures
Healthy cuticles stay soft and intact. Apply cuticle oil or a nourishing balm daily, especially after washing hands, and massage it into the cuticle and nail fold. This keeps the skin flexible and reduces the chance of hangnails or dry edges that can catch on gel.
Avoid using your nails as tools, and wear gloves for cleaning or gardening. If you notice lifting at the cuticle, do not pick at it. Instead, file the lifted edge smooth or remove the gel properly with soak-off, then give the nail a short rest before your next application.
- Keep a cuticle oil pen at your desk or in your bag for quick touch-ups.
- Push back cuticles only when soft, never on dry skin.
- If the skin is red, swollen, or painful, stop and let it heal before applying gel again.
Choosing gel polishes that work with your prep
Even the best prep can be undone by a formula that spreads into the cuticle or cures unevenly. A pigment-forward, anti-spread gel gives you more control around the cuticle line, so you can get close without touching skin. That control is what keeps the manicure sealed.
For example, Ballpit Nails gel polishes are described as pigment forward with an anti-spread, creamy body, and they cure in 60 seconds under UV or LED. That combination makes it easier to paint a clean cuticle line and reduces the risk of flooding, which is a common cause of lifting.
- Choose a gel with enough body that it does not run into the cuticle.
- Check the cure time and follow it exactly with your lamp.
- If a shade is sheer, build thin layers rather than one thick coat near the cuticle.
Your step-by-step cuticle prep routine
- 1. Sanitize and shape: Wash your hands and clean your nails. File and shape the free edge before any wet work. Mistake to avoid: shaping after pushing back cuticles can leave rough edges that catch. Checkpoint: nails are dry, clean, and shaped.
- 2. Soften and push back: Apply cuticle remover or soak in warm water, then gently push back the cuticle with a wooden stick or pusher. Mistake to avoid: pushing too hard or using a metal tool to dig into the pocket. Checkpoint: cuticles are pushed back without redness or pain.
- 3. Remove dead tissue: Use a cuticle nipper only on clearly dead, hanging skin. Mistake to avoid: cutting live skin, which can cause bleeding and infection. Checkpoint: no broken skin, no raw areas.
- 4. Buff and dehydrate: Lightly buff the nail plate to remove shine, then wipe with a lint-free pad and dehydrator or alcohol. Mistake to avoid: skipping dehydration, which leaves oils that cause lifting. Checkpoint: nail plate looks matte and dry.
- 5. Apply base coat and keep it off the skin: Apply a thin base coat, keeping a hair's width away from the cuticle. Mistake to avoid: flooding the cuticle, which creates a ledge where lifting starts. Checkpoint: no gel on the skin before curing.
- 6. Cure and check: Cure according to your lamp and the gel's instructions. For Ballpit Nails gels, cure time is 60 seconds. Mistake to avoid: under-curing, which leaves the gel soft and prone to peeling. Checkpoint: gel is fully cured and hard.
- 7. Maintain with oil: Apply cuticle oil daily and massage it in. Mistake to avoid: picking at lifted gel instead of removing it properly. Checkpoint: cuticles stay soft and the manicure edge stays sealed.
Product facts that support better prep
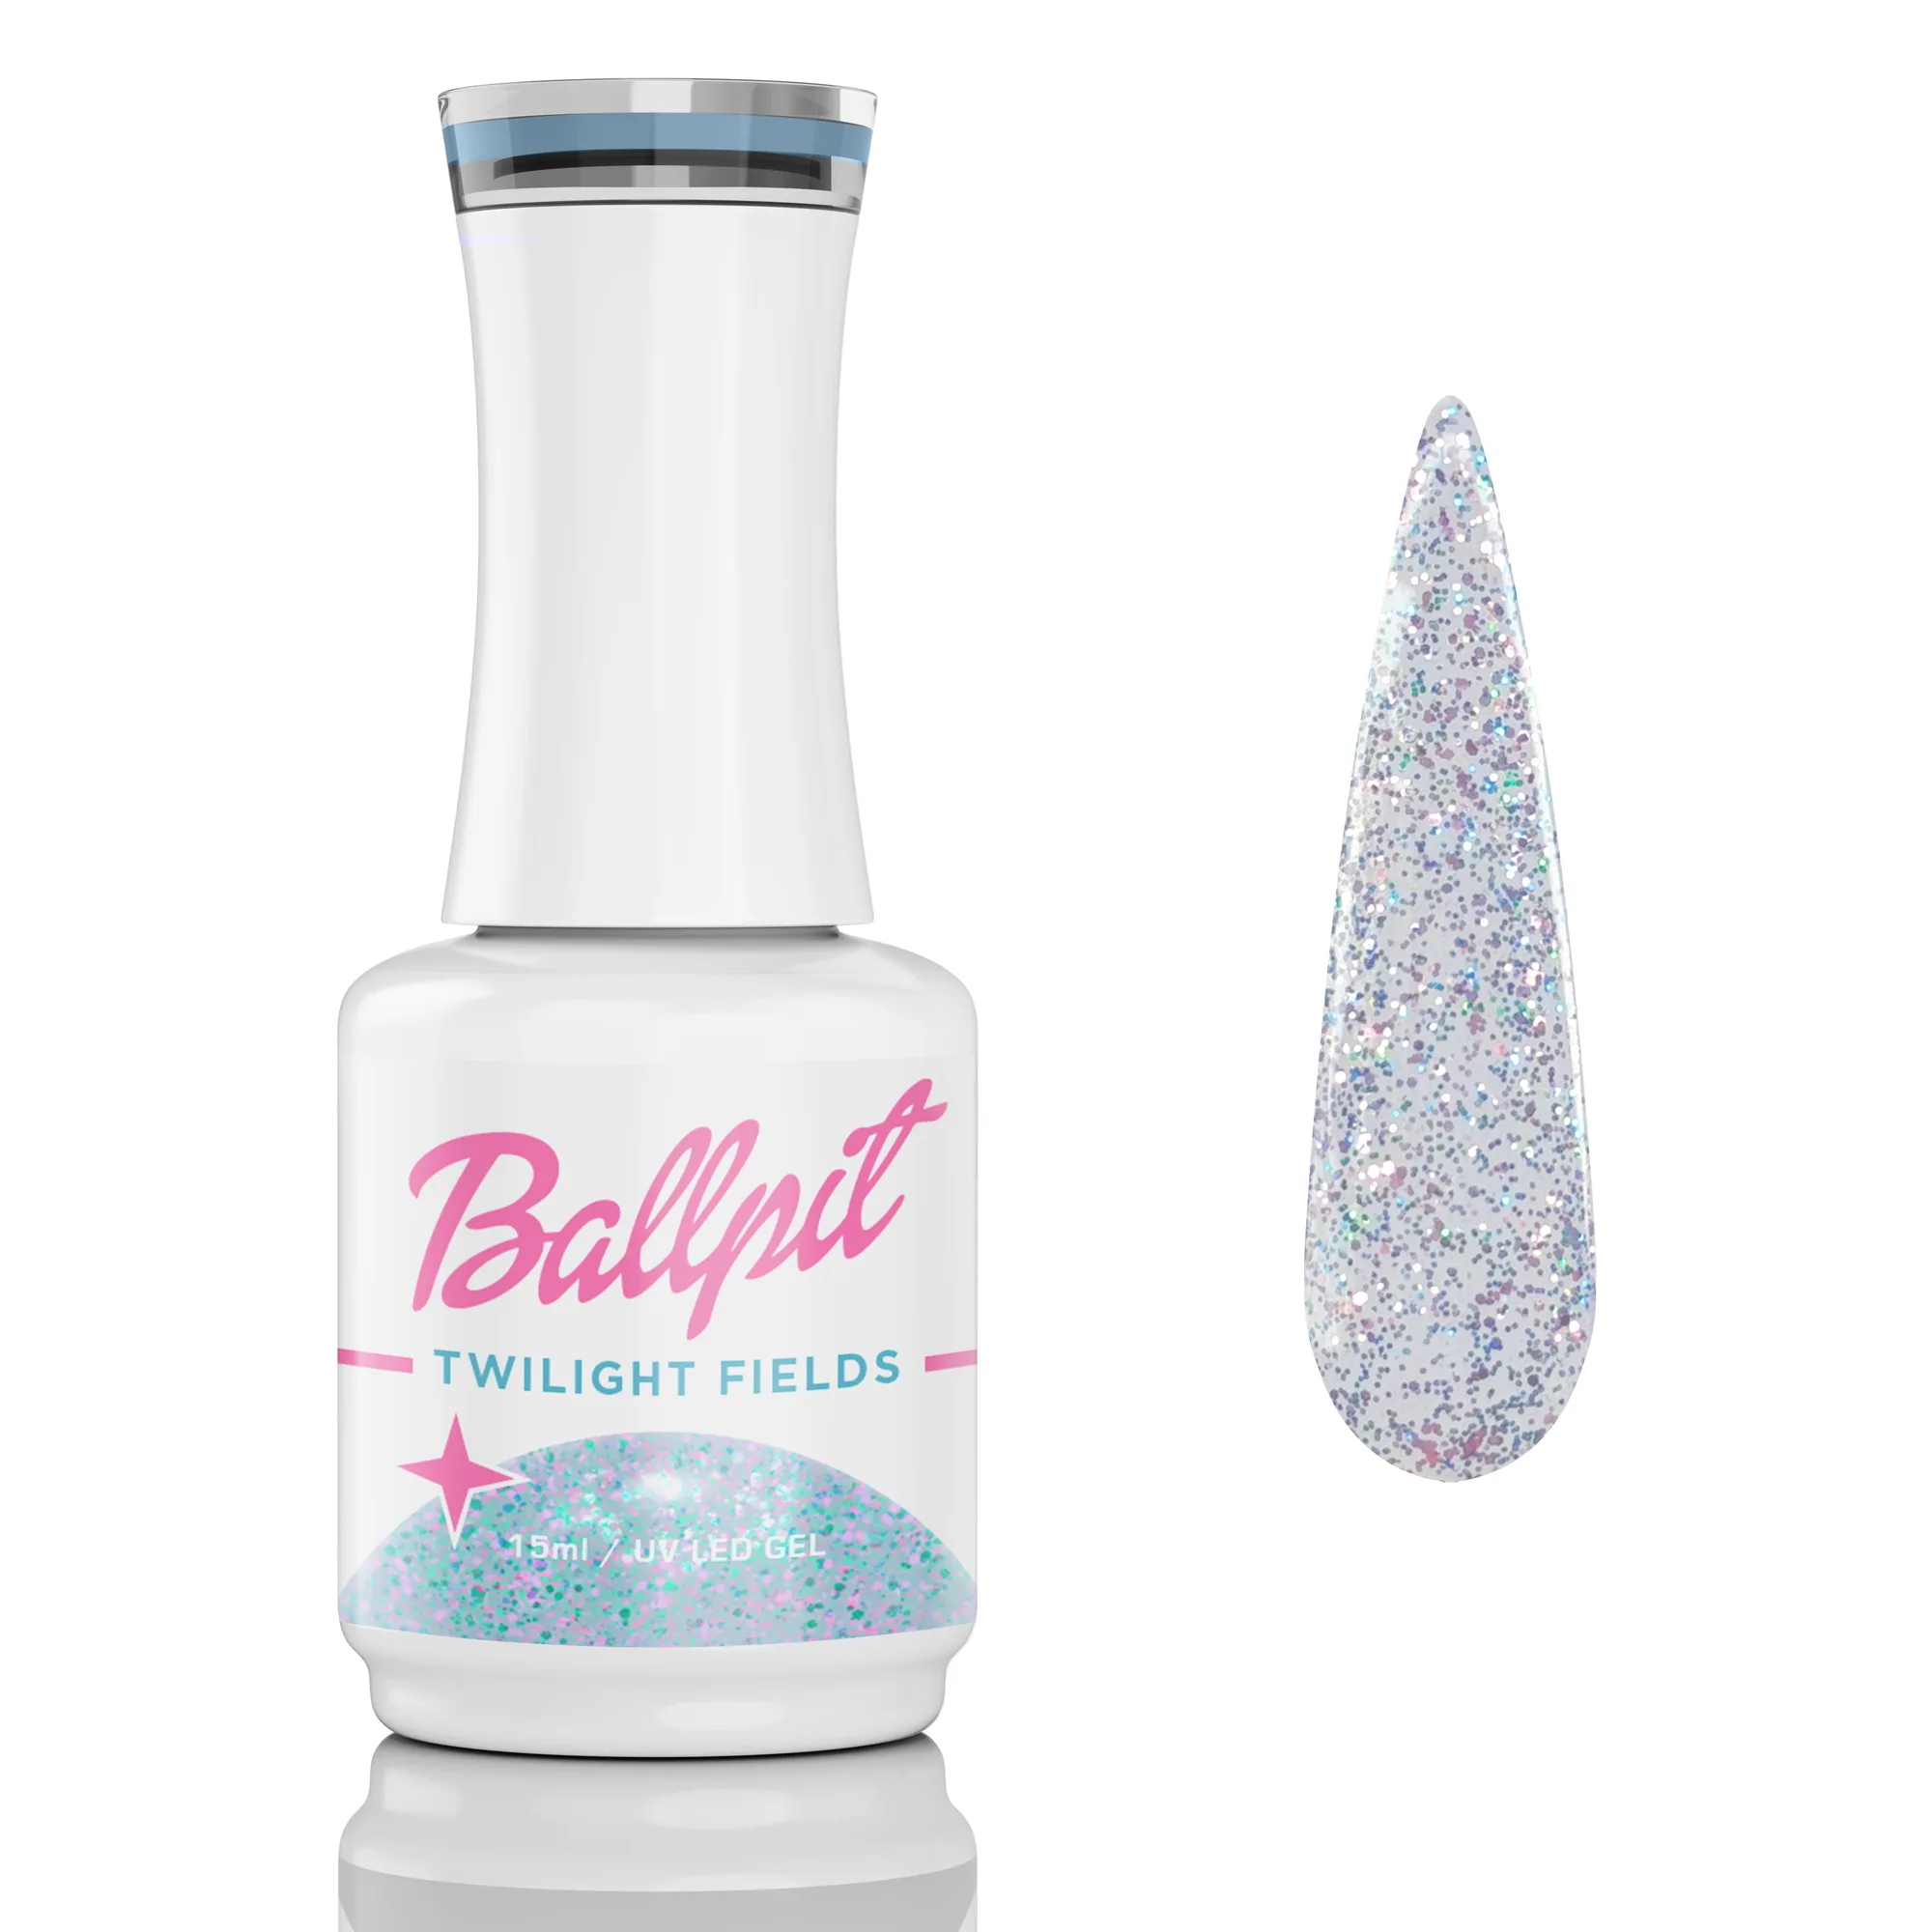
- Twilight Fields - Gel Polish: Holographic blue, pink and green glitters; HEMA and TPO Free; pigment forward with an anti-spread, creamy body; cure time 60 seconds; 15ml. The anti-spread body helps you control the cuticle line, and the 60-second cure fits a precise prep routine without rushing.
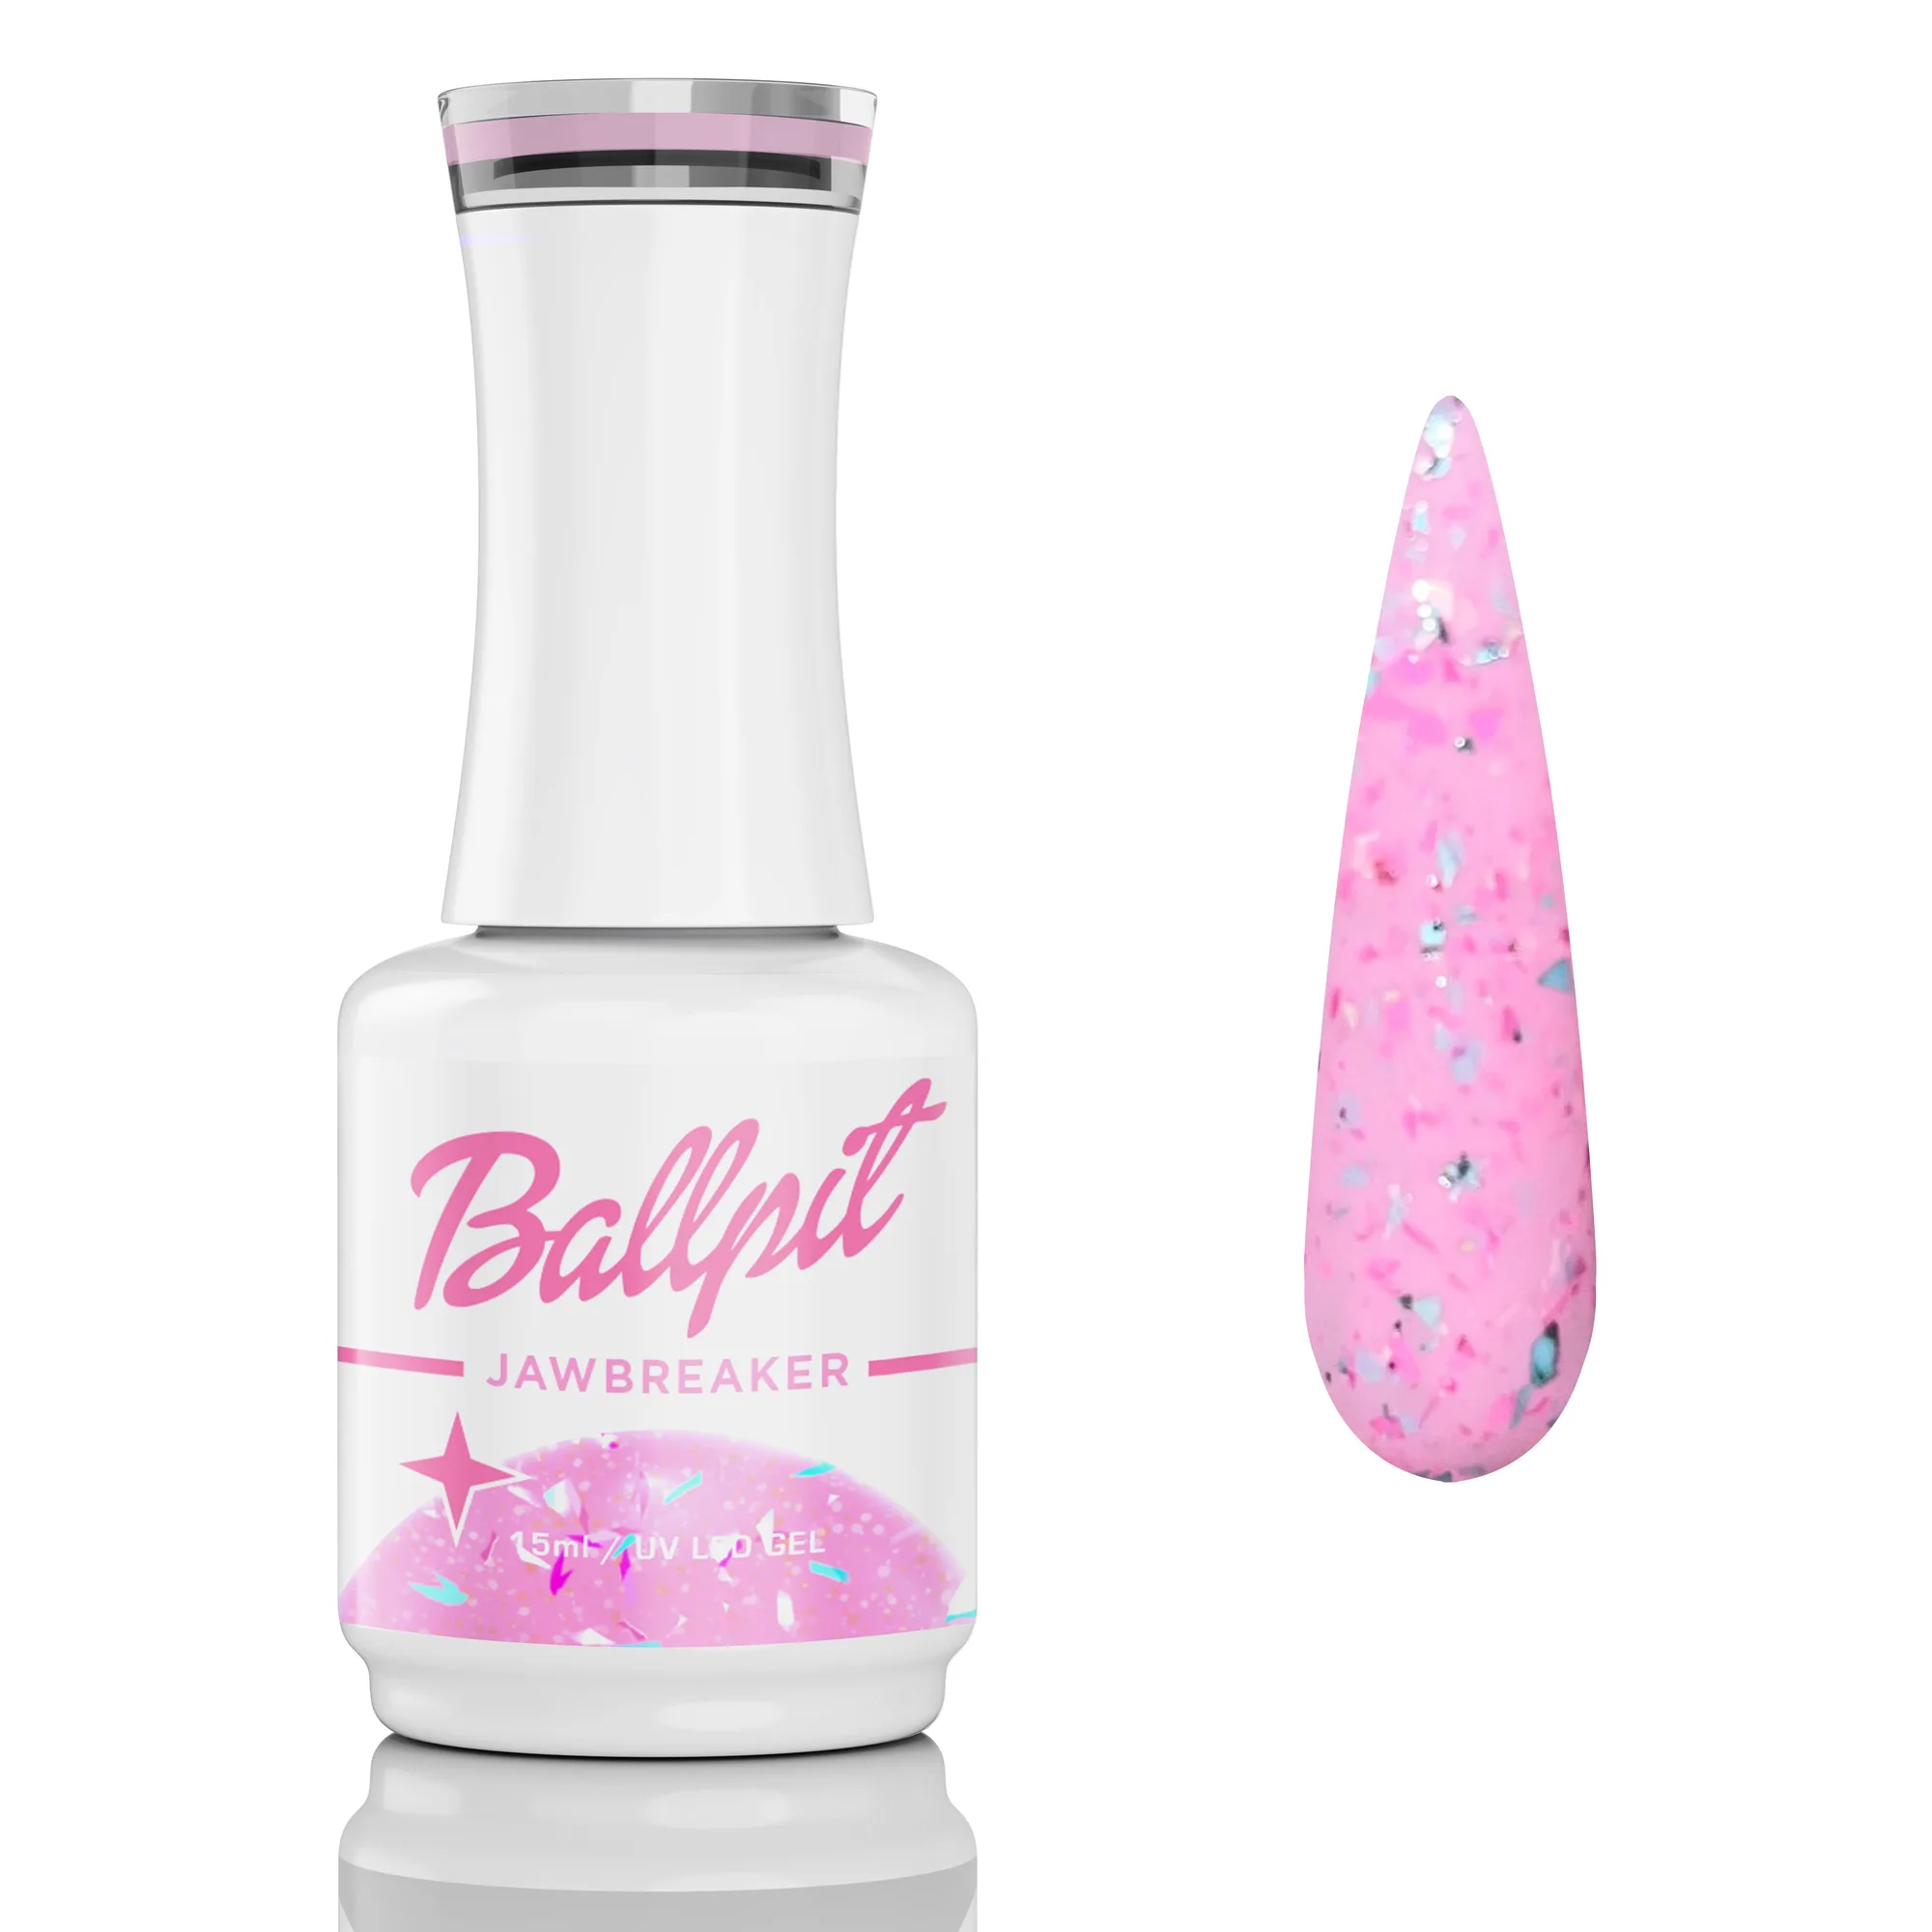
- Jawbreaker - Gel Polish: Pink rock candy jelly with crushed ice candy flakes; HEMA and TPO Free; pigment forward with an anti-spread, creamy body; cure time 60 seconds; 15ml. Jelly shades can be less forgiving near the cuticle, so the anti-spread formula helps you build thin, even layers without flooding.
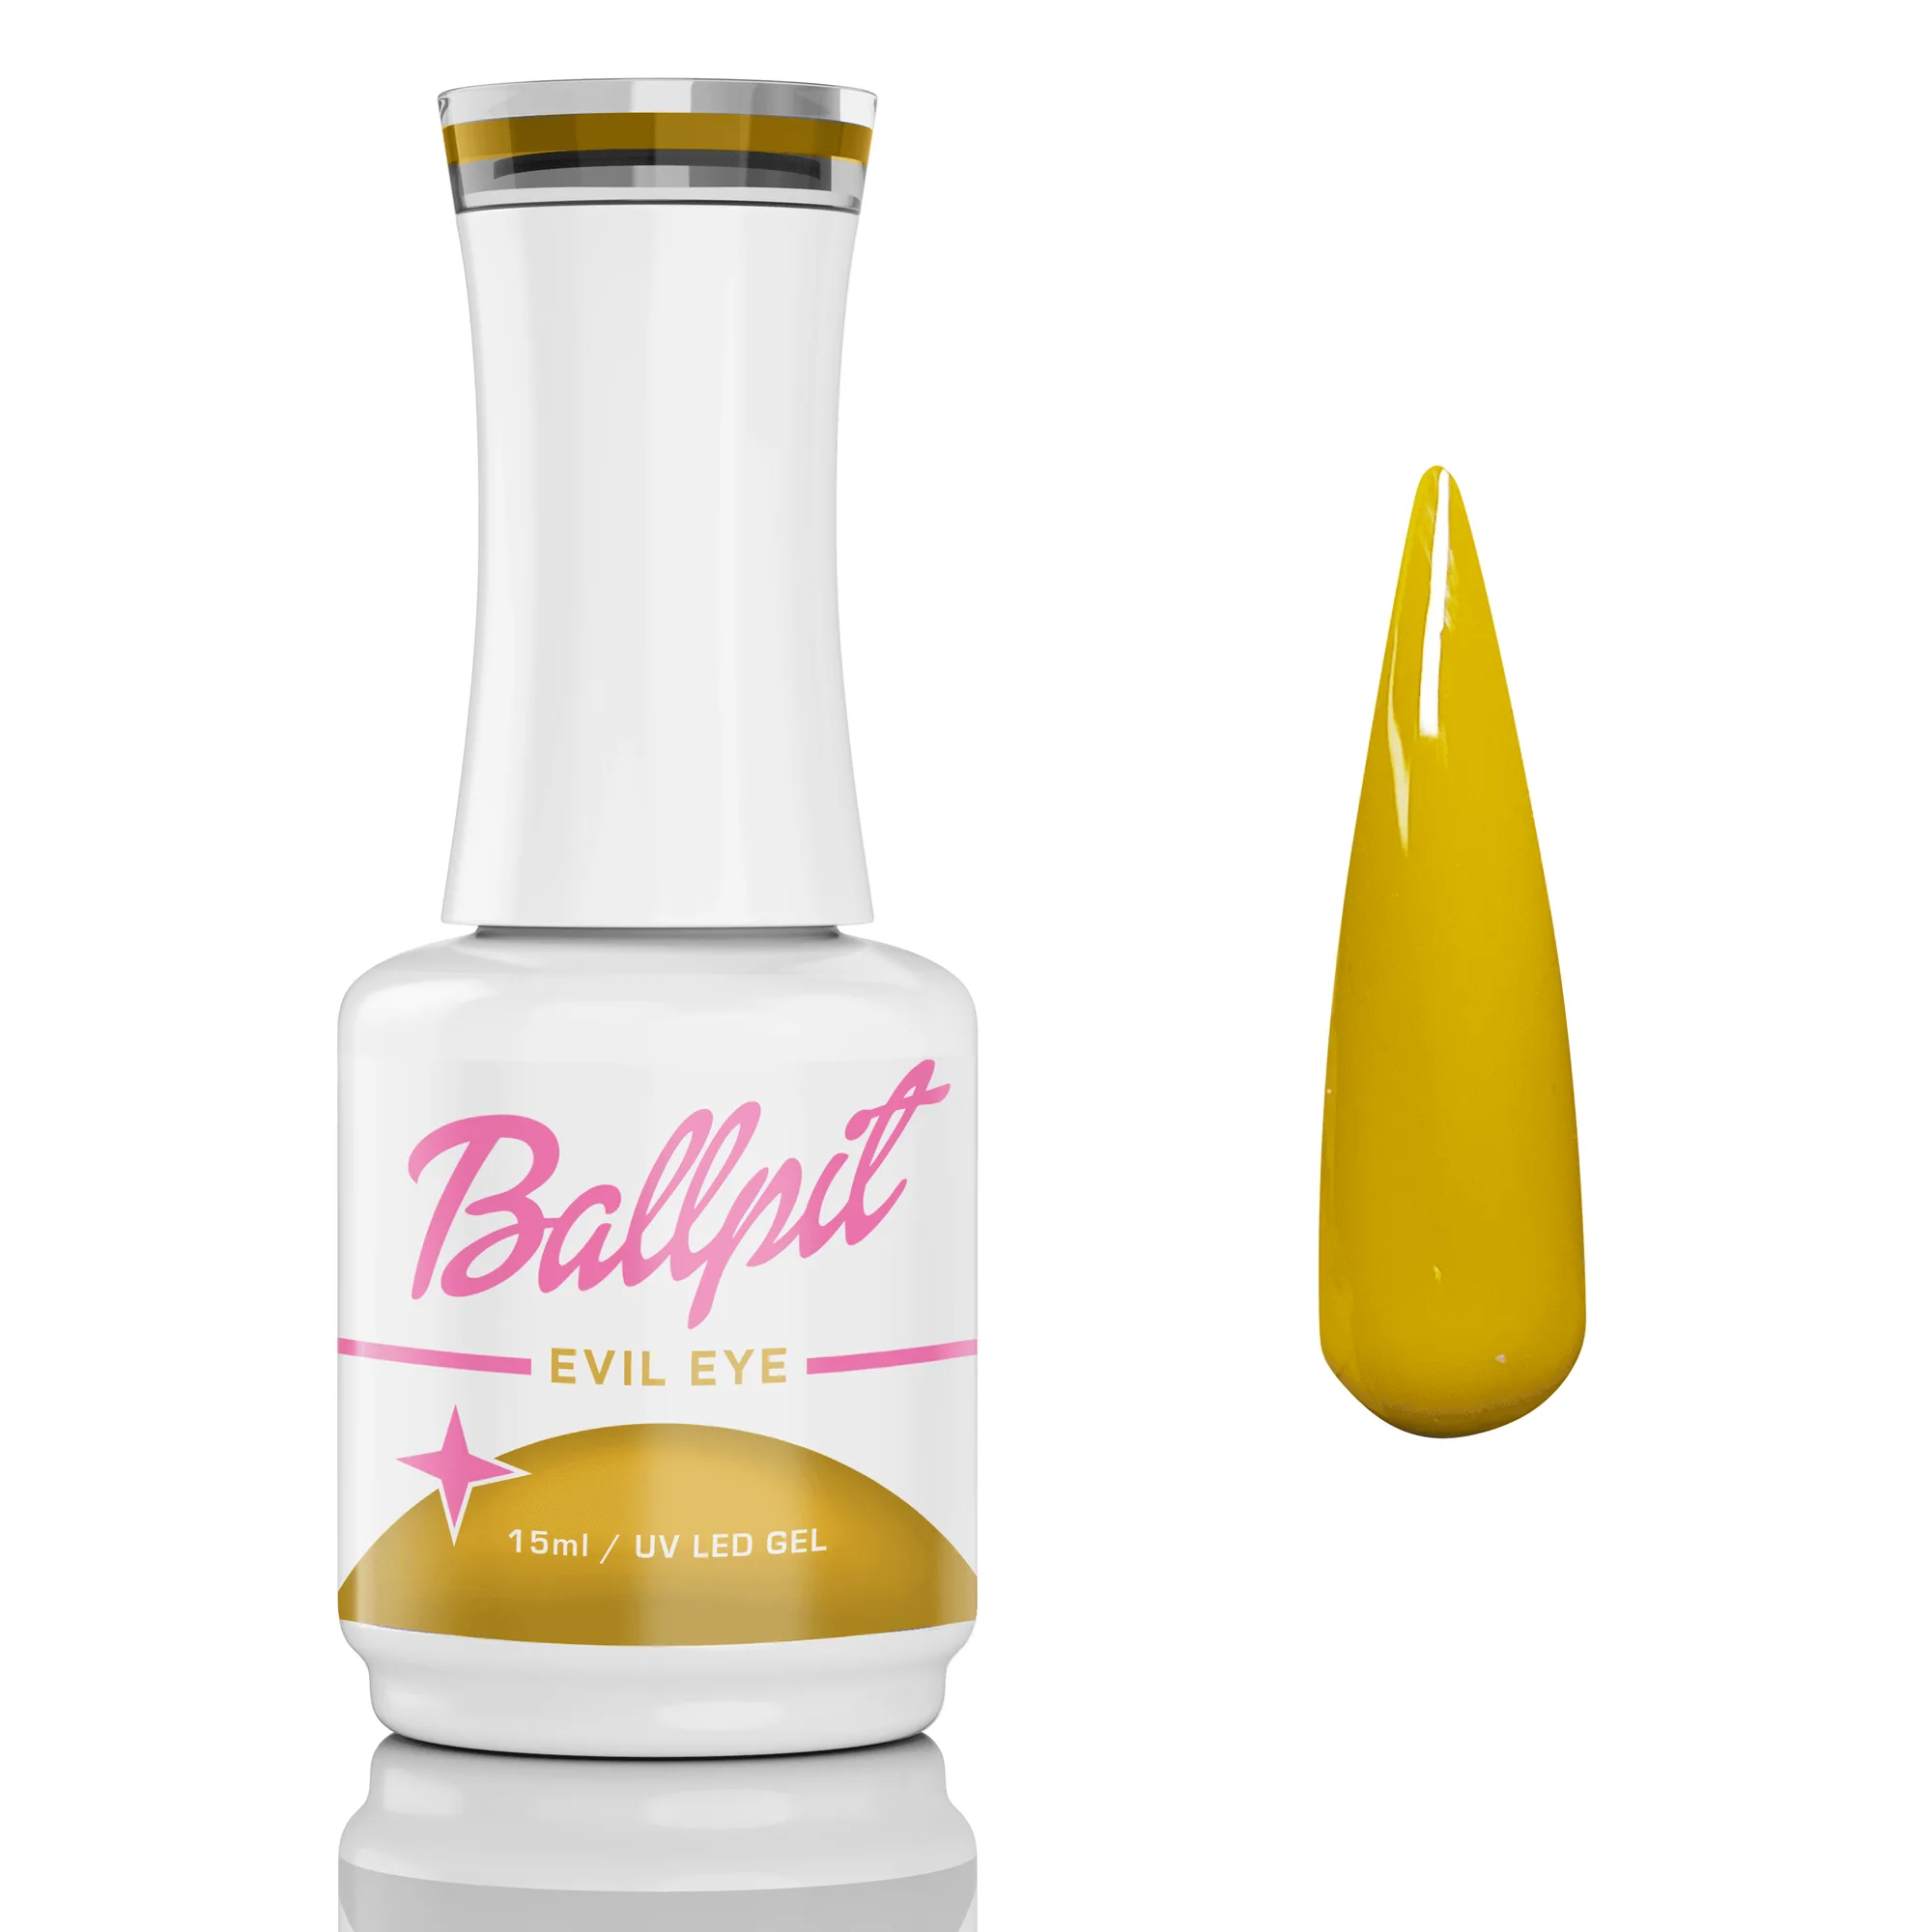
- Evil Eye - Gel Polish: 15ml UV / LED soak-off gel; classic creamy gel formula with extreme pigment and anti-spread; shade is mustardy amber yellow. A highly pigmented cream formula means you can use thinner coats, which cure more reliably and reduce bulk at the cuticle.
Cuticle care is not a step to rush. A consistent prep routine and a gel that stays where you put it will keep your manicure looking fresh for longer. Start with clean, dehydrated nails, keep gel off the skin, and nourish your cuticles between sets.