Quick answer
The Darcy Duck Needlepoint Kit is an ideal starting point for adults new to needlepoint. Follow these steps to set up your canvas, learn two basic stitches, and finish your project with confidence.
Why this kit works for beginners
The Darcy Duck kit uses 10-count canvas with large holes, making it easier to see where your needle goes. The included Appleton's wool yarns are used as a single strand, so you don't have to split or double threads. This reduces frustration and lets you focus on learning the stitches.
Common beginner pitfalls to avoid
New stitchers often pull yarn too tight, which puckers the canvas. Keep your tension even and let the yarn lie flat. Another mistake is starting without enough thread—cut a comfortable arm's length (about 18 inches) to avoid tangles and frequent rethreading.
Step-by-step stitching guide
- Step 1: Prepare your canvas and yarn: Unfold the canvas and check that the design is centered. Cut an 18-inch length of yarn and thread it through the tapestry needle. Tie a small knot at the end of the yarn, or leave a 2-inch tail to weave in later. Avoid cutting yarn longer than 18 inches—longer threads tangle more easily and can wear thin from repeated pulling.
- Step 2: Learn the tent stitch (half-cross stitch): Bring the needle up from the back of the canvas at the bottom left of a square. Insert it diagonally up and to the right, going down through the next hole. Repeat this diagonal motion across the row, working from left to right. This stitch covers the canvas quickly and is great for large areas. Keep your stitches uniform in tension—too tight will pucker the canvas, too loose leaves gaps. Practice on a scrap area first.
- Step 3: Try the basketweave stitch for texture: Work in diagonal rows instead of horizontal ones. Start at the top right corner of your design area. Bring the needle up, then insert it diagonally down and to the left. Move one row down and repeat. The basketweave creates a denser, more durable surface and reduces distortion on the canvas. Basketweave uses more yarn than tent stitch, so plan your thread lengths accordingly. It's ideal for areas that will see handling, like the duck's body.
- Step 4: Change colors and manage thread ends: When switching to a new yarn color, end the old thread by weaving it through the back of several completed stitches. Cut the tail close to the canvas. Thread the new color and start stitching from the back, leaving a short tail to secure later. Never knot the new thread on the front—it creates bumps. Always start from the back and weave the tail through existing stitches.
- Step 5: Finish and display your project: Once all areas are stitched, trim any loose tails. If you plan to frame the piece, block the canvas by lightly dampening it and pinning it to a flat surface until dry. Alternatively, you can mount it in a small hoop or frame for a finished look. Blocking is optional for small projects like this one, but it helps straighten edges and gives a professional finish if you're gifting the piece.
Kit contents at a glance
-
Darcy Duck Needlepoint Beginner Kit: The kit includes a 5" x 5" color-printed design on 10-count canvas, edge-taped for ease of stitching. The pre-taped edges prevent fraying and keep your canvas stable, so you can start stitching right away without extra preparation.
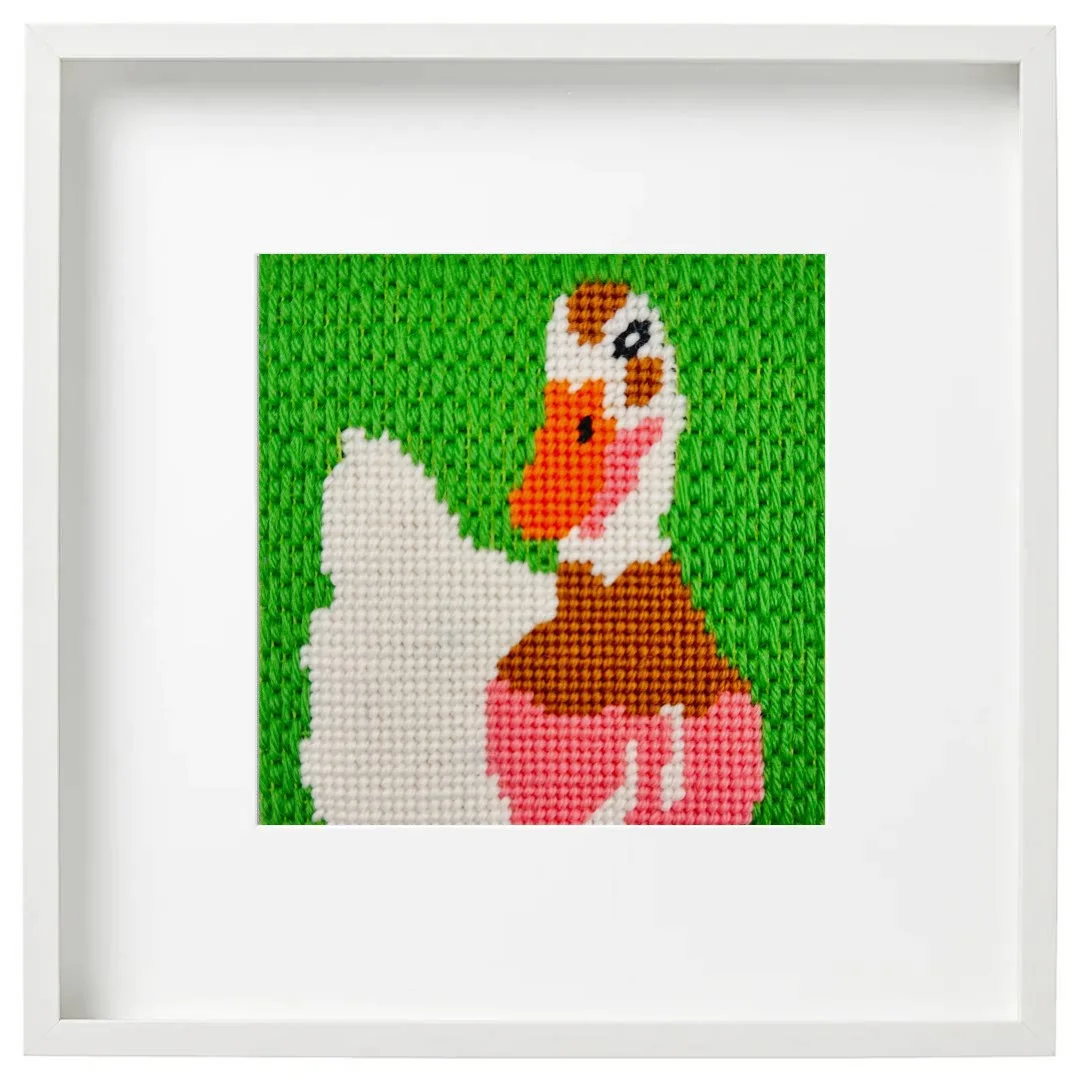
Darcy Duck Needlepoint Beginner Kit
-
Darcy Duck Needlepoint Beginner Kit: It comes with two high-quality Bohin stainless steel tapestry needles and a generous selection of 100% Appleton's tapestry wool yarns. Bohin needles are smooth and durable, reducing snagging, while the wool yarns glide easily through the canvas for a pleasant stitching experience.