Quick answer
Start with a small, hand-painted canvas on 18 mesh, a tapestry needle, and a thread kit or a few skeins of silk-wool blend. Learn the continental stitch first, keep your tension relaxed, and finish one small design before buying a larger project.
Needlepoint is one of the most forgiving needle arts you can learn. You cover a painted canvas with simple tent stitches, and the design tells you where each color goes. If you can thread a needle and count to two, you can do this.
This guide walks through the process in order, from choosing a first canvas to binding off the last thread. Each step includes the mistake beginners make most often, so you can catch it before it becomes a problem.
Step 1: Choose a Small First Canvas
Your first project should be small enough to finish in a few sittings and simple enough that you can see your progress. A design under four inches square on 18 mesh is ideal because the holes are easy to see and the stitches are small enough to look neat even when your tension is uneven.
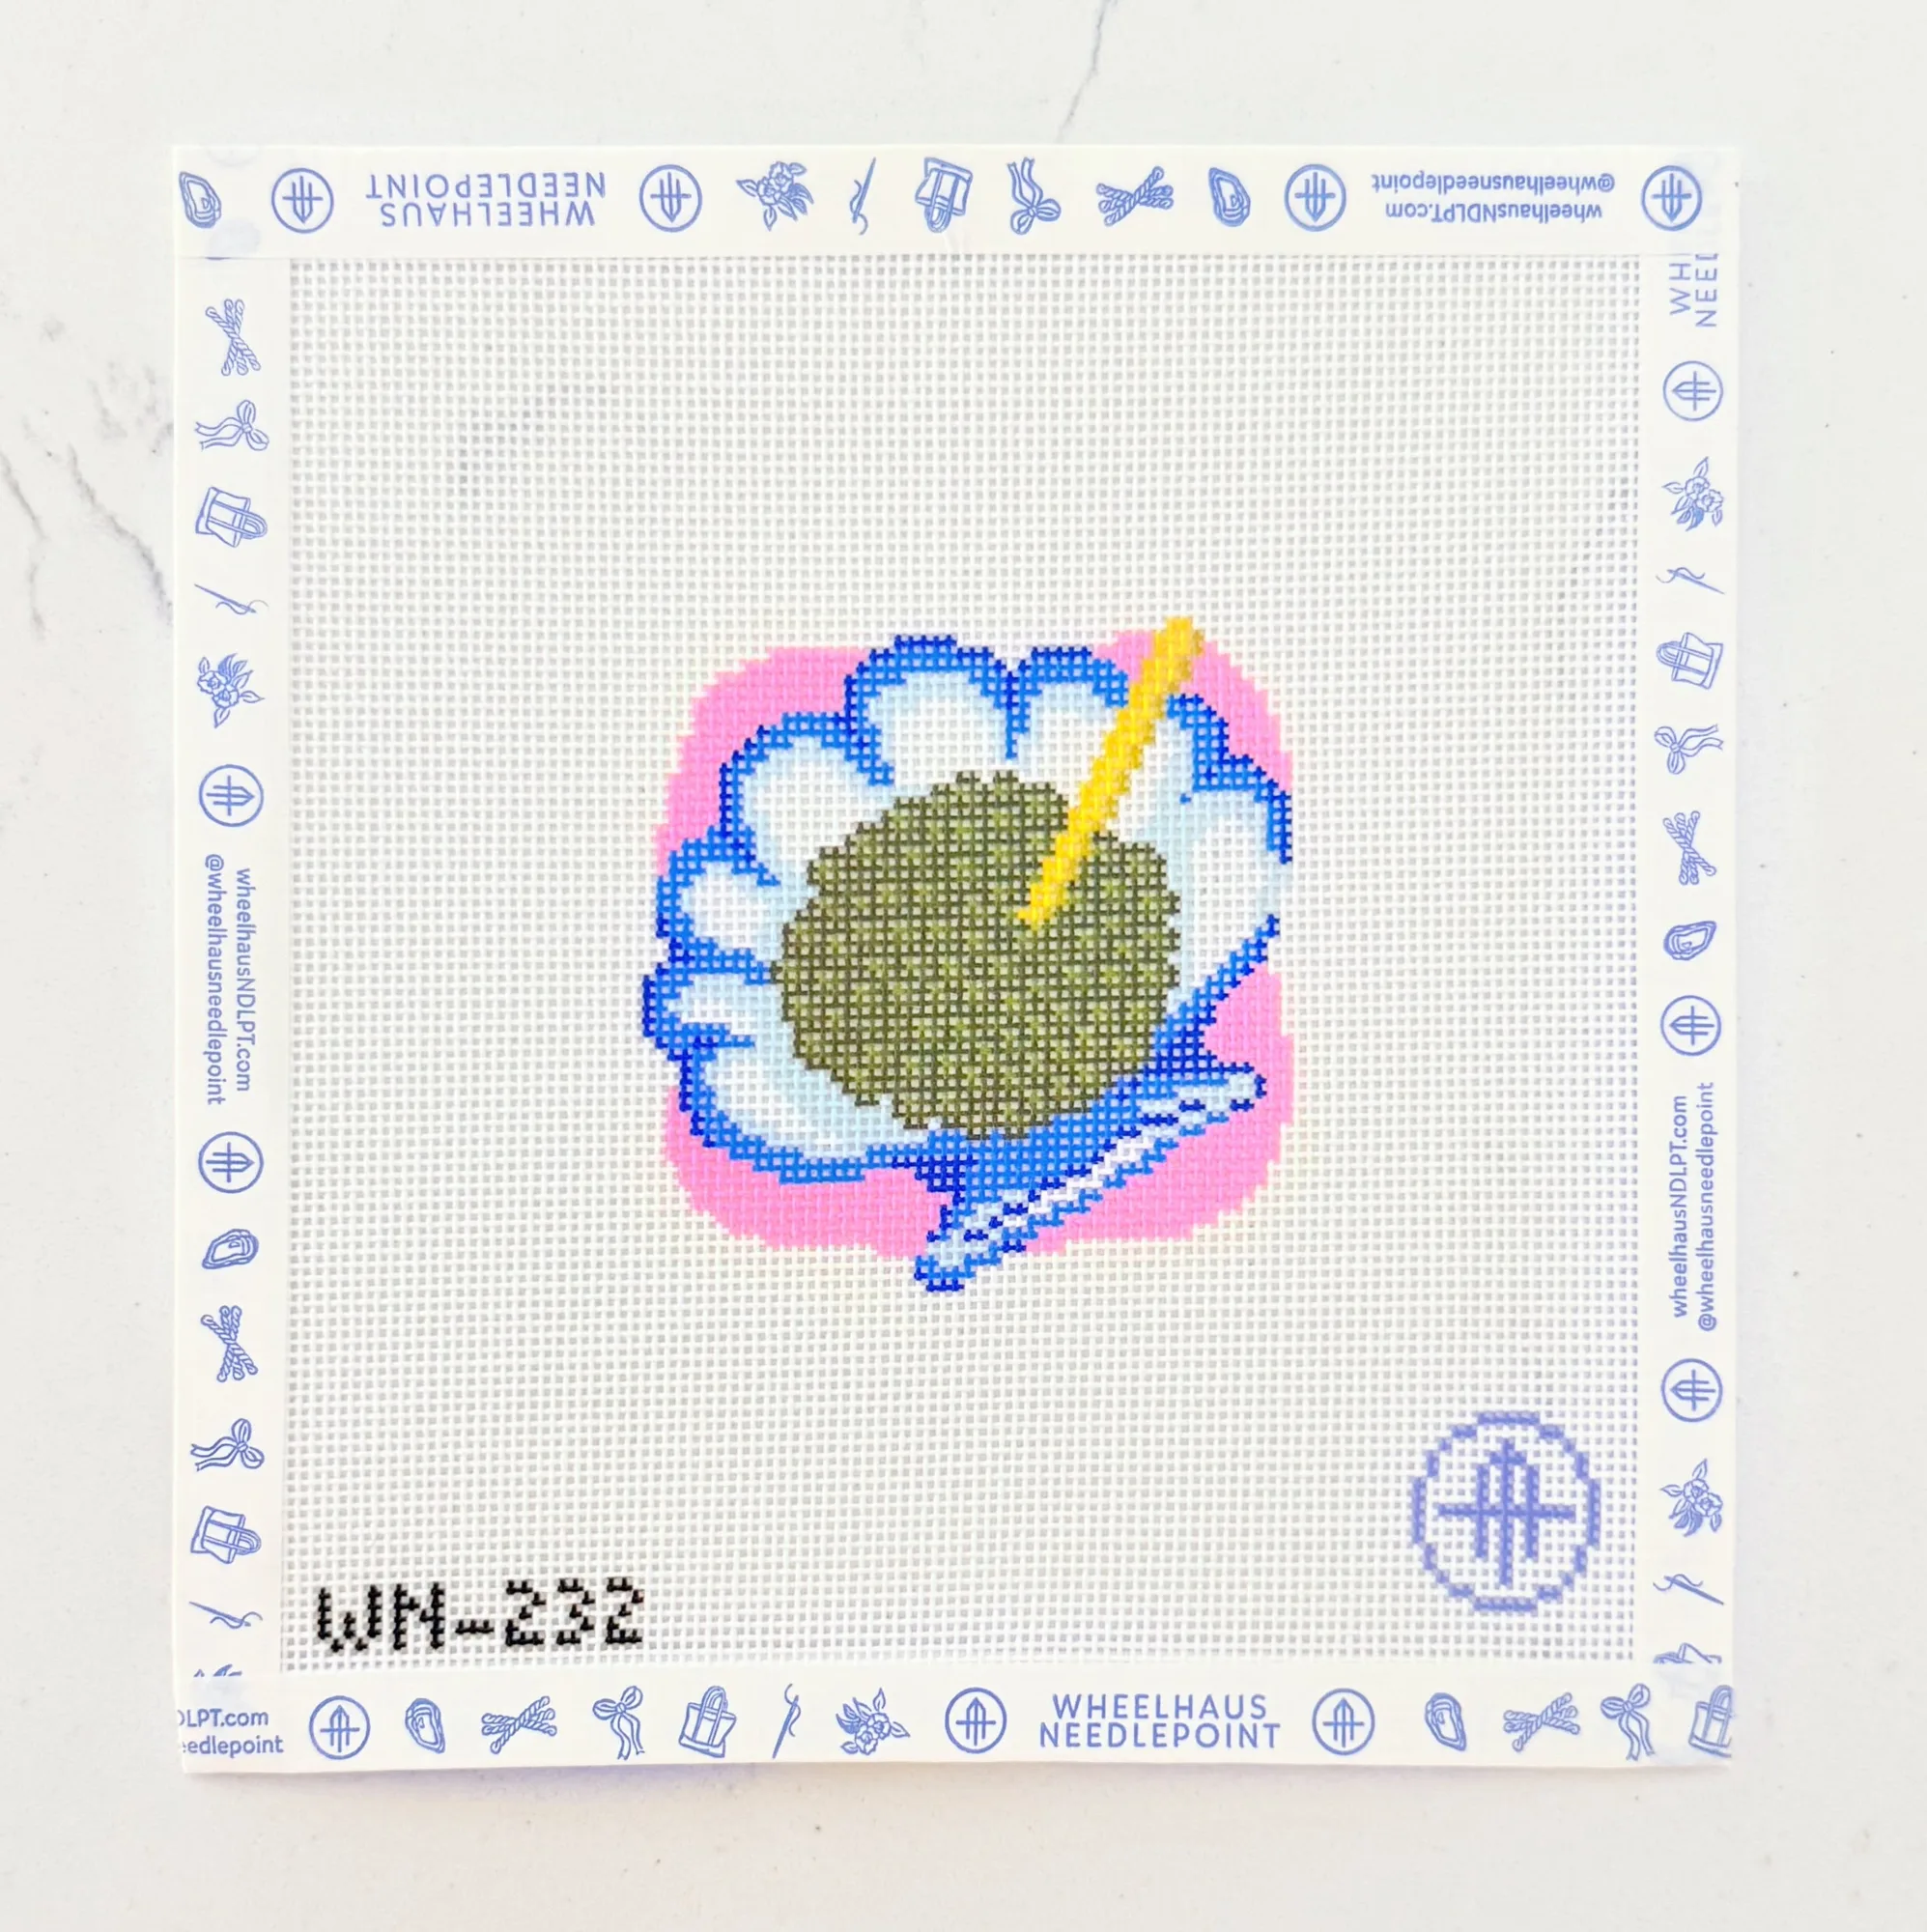
Look for a hand-painted, stitch-painted canvas, which means the design is painted directly onto the mesh so you always know where each color belongs. Preorder - Euro Summer Mini - Caviar is an 18 mesh, 3x3 design that fits this brief well: small, clearly painted, and quick to complete.
- Common mistake: buying a large 13 mesh canvas first. The bigger holes and thicker threads make coverage harder to control for a beginner.
- Checkpoint: if you can hold the canvas in one hand without your arm tiring, it is small enough to start.
Step 2: Gather the Right Supplies
You need four things to begin: a painted canvas, a tapestry needle, thread, and a way to protect your work in progress. A thread kit takes the guesswork out of color matching, while buying individual skeins gives you more control over fiber choice. Milan Skeins are a 50% silk, 50% Merino Wool blend sold in 30-yard skeins, which gives roughly 20 square inches of coverage on 13 mesh.
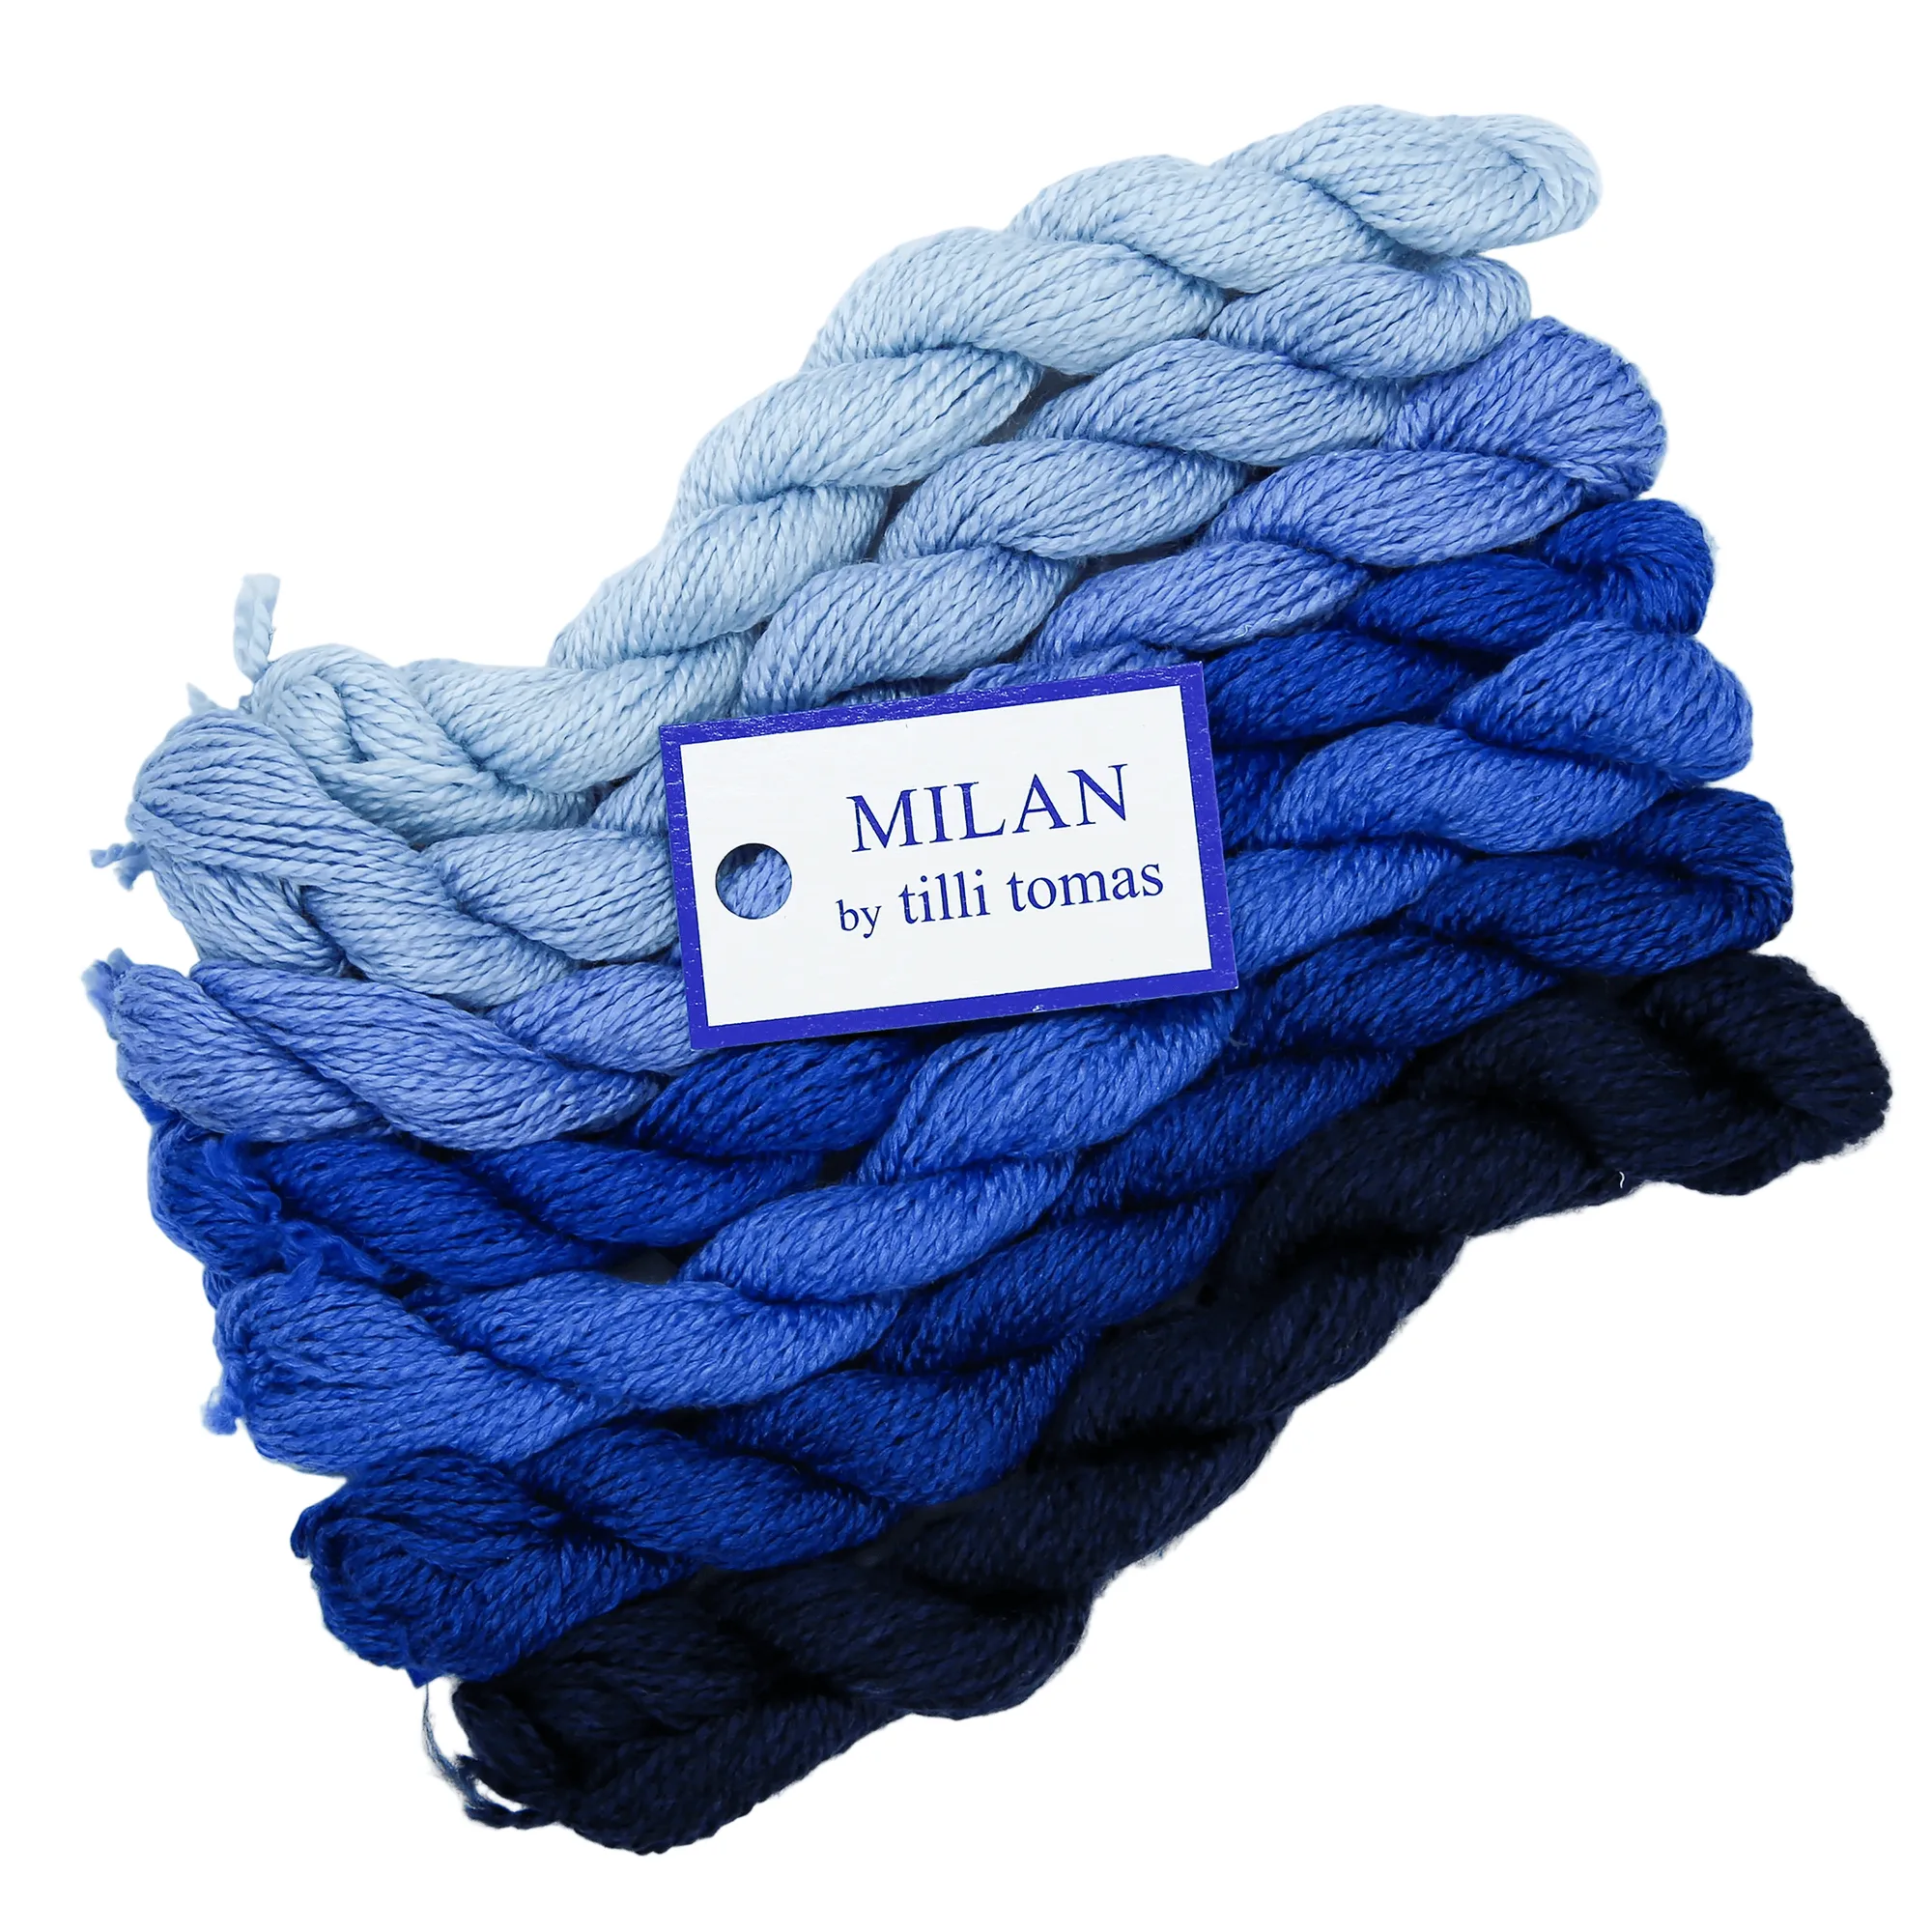
Milan Skeins
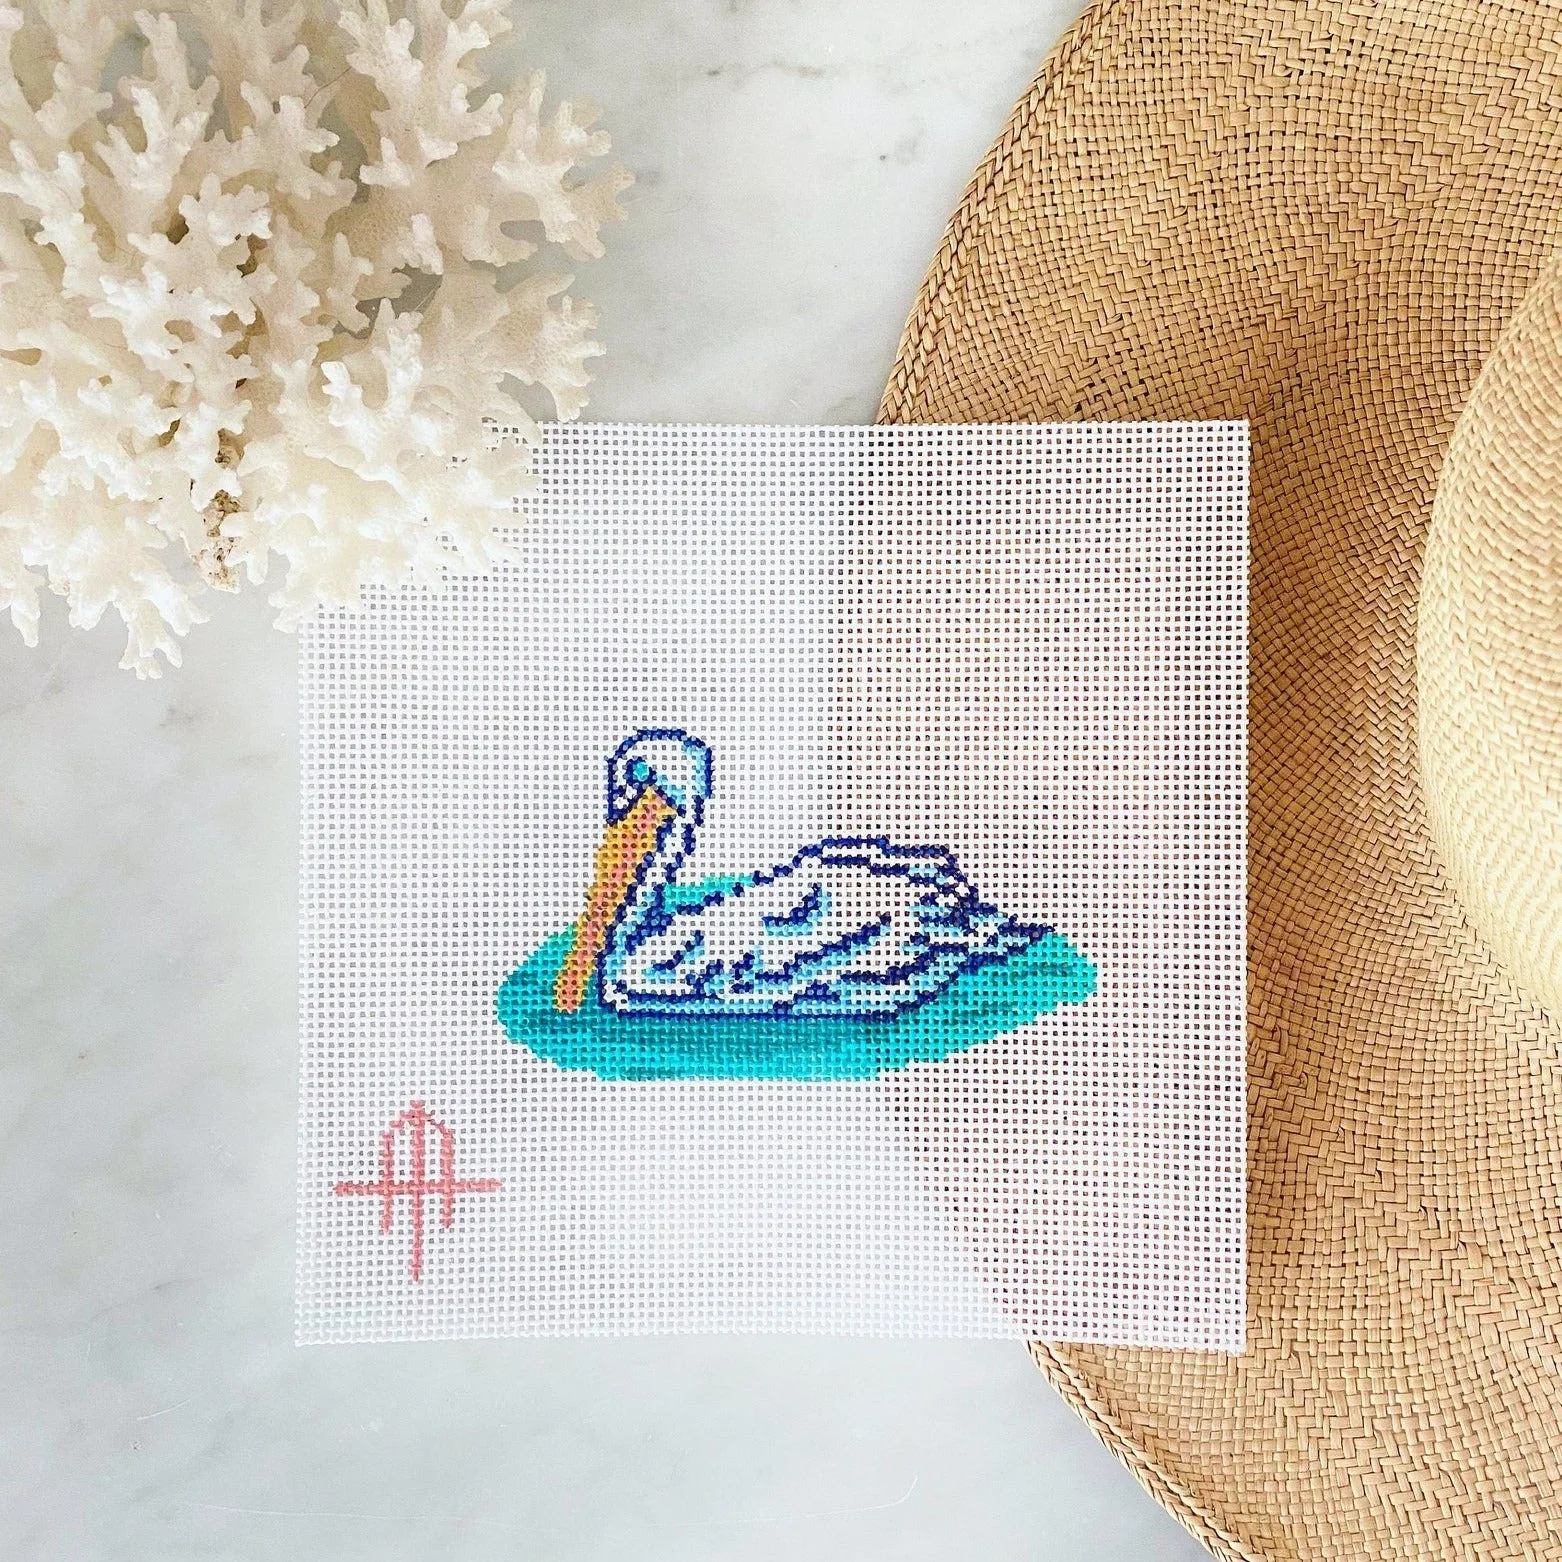
If you are not sure which route to take, a kit is the safer first purchase. Pelican is available as canvas only or as a thread kit that includes the canvas, a curated set of silk and wool fibers, a thread ring, a tapestry needle, and a stitch brochure.
- Common mistake: buying thread before you know your mesh count. A 13 mesh canvas needs thicker coverage than an 18 mesh canvas.
- Checkpoint: lay your needle and thread next to the canvas before you start. If the needle does not slide through a hole easily, size down.
Step 3: Learn the Continental Stitch
The continental stitch is the fastest tent stitch to learn and the one most beginners should start with. Bring your needle up through an empty hole, go down through the hole one step up and to the right, then repeat across the row. On the return row, work right to left so the canvas stays square.
Keep your thread tension relaxed. If you pull hard enough to distort the mesh, your finished piece will pucker and the canvas will not lie flat. Let the thread rest on the surface rather than tugging it tight.
- Common mistake: working the return row in the same direction, which tilts the stitches and leaves gaps.
- Checkpoint: after one row, the canvas should still be square. If it is bowing, loosen your tension.
Step 4: Follow a Stitch Guide as You Go
A stitch guide tells you which stitch to use in each area and often suggests thread changes. Many Wheelhaus canvases include one of seven stitch pamphlets, so you are not guessing at decorative stitches. Read the guide before you thread your needle so you know where the basketweave sections are and where a specialty stitch begins.
If your canvas does not come with a guide, stick to continental stitch for the whole piece. A single-stitch first project is not a compromise; it is how most stitchers learn tension and coverage.
- Common mistake: skipping the guide until you hit a tricky area, then having to unpick stitches that do not match the plan.
- Checkpoint: mark your place in the guide with a needleminder so you do not lose your spot when you set the project down.
Step 5: Protect and Store Your Work in Progress
Needlepoint canvas snags easily, and a project left loose in a bag will pick up lint and bent stitches. A reusable PVC protective project baggy keeps the canvas clean and lets you see what is inside. Several Wheelhaus canvases include one with the canvas-only option, so check what is already in the package before buying extras.
Roll finished sections rather than folding them. Folds set into canvas over time and are difficult to remove without blocking.
- Common mistake: storing an unfinished canvas flat under heavy objects, which flattens the stitches you have already worked.
- Checkpoint: your project should fit in its bag without folding the stitched area.
Step 6: Finish and Bind Off
When the painted design is fully covered, run your last thread under several stitches on the back and trim it close. Do not knot the thread; knots create bumps that show through the front of the canvas. If you plan to make the piece into an ornament or pillow, leave the canvas unblocked until you are ready to finish it.
For a first project, an ornament or a small framed piece is the easiest finish. It requires no sewing machine and lets you focus on the stitching rather than construction.
- Common mistake: pulling the final thread too tight, which dents the surrounding stitches.
- Checkpoint: hold the finished canvas up to a light. Any visible mesh means a missed stitch.
Your First Needlepoint Project, Step by Step
- Pick the canvas: Choose a hand-painted design under four inches on 18 mesh, such as Preorder - Euro Summer Mini - Caviar. Small and clearly painted beats big and ambitious for a first project.
- Match thread to mesh: Use a thread kit or buy skeins suited to your mesh count, like Milan Skeins for 13 mesh coverage. Wrong thread weight is the most common reason a first canvas looks patchy.
- Stitch the continental row: Work left to right, then right to left on the return, keeping tension relaxed. If the canvas stays square, your tension is right.
- Follow the stitch guide: Read the pamphlet or brochure before threading your needle so you know where specialty stitches begin. Marking your place with a needleminder saves re-reading later.
- Store it properly: Keep the canvas in a reusable PVC project baggy and roll, never fold, stitched areas. Clean, unfolded canvas finishes better.
- Bind off and finish: Run the last thread under existing stitches, trim, and turn the piece into an ornament or small framed work. Hold it to the light to confirm no mesh shows through.
Beginner-Friendly Canvas Facts
- Preorder - Euro Summer Mini - Caviar: 18 mesh, 3x3 design, StitchPerfect Painted Small and clearly painted, so a beginner can finish it quickly and see neat results.
- Pelican: 13 mesh, 4.5 W x 3 H; canvas-only includes canvas, a stitch pamphlet, a WIP project card, and a reusable PVC protective baggy; thread kit adds curated silk and wool fibers, a thread ring, a tapestry needle, and a stitch brochure The thread kit removes color-matching guesswork, while the canvas-only option lets you choose your own fibers.
- Milan Skeins: 50% silk, 50% Merino Wool, 30-yard skeins, roughly 20 square inches of coverage on 13 mesh A blended fiber that covers well and gives a smooth finish, useful when you want to pick colors yourself.
Start small, keep your tension loose, and finish one canvas before you buy the next. The skills you build on a three-inch design carry directly into larger projects, and you will enjoy them far more once the basics feel automatic.