Quick Answer
For a deep clean that keeps your clippers cutting smoothly, disassemble the blade assembly, brush away all hair and debris, wipe the blades dry, then apply a few drops of maintenance oil before reassembling.
Why Deep Cleaning Matters More Than Daily Wiping
Daily wiping removes surface hair, but it doesn't reach the buildup between the blades and inside the clipper body. Over time, dried oil, hair dust, and skin oils can make the blades pull instead of cut, causing discomfort for your clients and extra wear on the motor.
A deep clean—done weekly or whenever you notice a drop in cutting performance—keeps the blade alignment stable and reduces the friction that heats up the clipper during long sessions.
What You Need for a Deep Clean
You don't need a full workshop. A dedicated maintenance kit with a cleaning brush and blade oil covers the essentials. The brush removes debris from tight spaces, and the oil protects the metal after cleaning.
Avoid using water or all-purpose cleaners on the blade assembly unless the manufacturer explicitly allows it. Water can rust the blades and wash away the factory lubrication.
Step-by-Step Deep Clean
- Unplug and Remove the Blade Assembly: Unplug the clipper, then remove the blade screws and lift off the top blade. Keep the screws in a safe place. Common mistake: forgetting to unplug or leaving the clipper on, which risks injury and damage. Check that the power is off before you start.
- Brush Away Loose Hair and Debris: Use the cleaning brush to sweep hair, dust, and skin flakes from the blade teeth, the base plate, and the inside of the clipper body. Angle the brush to reach between the teeth and around the pivot point. Common mistake: brushing only the visible surface and missing the buildup under the blade. Hold the clipper upside down so debris falls out instead of deeper inside.
- Wipe the Blades Dry: Use a dry, lint-free cloth to wipe both the top and bottom blades. This removes old oil and any remaining grime. Common mistake: using a damp cloth or paper towel that leaves fibers behind. Make sure the blades are completely dry before oiling.
- Apply a Few Drops of Blade Oil: Place one or two drops of maintenance oil along the cutting edge and on the pivot point of the bottom blade. Spread it evenly by moving the blades back and forth manually. Common mistake: over-oiling, which attracts more hair and creates sticky buildup. A little oil goes a long way—start with two drops and add more only if needed.
- Reassemble and Test: Replace the top blade and tighten the screws firmly but not overtight. Turn the clipper on for a few seconds to check that the blades move smoothly without noise or vibration. Common mistake: overtightening the screws, which can bend the blade and cause uneven cutting. If the clipper sounds rough, loosen the screws slightly and re-oil.
Product Spotlight
-
Maintenance Oil and Cleaning Brush Kit: The kit includes a bottle of high-quality blade oil and a cleaning brush for daily cleaning and maintenance. Having both tools together means you can brush away debris and re-lubricate in one go, which is exactly the routine that keeps clippers cutting smoothly.
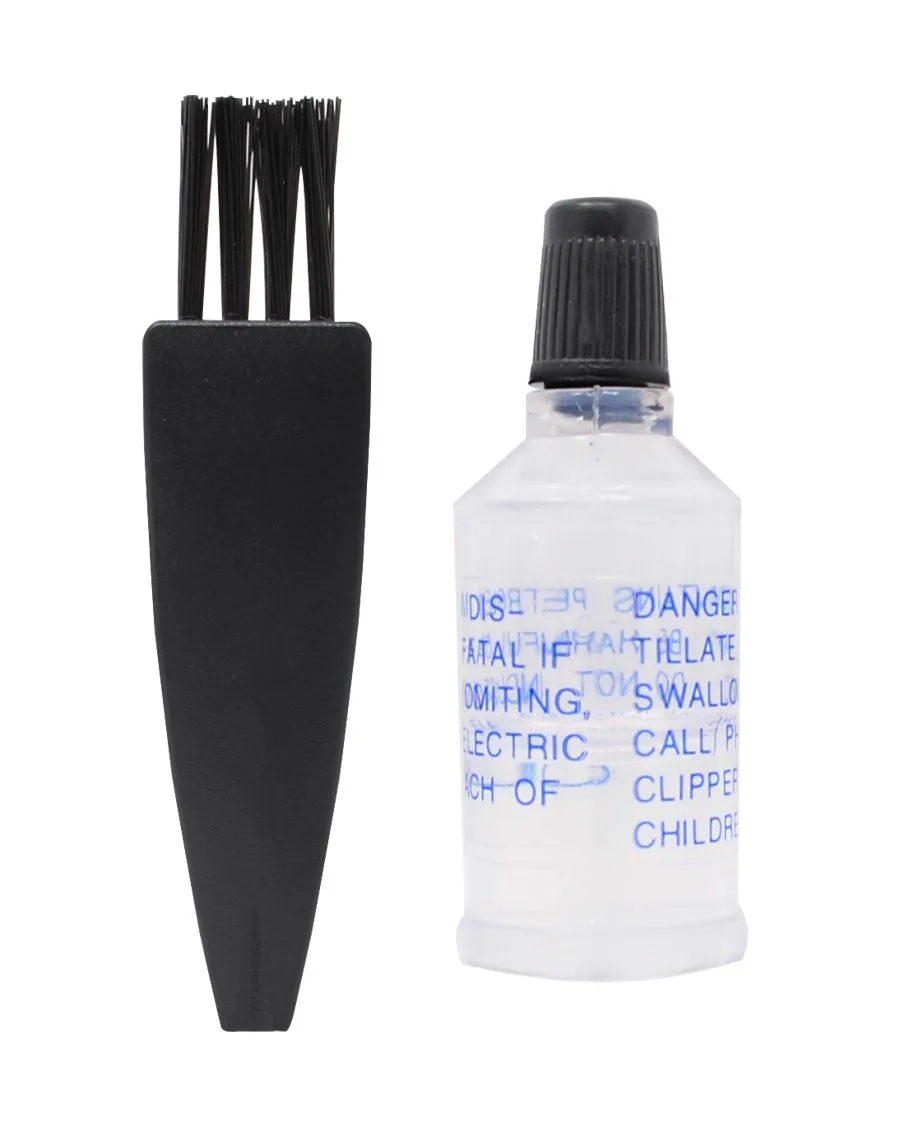
Maintenance Oil and Cleaning Brush Kit