Quick answer
Measure your keyboard and desk depth first, then choose a desktop keyboard stand with deep enough slots and set it up as a single keyboard, mouse, and phone station. Keep the stand within arm's reach so the organizer removes clutter instead of adding a reach.
Why a keyboard stand helps on a small desk
On a narrow desk, the keyboard and mouse already take most of the usable depth. A desktop keyboard stand adds a second level for those items plus a phone, so the surface underneath stays open for writing, a tablet, or a notebook. That matters most when you switch between typing, gaming, and paperwork in the same small footprint.
The tradeoff is height. Raising a keyboard changes your wrist angle and can feel wrong if your chair or desk is already tall. Use the stand for storage and phone docking when you are not typing, and move the keyboard back to the desk surface for long typing sessions if the raised position strains your wrists.
What to check before you buy
Two measurements decide whether a keyboard storage stand works for you: the depth of your keyboard and the depth of your desk. Deep slots hold chunky mechanical boards and full-size office keyboards, but a very shallow desk may not leave room for the stand plus a mouse pad. Also check whether the stand includes a separate area for a mouse and phone; a stand that only holds the keyboard may not reduce enough clutter.
Color is usually the only option on these organizers, so match it to your desk or monitor stand rather than expecting size variants. If your keyboard is unusually thick or your desk is unusually shallow, confirm the slot dimensions before ordering.
Set up your keyboard, mouse, and phone stand
- Measure keyboard thickness and desk depth: Measure your keyboard's thickness and depth, then measure the free depth of your desk from the front edge to the monitor base. Compare those numbers with the stand's slot depth and footprint before placing it. If the stand plus your mouse pad leaves less than a hand's width of front-edge space, reconsider the layout before buying.
- Clear the desk completely: Remove everything from the desk surface, including cables, notebooks, and loose stationery. Wipe the area where the stand will sit so it rests flat. A clean start prevents you from building the new layout around old clutter.
- Place the stand where your hands naturally land: Set the stand slightly left or right of your typing center so the keyboard slot sits within easy reach and the mouse area stays on your dominant-hand side. Keep the phone slot visible without moving your head far from the screen. Sit in your normal chair and reach for each item once; if you have to lean, move the stand closer.
- Load the keyboard slot first: Slide the keyboard into the deep slot with the keys facing you and the cable routed toward the back of the desk. Use the same slot for a tablet or notebook when the keyboard is in use elsewhere. Check that the keyboard does not rock or overhang the slot edges.
- Assign the mouse and phone areas: Put the mouse on the flat area beside the keyboard slot and dock the phone upright where you can see notifications. Keep chargers and cables behind the stand rather than across the desk. Leave the front edge of the desk clear so your wrists rest on the desk, not on the stand.
- Do a one-week reset check: At the end of each day, return the keyboard, mouse, and phone to their assigned spots. After a week, notice which item you keep moving and adjust only that slot or position. If the stand keeps getting pushed aside, the problem is reach, not storage capacity.
Product facts
-
Desktop Keyboard, Mouse & Phone Stand Holder w/ Stationary Storage, Suitable for Small Or Large Keyboards, Tablets, Gaming & Office Mice: Deep 1.5-inch (39mm) slots hold modern chunky mechanical keyboards as well as full-size home office keyboards, and can also hold tablets, small laptops, calculators, and paper notebooks. The slot depth means you can plan one stand for a thick gaming board or a slim office keyboard without guessing whether it will fit.
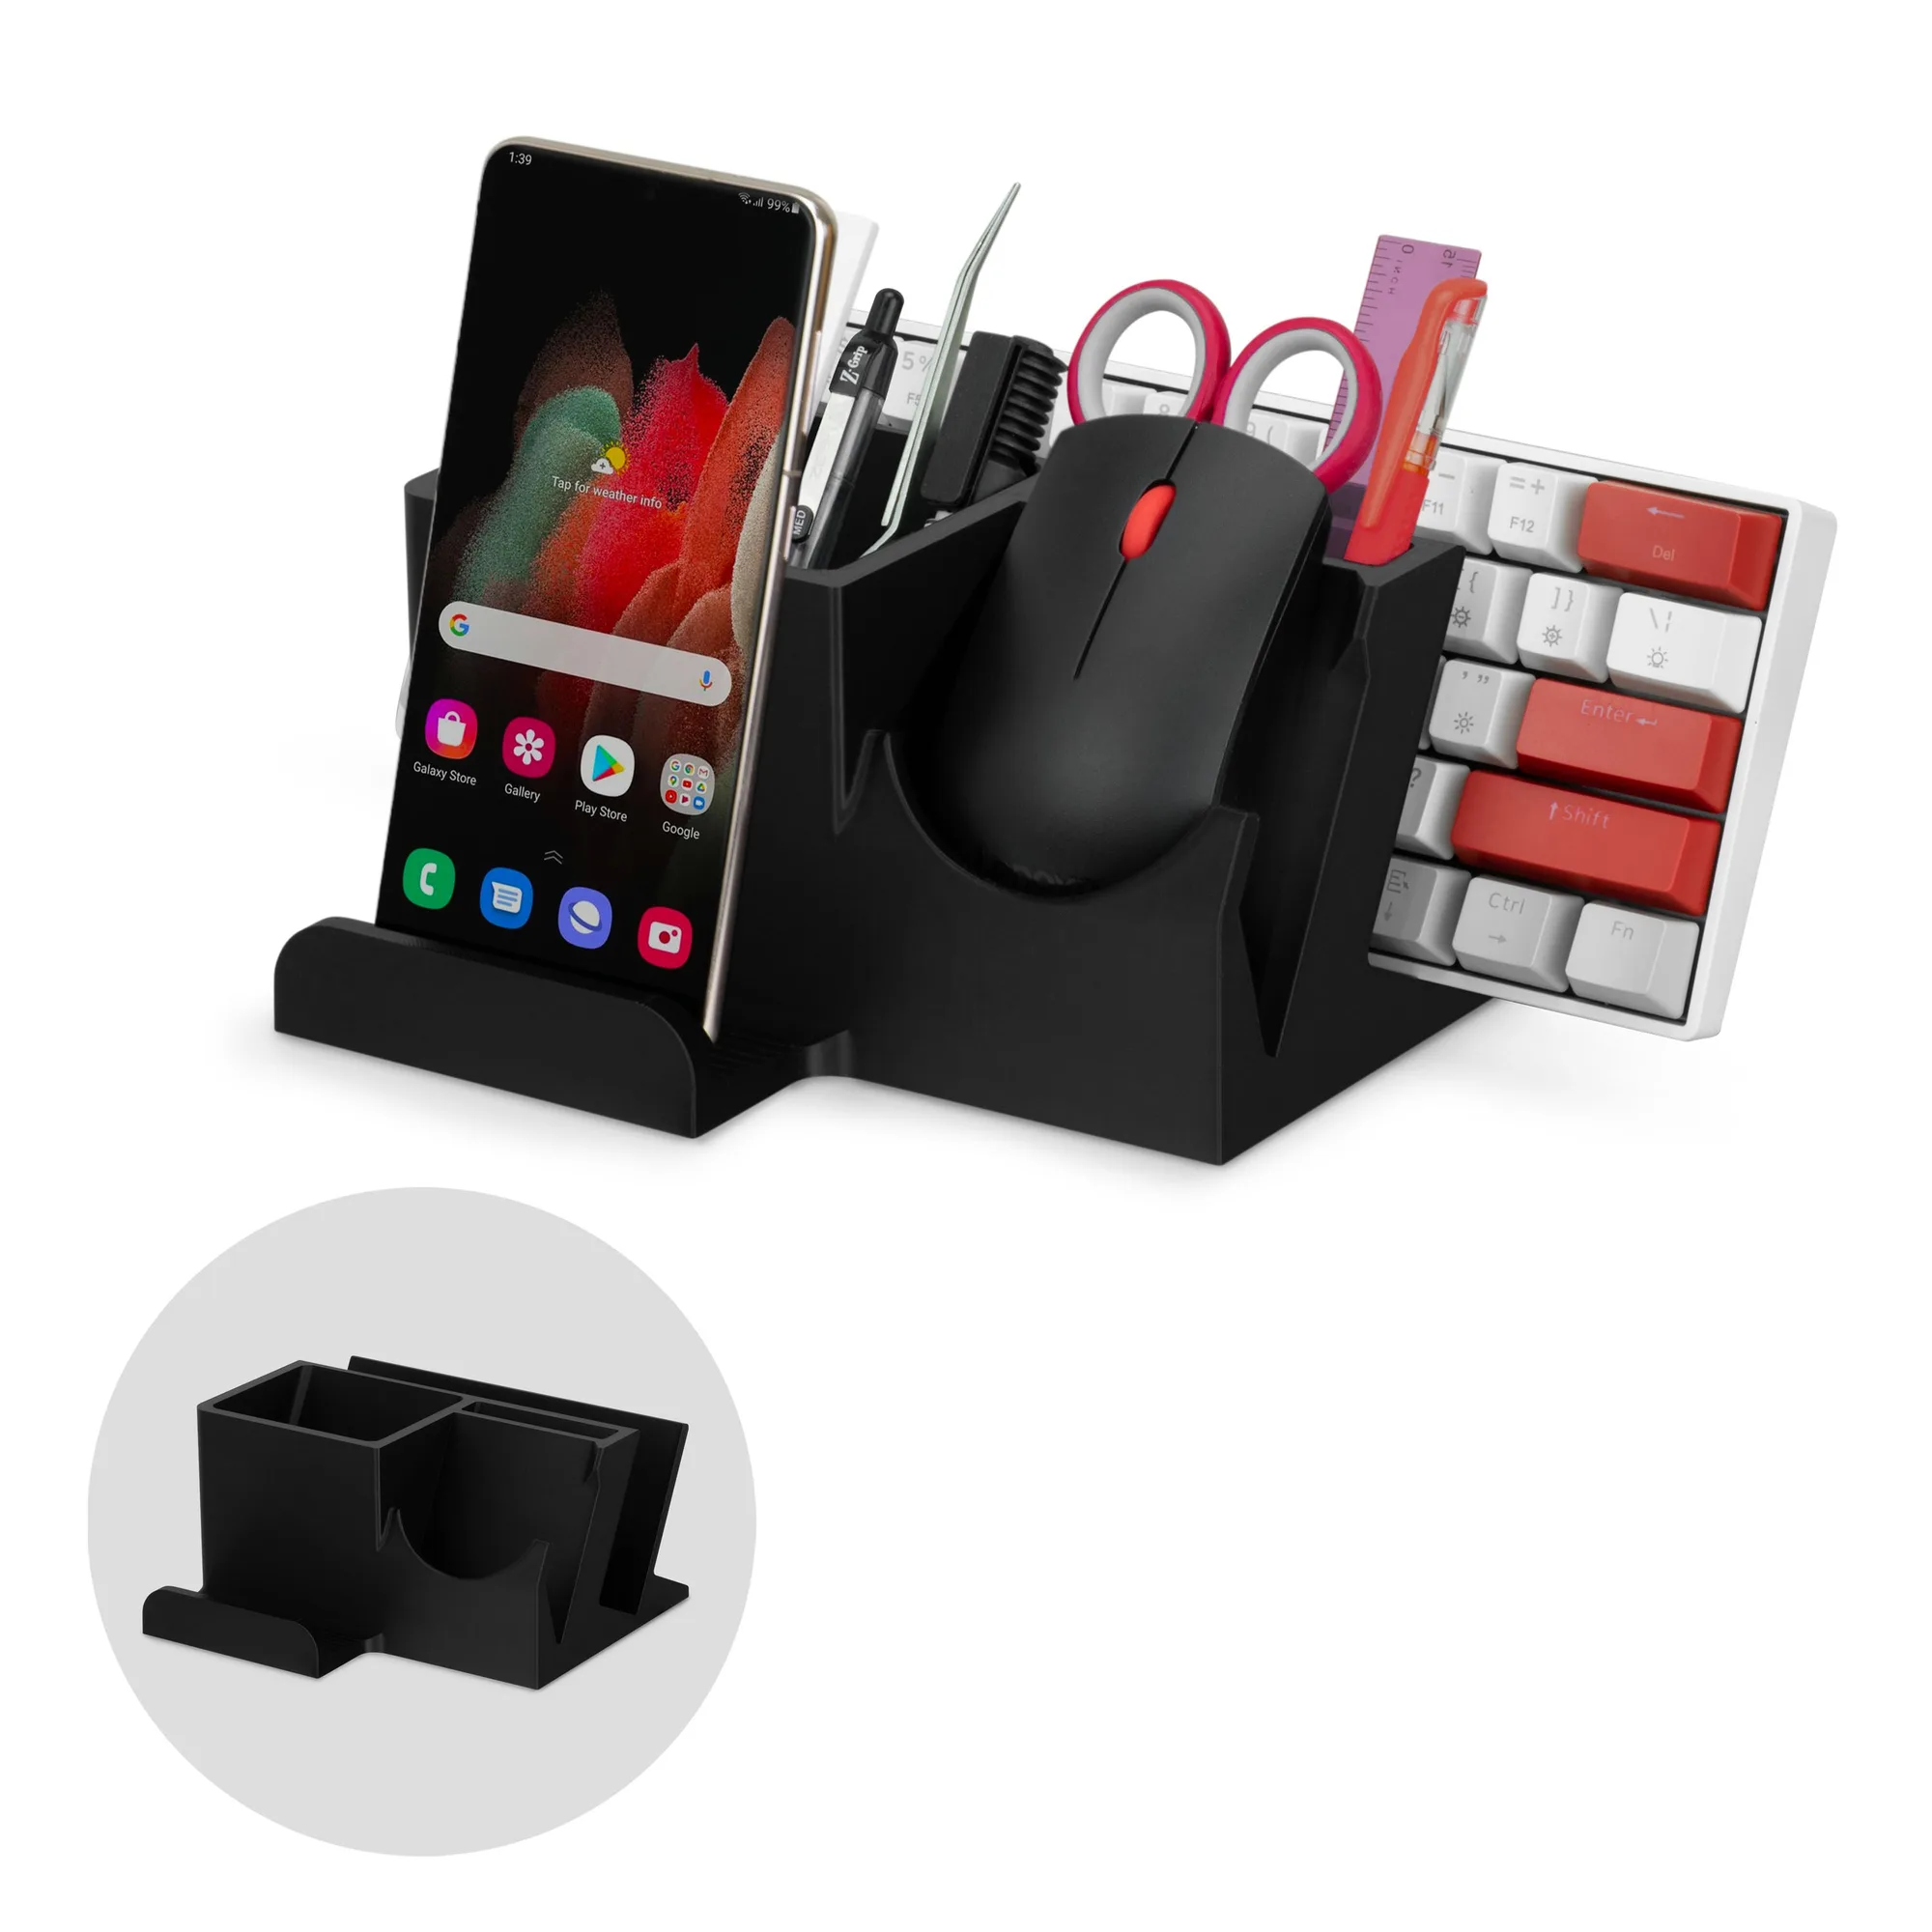
Desktop Keyboard, Mouse & Phone Stand Holder w/ Stationary Storage, Suitable for Small Or Large Keyboards, Tablets, Gaming & Office Mice