Quick answer
To make your own tea kit work, start with one base tea and no more than two botanicals, blend in small 10 g test batches, and taste each batch both hot and cooled before scaling up. A kit that separates ingredients, such as the Retreat Gift Box, makes this trial-and-error process much cleaner because you can adjust one variable at a time.
What you actually need before you blend
A DIY tea blending session goes smoothly when your tools are ready before any leaves are opened. You need a small digital scale accurate to 0.1 g, a spoon or scoop dedicated to dry tea, two or three small bowls for holding measured portions, and airtight jars for storing the finished blend. A notebook or phone note is not optional — without written ratios, you cannot repeat a blend you liked.
- Digital scale (0.1 g resolution) — guessing by spoonful makes blends impossible to repeat.
- Small glass or ceramic bowls — plastic can hold onto aromas from previous blends.
- Airtight tins or jars — light and air flatten delicate floral notes within weeks.
- Notebook — record base, botanicals, ratios, and brew time for every batch.
Understand your ingredients before you combine them
Different tea types and botanicals extract at different speeds, so a blend that tastes balanced dry can taste lopsided once brewed. Green tea and most flowers release flavour quickly in hot water, while roots and bark need longer steeping or a finer cut. If you blend a fast-extracting flower with a slow-extracting root at equal ratios, the flower will dominate the cup and the root will barely register.
The practical fix is to match ingredients by their brewing behaviour. Pair fast-releasing ingredients together, or pre-steep slow ingredients for a minute before adding the rest. This is also why many beginner kits group ingredients by type rather than mixing everything into one bag.
Blend ratios that work for beginners
A reliable starting point for a custom tea blend is 70% base tea and 30% botanicals by weight. If you are blending an herbal infusion with no true tea leaf, use 50% of your main herb and split the remaining 50% between two supporting ingredients. These ratios keep the blend recognisable while still letting you taste what each addition contributes.
Keep your first batches small — 10 g total is enough for three or four cups. That is enough to judge whether the blend works without committing a full tin of expensive leaf to an experiment you may not enjoy.
Brewing and tasting your test batch
Brew your test batch exactly as you would drink it, then taste it twice: once hot and once after it has cooled for ten minutes. Cooling reveals bitterness and astringency that heat masks, especially with green tea and hibiscus. If the cooled cup is harsh, reduce the quantity of the ingredient you suspect, not the steeping time alone — steeping time changes strength, but ratio changes balance.
Write down what you tasted and what you would change. Two or three rounds of this usually produces a blend you are happy to make again.
Step-by-step: blending your first custom tea at home
- 1. Set up a clean, dry workspace: Clear a counter, lay out your scale, bowls, spoon, and jars, and make sure everything is completely dry. Moisture is the main reason homemade blends clump or spoil. Checkpoint: if any tool feels damp, dry it before you open the tea.
- 2. Choose one base and up to two botanicals: Pick a base tea or primary herb first, then add no more than two supporting ingredients. More than three components makes it very hard to tell which one is causing a problem. Common mistake: adding five ingredients at once and losing track of what worked.
- 3. Weigh a 10 g test batch at a 70/30 ratio: Measure 7 g of base and 3 g total of botanicals, or 5 g main herb and 5 g split between two supporting herbs for an all-herbal blend. Write the exact numbers down. Checkpoint: record the weights before you combine anything.
- 4. Combine gently and store in an airtight jar: Toss the ingredients in a bowl with a spoon until evenly distributed, then transfer to a labelled airtight jar away from light and heat. Common mistake: shaking vigorously, which breaks delicate flowers and creates dust.
- 5. Brew and taste the blend hot, then cooled: Brew a single cup using your normal method, taste it hot, then wait ten minutes and taste again. Note bitterness, aroma, and body separately. Checkpoint: if the cooled cup is harsh, adjust the ratio rather than only shortening the steep.
- 6. Adjust one variable and repeat: Change only one ingredient amount at a time — for example, reduce hibiscus by 1 g — and blend another 10 g batch. Repeat until the cup tastes balanced to you. Next step: once you have a ratio you like, scale it up and label the jar with the date.
Kits and teas that support DIY blending
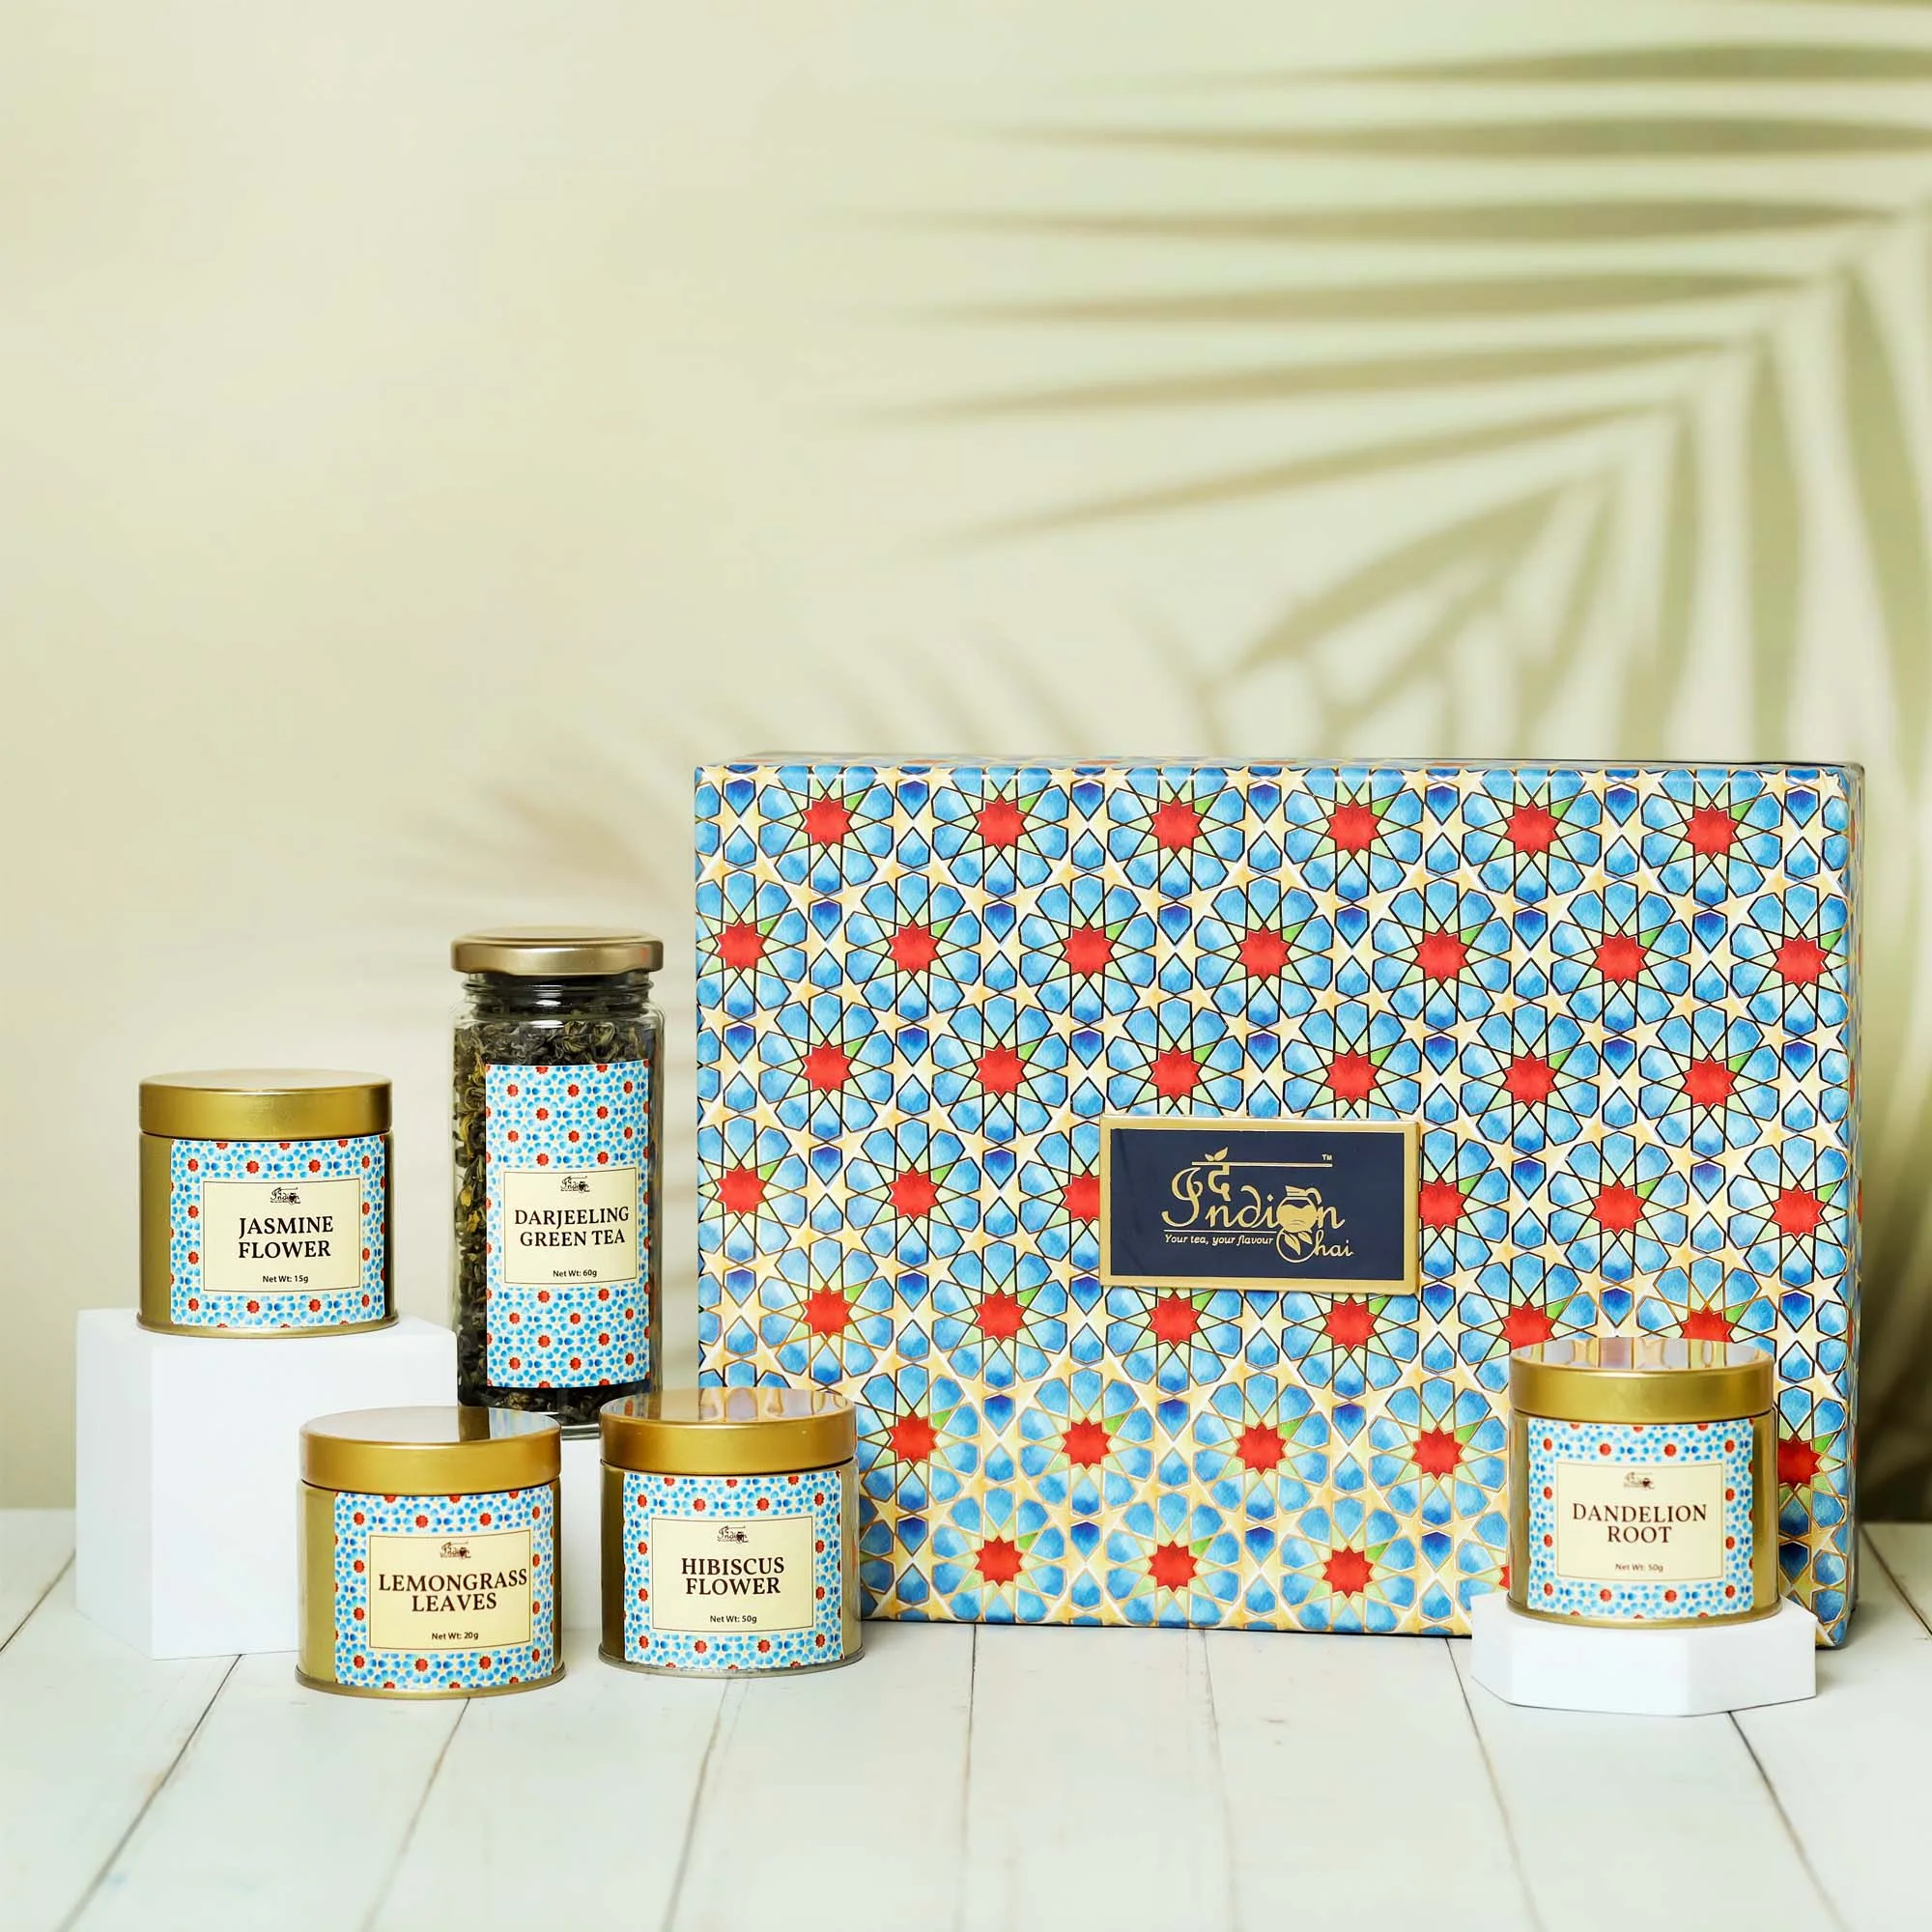
- Retreat Gift Box | DIY | Make Your Own Tea: The Retreat Gift Box includes green tea and four natural botanicals — dandelion root, jasmine flowers, hibiscus flowers, and lemongrass leaves — so you can brew and enjoy as per your preference. Because the ingredients are supplied separately, you can adjust each one independently, which is exactly what a beginner blending session needs.
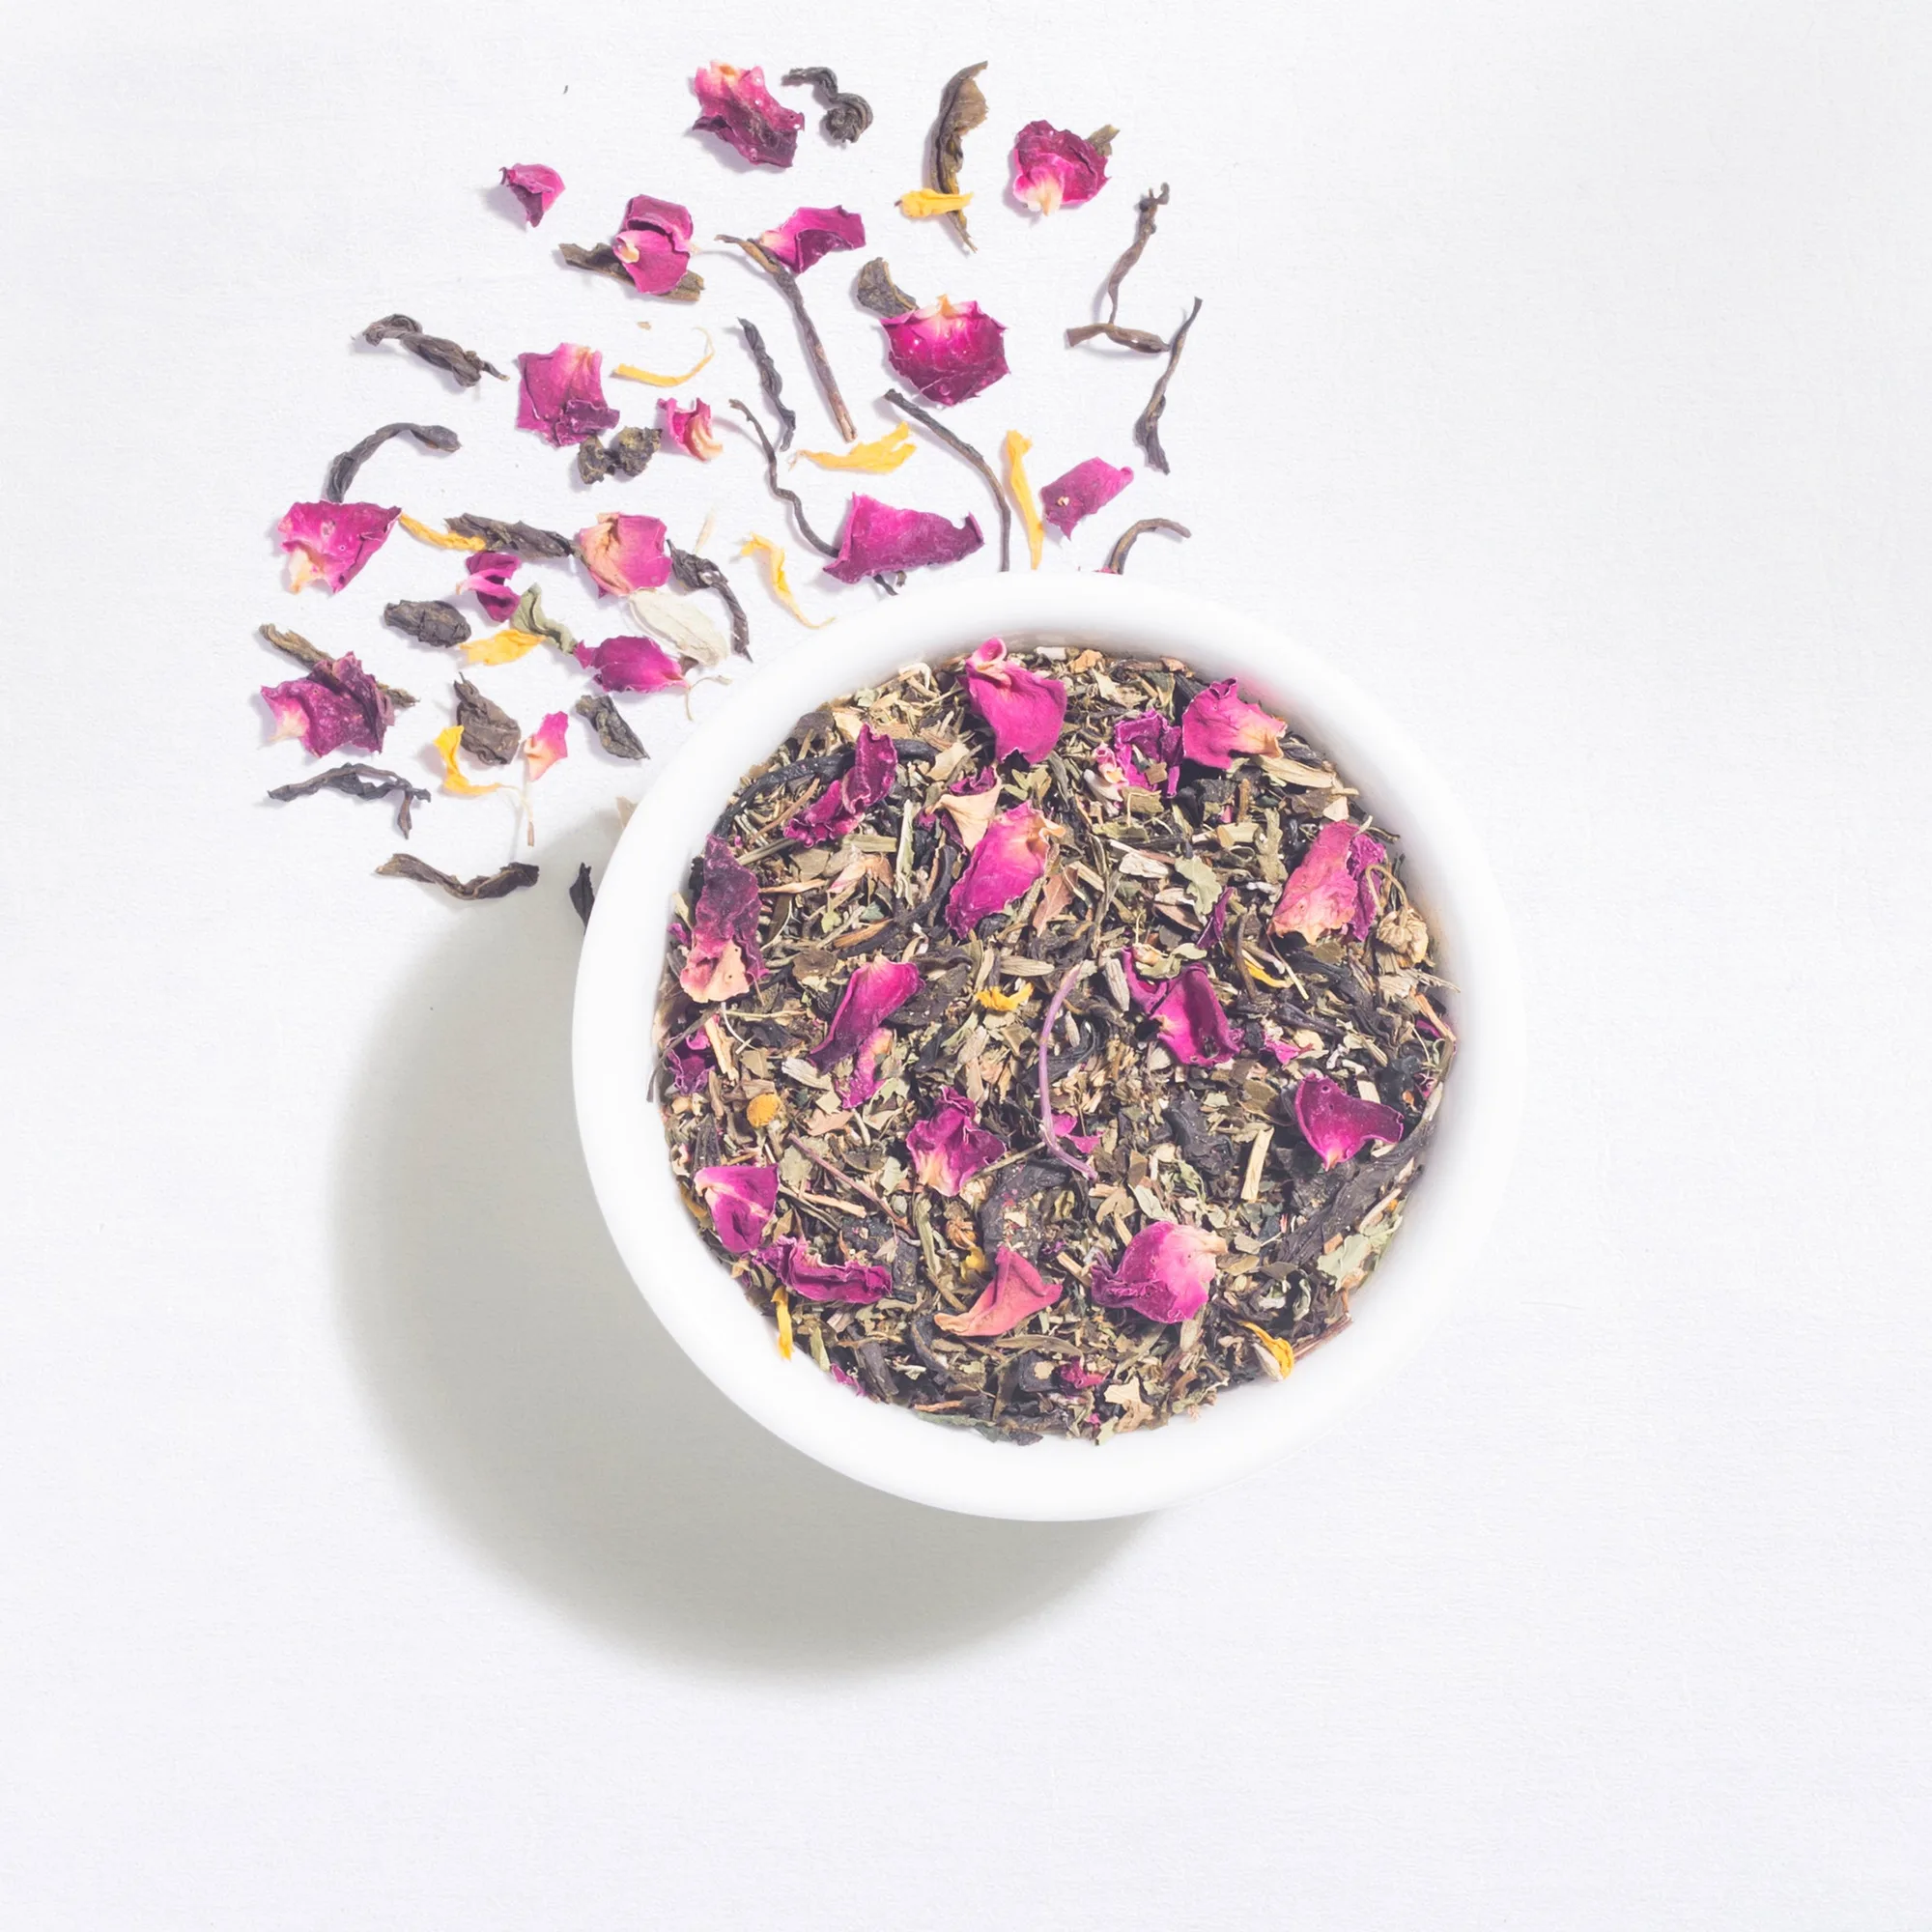
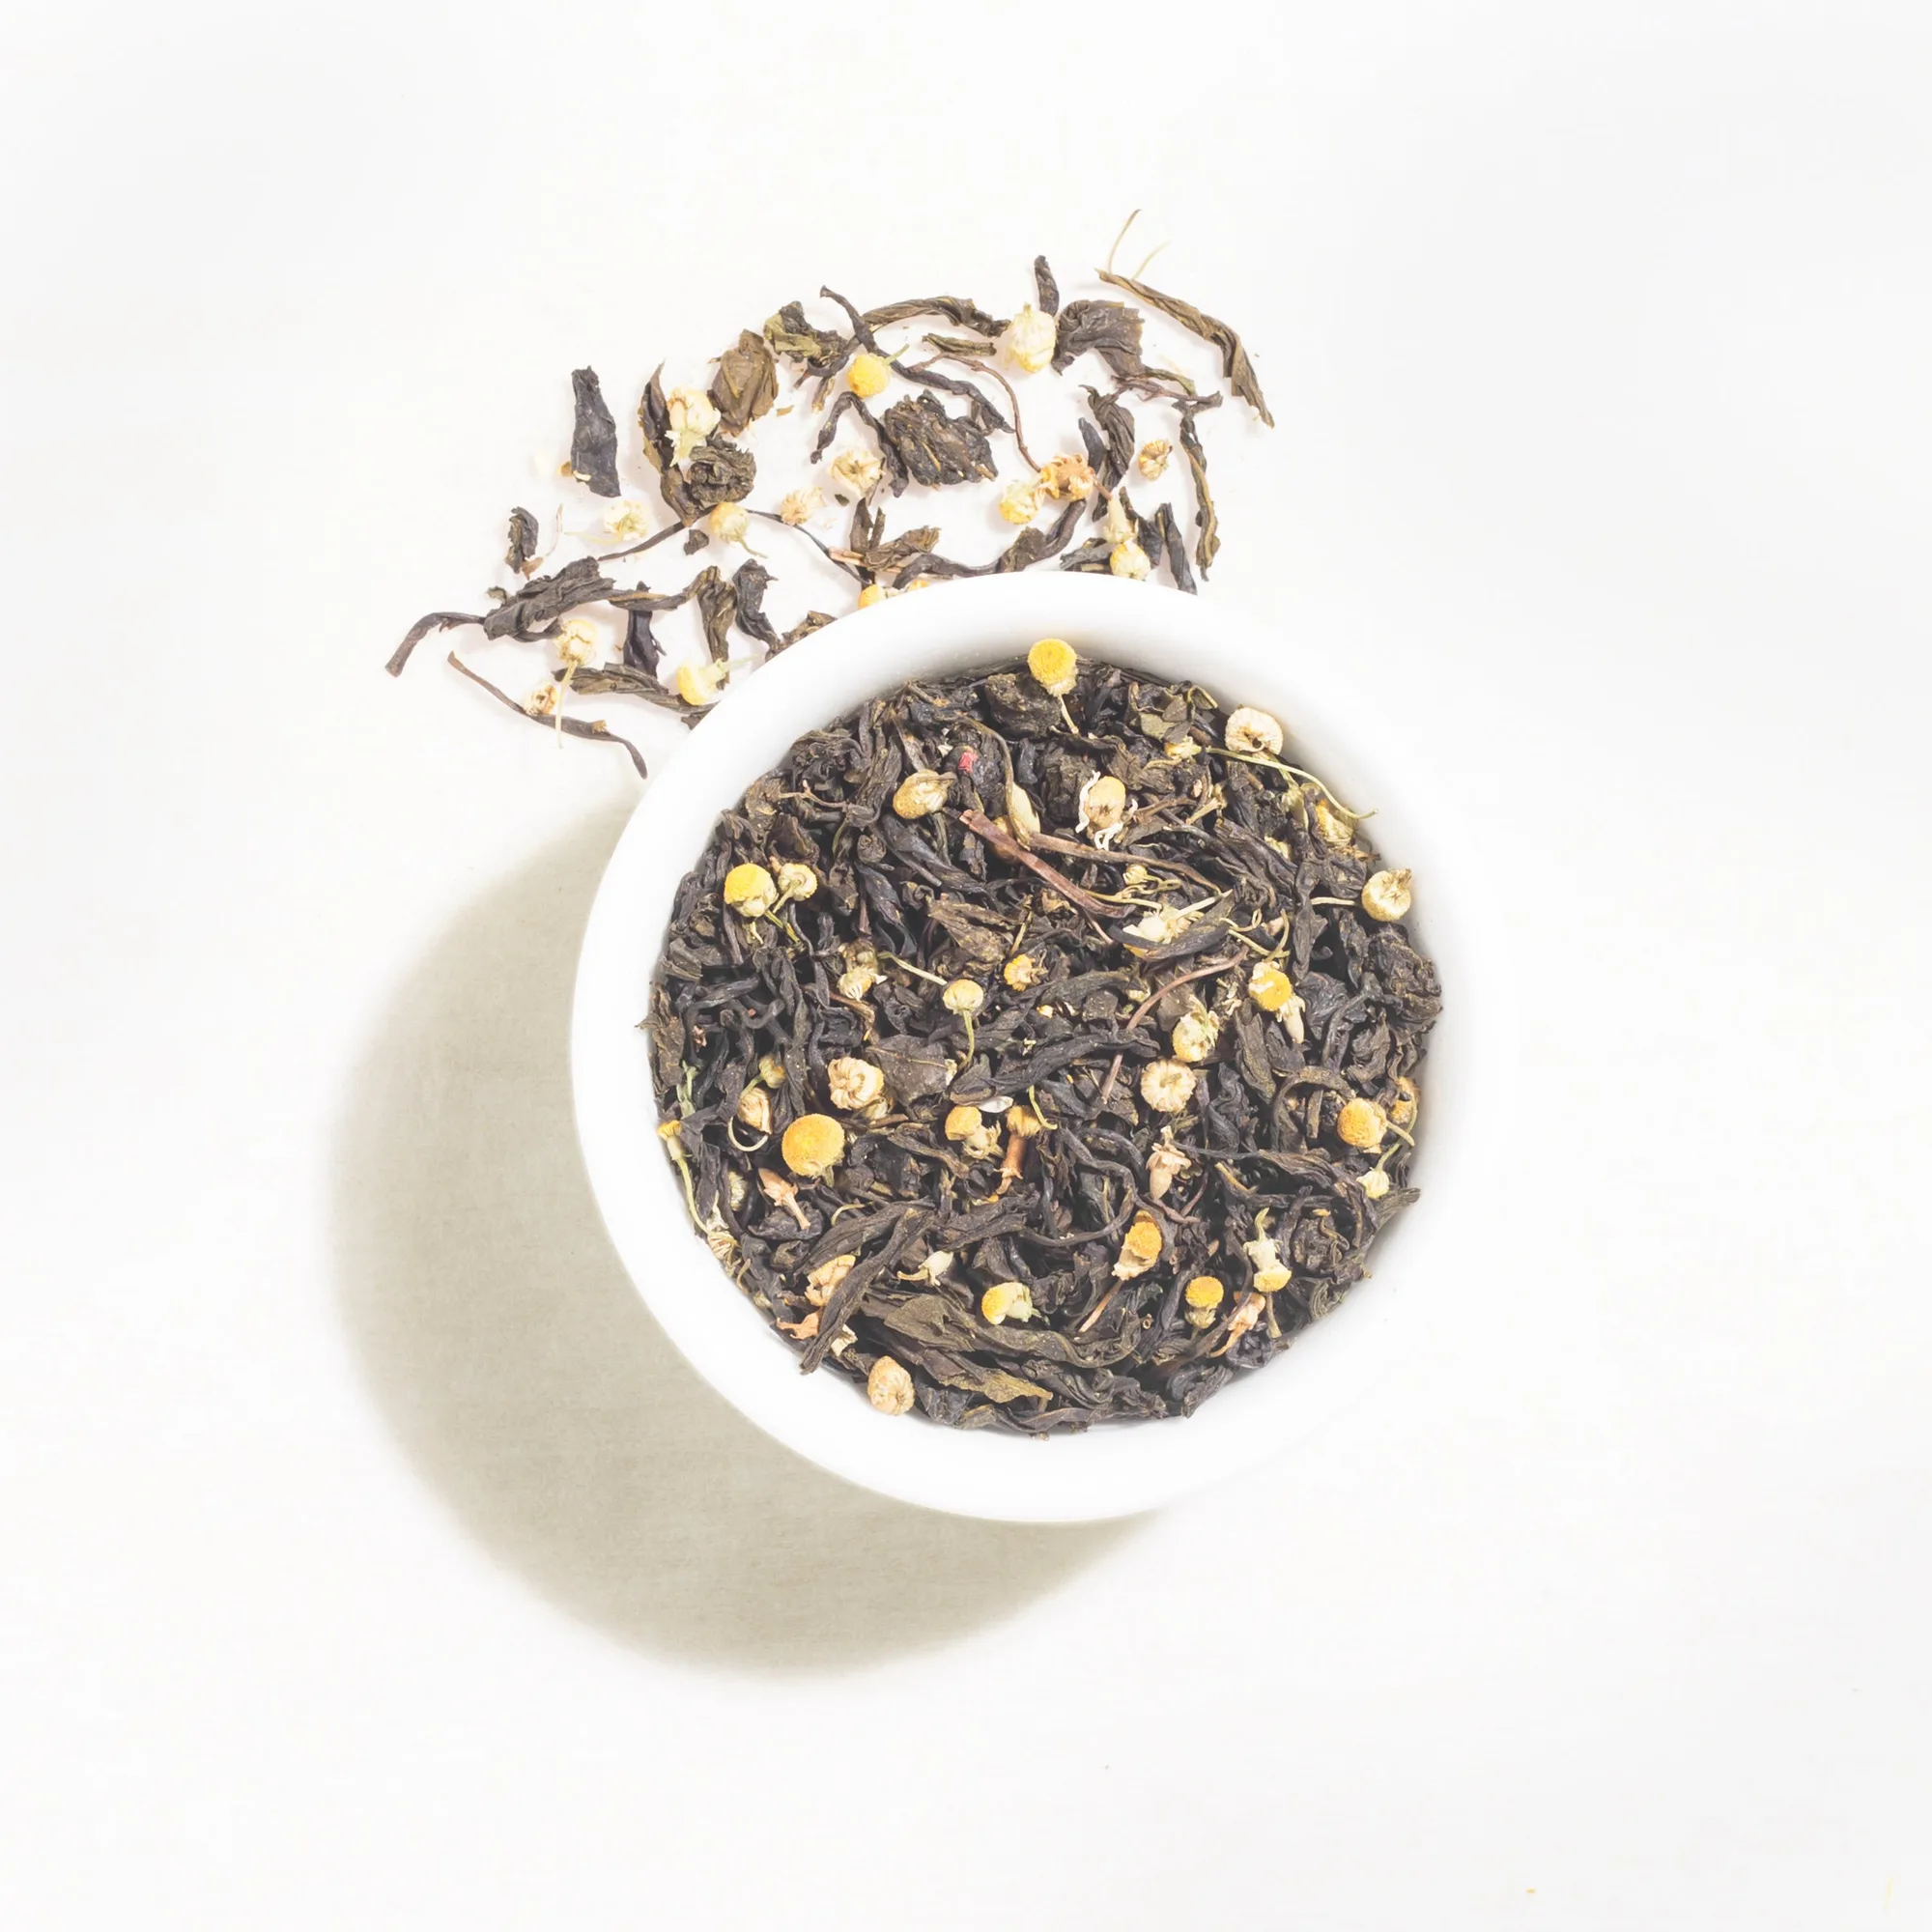
- Chamomile mint green tea: Chamomile mint green tea combines chamomile, known as a calmative and night-time tea, with peppermint, described as a stress reliever and digestive. Use it as a reference blend to see how a floral calmative and a cooling herb balance each other before you attempt your own combination.
- Clear skin tea: Clear Skin Tea includes chamomile, aloe vera, calendula, and sage, described as a floral-tasting tea with natural skin-loving ingredients. It shows how four botanicals can be layered without a true tea base, which is useful if you want to build an all-herbal blend rather than a green or black tea blend.