If you're a Sonny Angel collector, you know the struggle: you've amassed a charming army of little cherubs, but they're scattered across your desk, bookshelf, and windowsill. It's time to give them the spotlight they deserve with a dedicated display. But store-bought shelves can be pricey or not quite right for your space. The solution? Build your own DIY Sonny Angel display shelf! Not only is it budget-friendly, but it also lets you customize the size, style, and layout to perfectly fit your collection and home decor.
In this guide, we'll walk you through several DIY display ideas, from simple floating shelves to creative shadow boxes and tiered stands. We'll cover materials, step-by-step instructions, and styling tips to make your Sonny Angels look their best. Whether you have a few favorites or a sprawling collection, you'll find a project that's right for you. Let's get started!
Why Build a DIY Display Shelf for Your Sonny Angels?
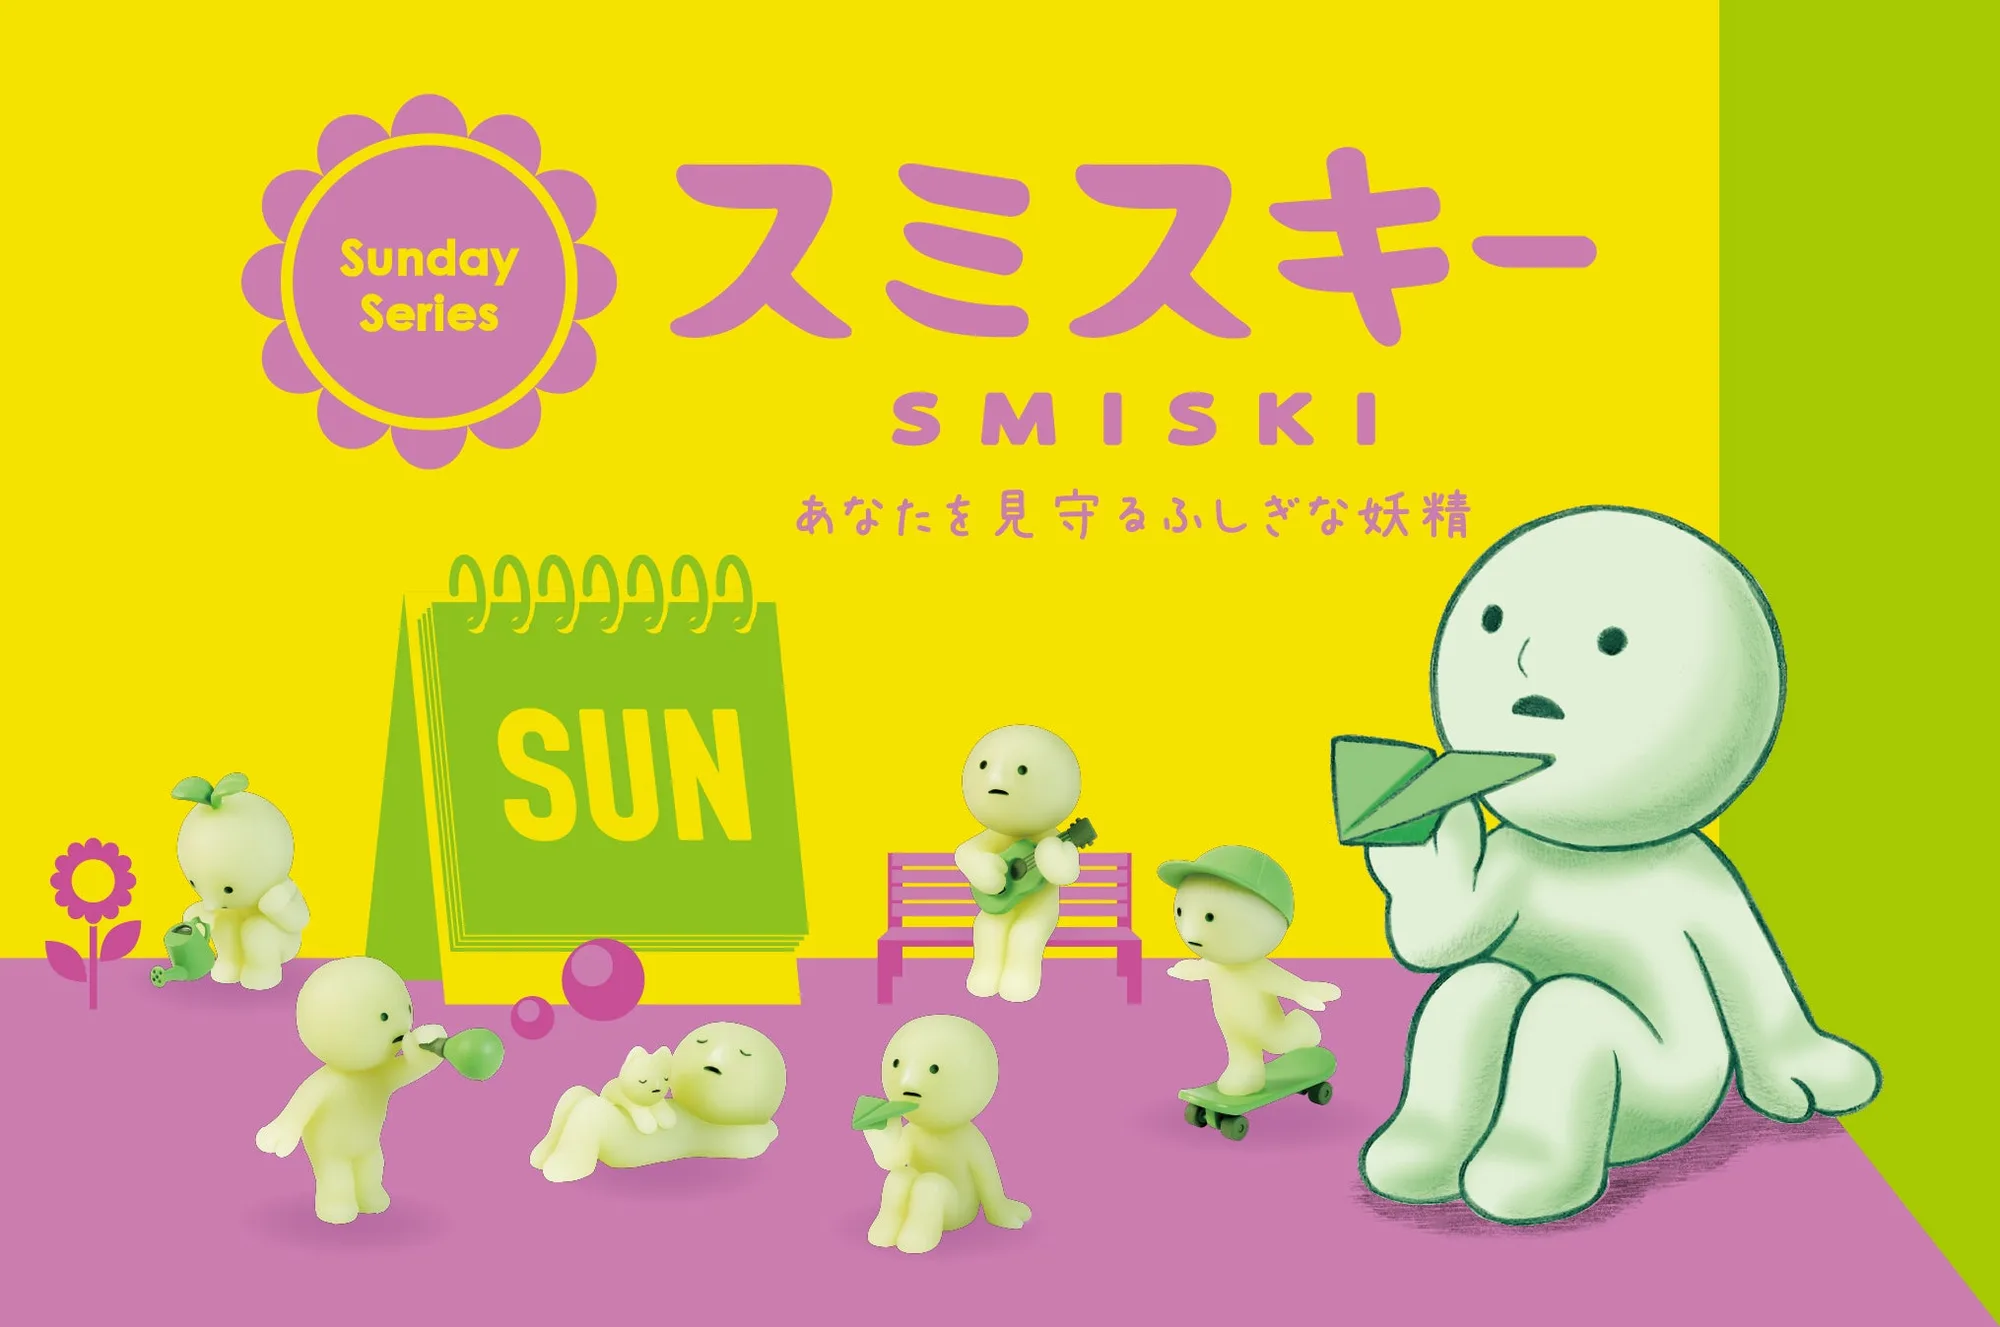
A dedicated display shelf does more than just tidy up your space—it turns your collection into a focal point. Sonny Angels are known for their adorable, detail-rich designs, from the classic Vegetable Series to the quirky SMISKI figures that hide in corners. When displayed properly, you can appreciate every tiny accessory and expression. Plus, a well-organized shelf protects your figures from accidental knocks, dust, and sunlight damage, which is crucial for preserving their value and appearance.

Vegetable Series
DIY shelves offer flexibility that store-bought options often lack. You can tailor the dimensions to fit your wall space, choose colors that match your room, and even incorporate lighting or backdrops for extra flair. Not to mention, building something yourself adds a personal touch that makes your display truly one-of-a-kind. Whether you're a seasoned crafter or a beginner, there's a DIY project here for you.
- Cost-effective: Use materials you already have or inexpensive supplies from craft stores.
- Customizable: Adjust size, color, and layout to fit your space and style.
- Protective: Keep figures safe from dust, sunlight, and accidental damage.
- Personal: Create a display that reflects your personality and collection theme.
Essential Materials and Tools for Your DIY Shelf
Before you start, gather the basics. Most DIY shelves require wood (like pine or plywood), screws, a drill, a level, and paint or stain if you want to customize the finish. For a simpler no-drill option, consider using adhesive wall strips or floating shelf brackets. You'll also want measuring tape, sandpaper, and a saw if you're cutting wood to size. If you're creating a themed display, think about adding decorative elements like miniature plants, LED strip lights, or patterned contact paper.
When choosing materials, consider the weight of your collection. Sonny Angel figures are lightweight, but if you have many or larger pieces like the Sonny Angel Flower Gift series, you'll want a sturdy shelf. Solid wood or thick plywood is best for durability. For a quick and easy option, repurpose an old picture frame or a wooden crate—these can make charming display shelves with minimal effort.
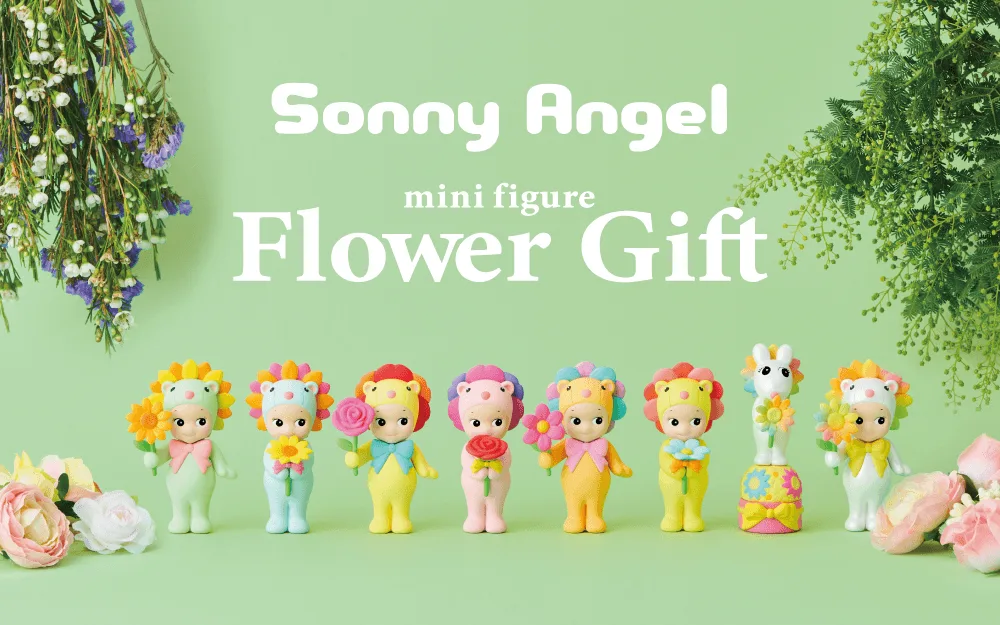
Sonny Angel Flower Gift
- Wood (pine, plywood, or reclaimed wood)
- Screws, nails, or adhesive strips
- Drill, screwdriver, level, measuring tape
- Sandpaper, paint or wood stain
- Optional: LED lights, backdrops, decorative accents
Idea 1: Simple Floating Shelves for a Clean Look
Floating shelves are a classic choice for displaying collectibles. They give the illusion that your figures are floating on the wall, which keeps the focus on the items themselves. To make your own, cut wood planks to your desired length (e.g., 24 inches for a standard shelf). Sand the edges and paint or stain them to match your decor. Then, attach hidden brackets to the wall and slide the shelf over them. Make sure to use a level to ensure they're straight.
For a Sonny Angel display, spacing is key. Leave enough vertical space between shelves to accommodate taller figures, like those from the SMISKI Moving Series or the HIPPERS Looking Back Series, which might have dynamic poses. Arrange your figures in small groups, mixing series and colors for visual interest. You can also add small props like books or plants to create a styled vignette.
- Use a level to ensure shelves are perfectly straight.
- Space shelves 8-12 inches apart to fit various figure heights.
- Group figures by theme or color for a cohesive look.
Idea 2: Shadow Box Display for a Themed Collection
If you have a specific series you love, like the SMISKI Bath Series or the Rainbomb Mini Poop Emoji, a shadow box can turn it into a miniature scene. Shadow boxes are deep frames with a glass front, perfect for creating a 3D display. You can buy one or make your own by attaching a wooden box to a frame. Paint the inside a contrasting color, then arrange your figures on small ledges or platforms inside.
For a quirky theme, consider using a shadow box to recreate a bathroom scene with SMISKI Bath Series figures. Add tiny accessories like a miniature towel or a bar of soap (from a craft store) to set the scene. Alternatively, create a garden-themed box with the Vegetable Series, using faux moss and tiny flowers. The key is to have fun and let your creativity shine.
- Choose a shadow box deep enough to fit your figures comfortably.
- Use adhesive putty to secure figures in place if needed.
- Add a background printed with a scene or use washi tape for a pop of color.
Idea 3: Tiered Stands for Maximum Display in Small Spaces
Tiered stands are perfect for collectors with limited shelf space. You can make a simple tiered stand using wooden dowels and round or square platforms. Cut three platforms of different sizes (e.g., 6, 8, and 10 inches in diameter) and stack them with dowels in the center, securing with wood glue. Paint or stain to your liking. This creates a staircase effect that allows you to showcase multiple figures in a compact footprint.
Place the tiered stand on a desk, mantel, or bookshelf. Arrange your figures from tallest in the back to shortest in the front to ensure visibility. This works great for displaying a mix of series, like the SMISKI Mini Figure Series 1 and the Sonny Angel x Anything Maekake Apron. The different levels add depth and make your collection look more dynamic.
- Use different platform sizes to create visual interest.
- Secure the tiers with strong adhesive to prevent wobbling.
- Rotate figures occasionally to keep the display fresh.
Styling Tips to Make Your Sonny Angel Display Pop
Once your shelf is built, it's time to style it. Start by choosing a color scheme that complements your room. White or natural wood shelves are versatile, but you could also paint them a bold color to make your figures stand out. Add lighting: LED strip lights under each shelf can highlight your collection and create a cozy ambiance. You can also use small spotlights to draw attention to specific figures.
Incorporate props that match the theme of your figures. For example, if you have the Duck Sailor Boat, you might add a small blue fabric to mimic water. For the CABLE BITE JAPANESE STYLE, you could display them on a small tray with chopsticks. The goal is to create a visual story that enhances the charm of your Sonny Angels. Don't overcrowd the shelves—leave some breathing room so each figure can shine.
- Use LED strip lights for a modern glow.
- Add themed props to create mini scenes.
- Leave negative space to avoid a cluttered look.
Building your own Sonny Angel display shelf is a rewarding project that not only saves money but also lets you express your creativity. Whether you choose floating shelves, a shadow box, or a tiered stand, the key is to make it your own. So gather your tools, pick a project, and give your beloved collection the showcase it deserves. Happy crafting!