Quick Answer
Assemble the D&D Nolzur's Gargantuan Tiamat by dry-fitting each head and wing before gluing, then secure the base with a sturdy display stand to keep the unpainted miniature stable for painting and display.
Why Dry-Fitting Matters
The Gargantuan Tiamat kit includes five dragon heads and two large wings that attach to a central body. Each piece has deep cuts for easier painting, but the fit can be tight. Dry-fitting lets you test alignment without glue, so you can sand or trim any flash before committing. This prevents gaps and ensures the miniature sits evenly on its base.
Choosing a Display Base
The included base is functional but may not support the weight of a fully assembled Tiamat over time. A larger, weighted base or a clear acrylic riser distributes the load and reduces wobble. This is especially important if you plan to move the miniature for gaming sessions or display at events.
Assembly Steps for a Stable Tiamat
- 1. Inspect and Clean the Pieces: Remove each piece from the packaging and check for mold lines or excess plastic. Use a hobby knife or fine sandpaper to clean the connection points. Common mistake: skipping this step can cause poor fit and visible seams after assembly.
- 2. Dry-Fit the Heads and Wings: Attach each head and wing to the body without glue. Adjust the angles so the five heads face forward naturally and the wings align symmetrically. Checkpoint: if a piece wobbles or leaves a gap, sand the joint slightly until it sits flush. Test the balance by setting the body on its base before gluing anything.
- 3. Glue in Stages: Start with the body halves (if applicable) using plastic cement or super glue. Let the body cure for 15-20 minutes before attaching the heads and wings. Common mistake: gluing all parts at once can cause misalignment as the glue sets.
- 4. Secure the Base: Once the body is fully assembled, glue the miniature to the base. For extra stability, add a small weight (like a coin or metal washer) under the base before attaching. Checkpoint: the miniature should stand level without leaning. If the base feels unbalanced, use poster putty to temporarily hold it while the glue dries.
- 5. Prime and Paint (Optional): The miniature is already primed, but you can apply a thin coat of primer if you sanded any areas. Use acrylic paints and thin coats to avoid obscuring the deep cuts. Common mistake: thick paint fills the deep cuts and hides the detail.
Product Details
-
D&D Nolzur's Marvelous Miniatures: Gargantuan Tiamat: The D&D Nolzur's Marvelous Miniatures: Gargantuan Tiamat comes with highly-detailed figures, primed and ready to paint out of the box, and includes deep cuts for easier painting. The pre-primed surface saves you a base coat step, and the deep cuts help guide your brush for clean color separation on the five heads.
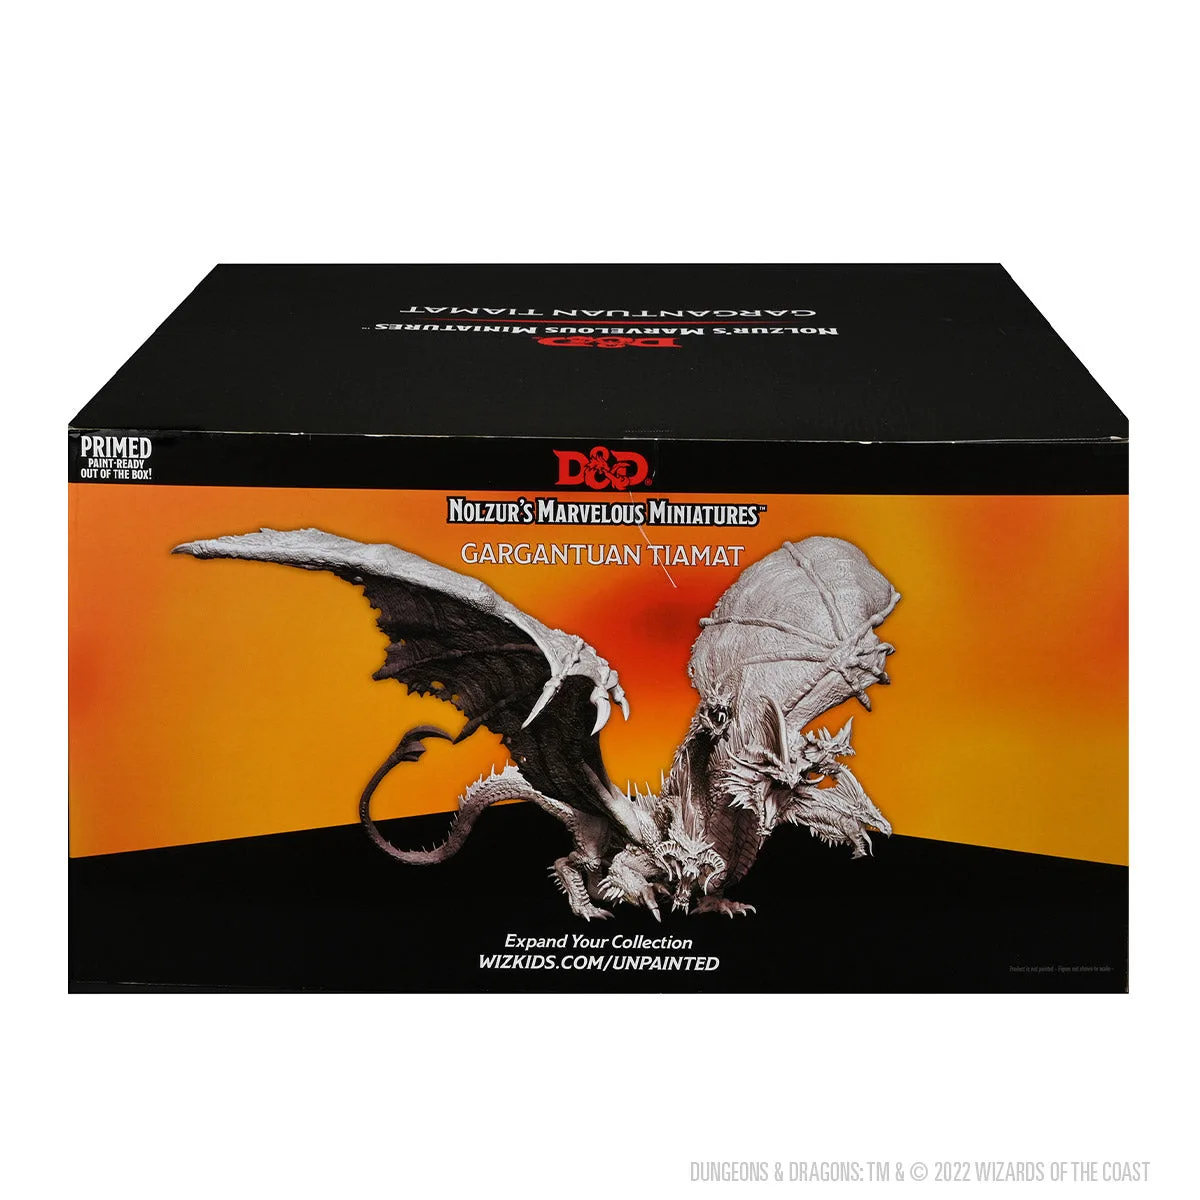
D&D Nolzur's Marvelous Miniatures: Gargantuan Tiamat