Quick answer
Start with a medium setting for pour over, then adjust finer for espresso or moka pot and coarser for French press or cold brew. Always begin at a known reference point and change one variable at a time.
Why ceramic burrs change the way you dial in
The Dome Ceramic Coffee Mill uses conical ceramic burrs that shave beans rather than crack them like blade grinders. This produces a more consistent particle size and transfers less heat to the coffee, which helps preserve aroma. Because the burrs are ceramic, they stay sharp longer but can chip if you force them—so always adjust the grind setting while the mill is empty or running, never with beans lodged between the burrs.
When to ignore the numbers and trust your palate
The settings below are starting points. Different beans, roast levels, and freshness will shift the ideal grind. If your coffee tastes sour or weak, grind finer; if it tastes bitter or harsh, grind coarser. Make one small adjustment at a time and keep notes so you can repeat a good cup.
Step-by-step grind settings for the Dome Mill
- Set a zero reference: With the mill empty, turn the adjustment nut clockwise until you feel resistance—that is your zero point. Then back it off to your desired setting. Common mistake: forcing the nut past resistance can damage the burrs. Always start from zero so you can return to a known setting later.
- Choose a medium grind for pour over: From zero, turn the nut counterclockwise about 8–10 clicks (or to the medium mark if your model has one). This should feel like fine sand. Checkpoint: brew a small test cup; if it drains too slowly, go one click coarser. Medium is your baseline for V60 and other pour over drippers.
- Go finer for moka pot or espresso-style brews: Turn 2–4 clicks finer than medium (about 6–8 clicks from zero). The grind should feel like fine salt. Mistake: going too fine can clog the filter and cause bitterness. Finer grinds need shorter brew times to avoid over-extraction.
- Coarsen for French press: Turn 4–6 clicks coarser than medium (about 12–14 clicks from zero). The grind should resemble sea salt. Checkpoint: if the plunger is hard to press, the grind is too fine—add a few more clicks. A coarse grind keeps sediment out of your cup and allows easy plunging.
- Set the coarsest grind for cold brew: Turn to the coarsest setting (about 16–18 clicks from zero). The grind should look like raw sugar or breadcrumbs. Mistake: using a medium grind for cold brew leads to muddy texture and slow filtration. Coarse grind cold brew extracts slowly over 12–24 hours without bitterness.
- Grind in short, steady bursts: Hold the mill firmly and turn the handle at a consistent speed. Avoid grinding too fast, which generates heat. Checkpoint: if the mill feels warm after grinding, slow down. Steady grinding preserves aroma and protects the ceramic burrs.
- Clean between settings: After grinding, tap out any loose grounds and brush the burrs with a dry brush. Never wash ceramic burrs with water. Mistake: leftover grounds from a coarse setting can throw off your next fine grind. A quick brush keeps settings accurate and extends burr life.
Why the Dome Mill works for this
-
"Dome" Ceramic Coffee Mill: Conical ceramic burrs transfer less heat and shave beans for a more consistent grind than blade grinders. That consistency makes grind settings predictable, so you can fine-tune for each brew method without wild swings.
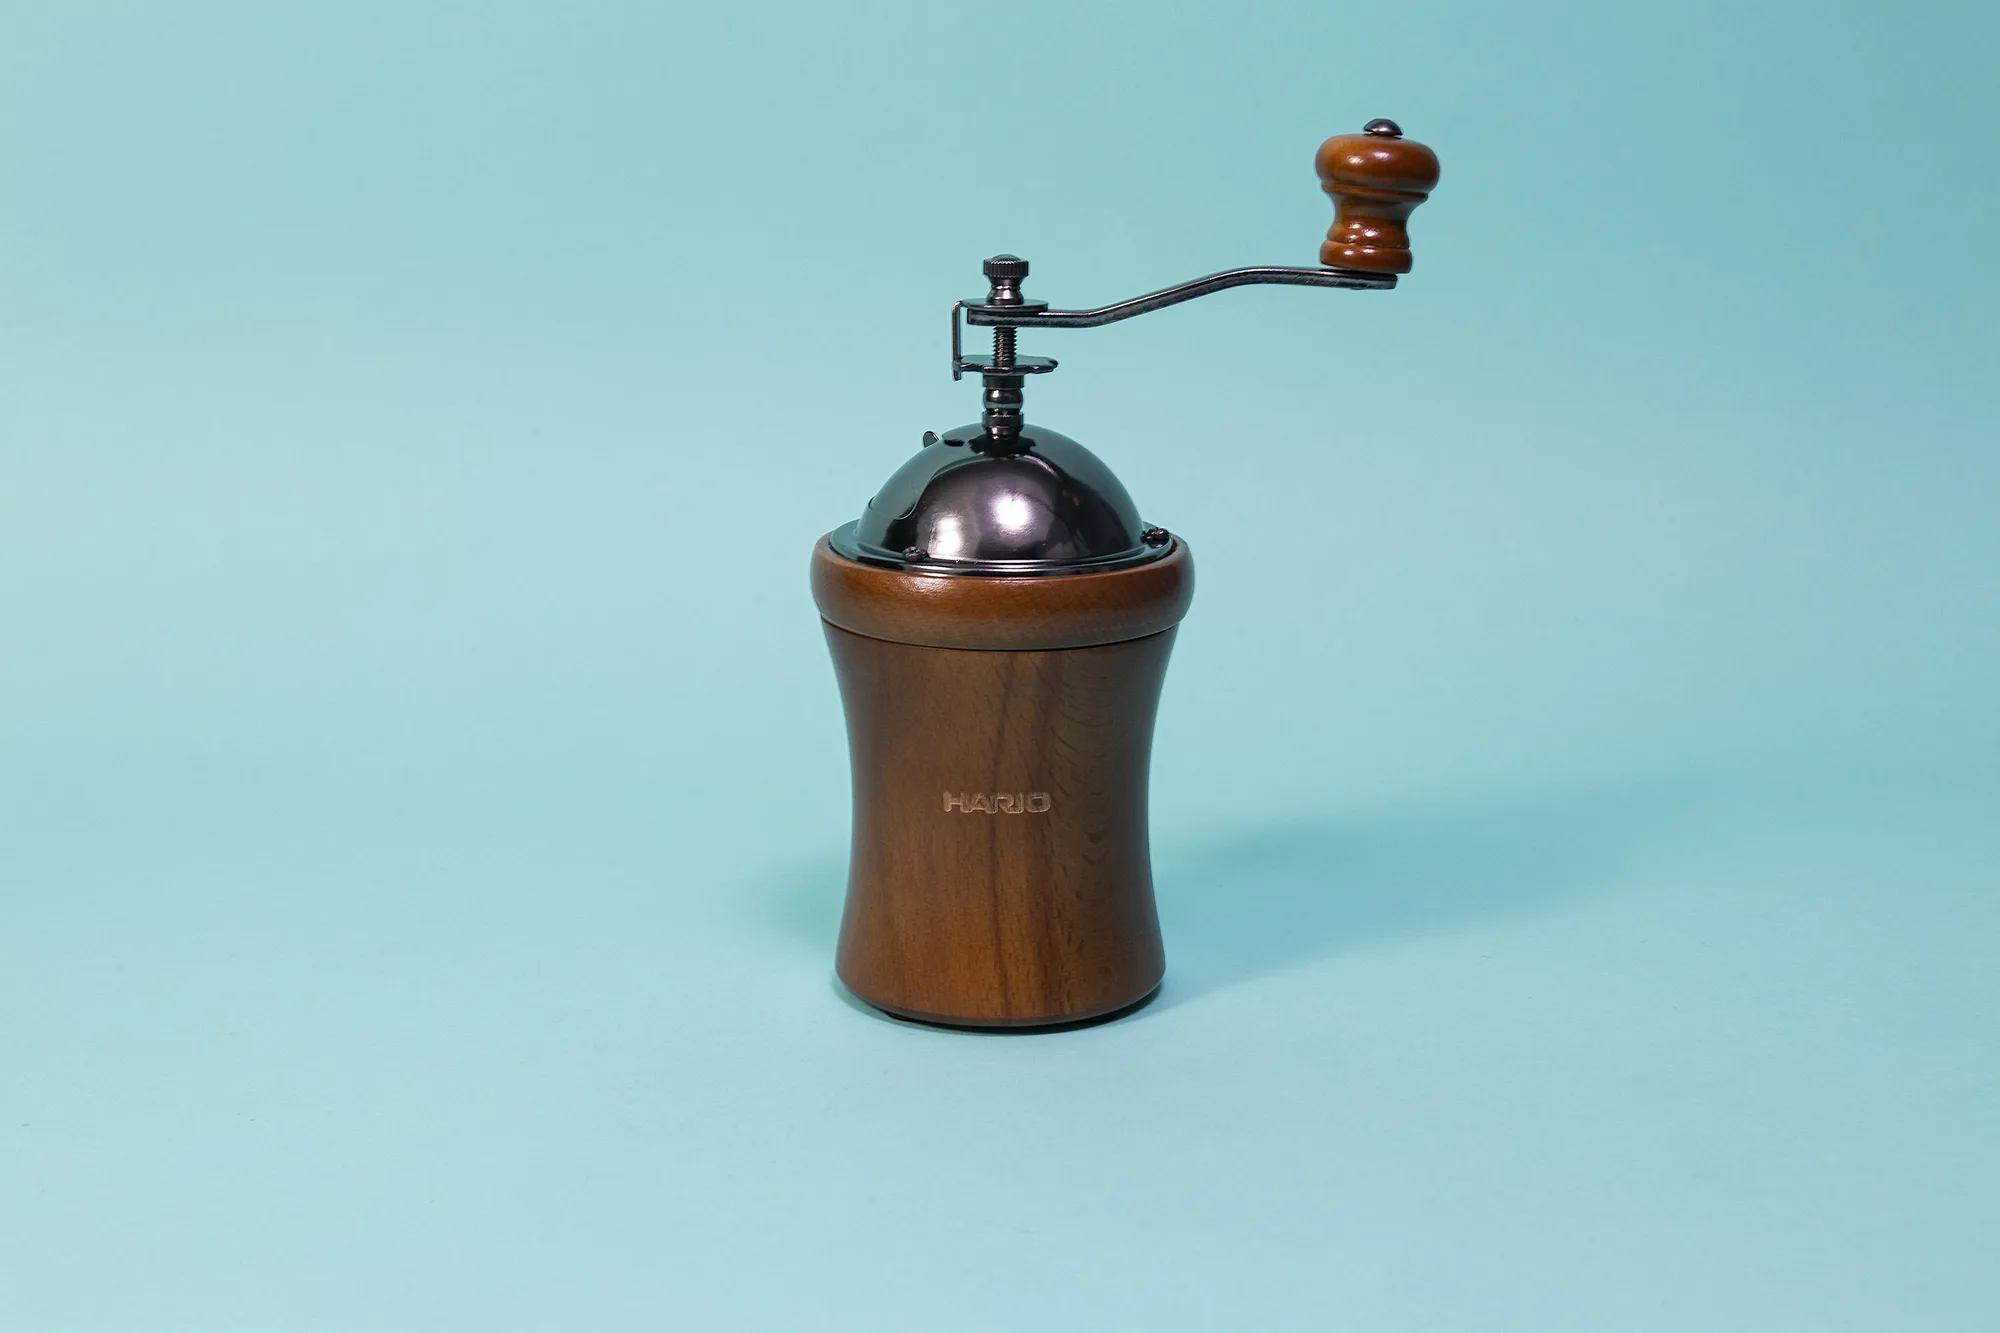
"Dome" Ceramic Coffee Mill
-
"Dome" Ceramic Coffee Mill: The rounded wooden body is tapered in the center for a secure grip while grinding. A steady grip helps you maintain an even grinding rhythm, which is especially useful when you need a coarse grind for cold brew.