Quick answer
Prep nails for gel by softening the cuticle, then using the slanted end of a dual ended cuticle tool to push back the eponychium and the loop end to gently clear cuticle tissue from the nail plate. Keep the tool angled flat against the nail, work in short strokes, and stop if you feel resistance or see redness.
A dual ended cuticle tool is one of the most useful prep tools you can own because it does two jobs: the slanted end pushes back the cuticle, and the loop end removes the thin layer of cuticle that grows on the nail plate. That second job is the one most people skip, and it is often why gel lifts at the base within a week.
This guide walks through cuticle prep for gel polish in order, with the checkpoints that keep you from over-filing or irritating the skin. You do not need a dozen tools, just a clean dual ended cuticle tool, cuticle softener, and a dehydrator or primer before your base coat.
What a dual ended cuticle tool actually does
A dual ended cuticle tool has two working ends. The slanted cuticle pusher is the spoon-shaped or angled end you use to lift and push back the eponychium, the thin skin that sits at the base of the nail. The loop cuticle remover is the small wire loop you use to gently scrape the nail plate where dead cuticle tissue clings.
These are different jobs, and using the wrong end for each one is a common cause of damage. Pushing with the loop can dig into the skin, and scraping the nail plate with the slanted edge does not remove tissue effectively. Treat the slanted end as the pusher and the loop as the remover.
- Keep the loop end for the nail plate only, never for the skin around the nail.
- If your tool has a textured or worn loop, replace it so it glides instead of catching.
Prep the nail and soften the cuticle first
Start with clean, polish-free nails. If you are doing a soak-off removal, finish that first and wipe the nails with alcohol so no oily residue remains. Dry cuticle is harder to push and more likely to tear, so apply a cuticle softener or soak fingertips in warm water for a few minutes, then dry your hands.
Softening matters most for the eponychium. When that skin is pliable, the slanted cuticle pusher glides instead of dragging. If you skip this step, you will press harder to get the same result, which is exactly when nicks and sore spots happen.
- Do not soak for so long that the nail plate stays wet, since wet nails can flex and feel softer under the tool.
- Work on one hand at a time so the other hand does not dry out before you get to it.
Push back with the slanted end
Hold the slanted cuticle pusher at a shallow angle, almost flat to the nail, and start at one side of the cuticle. Use short, light strokes to lift the eponychium and push it back toward the knuckle. Move across the base of the nail in small sections rather than one long sweep.
The goal is to create a clean pocket at the base, not to push the skin as far back as it will go. If the skin turns red or you feel a sting, you are pressing too hard or the cuticle is not soft enough. Stop, add more softener, and wait a minute.
- Angle the pusher slightly toward the side walls as you round the corners of the nail.
- Wipe the pusher on a lint-free pad between strokes so you are not spreading debris.
Remove cuticle from the nail plate with the loop
Switch to the loop cuticle remover. Rest the loop flat on the nail plate and use gentle, short strokes from the base toward the tip, focusing on the area just behind where the cuticle was pushed back. You are removing translucent tissue that clings to the nail, not carving into the nail itself.
Work in one direction and keep the pressure light. The loop should skim the surface. If it catches or jumps, you are pressing too hard or the loop is too large for your nail shape. A smaller loop gives you more control on narrow nails.
- Do not use the loop on the eponychium or side walls, only on the nail plate.
- If you see white flakes, that is cuticle tissue coming up, which is what you want.
Clean, dehydrate, and apply your base
After scraping, wipe each nail with a lint-free pad and alcohol or a prep solution to remove dust and oils. This is the step that makes your prep last. A dehydrator removes surface moisture and oils so your primer and base coat can bond to the nail plate instead of sitting on top of residue.
If you use a primer, apply it after the dehydrator and let it dry before your base coat. Then keep your base coat thin and cap the free edge. Prep done well means your gel has a clean, dry surface to grip, which is the real secret behind retention.
- Do not touch the nail plate with your fingers after dehydrating, since skin oils transfer instantly.
- Give the dehydrator a few seconds to flash off before the next product.
Step-by-step cuticle prep routine
- Clean and soften: Remove old polish, wipe with alcohol, then apply cuticle softener or soak in warm water for a few minutes and dry your hands. Checkpoint: the eponychium should feel pliable, not tight or dry.
- Push with the slanted end: Hold the slanted cuticle pusher nearly flat to the nail and use short strokes to lift and push back the eponychium across the base of the nail. Mistake to avoid: pressing hard or pushing too far back, which causes redness and soreness.
- Scrape with the loop: Switch to the loop cuticle remover and skim the nail plate in short strokes from the base toward the tip to lift clinging cuticle tissue. Checkpoint: the loop should glide, not catch, and you should see fine white flakes.
- Dehydrate and prime: Wipe away dust with a lint-free pad and alcohol, apply a dehydrator, then apply primer if you use it and let it dry. Mistake to avoid: touching the nail plate with bare fingers after this step.
- Apply a thin base coat: Keep the base coat thin, cap the free edge, and cure according to your product instructions before color. Next step: proceed with color, or add art with a precision glue if you are placing rhinestones.
Tools and prep products that support this routine
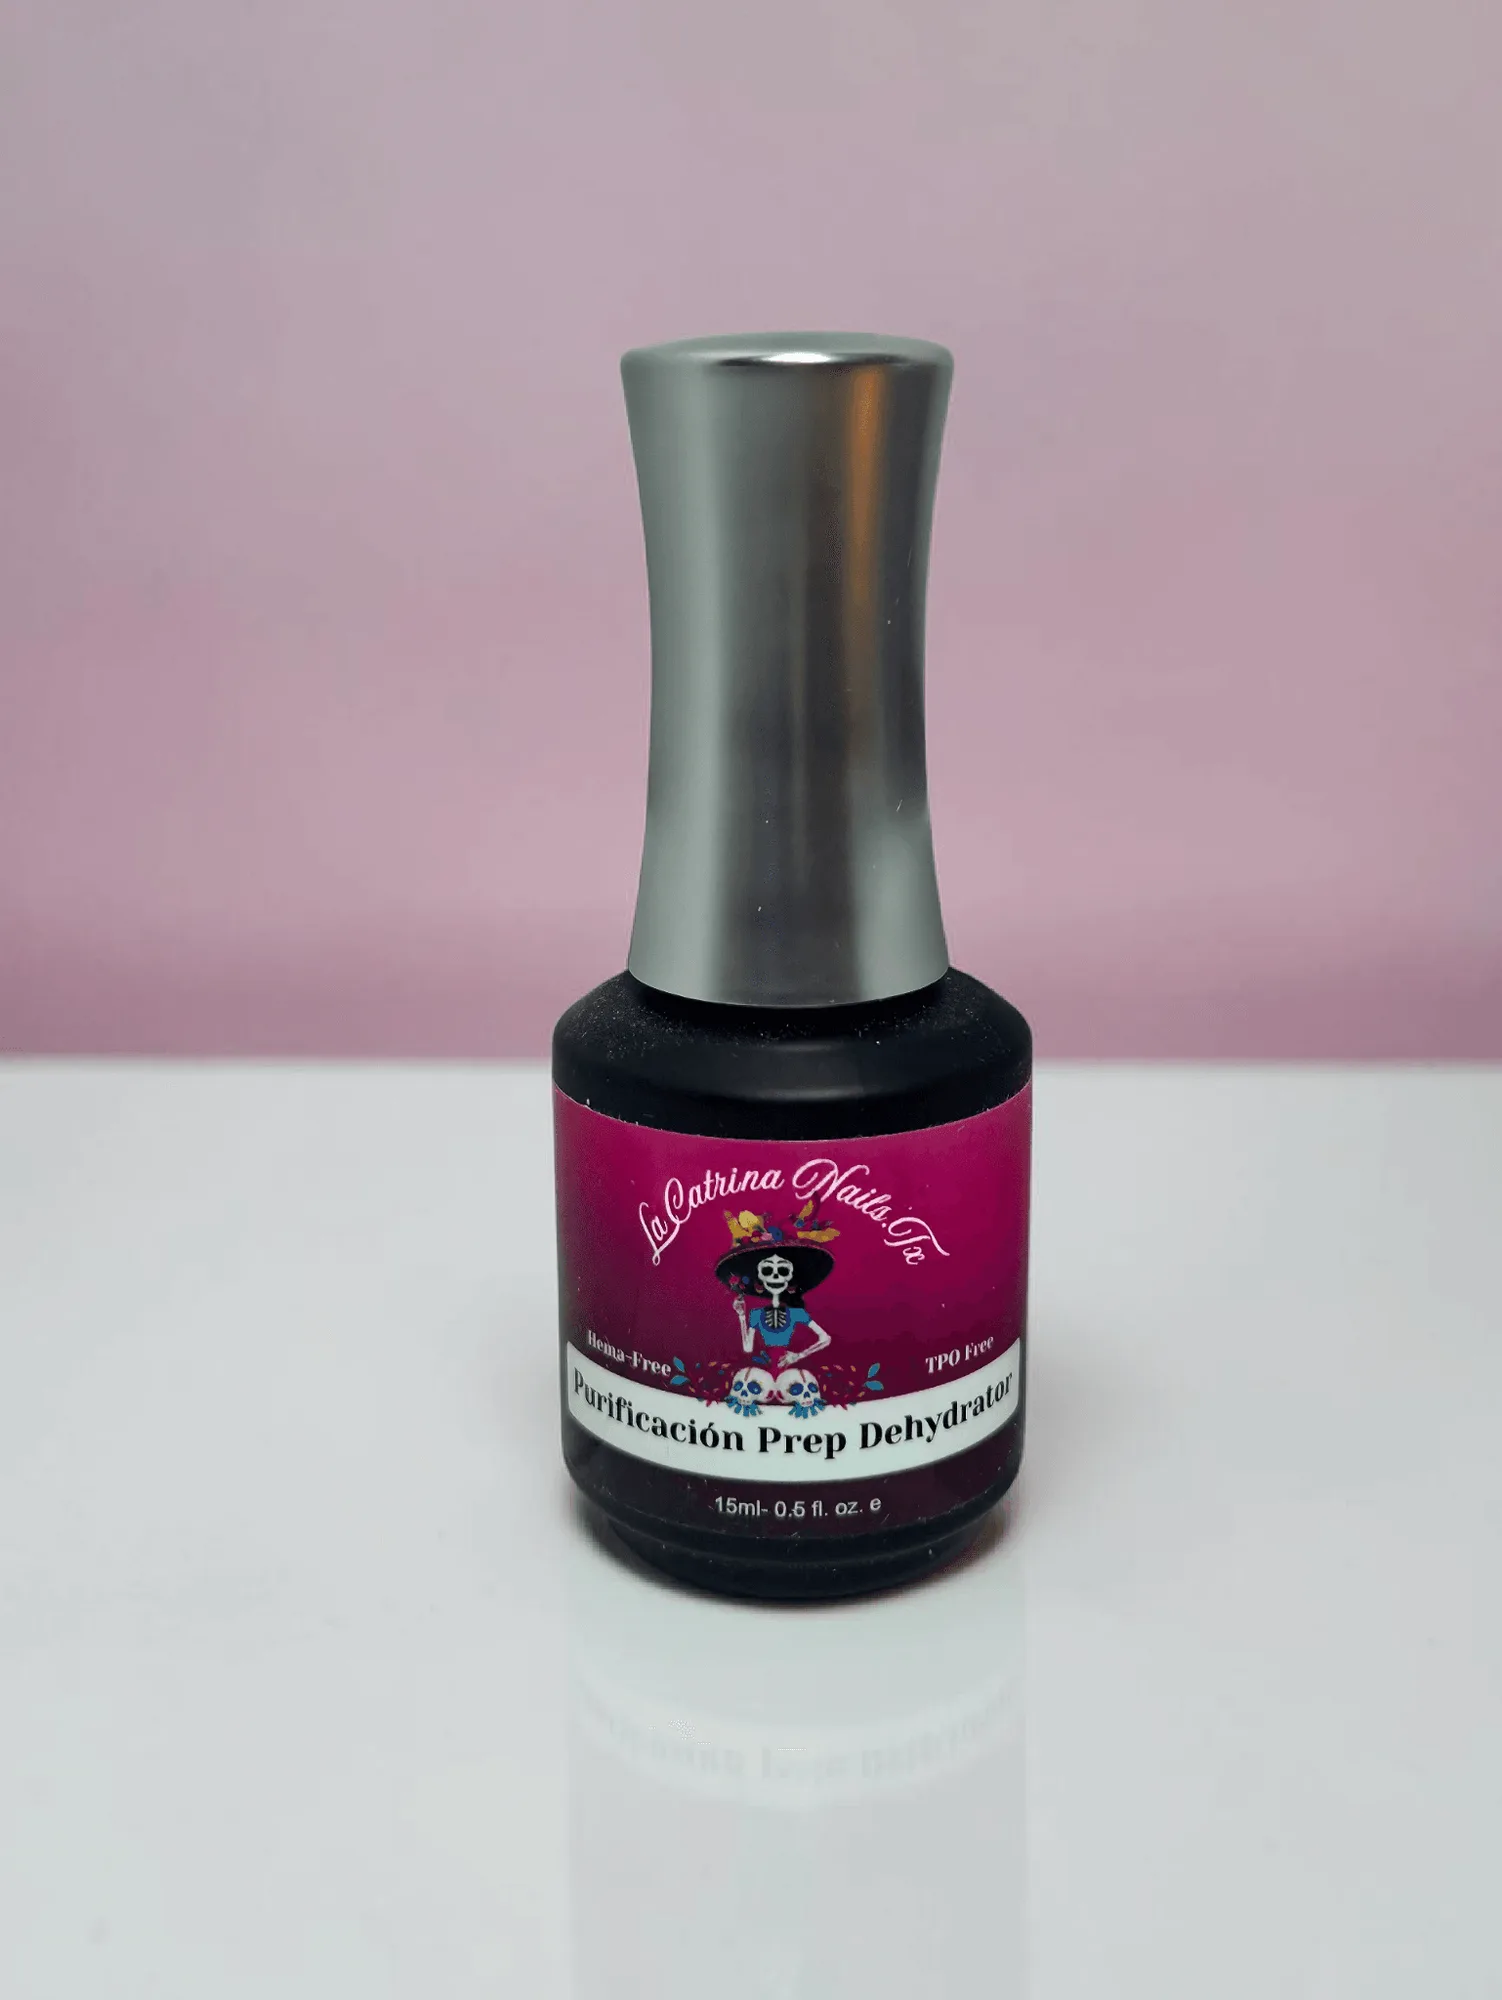
- Purificación Prep Dehydrator: Purificación Prep Dehydrator removes excess oils, moisture, and surface contaminants from the natural nail to create a clean foundation for stronger product adhesion. Use it after pushing and scraping so the nail plate is dry and oil-free before primer and base coat, which helps reduce lifting and improve wear time.
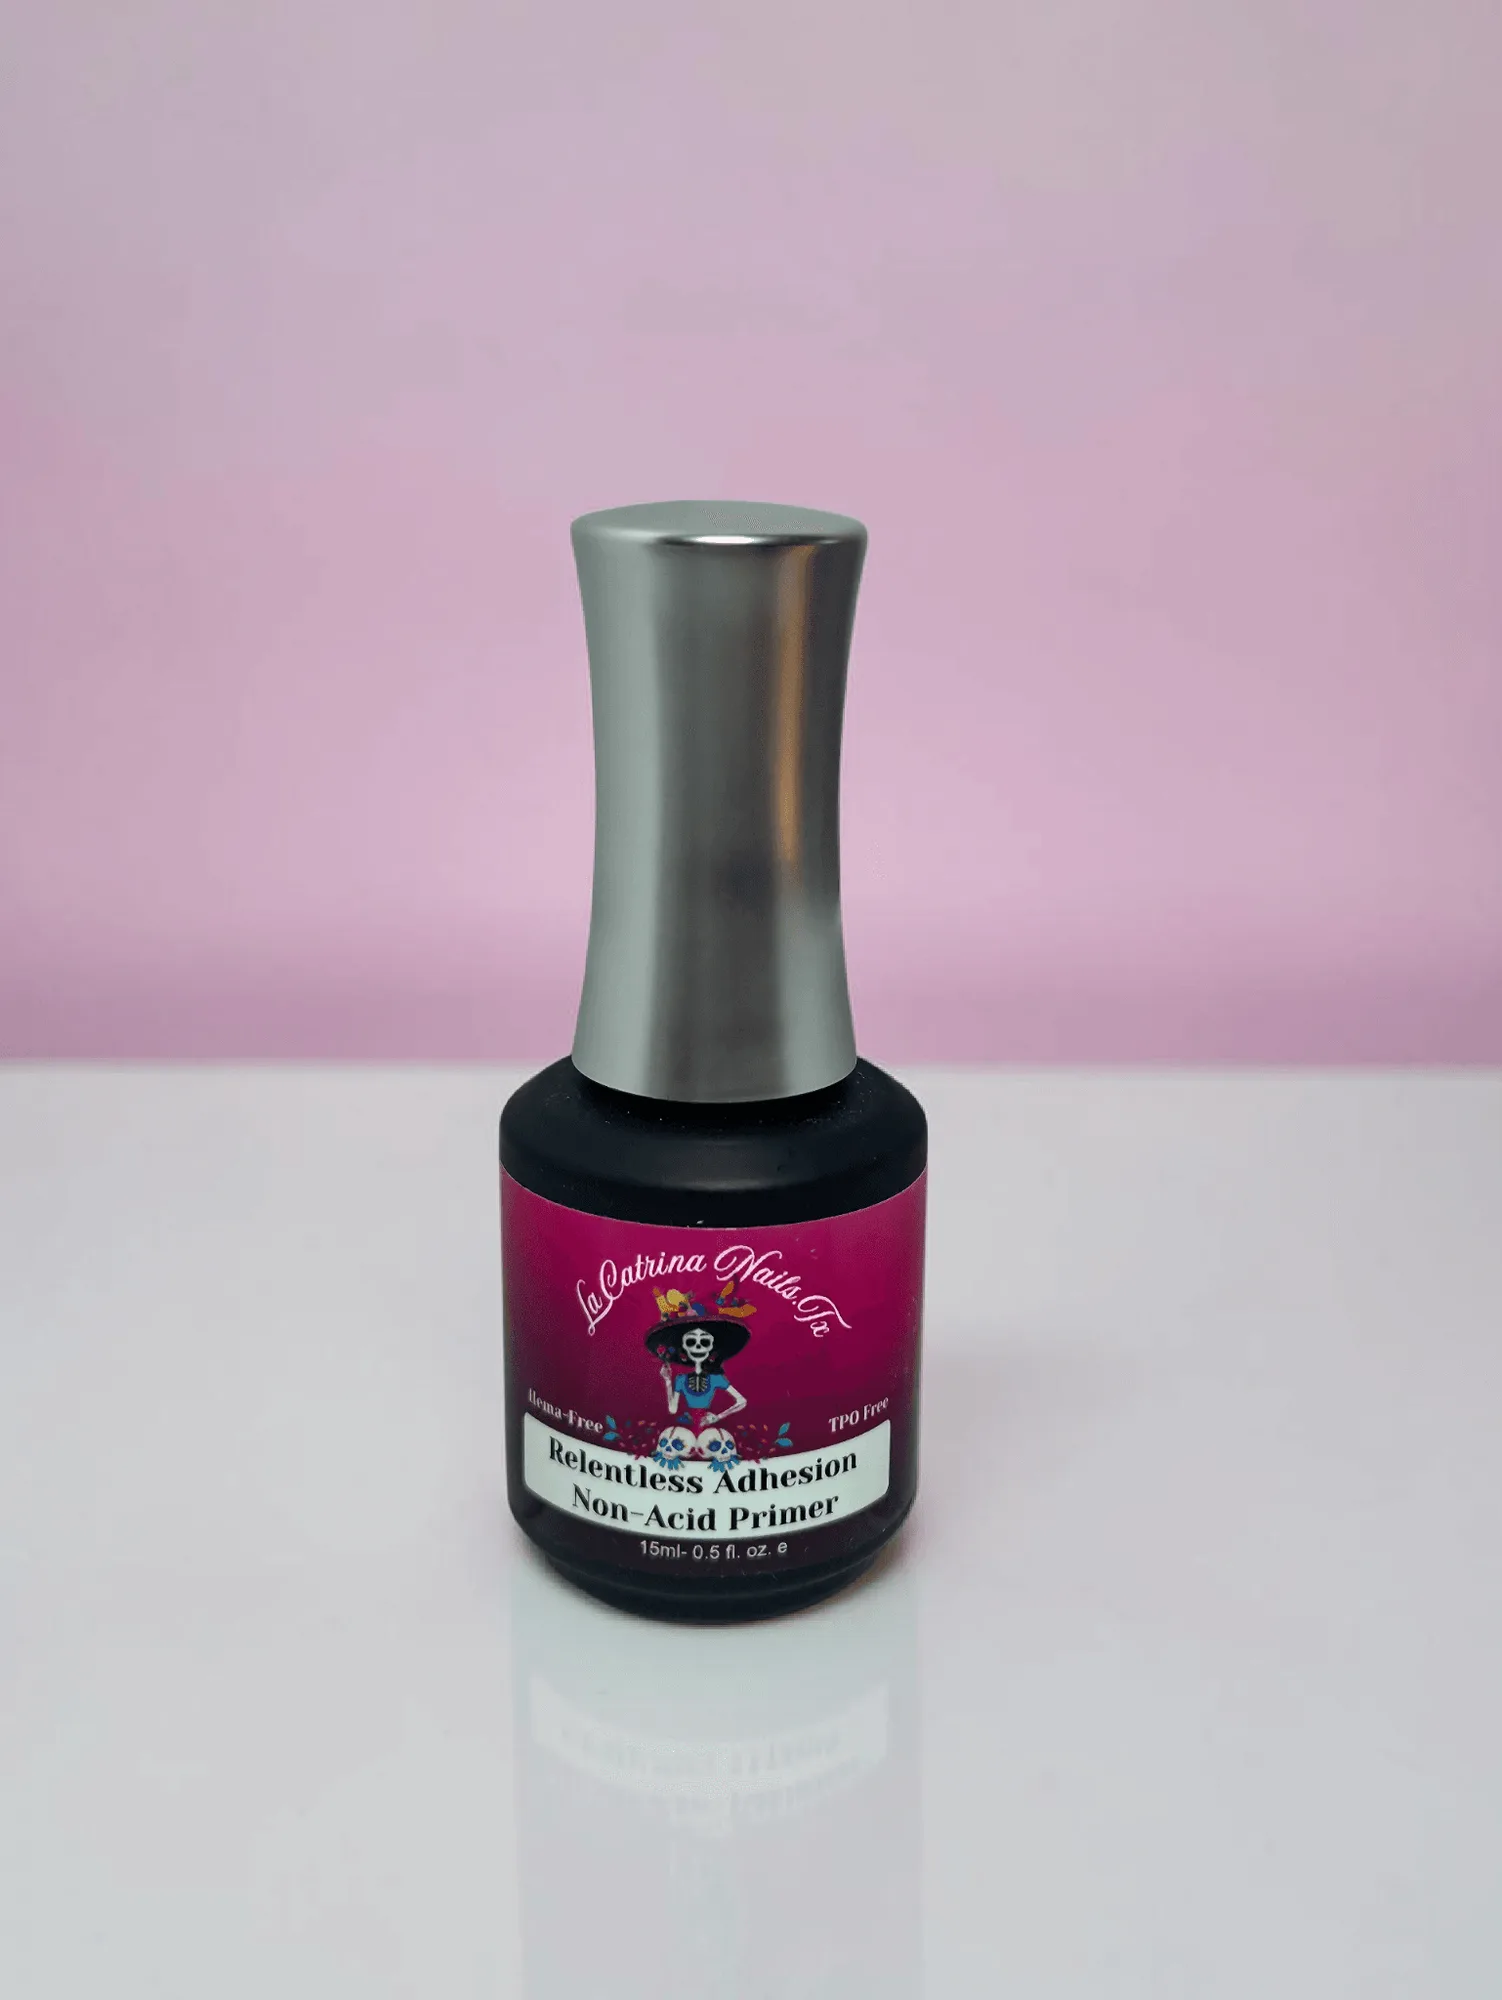
- Purificación Prep Dehydrator & Relentless Adhesion Non-Acid Primer: This set pairs the Purificación Prep Dehydrator with Relentless Adhesion Non-Acid Primer, which is designed to maximize adhesion. If you want one purchase for the dehydrate-and-prime steps, this duo covers both without adding a separate acid-based primer.
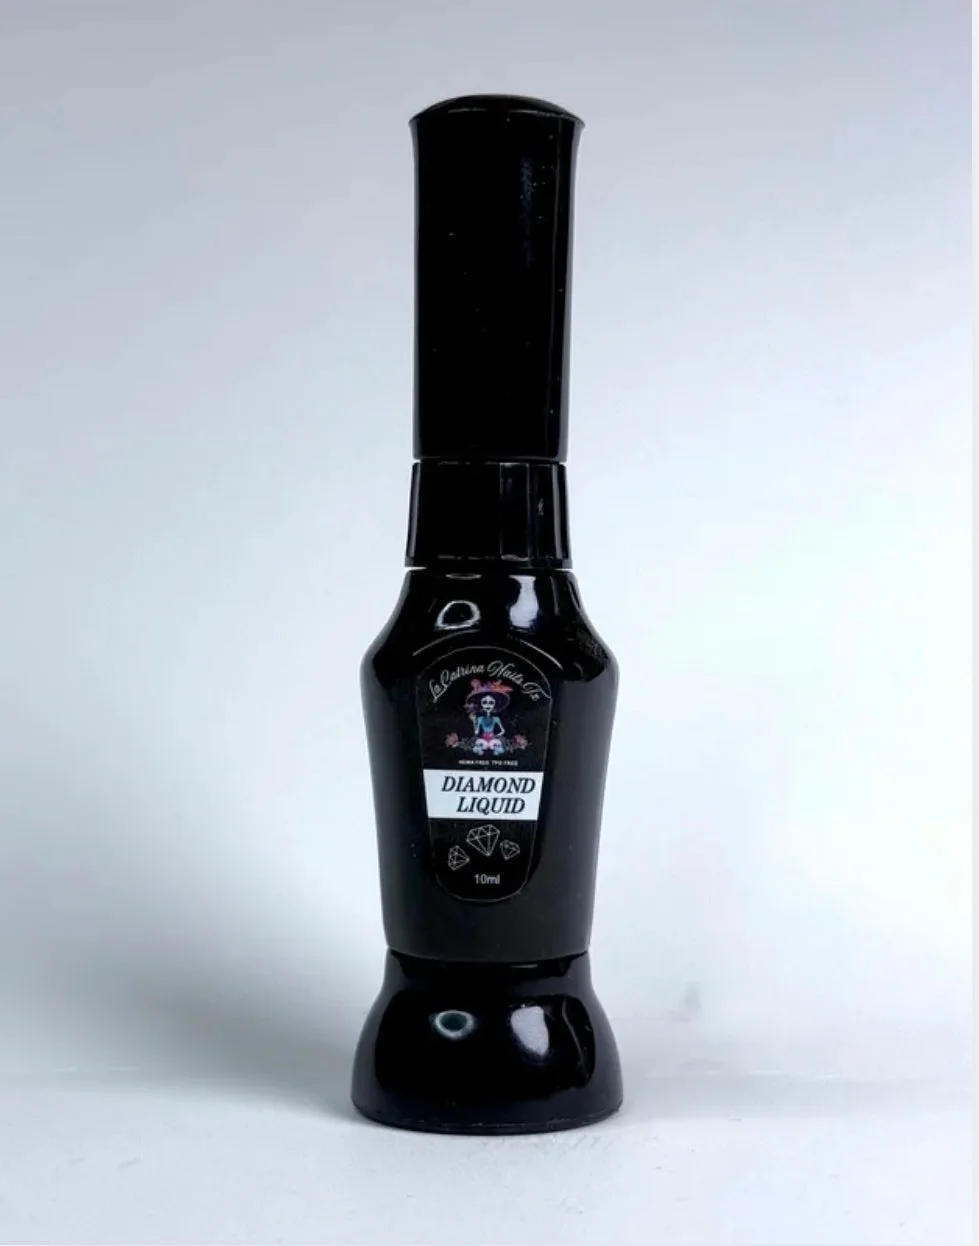
- Diamond Glue ~ Rhinestone Nail Glue~ Gel: Diamond Glue features both a needle-nose tip and a brush applicator for precision and versatility in placing nail art. After prep, if you are adding rhinestones or art, the two applicators let you choose a fine point or a brush depending on the size of the piece.
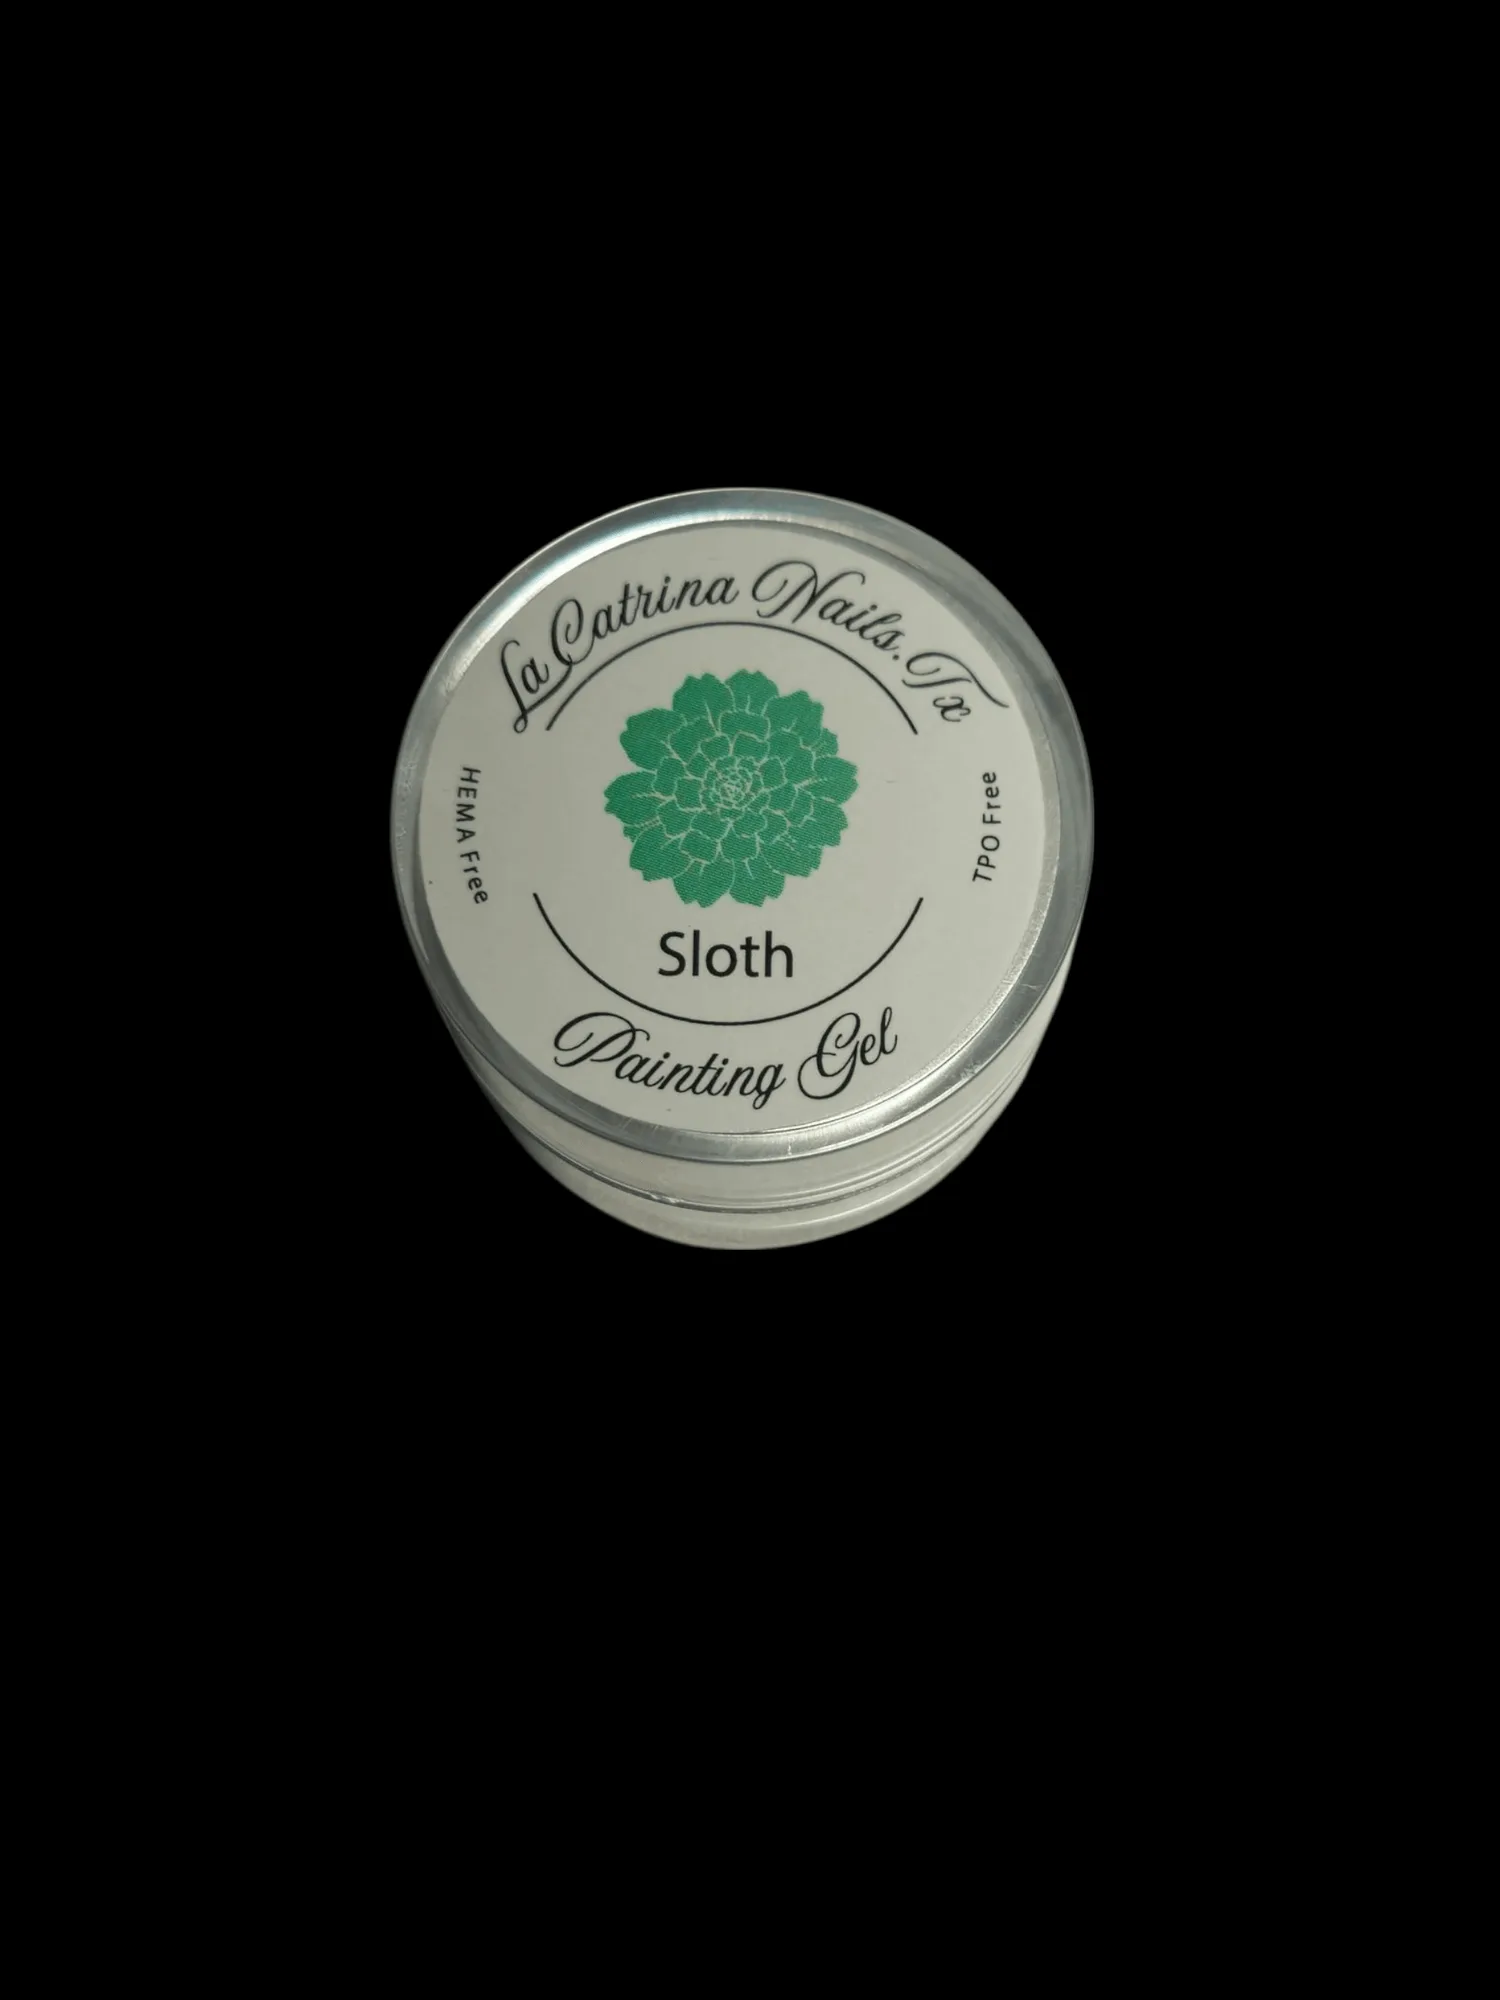
- Sloth ~ HEMA-free Painting Gels 5ml: Sloth HEMA-free Painting Gels are formulated without HEMA and Di-HEMA Trimethylhexyl Dicarbamate, monomers that are common in many gel polishes and known to be significant allergens. For nail techs or clients who want to reduce exposure to common allergens, a HEMA-free painting gel is a practical option for detail work.
A dual ended cuticle tool earns its place in your kit when you use each end for its intended job: the slanted side to push, the loop to clear the nail plate. Pair that with a dehydrator and a thin base coat, and your gel has the clean, dry foundation it needs to stay put.