Quick answer
EMA monomer is the liquid you mix with acrylic powder to create a workable bead for nail extensions or overlays. Proper technique—from bead consistency to brush maintenance—makes the difference between a smooth, durable set and one that lifts or bubbles.
Why EMA monomer instead of MMA
EMA (ethyl methacrylate) monomer is the industry standard for professional acrylic nails because it bonds strongly without the brittleness and health risks of MMA (methyl methacrylate). MMA is harder, more prone to cracking, and can damage the natural nail plate. EMA monomer self-levels and cures with a flexible strength that reduces lifting and breakage, making it safer for both the nail tech and the client.
Choosing the right monomer for your skill level
Not all EMA monomers behave the same. Some set faster, which suits experienced techs who work quickly, while slower-setting formulas give beginners more time to shape the bead. The Kiara Sky Professional Nails EMA Monomer Liquid is self-leveling and HEMA-free, meaning it flows smoothly into place and is less likely to cause allergic reactions. If you are new to acrylics, a medium-speed monomer like this one helps you avoid rushed, lumpy applications.
How to apply acrylic nails with EMA monomer
- Step 1: Prep the natural nail: Push back cuticles, gently buff the nail plate to remove shine, and wipe with a dehydrator and primer. Moisture or oil residue will cause lifting. Common mistake: skipping primer on oily nail beds leads to early pop-offs.
- Step 2: Dip the brush correctly: Dip the brush into the monomer so the liquid reaches about halfway up the bristles. Wipe one side against the dappen dish rim to remove excess. The brush should look wet but not dripping. Common mistake: overloading the brush makes the bead too runny and hard to control. If the bead slides off the brush, you have too much liquid—touch the brush to a paper towel to wick away excess.
- Step 3: Pick up the acrylic bead: Touch the wet brush to the acrylic powder at a 45-degree angle and pull away. A perfect bead looks round, glossy, and slightly wet on the surface. Roll it gently on the dappen dish wall to remove air pockets. Common mistake: pressing the brush flat into the powder creates a dry, crumbly bead that won't adhere.
- Step 4: Place and shape the bead: Place the bead just above the cuticle line and push it toward the free edge using the side of the brush. Work in one direction to avoid trapping air. Let the bead self-level for a second before shaping. Common mistake: overworking the bead causes it to set lumpy or develop brush lines. If the bead starts to set before you finish shaping, stop and move to the next nail—do not add more monomer on top.
- Step 5: Finish and seal: Once all nails are shaped and the acrylic is fully hard (no bend), file the surface smooth, apply a thin layer of monomer on a clean brush to seal the surface, then cure under a lamp if using a compatible top coat. Common mistake: filing before the acrylic is completely hard leads to a gummy surface that lifts. Test hardness by tapping the nail—if it sounds hollow, wait another minute.
Product facts
-
EMA Monomer - 32 oz: The Kiara Sky Professional Nails EMA Monomer Liquid is self-leveling, free of harmful MMA, free of HEMA, and offers flawless applications with maximum adhesion. Because it is HEMA-free, it reduces the risk of allergic contact dermatitis, making it a safer choice for frequent use.
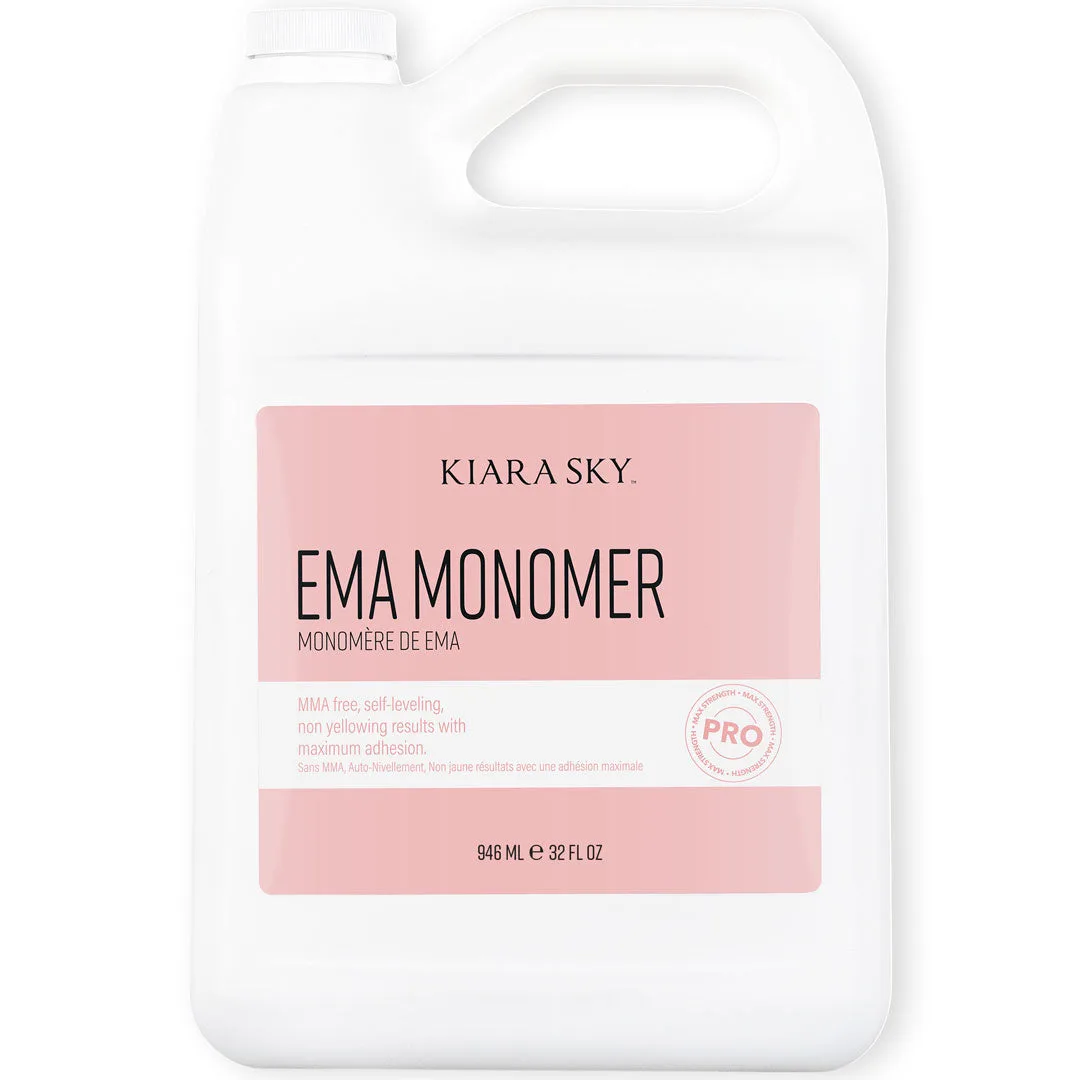
EMA Monomer - 32 oz