Why combine embroidery thread and heat transfer vinyl?
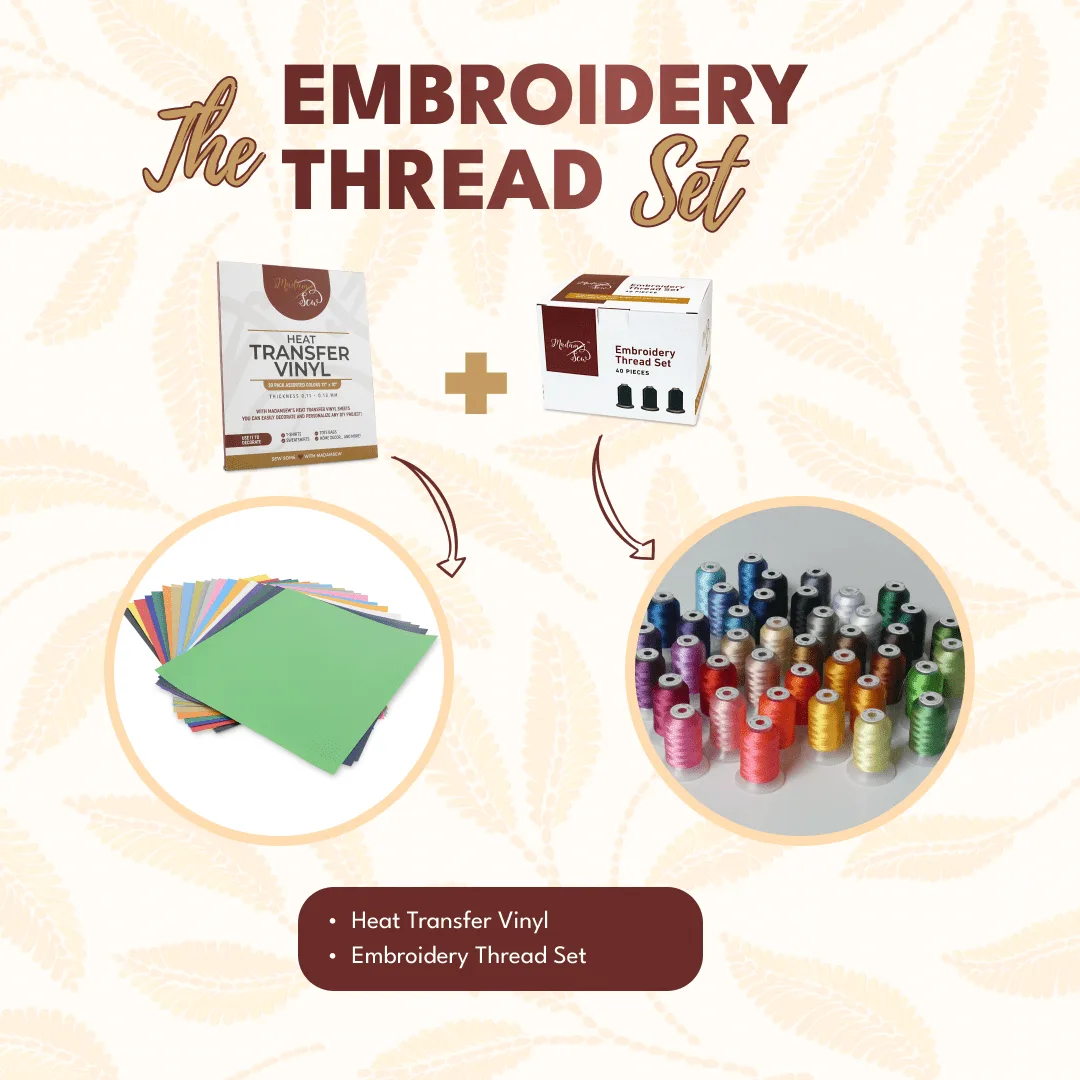
Machine embroidery adds texture and durability, while heat transfer vinyl (HTV) adds crisp lettering and bold graphics that would be difficult or time-consuming to stitch. Used together, they let you personalize garments and home décor with both stitched detail and clean vinyl shapes. The Embroidery Thread Set & Heat Transfer Vinyl Bundle from Madam Sew gives you 40 spools of 40-weight polyester thread and 20 sheets of assorted HTV, so you can experiment with both techniques without buying separate supplies.
This guide walks through a simple layered project—a monogrammed tote bag—and explains the key decisions: choosing thread colors that match your vinyl, preparing the fabric, pressing the vinyl first, and then embroidering over or around it. The same approach works for t-shirts, denim jackets, and quilt labels.
What’s in the bundle
-
Embroidery Thread Set & Heat Transfer Vinyl Bundle: 40-spool Machine Embroidery Thread Set: 500 yards per spool, 100% polyester, 40-weight / 2-ply, color-matched to Brother codes. The Brother color codes make it easy to match thread to vinyl colors or to designs from embroidery files that reference Brother threads.
Embroidery Thread Set & Heat Transfer Vinyl Bundle
-
Embroidery Thread Set & Heat Transfer Vinyl Bundle: 20 Heat Transfer Vinyl sheets, 12" × 10" each, in assorted colors. The sheet size is large enough for small to medium designs like monograms, names, or simple shapes on totes and shirts.
-
Embroidery Thread Set & Heat Transfer Vinyl Bundle: Thread is compatible with Singer, Husqvarna, Pfaff, Bernina, Janome, and Brother machines. You can use the thread on most home embroidery machines without adjusting for a different weight or fiber.
Step-by-step: layered embroidery and HTV tote bag
Follow this sequence to avoid pressing vinyl over embroidery, which can flatten stitches and cause uneven adhesion.
- 1. Choose your design and colors: Pick a simple vinyl shape (like a monogram or small icon) and decide which parts will be embroidered. Use the Brother color codes on the thread spools to match or coordinate with your vinyl sheet. For example, if your vinyl is navy, choose a thread in a contrasting light color or a matching navy for a tone-on-tone look.
- 2. Pre-wash and dry the tote bag: Wash and dry the fabric before applying vinyl. This removes sizing and shrinkage, so the vinyl adheres properly and the bag won’t pucker later.
- 3. Cut and weed the vinyl: Cut your design by hand or with a cutting machine. Weed away the excess vinyl, leaving the design on the carrier sheet.
- 4. Press the vinyl first: Position the vinyl adhesive-side down on the bag. Press with a heat press at 300–320°F or an iron at 300–330°F using medium-firm pressure for 15–20 seconds. Let the vinyl cool completely before peeling the carrier sheet.
- 5. Hoop and embroider around the vinyl: Hoop the bag with the vinyl design centered. Load your chosen thread color and stitch your embroidery design, either framing the vinyl or adding details beside it. The thread is 40-weight polyester, suitable for most embroidery machines.
- 6. Finish and wait before washing: Trim any jump threads. Wait 24 hours before the first wash. Wash the bag cold, inside out, to protect both the vinyl and the embroidery.
Matching thread colors to HTV
The thread set uses the same color codes as Brother, so you can use a Brother color chart to find a thread that matches or complements your vinyl. If you’re layering vinyl on top of embroidery, choose a vinyl color that contrasts with the thread so the design reads clearly. For a subtle look, match the thread to the vinyl color—this works well for tone-on-tone monograms.
Keep in mind that vinyl has a flat, matte or glossy finish, while thread has a sheen. Even with identical color codes, the two materials will reflect light differently. Test a small sample on scrap fabric if you’re unsure.
Layering options: vinyl over embroidery vs. embroidery over vinyl
You can combine the two materials in two main ways. Each has tradeoffs.
- Vinyl over embroidery: Press vinyl on top of stitched areas. This can flatten stitches and may not adhere well to textured thread. Not recommended for detailed embroidery.
- Embroidery over or around vinyl: Press vinyl first, then embroider around it or stitch details that overlap the vinyl edge. This preserves stitch texture and gives a clean, professional look. The vinyl acts as a stable base for stitching.
Compatibility and care notes
The thread is 100% polyester and colorfast, resisting breaking and fraying through washing. The vinyl works on cotton, knits, fleece, denim, and leather. Always pre-wash garments before applying vinyl, and wait 24 hours after pressing before the first wash. Wash cold, inside out, to prolong the life of both the vinyl and the embroidery.
The bundle includes a reusable cardboard storage box for the thread spools, and the Brother-matched color codes help you reorder or match future projects. The vinyl sheets are 12" × 10", which is a convenient size for small to medium designs; for larger designs you may need to piece sheets or choose a different vinyl format.
Key specifications at a glance
- Embroidery Thread Set & Heat Transfer Vinyl Bundle: Thread: 40-weight, 2-ply, 100% polyester, 500 yards per spool, 40 colors. 40-weight is a standard embroidery weight that works for most designs on garments and home décor.
- Embroidery Thread Set & Heat Transfer Vinyl Bundle: Vinyl: 20 sheets, 12" × 10", assorted colors, presses at 300–320°F (heat press) or 300–330°F (iron) for 15–20 seconds. These settings are within the range of most household irons and heat presses, making the bundle accessible for beginners.