Quick answer
A 20-pack embroidery thread set gives you the core colors to start stitching on cotton, linen, or felt projects like decorative patches, simple monograms, and small wall hangings.
Why a 20-pack works for beginners
A 20-pack balances variety and simplicity. You get bright base colors plus black and white, so you can outline, fill, and shade without hunting for missing shades. The set skips specialty metallic or variegated threads that can be harder to control on a first project.
Because the pack contains 20 spools of standard hand embroidery thread, you can practice basic stitches—backstitch, satin stitch, French knot—on scrap fabric before committing to a finished piece.
Limitations to keep in mind
The 20-pack does not include variegated or gradient threads, so if you want a smooth color transition in a large design you will need to blend colors manually. It also lacks extra-long lengths for oversized projects; you may need to join threads more often on a full-size pillowcase or tote bag.
5 steps to start stitching with your 20-pack
- Choose a simple fabric project: Pick a cotton or linen item you already own—a plain T-shirt, a cloth napkin, or a cotton tote bag. Avoid stretchy knits or very thin silk until you have more experience. Common mistake: starting on a dark fabric with a dark thread; use light fabric or a light thread color so your stitches show clearly.
- Separate your thread strands: Most embroidery thread has six strands. For outlines, use 1–2 strands; for filling, use 3–4 strands. Pull one strand at a time from the end, not the middle, to avoid tangling. Common mistake: using all six strands for every stitch—this makes the design bulky and harder to pull through the fabric. Always separate strands before threading the needle, even if the project calls for a single strand.
- Transfer a simple pattern onto fabric: Draw or trace a small design—a flower, a star, or a letter—onto the fabric using a water-soluble marker or a fine pencil. Keep the design under 4 inches across for your first piece. Common mistake: pressing too hard with the marker, which can bleed through thin fabric. Test the marker on a scrap of the same fabric to make sure it washes out cleanly.
- Stitch the outline first, then fill: Use a backstitch for the outline (it creates a solid line) and a satin stitch for filling areas. Work from the center of the design outward to keep the fabric flat. Common mistake: pulling the thread too tight, which puckers the fabric and distorts the design. Keep your tension even—each stitch should lie flat without pulling the fabric.
- Finish the back securely: When you finish the last stitch, knot the thread on the back of the fabric close to the fabric surface, then trim the excess. If you are stitching on a garment, consider adding a small piece of fusible interfacing behind the design to protect the stitches. Common mistake: leaving long loose ends that can be pulled out over time. After your first project, wash the finished piece gently and press it flat before showing the stitches.
Product details
-
Crafter's Companion Embroidery Threads 20 Pack: This set includes 20 colors including bright base colors like red, blue, and yellow, and shades of black and white. You have enough contrast and variety to start most beginner patterns without buying additional thread packs.
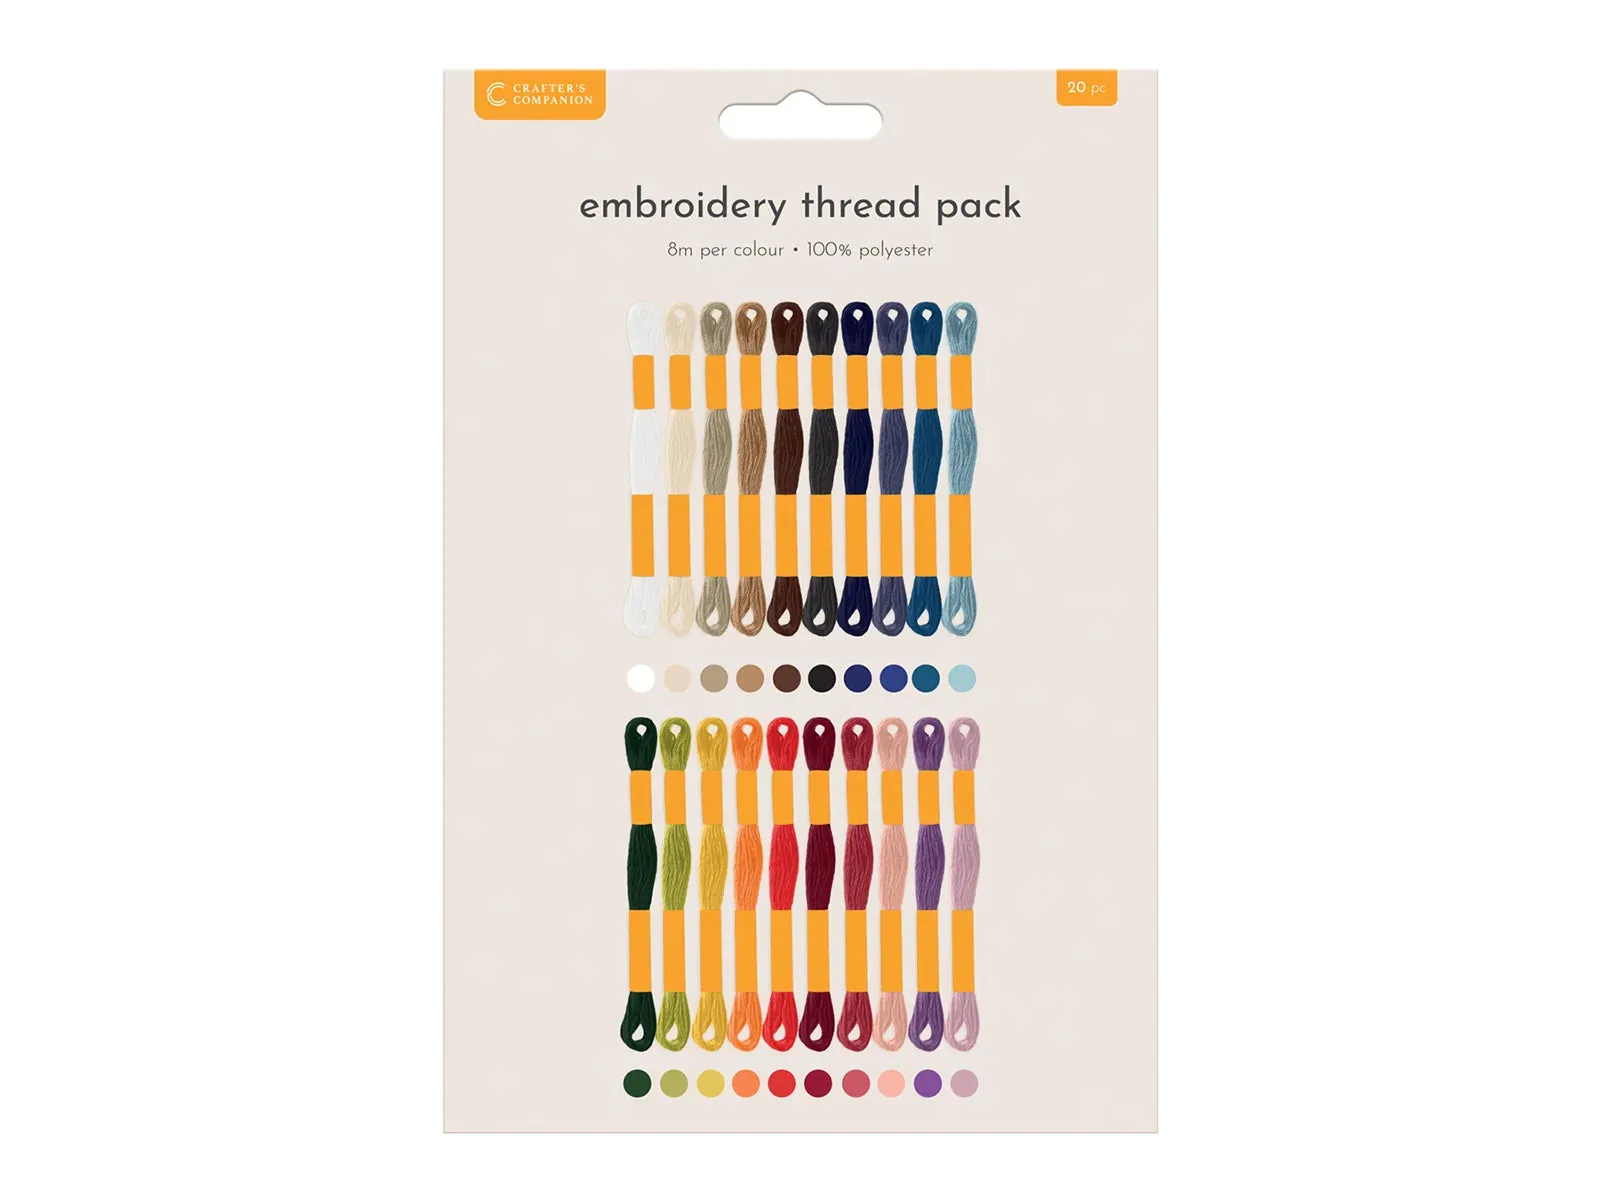
Crafter's Companion Embroidery Threads 20 Pack