Quick answer
For most miniature assembly and conversion work, start with a set of diamond files for cleaning mold lines, a pin drill for pinning and drilling, and a pair of precision tweezers for handling small parts. Each tool solves a specific problem, and the right choice depends on the materials you work with and the level of detail you need.
Why these three tools matter
A good file, a reliable drill, and a steady pair of tweezers cover the three most common pain points in miniature modeling: cleaning up parts, adding structural support, and placing tiny components without losing them. You can get by with a hobby knife and glue alone, but these three accessories save time and reduce frustration.
The trade-off is that each tool has a learning curve. A drill can snap a bit if you push too hard, tweezers can flick a piece across the room, and files can leave scratches if used too aggressively. Knowing when to use each tool and when to put it down is part of the skill.
Materials matter: plastic, resin, and metal
Not all miniature materials behave the same way. Plastic is soft and files quickly, but it can also deform under heat or pressure. Resin is brittle and can chip if you use a coarse file. Metal is tough and demands a sharp file or drill bit to make any impression.
The files and drill bits covered here work on all three surfaces, but you will need to adjust your technique. On metal, use a light touch and let the tool do the work. On resin, use a fine grit file to avoid cracking the surface.
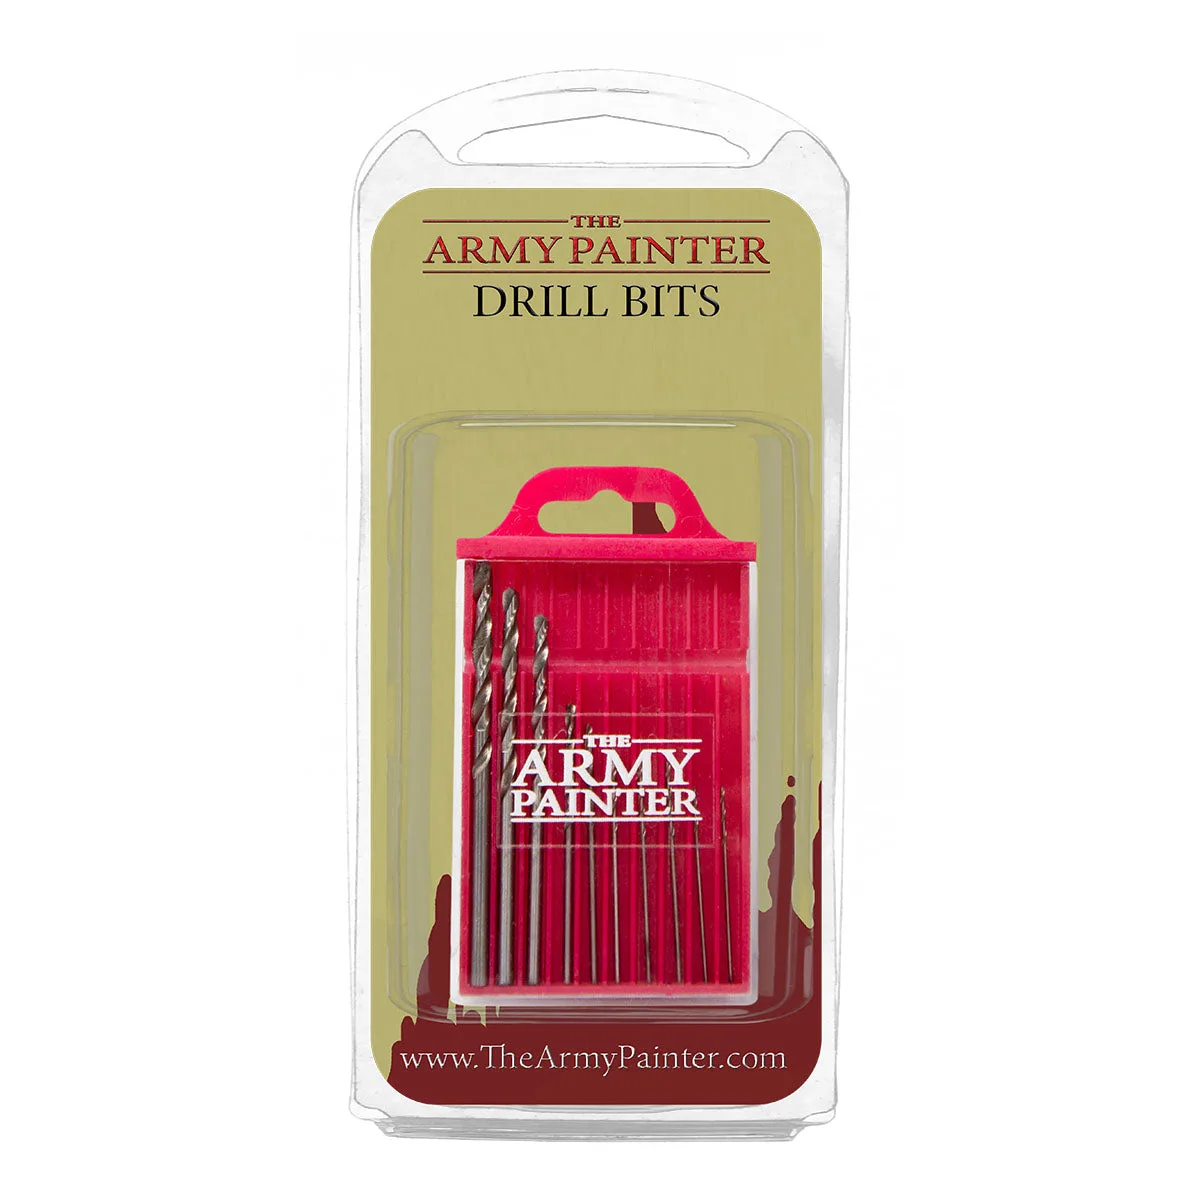
Drill Bits
How to choose the right tool for your next project
- When to reach for files: Use diamond files to remove mold lines, smooth sprue attachment points, and shape custom conversions. The flat edge works well on straight surfaces, while the round edge reaches into tight corners. Start with a light stroke and increase pressure only if needed. Files are your first line of defense against visible seam lines.
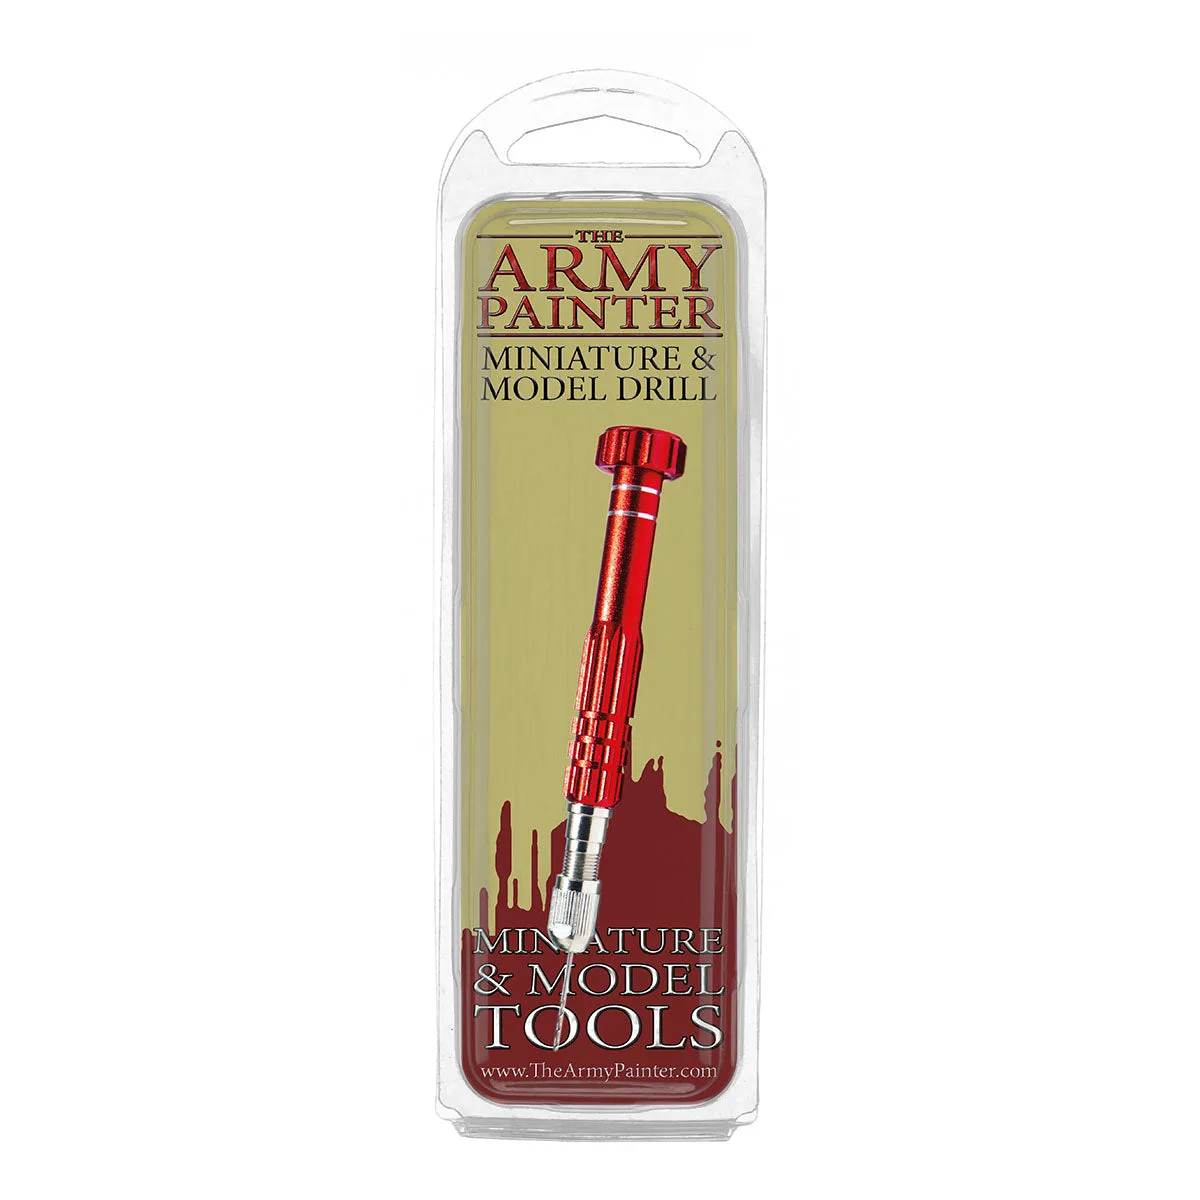
- When to use the pin drill: Use the pin drill to create pilot holes for metal pins (reinforcing joints), to drill out gun barrels, and to prepare models for magnetizing. Start with the 1.0mm bit for small holes, then widen with the 1.4mm or 1.8mm bit if needed. Apply steady, even pressure and avoid tilting the drill. The 1.0mm bit is the safest starting point for most plastic and resin models.
- When tweezers save the day: Use tweezers to hold small parts while gluing, to place decals, and to retrieve dropped components. The angled tip gives better visibility, while the straight tip offers more grip. For very tiny bits, use the tweezers to position the part, then apply glue with a separate tool. Tweezers are not for cutting or scraping; keep them for handling only.
Tools at a glance
-
Miniature and Model Files: These 3x diamond files work on plastic, resin and metal surfaces. You can use the same set for cleaning mold lines on any miniature type without buying separate files for each material.
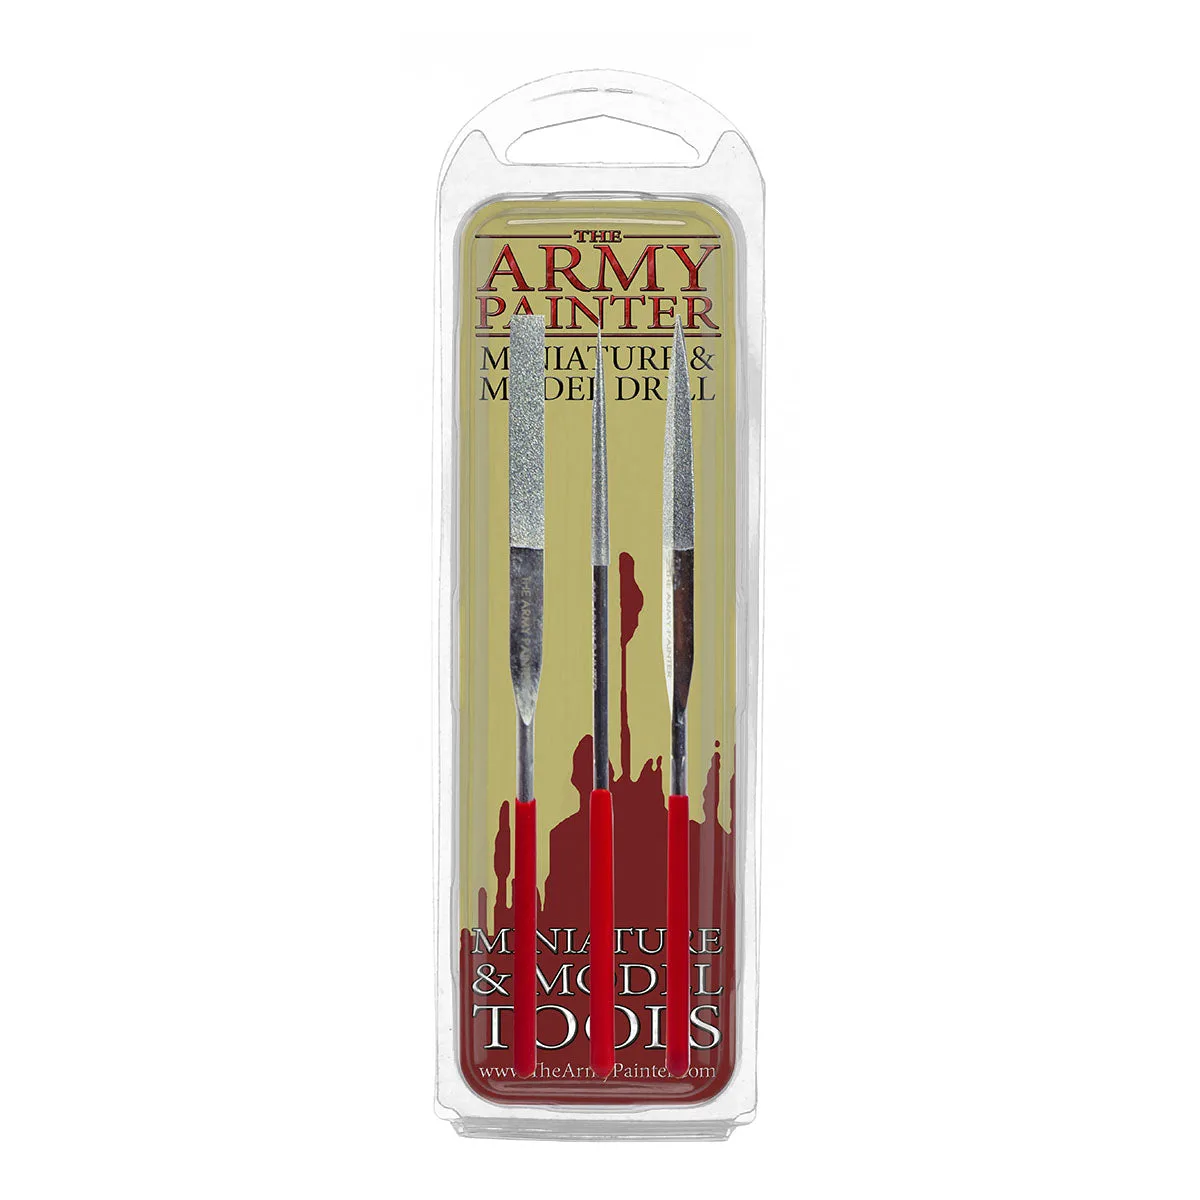
Miniature and Model Files
-
Miniature and Model Drill: The Miniature and Model Drill can fit up to a 3mm drill bit size and includes 1.0mm, 1.4mm, and 1.8mm bits. The included bits cover the most common pinning and magnetizing sizes, so you can start drilling right out of the box.
Who needs these tools?
Best for
- Hobbyists who assemble metal or resin kits that need pinning for stability
- Modelers who convert or customize miniatures and need to remove mold lines
- Painters who handle small components like heads, weapons, or scenic bits
Not for
- Painters who only paint pre-assembled plastic miniatures and never modify them
- Beginners who are still learning basic gluing and prefer to keep their kit minimal